
If you own a rotary tool, you know how handy it can be for all kinds of projects. But when was the last time you cleaned it?
Keeping your rotary tool clean is key to making sure it works smoothly and lasts longer. You’ll discover simple, step-by-step ways to clean your tool quickly and effectively. By the time you finish reading, your rotary tool will be ready to tackle any job, just like new.
Let’s get started!
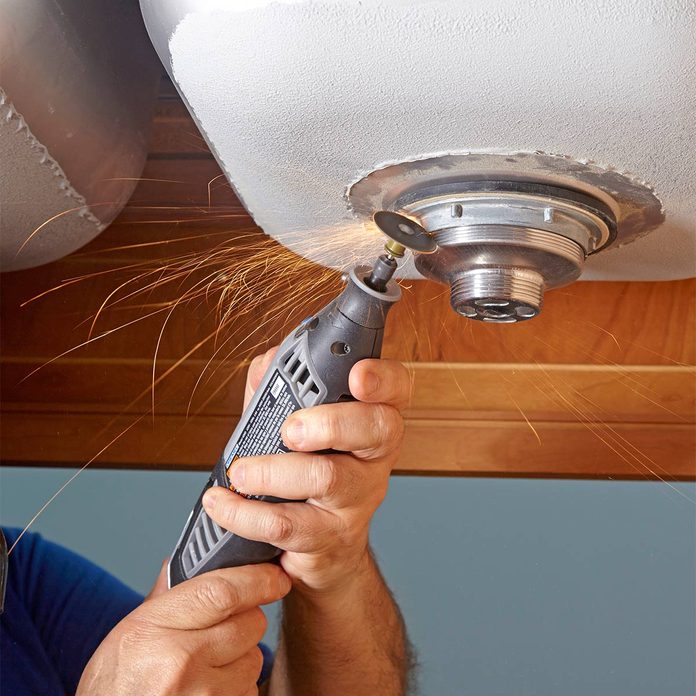
Credit: www.familyhandyman.com
Choosing The Right Cleaning Supplies
Cleaning your rotary tool is important to keep it working well. Using the right supplies helps you clean safely and efficiently.
Picking proper tools and safe cleaning agents makes the job easier. It also protects your tool from damage.
Essential Cleaning Tools
Use tools that reach small parts and remove dirt without scratching. Soft brushes and cloths work well for this task.
- Soft-bristle toothbrush for scrubbing tight spots
- Microfiber cloths to wipe surfaces gently
- Compressed air can to blow out dust
- Small picks or toothpicks for clearing debris
Make sure tools are clean before use. Avoid metal brushes that can scratch tool parts.
Safe Cleaning Agents
Choose cleaning agents that do not harm plastic or metal parts. Mild soaps and rubbing alcohol are good options.
- Mild dish soap mixed with warm water
- Isopropyl alcohol for disinfecting and removing grease
- Water for rinsing after cleaning
- Avoid harsh chemicals like bleach or ammonia
Test cleaning agents on a small area first. This prevents damage to the tool’s surface or parts.
Preparing Your Rotary Tool For Cleaning
Cleaning your rotary tool keeps it working well and lasts longer. Before cleaning, prepare the tool carefully. This makes the process safe and easy.
Follow simple steps to get your rotary tool ready. These steps include safety checks and removing parts that can get in the way.
Unplugging And Safety Measures
Always unplug the rotary tool before cleaning. This stops it from turning on by mistake. It protects you from accidents and electric shocks.
- Unplug the tool from the power outlet completely.
- Work in a dry area to avoid slipping or electric hazards.
- Wear safety gloves to protect your hands.
- Keep the work area clear of clutter and pets.
Removing Attachments
Detach any bits or accessories from your rotary tool before cleaning. Dirt and dust can hide under these parts and cause damage.
| Attachment Type | Removal Method |
| Cutting wheel | Use the wrench to loosen the nut, then slide off the wheel. |
| Grinding bit | Hold the shaft lock button and twist the collet nut to remove. |
| Polishing pad | Unscrew the mandrel by hand or with a small tool. |
| Brush | Pull off gently or unscrew if fixed. |
Cleaning The Exterior
Keeping your rotary tool clean helps it last longer and work better. Dirt and dust can build up on the outside over time. Regular cleaning keeps the tool safe and ready to use.
Focus on wiping the housing and cleaning vents to remove debris and dust. Use simple tools and gentle methods to avoid damage.
Wiping Down The Housing
Start by unplugging the rotary tool. Use a soft cloth slightly dampened with water or mild soap. Gently wipe the entire housing to remove dirt and grease. Avoid getting water inside the tool.
- Unplug the tool before cleaning
- Use a soft, damp cloth
- Wipe all outer surfaces carefully
- Do not spray water directly on the tool
- Dry the housing with a clean cloth
Cleaning Vents And Slots
Vents and slots allow air to flow and cool the motor. Dust can block them and cause overheating. Clean these areas often using a soft brush or compressed air.
| Tool | Purpose | How to Use |
| Soft brush | Remove dust gently | Brush vents and slots carefully |
| Compressed air | Blow out dust from tight spaces | Hold can upright and spray short bursts |
| Vacuum cleaner | Suction loose dust | Use a small nozzle near vents |
Maintaining The Accessories
Keeping your rotary tool accessories clean helps them last longer. Dirt and dust can reduce their performance.
Regular care prevents damage and keeps your work precise. Focus on cleaning and checking your bits and attachments.
Cleaning Bits And Attachments
Remove bits and attachments from the rotary tool before cleaning. Use a soft brush to clear dirt and debris.
For stubborn grime, soak bits in warm soapy water. Dry them completely before reuse to avoid rust.
- Use a soft brush or cloth
- Soak in warm soapy water if needed
- Dry all parts thoroughly
- Avoid harsh chemicals that damage metal
Inspecting For Wear And Tear
Check bits and attachments for cracks, chips, or worn areas before each use. Damaged parts can cause injury.
Replace any accessory that shows signs of wear. Using worn bits can reduce quality and damage your tool.
- Look for cracks and chips
- Check for bent or broken parts
- Replace worn or damaged accessories
- Store accessories in a dry place
Cleaning The Motor And Internal Parts
Keeping your rotary tool’s motor and internal parts clean is important for its performance. Dust and debris can build up inside and cause damage.
Regular cleaning helps your tool last longer and work smoothly. Take care when cleaning to avoid harming the motor.
Using Compressed Air
Compressed air is the best way to remove dust from inside the rotary tool. It pushes dirt out without touching delicate parts.
Use short bursts of air to clear out the motor and vents. Keep the nozzle a few inches away to avoid damage.
- Turn off and unplug the tool before cleaning
- Hold the tool firmly to avoid dropping it
- Use a can of compressed air or an air compressor
- Aim air at vents and openings
- Do not spin the motor with air
Avoiding Moisture Damage
Moisture can harm the motor and cause rust inside the rotary tool. Avoid using water or liquid cleaners on internal parts.
Keep the tool dry and store it in a dry place. If moisture gets inside, let the tool dry completely before using it again.
- Do not spray water or cleaners inside the tool
- Use a dry cloth to wipe the outside only
- Store the tool in a dry, cool area
- Allow time to dry if moisture enters
Lubricating Moving Parts
Lubricating your rotary tool keeps it running smoothly. It helps prevent wear and tear on the moving parts.
Proper lubrication extends the life of your tool and improves performance. Use the right products and techniques for best results.
Recommended Lubricants
Choose lubricants made for small power tools. Light machine oil or specialized rotary tool oil works well. Avoid thick greases that can clog parts.
- Light machine oil (e.g., 3-in-1 oil)
- Silicone-based lubricants for plastic parts
- Specialized rotary tool oil available at hardware stores
- Graphite lubricant for high-speed parts
Proper Application Techniques
Apply lubricant carefully to avoid over-oiling. Clean parts before applying oil to remove old grease and dirt.
| Step | Action |
| 1 | Unplug the rotary tool for safety |
| 2 | Use a brush or cloth to clean moving parts |
| 3 | Apply a few drops of lubricant to bearings and gears |
| 4 | Rotate parts slowly to spread the oil evenly |
| 5 | Wipe away excess oil to prevent dust buildup |
Storage Tips To Keep Your Tool Clean
Keeping your rotary tool clean starts with smart storage. Proper storage stops dirt and dust from building up. It also protects the tool from damage.
Clean tools last longer and work better. Store them carefully after each use to keep them in good shape.
Protective Cases
Use a protective case to store your rotary tool safely. Cases keep dust, dirt, and moisture away from the tool. They also prevent scratches and dents.
Choose a hard or padded case that fits your tool well. Store all parts and accessories inside the case to keep them organized and clean.
- Keep the case in a dry place
- Clean the case regularly to avoid dirt buildup
- Store the tool with all attachments inside the case
Environmental Considerations
Store your rotary tool in a cool, dry area. Avoid places with high humidity or extreme heat. These conditions can cause rust and damage the tool.
Avoid storing your tool in dusty or dirty places. Dust can clog the tool’s vents and cause it to overheat. Keep the storage area clean and free of debris.
- Keep tool away from direct sunlight
- Store in a well-ventilated area
- Check the tool regularly for dust and dirt
Credit: diyprojects.com
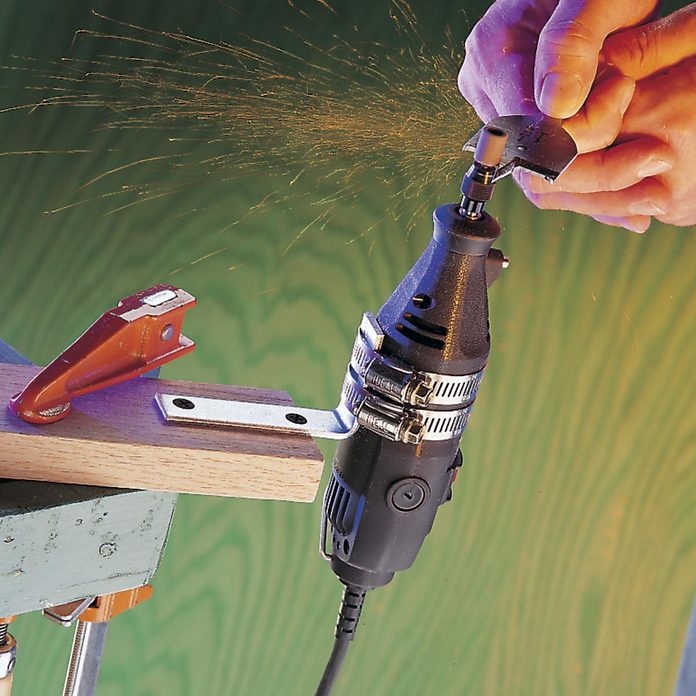
Credit: www.familyhandyman.com
Frequently Asked Questions
How Often Should You Clean A Rotary Tool?
It’s best to clean your rotary tool after each use. Regular cleaning helps maintain performance and prolongs the tool’s lifespan. Dust, debris, and residue can accumulate, affecting efficiency. A quick wipe down and inspection for any obstructions or damage will keep it running smoothly.
What Materials Are Needed For Cleaning?
You’ll need a soft cloth, small brush, and compressed air. Use the cloth to wipe surfaces and the brush for hard-to-reach areas. Compressed air effectively removes dust from internal components. These materials ensure a thorough cleaning without causing damage to your tool.
Can I Use Water To Clean A Rotary Tool?
Avoid using water on your rotary tool. Water can cause rust and damage electrical components. Instead, use a dry cloth and compressed air for dust removal. If necessary, use a damp cloth, but ensure the tool is unplugged and dry it thoroughly afterwards.
How Do I Clean Rotary Tool Attachments?
Detach the attachments and wipe them with a soft cloth. For stubborn residue, use a small brush. Ensure all attachments are dry before reattaching to prevent rust. Regular cleaning of attachments maintains their efficiency and extends their lifespan.
Conclusion
Cleaning a rotary tool keeps it working well and safe to use. Regular care stops dirt and dust from building up. Use simple steps like brushing and wiping after each job. Check the parts often and replace any that wear out.
A clean tool lasts longer and works better every time. Take a few minutes to clean your tool regularly. It helps you finish projects without trouble or delays. Small effort, big difference. Keep your rotary tool ready for the next task.