If you’ve ever felt stuck trying to put together new furniture, a cordless drill can be your best friend. But using it the right way is key to making the job quick and easy.
In this guide, you’ll learn exactly how to operate a cordless drill for furniture assembly — step by step, with simple tips that anyone can follow. By the end, you’ll feel confident and ready to tackle any project, saving time and avoiding common mistakes.
Keep reading to unlock the secrets of working smarter, not harder, with your cordless drill.
Choosing The Right Drill
Using a cordless drill makes furniture assembly easier and faster. Picking the right drill is important for good results.
This guide covers the types of cordless drills, key features to check, and battery life details.
Types Of Cordless Drills
There are several types of cordless drills. Each type fits different tasks and skill levels.
- Drill Driver:Good for drilling holes and driving screws. Most common type.
- Impact Driver:Provides extra torque for tough screws and bolts.
- Hammer Drill:Adds a hammering action to drill into hard materials like concrete.
- Right-Angle Drill:Designed for tight spaces and corners.
Key Features To Look For
Some features help you work better and safer with a cordless drill.
| Feature | Why It Matters |
| Adjustable Speed | Allows control for different materials and screws. |
| Torque Settings | Prevents over-tightening or damaging furniture parts. |
| Comfort Grip | Reduces hand fatigue during long use. |
| LED Light | Illuminates work area for accuracy in low light. |
| Keyless Chuck | Makes bit changes faster and easier. |
Battery Life And Charging
Battery power affects how long you can use the drill without stopping.
- Voltage:Higher voltage means more power but can add weight.
- Battery Type:Lithium-ion batteries last longer and charge faster.
- Charging Time:Check how long the battery takes to fully charge.
- Spare Batteries:Having extra batteries helps when one runs out.

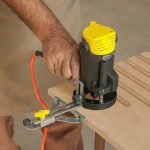
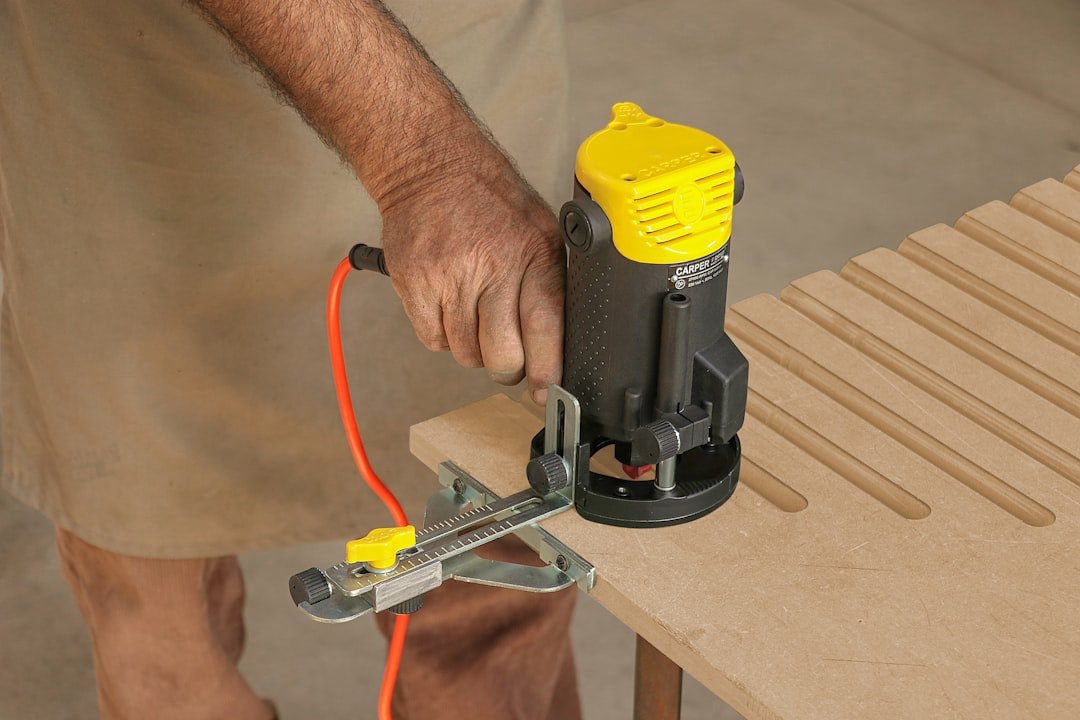
Credit: www.vecteezy.com
Preparing For Assembly
Using a cordless drill makes furniture assembly easier and faster. Before you start, it is important to prepare well. Good preparation helps avoid mistakes and saves time.
This guide covers three key preparation steps: gathering tools and materials, reading the furniture manual, and setting up your workspace.
Gathering Tools And Materials
Collect all the tools and parts you will need before you begin. This keeps you from stopping in the middle of assembly to find something.
- Cordless drill with charged batteries
- Drill bits and screwdriver bits
- Furniture parts and hardware from the package
- Measuring tape or ruler
- Protective gloves and safety glasses
- Small containers for screws and nails
Reading The Furniture Manual
Carefully read the furniture manual before you start drilling. It shows the order of assembly and where each part goes. This helps you avoid errors.
| Manual Section | What to Check |
| Parts List | Make sure all parts are included |
| Tools Needed | Confirm you have the right tools |
| Assembly Steps | Understand the order of assembly |
| Safety Tips | Note any warnings or special advice |
Setting Up A Workspace
Prepare a clean and flat area to work on. A good workspace makes assembly safer and easier.
Workspace Checklist:
- Choose a large, flat surface like a table or floor space
- Clear the area of clutter and obstacles
- Ensure good lighting to see small parts
- Keep a trash bin nearby for packaging waste
- Have a chair or stool if you need to sit
Basic Drill Controls
Using a cordless drill for furniture assembly is easy once you know the controls. Understanding each part helps you work safely and quickly.
This guide explains the main controls you need to operate your drill well.
Power Settings And Speed Control
Most cordless drills have different power settings and speed controls. These let you adjust how fast or strong the drill works. Use low speed for screws and high speed for drilling holes.
- Choose a low speed for driving screws to avoid damage.
- Use high speed for drilling into wood or metal.
- Adjust the power setting to save battery or increase force.
Changing Drill Bits
Changing bits lets you use the drill for different tasks. To change a bit, first unlock the chuck. Then remove the old bit and insert the new one firmly. Lock the chuck to hold it in place.
| Step | Action |
|---|---|
| 1 | Hold the drill firmly |
| 2 | Turn the chuck to loosen it |
| 3 | Remove the old bit carefully |
| 4 | Insert the new bit straight |
| 5 | Tighten the chuck to secure the bit |
Using The Clutch
The clutch controls how much torque the drill applies. It stops the drill from turning when the screw is tight. Use the clutch to avoid overdriving screws and damaging furniture.
- Set the clutch to a low number for small screws.
- Use a higher clutch setting for bigger screws.
- If the drill stops suddenly, the clutch may have kicked in.
- Adjust the clutch if screws don’t go in properly.
Step-by-step Drilling Process
Using a cordless drill for furniture assembly is simple if you follow the right steps. This guide shows how to drill correctly and safely.
Each step ensures your furniture holds together well and looks neat. Pay attention to detail to avoid mistakes.
Marking Drill Points
Start by marking where you want to drill holes. Use a pencil or a marker for clear spots. Accurate marks help keep your furniture parts aligned.
- Measure the exact points using a ruler or tape measure
- Mark the drill spots with a pencil
- Double-check the marks to avoid errors
- Use a center punch to make a small dent for drill guidance
Drilling Pilot Holes
Drill pilot holes before inserting screws. Pilot holes prevent wood from splitting and make screwing easier.
| Drill Bit Size | Purpose | Tip |
|---|---|---|
| Smaller than screw diameter | Pilot hole for wood screws | Ensures tight fit without wood damage |
| Equal to screw core diameter | Clearance hole for screw shank | Lets screw pass freely through first piece |
| For metal parts | Use metal drill bits | Drill slowly to avoid overheating |
Driving Screws Safely
Insert screws carefully after pilot holes are ready. Use the drill in low speed and steady pressure to avoid stripping the screw head.
- Choose the correct screwdriver bit for the screw head
- Set drill to low torque to avoid overdriving
- Hold the drill straight to keep screws aligned
- Stop drilling once the screw is flush with the surface
- Wear safety glasses to protect your eyes
Safety Tips
Using a cordless drill is helpful for furniture assembly. Safety is important to avoid injuries. Follow these tips to work safely with your drill.
Keep safety in mind each time you handle the drill. It protects you and helps finish your project smoothly.
Wearing Protective Gear
Always wear protective gear before using a cordless drill. This keeps you safe from flying debris and dust.
- Wear safety glasses to protect your eyes
- Use gloves to avoid cuts and scrapes
- Wear ear protection if the drill is loud
- Choose closed-toe shoes to protect your feet
Handling The Drill Properly
Hold the drill firmly to keep control. Use both hands if needed to stay steady.
Keep your fingers away from the drill bit and moving parts. Always point the drill away from your body.
- Check the battery is charged before use
- Secure the drill bit tightly in the chuck
- Start drilling at a slow speed
- Keep the drill steady and straight
Avoiding Common Mistakes
Do not rush when drilling. Take your time to avoid slips and mistakes.
Do not use a drill with a damaged bit or loose parts. This can cause accidents or damage your furniture.
- Never force the drill if it gets stuck
- Keep the work area clean and free of obstacles
- Do not wear loose clothing or jewelry
- Turn off and remove the battery when changing bits

Credit: www.shutterstock.com
Maintaining Your Drill
Keeping your cordless drill in good shape helps it last longer. Regular care makes sure it works well for furniture assembly.
Simple maintenance tasks prevent damage and save you time and money. Learn how to clean, store, and care for the battery.
Cleaning And Storage
Clean your drill after use to remove dust and dirt. Wipe the drill with a dry cloth to keep it free from grime.
Store the drill in a cool, dry place. Avoid areas with high heat or moisture to protect its parts.
- Remove the battery before cleaning
- Use a soft brush for vents and crevices
- Keep drill bits clean and sharp
- Store in a case or toolbox
- Avoid leaving it in direct sunlight
Battery Care
Take good care of the battery to keep the drill running strong. Charge the battery fully before first use.
Do not let the battery fully drain before charging. Store batteries in a dry place at room temperature.
- Charge batteries regularly, even when not in use
- Avoid exposing batteries to extreme heat or cold
- Use the charger made for your battery type
- Remove the battery from the drill when storing long-term
Troubleshooting Common Issues
If your drill stops working, check simple problems first. Look for loose parts or a dead battery.
Listen for unusual noises or check if the drill bit spins freely. Fix small problems early to avoid damage.
- Ensure the battery is charged and properly connected
- Check the drill bit is tight and not worn out
- Clean vents to prevent overheating
- Reset the drill if it has a safety lock
- Refer to the user manual for specific error signs

Credit: www.shutterstock.com
Frequently Asked Questions
How Do I Start Using A Cordless Drill?
To start using a cordless drill, first charge the battery fully. Insert the charged battery into the drill. Choose the appropriate drill bit and securely fasten it in the chuck. Adjust the torque settings based on your task. Ensure you have a firm grip before pressing the trigger gently to begin drilling.
What Safety Measures Should I Follow?
Always wear safety goggles to protect your eyes from debris. Ensure the drill bit is securely attached. Keep your hands and fingers away from the rotating drill bit. Use the appropriate drill bit for the material you are working on.
Avoid wearing loose clothing or jewelry that might get caught.
How Do I Choose The Right Drill Bit?
Select a drill bit based on the material you are drilling. For wood, use a wood drill bit. For metal, choose a metal drill bit. Consider the size and type of screws or bolts you will be using. Ensure the drill bit is in good condition and sharp.
Can I Use A Cordless Drill For Screws?
Yes, cordless drills can be used for screws. First, select the correct screwdriver bit that matches the screw head. Adjust the torque setting to prevent over-tightening. Start at a low speed and gradually increase as needed. Ensure the screw is aligned properly before drilling.
Conclusion
Operating a cordless drill for furniture assembly is simple and useful. Always keep safety in mind and wear protective gear. Choose the right drill bit for the job to avoid damage. Start drilling slowly to control the process well. Regular practice helps you gain confidence and skill.
With patience, you can build strong furniture pieces easily. Enjoy the process and see your projects come to life.