Are you tired of digging through messy piles of tools every time you need something? Imagine having all your tools neatly organized and right within reach.
Creating a compact garage tool wall can transform your workspace, saving you time and frustration. In this guide, you’ll discover simple steps to build a tool wall that fits your space perfectly and keeps everything in order. Whether you have a small garage or just want to make your tools more accessible, this guide is made for you.
Keep reading to learn how to turn your cluttered garage into an efficient, easy-to-use tool hub.
Benefits Of A Tool Wall
A tool wall is a smart way to store your garage tools. It helps keep tools off the floor and easy to find. A well-made tool wall saves space and keeps your garage neat.
Using a tool wall means you can work faster because your tools are always ready. It also stops tools from getting lost or damaged.
Saving Floor Space
A tool wall uses vertical space on your garage wall. This leaves more floor space open for cars or projects. It helps keep the garage less crowded.
With tools on the wall, you avoid piles on benches or shelves. This makes the garage safer and easier to clean.
Easy Tool Access
Tools on a wall are easy to see and reach. You do not need to dig through boxes or drawers to find what you need.
This quick access saves time and effort during any project. You can grab and return tools quickly without interrupting work.
Improved Organization
A tool wall helps you keep tools in their right place. Each tool can have its own spot, so nothing gets lost or misplaced.
Organizing tools by type or size on the wall makes it simple to find what you want. It also helps you know when a tool is missing.
Choosing The Right Wall
Creating a compact garage tool wall starts with picking the right wall. The right wall helps keep tools organized and easy to reach.
Consider the space, material, and lighting before installing your tool wall. These factors affect how useful the wall will be.
Assessing Available Space
Check how much wall space you have in your garage. Measure the width and height to know the size of your tool wall.
Look for a wall that is free from doors, windows, or shelves. This keeps your tool wall neat and easy to use.
- Measure wall length and height
- Avoid walls with many obstacles
- Choose walls near your workbench if possible
Selecting Wall Material
Pick a wall with a strong material that can hold hooks and shelves. Drywall may need extra support like plywood backing.
Concrete or brick walls are very strong but may need special tools for mounting. Wood walls are easy to work with and hold screws well.
- Wood walls support screws easily
- Drywall needs backing for heavy tools
- Concrete walls require anchors and drills
Considering Lighting And Accessibility
Choose a wall that has good lighting or can be lit easily. Bright light helps you find tools fast and work safely.
Make sure the wall is easy to reach from your main workspace. Avoid walls blocked by cars or storage items.
- Pick walls with natural or overhead light
- Add task lighting if the area is dim
- Keep the wall clear from obstacles
- Place tools within arm’s reach
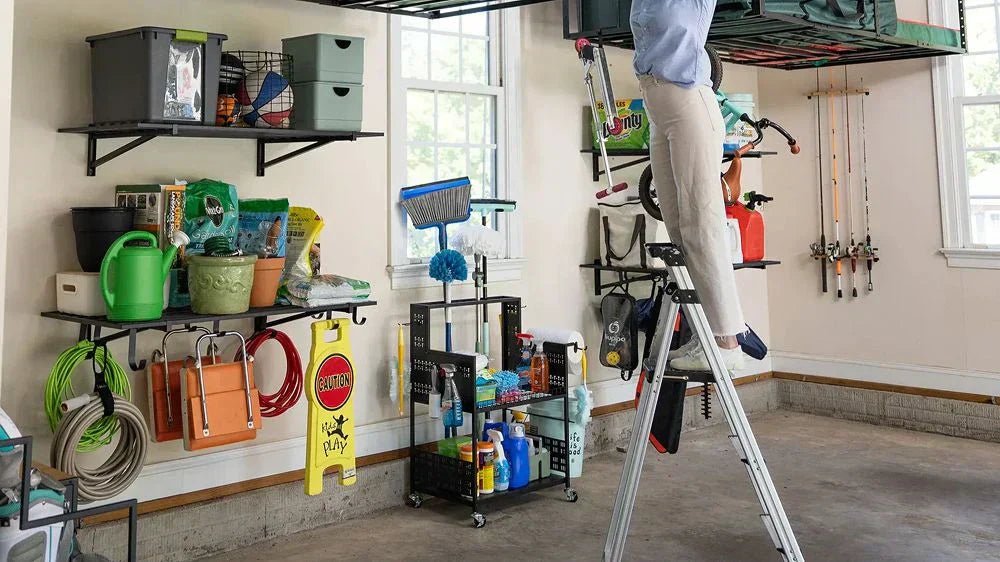
Essential Tools And Materials
Creating a compact garage tool wall needs the right tools and materials. This helps keep your space tidy and tools easy to find.
Plan what tools you use most. Choose materials that hold weight and last long.
Types Of Hooks And Holders
Hooks and holders come in many shapes and sizes. Use the right type to fit your tools and save space.
Common types include straight hooks, J-hooks, and clamps. Each holds different tools securely.
- Straight hooks:Hold hammers, screwdrivers, or wrenches.
- J-hooks:Good for cords, hoses, or larger tools.
- Clamps:Secure power tools or bulky items.
- Bins and baskets:Store small parts and accessories.
Pegboards Vs Slatwalls
Pegboards and slatwalls are popular choices for garage walls. Both organize tools but work differently.
Pegboards have holes for hooks. They are easy to install and customize. Slatwalls have horizontal grooves. They hold special hooks and shelves.
| Feature | Pegboards | Slatwalls |
|---|---|---|
| Material | Usually wood or metal with holes | Panels with horizontal slots |
| Installation | Simple and quick | Requires panel mounting |
| Customization | Flexible hook placement | Supports hooks and shelves |
| Weight Support | Good for light to medium tools | Better for heavy tools |
Additional Storage Accessories
Extra accessories help keep your tool wall neat. Use containers, shelves, and magnetic strips for more storage.
- Magnetic strips:Hold metal tools like screwdrivers and pliers.
- Small bins:Store nails, screws, and small parts.
- Shelves:Keep paint cans or toolboxes off the floor.
- Tool racks:Organize long items like shovels or brooms.
:max_bytes(150000):strip_icc()/39221-793fb3eadac3427b8317b8ff0c0698ff.jpg)
Credit: www.woodmagazine.com
Designing Your Layout
Creating a tool wall in your garage saves space and keeps tools easy to find. A good layout helps you work faster and stay organized.
Plan your wall carefully. Think about how you use your tools and the space you have.
Grouping Tools By Function
Group tools that do similar jobs together. This makes it easier to find what you need quickly.
For example, keep all your screwdrivers in one area and your wrenches in another.
- Hand tools like hammers and pliers
- Power tools such as drills and sanders
- Measuring tools like tape measures and levels
- Fasteners and small parts in containers
Maximizing Vertical Space
Use the full height of your garage wall. Hang tools on pegboards or hooks to save floor space.
Stack shelves above your tool wall for boxes or less-used items.
- Install pegboards for flexible tool placement
- Add hooks for hanging larger tools
- Use magnetic strips for metal tools
- Place shelves or cabinets above for extra storage
Planning For Future Expansion
Leave some space empty. You may get new tools or need more storage later.
Choose adjustable systems like slat walls or modular panels. These let you change your layout easily.
- Keep extra hooks or mounts handy
- Use adjustable shelves and panels
- Design with empty spots for new tools
- Think about adding electrical outlets for power tools
Installation Tips
Creating a compact garage tool wall saves space and keeps tools organized. Proper installation ensures it holds weight and lasts long.
This guide covers key tips for wall preparation, mounting techniques, and safety to help you build a sturdy tool wall.
Wall Preparation
Start with a clean, dry wall surface. Remove dirt, dust, and grease to help anchors stick better. Check the wall for damage or weak spots before installation.
- Clear the wall area of any items or debris
- Inspect for holes, cracks, or moisture issues
- Use a stud finder to locate wall studs
- Mark stud locations with a pencil
- Decide on the layout and measure carefully
Mounting Techniques
Choosing the right mounting method is key to support tool weight. Use heavy-duty anchors or screws that fit your wall type and tool load.
| Wall Type | Recommended Anchor | Notes |
|---|---|---|
| Drywall with Studs | Wood Screws | Fasten directly into studs for strong hold |
| Drywall without Studs | Toggle Bolts | Use toggle bolts for hollow wall support |
| Concrete or Brick | Masonry Anchors | Drill pilot holes with masonry bit first |
Use a level to keep your tool wall straight. Pre-drill holes if needed to avoid cracking. Tighten screws firmly but avoid over-tightening.
Safety Considerations
Safety is important during installation and use. Wear protective gear and ensure the wall can hold your tools without risk.
- Wear safety goggles and gloves while drilling
- Check for electrical wires or plumbing behind the wall
- Do not overload the tool wall beyond weight limits
- Securely fasten all mounts and hooks
- Keep the area clear of hazards during installation

Credit: storeyourboard.com
Maintaining Your Tool Wall
Keeping your garage tool wall in good shape helps you find tools fast. It also makes your workspace safer and tidier.
Regular care of your tool wall keeps it useful for a long time. Small habits can stop damage and clutter.
Regular Cleaning
Dust and dirt can build up on your tool wall. Clean it often to keep tools visible and easy to reach. Use a soft cloth or brush to remove dirt.
- Wipe down shelves and hooks weekly
- Use mild soap for stubborn grime
- Dry the wall to avoid rust or damage
- Check for cobwebs or insect nests
Updating Tool Arrangement
As your tool collection changes, adjust your tool wall. Keep tools you use most in easy reach. Move less-used items to higher or lower spots.
| Tool Type | Suggested Spot |
| Hand tools | Eye level hooks |
| Power tools | Sturdy shelves |
| Small parts | Clear bins or drawers |
| Rarely used | Top shelves |
Preventing Wear And Damage
Protect your tool wall from wear to keep it strong. Avoid hanging tools that are too heavy. Use proper hooks and holders. Fix loose parts right away.
- Check hooks weekly for looseness
- Do not overload shelves or hooks
- Use rust-resistant coatings or sprays
- Store sharp tools safely to prevent injury
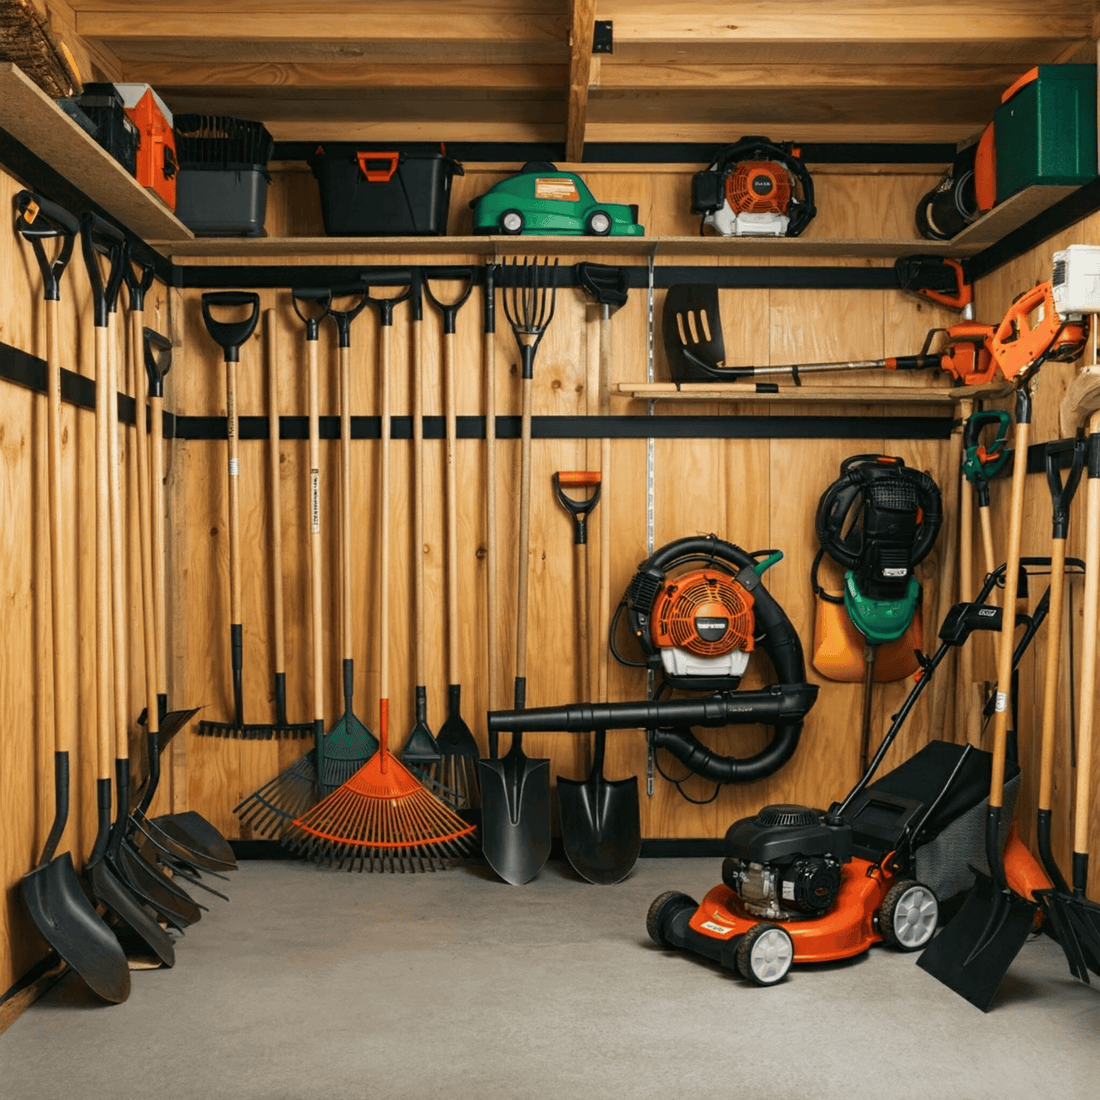
Creative Space-saving Ideas
Creating a compact garage tool wall helps keep your space neat. It also makes tools easy to find and use.
Use smart ideas to save space and add storage. This guide shows three creative ways to organize your tools.
Using Magnetic Strips
Magnetic strips hold metal tools on the wall. They free up drawer and shelf space. You can place them at any height for easy reach.
- Attach strips near your workbench for quick access.
- Use different strip lengths for small and large tools.
- Group similar tools together to stay organized.
- Keep magnets strong to hold heavy tools safely.
Incorporating Foldable Workstations
Foldable workstations save space by folding flat against the wall. You get a work surface when needed and open space when not.
| Type | Feature | Best Use |
| Wall-Mounted Fold-Down | Folds flat | Small garages |
| Drop-Leaf Table | Side leaves fold | Extra workspace |
| Foldable Bench | Bench and storage | Multi-use areas |
Adding Multi-use Storage Solutions
Multi-use storage holds tools and other items. These solutions save space by combining functions in one unit.
Examples of Multi-Use Storage
- Tool cabinets with fold-out trays for parts and tools
- Storage benches that open for tool storage and seating
- Pegboards with hooks and small bins for hardware
- Rolling carts with adjustable shelves and drawers
Credit: trimyxs.com
Frequently Asked Questions
How Do I Start Creating A Garage Tool Wall?
Begin by assessing your tool collection and available wall space. Measure the wall, then sketch a layout. Choose durable materials like pegboards or slatwalls. Install hooks, shelves, or magnetic strips for efficient organization. Ensure accessibility by placing frequently used tools within easy reach.
Regularly update your setup as your tool collection grows.
What Tools Are Essential For A Compact Tool Wall?
A compact tool wall should include a hammer, screwdrivers, pliers, and a wrench set. Incorporate a power drill and a level for versatile projects. Add a tape measure and utility knife for precision. Customize your tool wall based on personal needs and frequently used tools for maximum efficiency.
How Can I Maximize Space On A Tool Wall?
Use vertical space by installing pegboards or slatwalls. Utilize adjustable hooks and magnetic strips for flexibility. Group similar tools together for easy access. Incorporate shelves for larger items. Regularly declutter and reorganize to maintain efficiency. This approach ensures you optimize space while keeping tools accessible and organized.
What Materials Are Best For A Tool Wall?
Choose durable materials like metal pegboards or wooden slatwalls for longevity. Metal pegboards are sturdy and offer flexibility with hooks. Wooden slatwalls provide a classic look and accommodate various tool holders. Both options allow for customization and efficient tool organization.
Select materials based on your garage’s aesthetic and functional needs.
Conclusion
Creating a compact garage tool wall saves space and keeps tools handy. You can arrange your tools by size and use. This setup helps you find what you need fast. It also makes your garage look neat and tidy. Start with a plan, then add hooks and shelves.
Keep only the tools you use often. This simple wall can make your work easier every day. Try building one and enjoy a more organized garage space.