Are your sanding discs getting damaged or losing their grip too quickly? How you store them can make a huge difference in their lifespan and performance.
If you want to keep your sanding discs in perfect shape and ready for your next project, this guide is exactly what you need. You’ll discover simple, effective ways to store your sanding discs in boxes that save space, protect them from damage, and help you find the right disc when you need it.
Keep reading to learn easy tips that will make your sanding tasks smoother and more efficient every time.
Choosing The Right Storage Boxes
Storing sanding discs properly helps keep them safe and ready to use. Picking the right storage boxes is key to protecting your discs from damage.
Good storage boxes make it easy to organize discs and save space in your workshop.
Materials And Durability
Storage boxes come in different materials like plastic, metal, and wood. Each type has its own strength and weaknesses.
Plastic boxes are light and resist moisture. Metal boxes are very strong but can rust. Wooden boxes look nice but may absorb moisture.
- Plastic: lightweight, moisture resistant
- Metal: strong, can rust over time
- Wood: sturdy, may absorb moisture
Size And Compartments
Choose boxes that fit the size of your sanding discs well. Boxes with compartments help keep different disc sizes separate and easy to find.
Compartmentalized boxes protect discs from rubbing and damage. They also make it easy to organize by grit or type.
- Match box size to disc size
- Use compartments to separate discs
- Organize by grit or disc type
Stackable And Portable Options
Stackable boxes save space by fitting neatly on top of each other. Portable boxes are easy to carry to different job sites.
Look for boxes with secure latches and handles. This keeps discs safe and makes moving them simpler.
- Stack boxes to save space
- Choose boxes with handles for easy carrying
- Secure latches keep discs safe
Preparing Sanding Discs For Storage
Storing sanding discs properly keeps them in good condition. It also makes them easy to find later.
Getting sanding discs ready for storage takes a few simple steps. These steps help keep discs clean and organized.
Cleaning And Drying
Before storing, clean sanding discs gently to remove dust and debris. Dirt can reduce their effectiveness.
Dry the discs completely to stop rust or damage. Store only dry discs to keep them safe.
- Use a soft brush or cloth to clean discs
- Blow off dust with compressed air if available
- Let discs air dry on a clean surface
- Avoid storing wet or damp discs
Sorting By Grit And Size
Sorting sanding discs by grit and size saves time when you need them. It also protects discs from damage.
Keep discs with the same grit and size in groups. This helps you find the right disc quickly.
- Group discs by grit: coarse, medium, fine
- Separate discs by diameter or shape
- Use trays or dividers to keep groups apart
- Store frequently used grits in easy reach
Labeling For Easy Access
Label boxes or containers clearly with grit and size details. This reduces search time and confusion.
Use simple, readable labels. Keep labels consistent for all your sanding disc storage.
- Write grit number on each box or folder
- Include disc size on labels
- Use waterproof labels to avoid fading
- Place labels where they are easy to see
Arranging Discs In Boxes
Storing sanding discs properly keeps them safe and ready to use. Arranging discs in boxes helps save space and prevent damage. Good storage also makes it easy to find the right disc quickly.
Using the right methods to organize sanding discs extends their life. This guide covers three key ways to arrange discs in boxes for best results.
Using Dividers And Inserts
Dividers and inserts separate sanding discs inside the box. They stop discs from rubbing against each other. This reduces scratches and keeps discs flat.
- Use cardboard or plastic dividers sized to the disc diameter.
- Place dividers vertically or horizontally depending on box shape.
- Label each section for quick disc type identification.
- Insert soft padding between discs for extra protection.
Stacking Techniques
Stack discs carefully to avoid warping or breaking. Use flat surfaces and avoid too much weight on top. Keep similar discs together to maintain order.
| Stacking Method | Benefit |
| Flat stacking with no overlap | Prevents bending and damage |
| Alternate disc types by thickness | Balances pressure evenly |
| Limit stack height to 10 discs | Reduces weight on bottom discs |
Preventing Disc Damage
Protect discs from dust, moisture, and heat. Use sealed boxes and store in cool, dry places. Handle discs with clean hands to avoid dirt buildup.
- Keep boxes closed when not in use.
- Use silica gel packs to absorb moisture.
- Do not stack heavy tools on top of disc boxes.
- Check discs regularly for signs of wear or damage.

Credit: www.amazon.com
Maximizing Space Efficiency
Storing sanding discs properly saves space and keeps your workshop tidy. Good storage helps you find discs quickly and protects them from damage.
This guide compares different storage methods to help you use your space well.
Vertical Vs Horizontal Storage
Vertical storage means placing sanding discs upright like books. Horizontal storage means stacking them flat. Each method has space benefits and drawbacks.
- Vertical Storage: Saves floor space and makes discs easy to flip through.
- Horizontal Storage: Allows stacking many discs but can waste space if stacked too high.
- Disc Protection: Vertical storage reduces pressure on discs, avoiding warping.
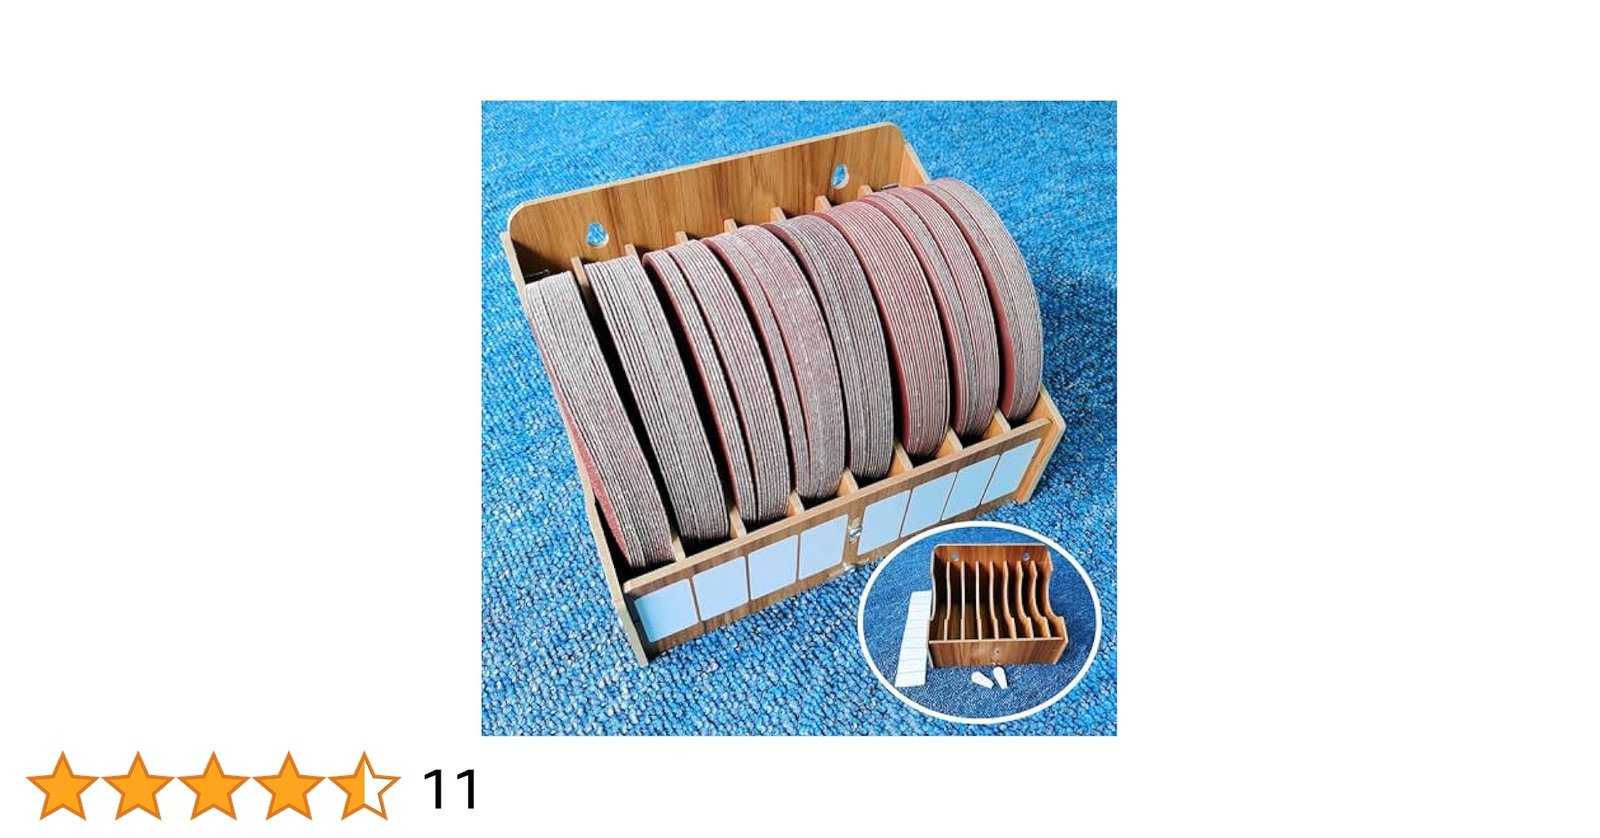
Utilizing Wall-mounted Boxes
Wall-mounted boxes free up floor and bench space. They keep sanding discs visible and reachable. These boxes can be made from wood or plastic.
| Benefit | Description |
| Space Saving | Uses vertical wall space instead of floor area |
| Easy Access | Discs are visible and simple to grab |
| Organized Storage | Separate compartments keep different grits sorted |
| Damage Prevention | Boxes protect discs from dust and bending |
Combining Storage With Workbench
Combining storage with your workbench saves time and space. You can attach small boxes or racks to the side or under the bench. This keeps sanding discs close to your work area.
- Attach shallow boxes under the bench for easy reach
- Use racks on the bench side to store discs vertically
- Label storage compartments to find discs fast
- Keep frequently used grits within arm’s reach
Maintaining Sanding Disc Quality
Storing sanding discs properly helps keep their quality for a long time. Good storage stops damage and loss of effectiveness.
Using boxes to store sanding discs protects them from harm. Follow simple tips to keep your discs ready for use.
Avoiding Moisture And Dust
Moisture can damage sanding discs by making them weak or sticky. Dust can clog the discs and reduce their sanding power.
Store sanding discs in dry boxes to keep moisture out. Keep boxes closed to stop dust from entering.
- Use airtight boxes or containers
- Keep boxes in a dry place
- Avoid storing discs near liquids or humid areas
- Clean the storage area regularly
Regular Inspection And Rotation
Check your sanding discs often to find damage or wear early. This helps you avoid using bad discs that may ruin your work.
Rotate the discs inside the box to prevent pressure marks. This also keeps the discs flat and ready to use.
- Look for cracks, tears, or warping
- Remove any damaged discs immediately
- Move discs gently to avoid bending
- Use a rotation schedule to keep discs even
Replacing Worn Discs
Worn sanding discs do not work well and can damage surfaces. Replace discs when they lose grit or get torn.
Keep track of how long each disc is used. Throw away discs that are no longer effective to keep your work quality high.
- Check grit level before each use
- Discard discs with visible damage
- Keep spare discs ready in storage boxes
- Do not try to fix worn discs

Credit: www.reddit.com
Creative Storage Ideas
Storing sanding discs neatly keeps your workspace tidy. It also protects discs from damage. Using creative storage ideas saves space and improves access.
Here are useful ways to store sanding discs using things you already have or simple tools.
Repurposing Household Items
You can use common household items to organize sanding discs. This method is cheap and eco-friendly. Many items fit discs by size and shape.
- Use old CD or DVD cases to hold discs flat and separate.
- Store discs in plastic jars or containers with lids.
- Recycle kitchen drawer organizers to separate different grit sizes.
- Use empty photo albums with plastic sleeves to slip in discs.
Diy Storage Solutions
Making your own storage helps match your workshop’s size and style. You can build boxes or racks that fit your discs perfectly.
| DIY Idea | Materials Needed | Benefits |
| Wooden box with dividers | Wood, nails, paint | Strong, customizable size |
| Stackable cardboard trays | Cardboard, glue, scissors | Lightweight and cheap |
| Clear plastic drawer organizer | Plastic containers | Easy to see and access discs |
| Hanging pouch organizer | Fabric, hooks | Saves bench space |
Using Magnetic Or Pegboard Systems
Magnetic strips and pegboards are excellent for quick disc access. They keep discs visible and off surfaces.
Try these ideas:
- Attach magnetic strips to a wall or side of a workbench. Use metal-backed discs or add small metal pieces to discs.
- Mount a pegboard and hang small baskets or hooks to hold discs.
- Use pegboard clips or rings to keep discs in place.

Credit: www.reddit.com
Frequently Asked Questions
How To Properly Store Sanding Discs In Boxes?
To properly store sanding discs, keep them flat in a dry, cool place. Use sturdy boxes to avoid bending. Label each box with grit size for easy access. Ensure the discs are free from moisture and dust to maintain their effectiveness.
Why Use Boxes For Sanding Discs Storage?
Using boxes for sanding discs storage prevents damage and contamination. Boxes keep discs organized and easy to access. They protect against moisture and dust, extending the discs’ lifespan. Proper storage ensures your sanding discs remain in optimal condition, ready for use.
What Are The Best Conditions For Storing Sanding Discs?
Store sanding discs in a cool, dry environment away from direct sunlight. Avoid humid areas to prevent moisture absorption. Keep them flat to maintain their shape and effectiveness. Proper conditions help in preserving the quality and longevity of your sanding discs.
Can Humidity Affect Sanding Discs’ Performance?
Yes, humidity can negatively impact sanding discs. Moisture can cause discs to warp or degrade, reducing their effectiveness. Always store them in a dry environment to maintain optimal performance. Protecting discs from humidity ensures they remain efficient and long-lasting.
Conclusion
Storing sanding discs properly keeps them clean and ready to use. Use sturdy boxes that protect discs from dust and moisture. Keep discs flat to avoid bending or damage. Label boxes clearly to find the right disc fast. Regular checks help spot worn or damaged discs early.
Good storage saves money by extending disc life. Simple steps make your sanding work easier and smoother. Follow these tips to keep your discs in top shape.