If you want your wood projects to look smooth and professional, mastering the belt sander is a game-changer. But using this powerful tool can feel tricky if you’re not sure where to start.
In this guide, you’ll discover simple, step-by-step tips to level wood quickly and safely. By the end, you’ll have the confidence to tackle any sanding job and achieve perfect results every time. Keep reading—your woodwork deserves that flawless finish.
Choosing The Right Belt Sander
Using a belt sander helps level wood quickly and smoothly. Picking the right one makes your work easier and safer.
This guide explains how to choose the best belt sander for your wood projects.
Types Of Belt Sanders
There are different types of belt sanders for various jobs. Each type suits a specific task and skill level.
- Handheld Belt Sanders:Portable and easy to use on small to medium projects.
- Stationary Belt Sanders:Fixed on a bench, good for detailed or heavy sanding work.
- Edge Belt Sanders:Designed for sanding edges and corners precisely.
Selecting The Appropriate Grit
The grit of the sanding belt affects how smooth or rough your wood will be. Choose grit based on the wood condition.
- Coarse Grit (40-60):Removes old finish or rough wood fast.
- Medium Grit (80-120):Good for general sanding and leveling.
- Fine Grit (150-220):Used for finishing and smoothing surfaces.
Safety Features To Consider
Safety features protect you while using a belt sander. Look for tools with built-in safety measures.
- Dust Collection:Reduces dust for cleaner air and better visibility.
- Safety Switch:Prevents accidental starts of the sander.
- Ergonomic Handles:Provide a firm grip and reduce hand fatigue.
- Adjustable Speed:Allows control over sanding power for different tasks.
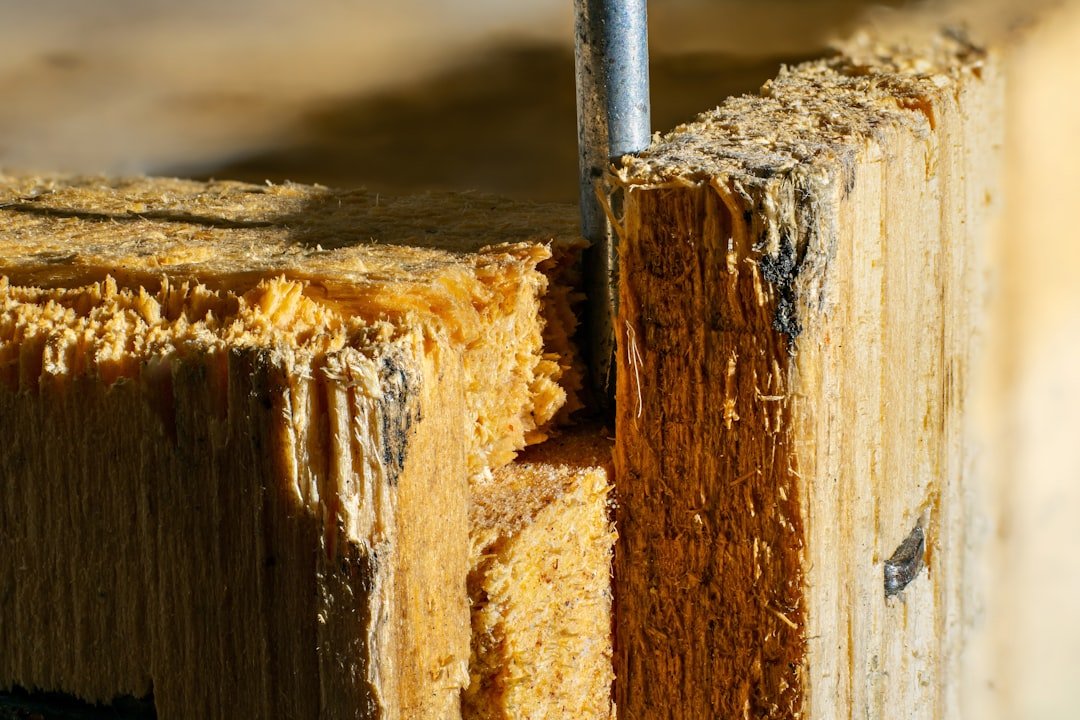
Preparing The Wood Surface
Preparing the wood surface is an important step before using a belt sander. A clean and stable surface helps you get an even finish.
This guide covers how to clean, mark, and secure your wood for the best sanding results.
Cleaning And Inspecting The Wood
Start by removing dust, dirt, and old finishes from the wood. Use a brush or cloth to clean the surface well. Check for nails, screws, or any metal pieces that could damage the belt sander.
- Clear away dust and debris
- Look for embedded nails or staples
- Check for cracks or deep scratches
- Remove stickers or glue spots
Marking High Spots And Imperfections
Marking high spots helps you see where to focus sanding. Use a pencil or chalk to highlight raised areas and dents. This way, you can sand evenly and avoid removing too much wood.
| Mark Type | Purpose |
| Circle | High spots to sand down |
| Cross | Deep dents or holes |
| Line | Edges that need smoothing |
Securing The Wood For Stability
Keep the wood stable while sanding to avoid accidents and get smooth results. Clamp the wood to a workbench or use a non-slip mat under it. Make sure it does not move during sanding.
- Use clamps to hold the wood firmly
- Place a rubber mat under the wood
- Check that the wood is level and steady
- Wear safety gear like goggles and gloves
Setting Up The Belt Sander
Setting up your belt sander correctly helps you level wood smoothly. It makes sanding easier and safer.
In this guide, learn about adjusting belt tension and tracking, choosing the right speed, and attaching dust collection.
Adjusting Belt Tension And Tracking
Correct belt tension keeps the sanding belt tight and prevents it from slipping. Tracking controls how the belt stays centered on the rollers.
- Check the tension by pressing the belt in the middle; it should have slight give but not be loose.
- Use the tracking knob to move the belt left or right until it runs straight.
- Run the sander briefly to see if the belt stays aligned.
- Adjust tension or tracking again if the belt slips or moves off the rollers.
Choosing The Correct Speed Setting
Selecting the right speed helps you control how much wood you remove. Lower speeds suit delicate or thin wood. Higher speeds work for rough, thick surfaces.
| Speed Setting | Best For | Effect |
| Low | Soft or thin wood | Gentle sanding without damage |
| Medium | General sanding | Balanced removal and finish |
| High | Hard or thick wood | Fast material removal |
Attaching Dust Collection Systems
Dust collection keeps your workspace clean and protects your lungs. Most belt sanders have a port for a vacuum or dust bag.
- Connect a vacuum hose tightly to the dust port.
- Use a dust bag if a vacuum is not available.
- Empty dust bags often to maintain suction.
- Wear a mask for extra protection.

Credit: www.homebuilding.co.uk
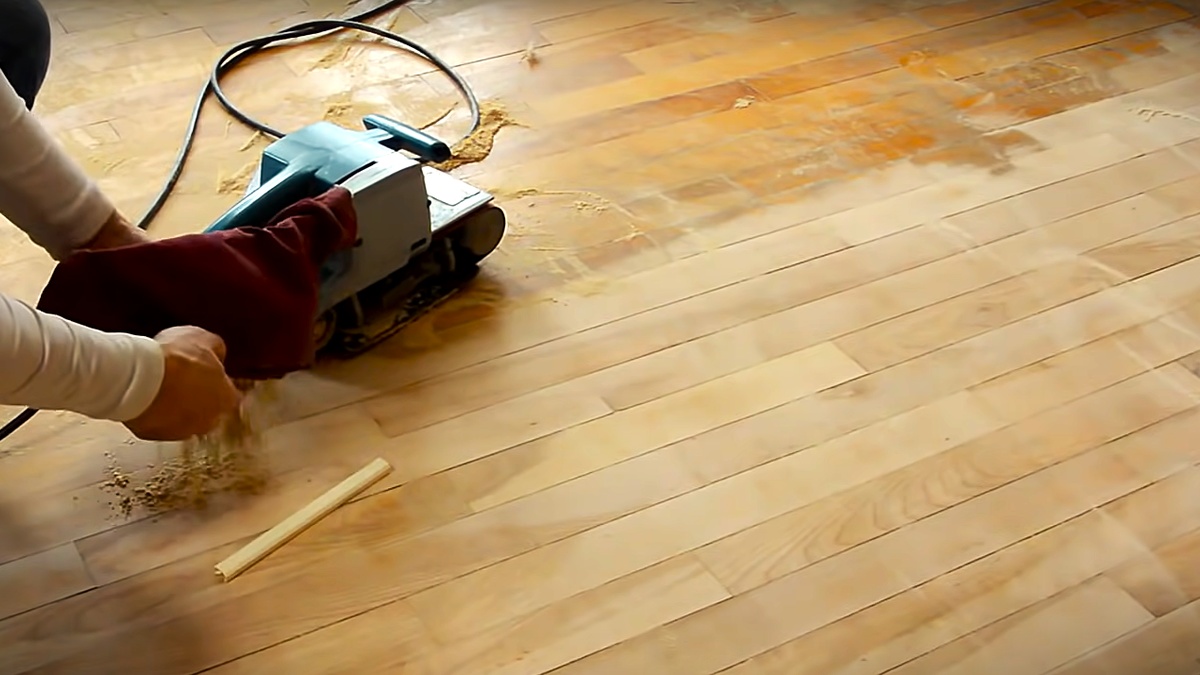
Techniques For Leveling Wood
Using a belt sander is a fast way to level wood surfaces. It removes high spots and smooths out uneven areas.
To get good results, you need to use the right techniques. This guide explains key ways to work safely and effectively.
Maintaining Proper Pressure And Movement
Apply even pressure on the belt sander. Pressing too hard can damage the wood or the tool.
Move the sander smoothly across the wood. Keep it moving to avoid creating dips or marks.
- Hold the sander flat against the wood
- Use light, steady pressure
- Keep the sander moving at a consistent speed
- Overlap each pass slightly for even sanding
Sanding With The Grain
Always sand in the direction of the wood grain. Sanding across the grain can cause scratches.
Following the grain helps you get a smoother finish and better control of the sander.
- Identify the wood grain direction before sanding
- Move the sander along the grain lines
- Check the surface often for scratches or marks
Avoiding Common Mistakes
Do not stay too long in one spot. It can create uneven surfaces or burn the wood.
Check the sandpaper regularly. Worn sandpaper reduces sanding quality and can damage the wood.
- Keep the sander moving to avoid gouges
- Replace sandpaper when it looks clogged or worn
- Wear safety gear to protect eyes and lungs
- Test on scrap wood before sanding the final piece
Finishing Touches After Sanding
After using a belt sander to level wood, the finishing touches help achieve a smooth surface. These steps improve the look and feel of your wood project.
Pay close attention to detail during these final steps. Proper care ensures the wood is ready for staining or painting.
Checking For Evenness
Check the wood surface carefully for any uneven areas or scratches left by the sander. Use your hand to feel for bumps or dips.
Good lighting helps spot uneven spots and rough patches. Fix these by sanding lightly over the problem areas with the sander or sandpaper.
Switching To Finer Grits
After the initial sanding, switch to finer grit sandpaper to smooth the surface more gently. This step removes scratches from coarse grit.
- Start with 120-grit sandpaper for medium smoothing
- Move to 180-grit for finer smoothing
- Finish with 220-grit or higher for a very smooth surface
Use even strokes and avoid pressing too hard. Let the sandpaper do the work to prevent uneven sanding.
Cleaning And Maintaining The Sander
Clean the belt sander after use to keep it working well. Dust and debris can clog the machine and reduce its efficiency.
| Maintenance Task | Frequency |
| Remove dust from belt and housing | After each use |
| Check belt for wear and replace if needed | Monthly or as needed |
| Lubricate moving parts | Every 3 months |
| Inspect power cord for damage | Before each use |
Credit: www.ecohome.net
Troubleshooting Common Issues
Using a belt sander can speed up woodworking tasks. Sometimes, problems happen that affect results.
Knowing how to fix common issues helps keep your work smooth and safe.
Dealing With Gouges And Uneven Surfaces
Gouges and uneven areas appear if the sander moves too long in one spot. Pressing too hard also causes this.
Keep the sander moving evenly and use light pressure. Check the belt for wear that can cause rough sanding.
- Move the sander in steady, overlapping strokes
- Use fine-grit belts for smoothing after rough sanding
- Replace belts that are torn or clogged
Fixing Belt Tracking Problems
Belt tracking means the belt stays centered on the rollers. If it slips off, the belt can get damaged.
Adjust the tracking knob slowly while the sander runs. Watch the belt and stop when it stays in place.
- Turn off the sander before changing belts
- Check rollers for dirt or damage
- Keep belts clean and properly tensioned
Handling Overheating And Belt Wear
Overheating can burn the wood or damage the sander. It often happens with too much pressure or dull belts.
Use light pressure and change belts before they wear out. Allow the sander to cool down if it gets hot.
- Keep belts sharp and clean
- Do not push hard on the sander
- Turn off the sander if it smells like burning
- Use in short sessions to avoid heat build-up

Credit: www.familyhandyman.com
Frequently Asked Questions
How Do You Use A Belt Sander Safely?
To use a belt sander safely, wear protective eyewear and a dust mask. Secure your wood piece firmly. Ensure the sander is unplugged while changing belts. Keep the sander flat on the wood and start with a low grit belt.
Maintain consistent pressure to avoid gouging.
What Grit Sandpaper Is Best For Leveling Wood?
For leveling wood with a belt sander, start with 60 to 80 grit sandpaper. This grit effectively removes material and smooths uneven surfaces. As you progress, switch to a finer grit, like 120 or 150, for a smoother finish. Always finish with a finer grit for best results.
Can A Belt Sander Be Used On Hardwood?
Yes, a belt sander is effective on hardwood. It quickly levels and smooths the surface. Start with a coarse grit to remove unevenness. Progress to finer grits for a smooth finish. Keep the sander moving to avoid overheating or damaging the wood.
Always follow the wood grain.
How Do You Prevent Sander Marks?
To prevent sander marks, maintain consistent movement and pressure. Start with a coarse grit and finish with a fine one. Sand with the wood grain direction. Regularly check the sandpaper for wear and replace when needed. Proper technique and equipment maintenance ensure a smooth finish.
Conclusion
Using a belt sander can make wood leveling faster and easier. Always keep the sander moving to avoid uneven spots. Choose the right sandpaper grit for your project. Safety matters: wear goggles and work in a clean space. Practice on scrap wood before sanding your main piece.
With care and patience, your wood will become smooth and even. This tool helps create great results in woodworking. Try these tips to improve your sanding skills today.