
If you want your sanding machines to work smoothly and last longer, you need to take good care of them. Neglecting maintenance can lead to costly repairs and downtime, which nobody wants.
But don’t worry—keeping your sanding machines in top shape is easier than you think. You’ll discover simple, effective tips that save you time and money. Ready to make your sanding machines run like new? Let’s dive in and help you get the most out of your equipment.
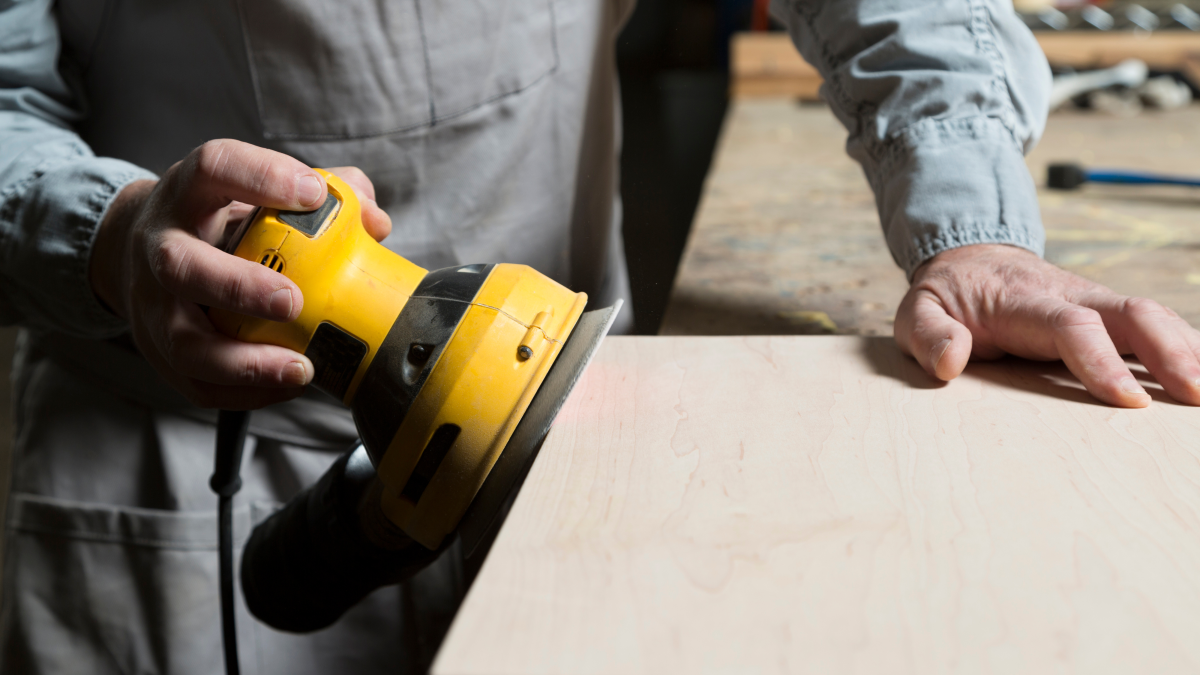
Credit: dengarden.com
Choosing The Right Sanding Machine
Selecting the right sanding machine is important for good work results. Different sanding tasks need different machines.
Understanding types and project needs helps you pick the best machine for your work.
Types Of Sanding Machines
Sanding machines come in many forms. Each type works best for certain surfaces and jobs.
- Belt Sanders:Best for large, flat surfaces and removing a lot of material.
- Orbital Sanders:Good for fine finishing and small to medium surfaces.
- Detail Sanders:Designed for tight spaces and small corners.
- Disc Sanders:Used for shaping and smoothing edges.
Selecting Based On Project Needs
Choose a sanding machine that matches your project size and detail level. Consider the surface material and space.
| Project Type | Recommended Machine | Reason |
| Large flat surfaces | Belt Sander | Quick material removal |
| Fine finishing | Orbital Sander | Smooth and even finish |
| Tight corners | Detail Sander | Access to small areas |
| Edge shaping | Disc Sander | Precise edge work |
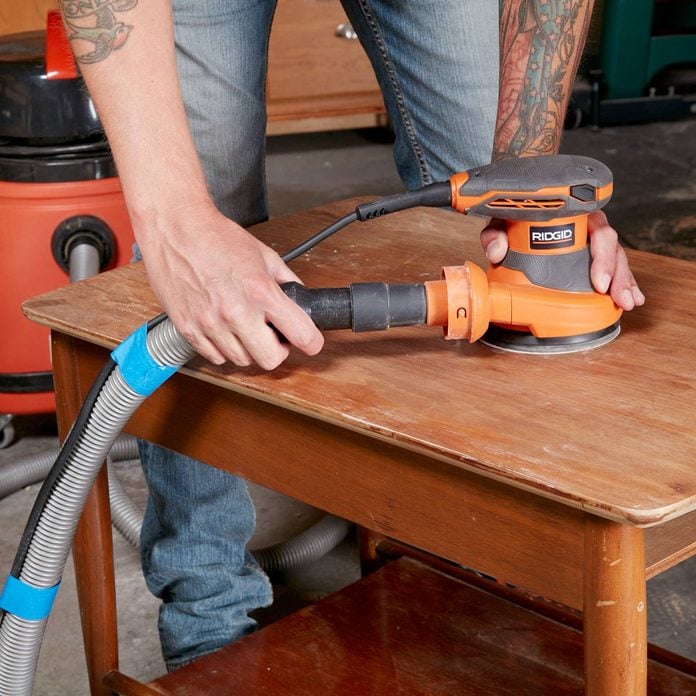
Credit: www.familyhandyman.com
Routine Cleaning Practices
Keeping sanding machines clean helps them work well for a long time. Dirt and dust can cause problems if not removed regularly.
Routine cleaning stops build-up that can damage parts. It also keeps the machine safe to use every day.
Removing Dust And Debris
Dust and debris gather on sanding machines during work. Removing them prevents clogging and wear.
Use a soft brush or a vacuum cleaner to clear dust from all surfaces. Clean after each use to avoid build-up.
- Turn off and unplug the machine before cleaning
- Brush or vacuum dust from belts, rollers, and tables
- Wipe outer surfaces with a dry cloth
- Check for stuck debris around moving parts
Cleaning Filters And Vents
Filters and vents keep air flowing and stop dust inside the machine. They need regular cleaning to work well.
Remove filters and clean them gently with compressed air or wash if possible. Clear vents of any blockages.
- Turn off and unplug the machine before cleaning filters
- Take out filters carefully to avoid damage
- Blow compressed air through filters to remove dust
- Wash filters with water if the manual allows it, then dry completely
- Use a brush or cloth to clear vents of dust and lint
- Reinstall filters and check vents for proper airflow
Lubrication And Moving Parts
Keeping sanding machines in good shape needs regular care. Lubrication helps parts move smoothly and last longer.
Moving parts need the right oil or grease to reduce friction. This stops wear and keeps the machine running well.
Identifying Key Components
Look for parts that move or spin in the sanding machine. These parts need regular lubrication to work well.
- Bearings that support spinning drums or rollers
- Gears that transfer motion between parts
- Chains or belts that drive moving sections
- Sliding parts that adjust machine settings
Check these areas often. Clean dirt and old grease before adding new lubricant.
Best Lubricants To Use
Use lubricants that fit the machine’s parts. Oils work well for light parts. Grease is better for heavy loads.
- Light machine oil for bearings and small gears
- High-quality grease for heavy-duty bearings and joints
- Dry lubricants for dusty environments to avoid dirt buildup
- Silicone spray for plastic or rubber parts
Always follow the machine’s manual for the right lubricant. Too much or wrong lubricant can cause damage.

Credit: www.familyhandyman.com
Inspecting Belts And Pads
Maintaining sanding machines keeps them working well. Checking belts and pads helps avoid damage.
Regular inspection of these parts saves money and time on repairs. It also improves safety during use.
Checking For Wear And Tear
Look closely at belts and pads for cracks, tears, or thinning. These signs show they need attention.
Also check if the belt is loose or the pad is uneven. Both can reduce sanding quality and harm the machine.
- Check for cracks or splits on belts
- Look for worn or torn areas on pads
- Feel for belt tension and pad smoothness
- Listen for unusual noises during operation
Replacing Worn Parts
Change belts and pads if they show heavy wear. Using damaged parts can cause machine failure.
Follow the machine manual to remove old parts carefully. Install new parts firmly to ensure proper function.
- Turn off and unplug the machine
- Remove worn belts or pads gently
- Fit new belts or pads as per instructions
- Test the machine before full use
Electrical Safety Checks
Maintaining sanding machines includes regular electrical safety checks. These checks protect users from electric shocks and machine damage.
Focus on key parts like power cords, switches, and controls. Proper inspection helps find problems early.
Inspecting Power Cords
Check power cords for cuts, cracks, or worn areas. Damaged cords can cause electric shocks or fire.
- Look for exposed wires or broken insulation
- Ensure plugs are secure and pins are not bent
- Check that cords are not twisted or pinched
- Replace cords that show any damage
- Keep cords dry and away from heat sources
Testing Switches And Controls
Switches and controls must work smoothly. Faulty switches can cause the machine to start unexpectedly.
| Test | What to Check | Action if Faulty |
| On/Off Switch | Switch moves easily and clicks | Repair or replace immediately |
| Speed Controls | Speed changes without delay or noise | Service the control or replace |
| Emergency Stop | Stops machine instantly when pressed | Test regularly and fix if slow |
Proper Storage Techniques
Storing sanding machines correctly helps them last longer. It keeps the tools safe and ready to use.
Good storage also stops damage from dust, dirt, and wear. Follow simple steps to protect your machines.
Avoiding Moisture Damage
Moisture can cause sanding machines to rust or break. Keep them dry to avoid these problems.
Store machines in a dry room or use moisture absorbers. Check the area often for leaks or dampness.
- Use silica gel packs or dehumidifiers
- Keep machines off the floor to avoid water
- Cover machines with plastic or cloth
- Dry machines after use before storing
Organizing Accessories
Keep sanding machine accessories in order. This saves time and prevents losing small parts.
Use boxes or trays with labels to sort different items. Group similar accessories together.
- Store sanding belts by grit size
- Keep pads and discs in sealed containers
- Use hooks or racks for cords and cables
- Regularly check for worn or damaged parts
Troubleshooting Common Issues
Sanding machines help smooth wood and other materials. Sometimes, they may face problems that stop work.
Knowing how to fix common issues keeps your machine running well and saves time.
Overheating Problems
Overheating can cause damage to sanding machines. It often happens if the motor works too hard or has poor ventilation.
Check for dust buildup around vents and clean it regularly. Also, avoid running the machine for too long without breaks.
- Clear dust from vents and fans
- Use the machine in a cool, dry place
- Turn off the machine every 20 minutes to cool down
- Inspect the motor for worn parts or damage
Unusual Noises
Strange sounds often mean parts are loose or damaged. Listen carefully to identify the noise source.
Check bolts, screws, and belts for tightness. Replace worn belts or broken parts to avoid bigger problems.
- Tighten loose screws and bolts
- Replace worn sanding belts or discs
- Lubricate moving parts if needed
- Inspect bearings for damage or wear
Inconsistent Sanding Results
Uneven sanding can happen if the machine is not set up correctly or if the sanding surface is damaged.
Check the sanding belt or disc for wear. Adjust the machine’s pressure and speed for smooth sanding.
- Replace worn or torn sanding belts/discs
- Set the correct pressure on the sanding surface
- Keep the sanding surface clean and free of debris
- Ensure the machine is stable and level during use
When To Seek Professional Service
Maintaining sanding machines is important for safety and efficiency. Sometimes, problems need expert help. Knowing when to call a professional can save time and costs.
In this guide, learn signs of major malfunctions and how to find reliable repair services for sanding machines.
Signs Of Major Malfunctions
Some problems with sanding machines need expert repair. Watch for these signs to avoid damage or accidents.
- Unusual noises like grinding or screeching
- Machine stops suddenly during operation
- Excessive vibration or shaking
- Burning smell or smoke near the motor
- Belts or sanding pads wear out quickly
- Controls or buttons stop responding
- Machine fails to start or power down properly
Finding Reliable Repair Services
Choosing the right repair service keeps your sanding machine safe and working well. Look for trustworthy technicians with good reviews.
| Factor | Why It Matters | What to Check |
| Experience | Experts handle complex problems | Years working with sanding machines |
| Certification | Shows technical skill and knowledge | Valid licenses or certificates |
| Reviews | Customer feedback shows quality | Online ratings and testimonials |
| Warranty | Protection for repairs done | Guarantee period on services |
| Cost | Fair pricing avoids surprises | Clear estimate before work |
Frequently Asked Questions
How Often Should I Clean My Sanding Machine?
Regular cleaning is crucial. Clean your sanding machine after each use. This prevents dust buildup and ensures optimal performance. Regular maintenance extends its lifespan and enhances efficiency. Use a soft brush to remove dust and debris. Remember to check all moving parts for any blockages.
What Lubrication Is Best For Sanding Machines?
Use high-quality machine oil or lubricant spray. This reduces friction and wear on moving parts. Regular lubrication ensures smooth operation and extends the machine’s lifespan. Always follow the manufacturer’s recommendations for specific lubrication guidelines. Avoid over-lubrication, as it can attract more dust.
How Do I Replace Sanding Belts Effectively?
Turn off and unplug the machine first. Release the tension lever to remove the old belt. Carefully align and install the new belt. Adjust the tension and ensure proper alignment. Run the machine briefly to check the installation. Replace worn belts immediately to maintain efficiency.
Why Does My Sanding Machine Overheat?
Overheating can be due to several reasons. Check for dust blockages and ensure proper ventilation. Overuse without breaks can also cause overheating. Regularly lubricate moving parts to reduce friction. If overheating persists, consult the user manual or a professional technician for guidance.
Conclusion
Regular care keeps sanding machines working well and lasting long. Clean the parts often and check for wear. Replace belts and sanding sheets when needed. Tighten loose screws and oil moving parts. Store the machine in a dry place to avoid rust.
Small steps prevent big problems later. A well-maintained machine saves time and money. Remember, simple habits lead to smooth sanding every time. Keep your machine ready and enjoy better results on every project.
