Are your furniture projects not turning out as smooth and precise as you’d like? The secret might lie in your tools.
A sharp chisel is crucial for crafting beautiful, professional-quality furniture. If you’re frustrated with dull blades that make your work difficult and leave rough edges, you’re not alone. But here’s the good news: sharpening your chisels can be quick and easy, and it makes a world of difference.
Imagine gliding through wood effortlessly, achieving those crisp, clean cuts that transform your work from amateur to artisan. Ready to unlock the full potential of your tools and elevate your craft? Let’s dive into the essential steps for sharpening chisels that will have you crafting like a pro in no time.
Choosing The Right Chisels
Choosing the right chisels is important for furniture making. The right tools help you work clean and precise. Picking good chisels saves time and effort.
This guide covers types of chisels and what materials to look for. Use it to find chisels that fit your woodworking needs.
Types Of Chisels For Furniture Making
Different chisels serve different purposes in furniture making. Knowing each type helps you choose the right one for the job.
- Bench Chisels:Versatile for general woodworking tasks.
- Paring Chisels:Thin blade for delicate trimming and fitting.
- Mortise Chisels:Thick and strong for chopping mortises.
- Skew Chisels:Angled blade used for fine cuts and smoothing.
- Firmer Chisels:Sturdy with a thick blade for heavy work.
Materials And Quality To Look For
Good chisels have strong steel and well-made handles. The steel must hold a sharp edge. Handles should feel comfortable and be tough.
| Material | Benefits | Considerations |
| High-carbon steel | Holds sharp edge well | Can rust if not cared for |
| Chrome-vanadium steel | Resists rust and wear | May be harder to sharpen |
| Plastic handles | Lightweight and cheap | Less durable over time |
| Wooden handles | Comfortable grip and traditional look | May crack or swell with moisture |
| Rubber handles | Non-slip and ergonomic | Can wear out after long use |

Credit: beavercrafttools.com
Essential Sharpening Tools
Sharpening chisels is key for good furniture making. Using the right tools helps keep edges sharp and safe.
This guide explains important tools used to sharpen chisels well and easily.
Sharpening Stones Explained
Sharpening stones come in different types and grits. They remove metal and smooth the chisel edge.
- Coarse stones remove chips and reshape edges quickly.
- Medium stones refine the edge and remove scratches.
- Fine stones polish the edge for a sharp finish.
- Water stones need soaking before use.
- Oil stones use oil to lubricate during sharpening.
- Synthetic stones offer consistent grit and durability.
Using Honing Guides And Jigs
Honing guides hold chisels steady during sharpening. They keep the correct angle for a sharp edge.
Jigs help maintain the same angle on all stones. They make sharpening easier for beginners and pros.
| Tool | Function |
| Honing Guide | Keeps chisel at correct angle |
| Sharpening Jig | Maintains angle across all stones |
| Angle Guide | Measures sharpening angle |
Additional Accessories
Other tools help improve sharpening results and safety.
- Leather strop polishes and removes burrs after sharpening.
- Lubricants like water or oil reduce friction on stones.
- Cleaning stones keep sharpening stones free of metal dust.
- Protective gloves guard hands during sharpening.
Preparing Your Chisels
Sharpening chisels starts with good preparation. Clean and check your chisels well before sharpening.
Proper prep helps your chisels last longer and work better on your furniture projects.
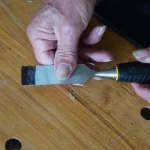
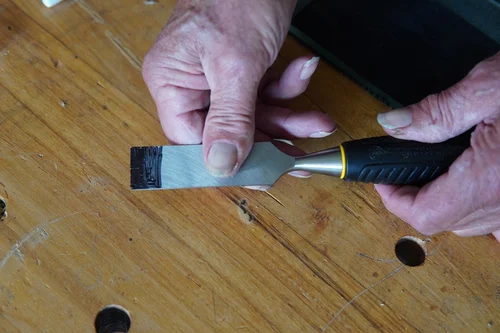
Cleaning And Inspecting The Blade
First, remove dirt and old oil from the blade. Use a soft cloth and some mineral spirits.
Look closely for rust, cracks, or bends. These problems affect how sharp the chisel will get.
- Wipe blade clean with cloth
- Check for rust spots or discoloration
- Look for cracks or warping
- Make sure the blade is straight
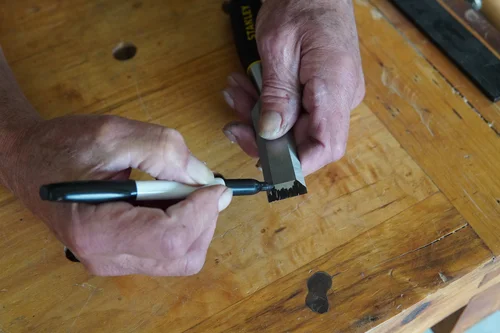
Removing Nicks And Damage
Small nicks or chips need removal before sharpening. Use a fine file or sharpening stone.
File gently along the edge to smooth out damage. Avoid removing too much metal.
- Hold the chisel firmly
- File only the damaged spots
- Keep the original blade angle
- Check progress often to avoid over-filing
Sharpening Techniques
Sharpening chisels is key for clean cuts in furniture making. Proper technique keeps tools effective and safe.
This guide covers how to set the bevel angle, use sharpening stones, and achieve a sharp edge.
Setting The Correct Bevel Angle
The bevel angle affects how the chisel cuts wood. Most furniture chisels use a bevel angle between 25° and 30°.
- Check the manufacturer’s recommended bevel angle.
- Use a bevel gauge or protractor to measure the angle.
- Keep the angle consistent while sharpening.
- Adjust for specific tasks; lower angles for fine work, higher for heavy cutting.
Using Waterstones And Oilstones
Waterstones and oilstones are popular sharpening stones. Each requires a different lubricant to work well.
| Type of Stone | Lubricant | Characteristics |
| Waterstone | Water | Faster sharpening, softer stone, wears quicker |
| Oilstone | Oil | Slower sharpening, harder stone, lasts longer |
Use circular or figure-eight motions to sharpen evenly. Start with coarse grit, then move to fine grit stones.
Achieving A Sharp Edge
A sharp edge makes chiseling easier and safer. After sharpening, test the edge carefully.
- Look for a consistent, shiny bevel surface.
- Feel for a burr along the edge by running your finger lightly.
- Remove the burr with light strokes on a fine stone or strop.
- Use a leather strop with polishing compound for a razor finish.
Honing And Polishing Edges
Sharpening chisels is key for smooth cuts in furniture making. Honing and polishing create a sharp, clean edge.
This process removes small nicks and refines the blade for better performance.
Using Leather Strops
Leather strops help polish the chisel edge after honing. They remove tiny burrs and smooth the metal.
Pull the chisel blade backward along the strop at a low angle. Repeat several times on both sides.
- Keep the angle steady, around 20 degrees
- Use light pressure for best results
- Strop in one direction only, away from the edge
Applying Honing Compounds
Honing compounds improve stropping by adding abrasive particles. They polish the edge finer than stones.
Apply a thin layer of compound on the leather strop before stropping. This helps to refine the edge quickly.
- Use green chromium oxide for a fine polish
- Apply evenly to cover the strop surface
- Reapply compound when stropping feels less effective
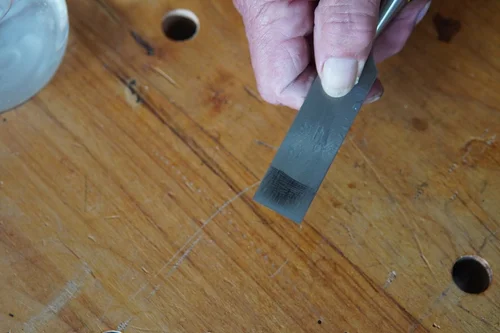
Testing Sharpness
Check the chisel edge by cutting soft wood or shaving thin curls. A sharp edge cuts cleanly and easily.
You can also test by gently running the blade over your thumbnail. It should catch slightly without slipping.
- Cut end grain wood for a real test
- Look for smooth, thin shavings
- Repeat honing if the cut feels rough or dull
Credit: www.anneofalltrades.com
Maintaining Sharpness Over Time
Keeping chisels sharp is key for good furniture work. Sharp chisels cut cleaner and safer.
Regular care helps your chisels stay sharp longer. This saves time and improves results.
Proper Storage Tips
Store chisels carefully to protect their edges. Avoid places where they can knock against hard objects.
Use a tool roll or a wooden rack to keep chisels separated. Keep them dry to stop rust from forming.
- Use a protective cover for each chisel blade
- Keep chisels in a dry, cool place
- Store chisels flat or in a rack to avoid damage
- Check storage area for humidity and clean often
Regular Touch-up Routines
Touch up chisels often with a sharpening stone or strop. This keeps the edge keen between full sharpenings.
Light honing removes small dents and keeps the blade smooth. Use oil or water stones depending on your tools.
- Clean the blade before each touch-up
- Use fine grit stones or leather strops
- Keep the blade angle steady during honing
- Apply light pressure for best results
- Test sharpness on scrap wood regularly
Common Mistakes To Avoid
Sharpening chisels is important for good furniture making. Many people make simple mistakes that hurt their tools.
This guide shows common errors to avoid when sharpening chisels for furniture work.
Over-sharpening
Sharpening too often or for too long can wear down the chisel blade quickly. This reduces the blade’s life and changes its shape.
- Sharpen only when the blade feels dull.
- Use light strokes, not heavy grinding.
- Stop once the edge is sharp and smooth.
Incorrect Angles
Holding the chisel at the wrong angle causes poor edges. A bad angle can make the blade dull fast or cut badly.
| Angle | Effect |
| Too flat (less than 25°) | Edge chips easily, dulls quickly |
| Too steep (more than 35°) | Hard to sharpen, weak edge |
| Ideal (25°-30°) | Strong, sharp edge lasting longer |
Neglecting Safety
Sharpening chisels can be risky without care. Ignoring safety leads to cuts or accidents.
- Wear protective gloves to avoid cuts.
- Use a stable surface when sharpening.
- Keep fingers clear of the blade edge.
- Ensure good lighting for clear view.
Credit: www.anneofalltrades.com
Frequently Asked Questions
How Often Should I Sharpen Chisels For Furniture Making?
Sharpen chisels regularly to maintain precision and safety. For frequent use, sharpen after every few hours. Dull chisels reduce control and damage wood. Regular sharpening ensures clean, accurate cuts and extends tool life.
What Tools Are Best For Sharpening Chisels?
Use a sharpening stone, honing guide, and strop for best results. Waterstones or oilstones provide effective sharpening surfaces. A honing guide maintains angle consistency. Stropping polishes the edge for smooth cutting.
What Is The Ideal Sharpening Angle For Chisels?
The ideal sharpening angle is typically 25 to 30 degrees. This angle balances sharpness and durability. Too low an angle dulls quickly; too high reduces cutting efficiency. Adjust angle based on chisel type and intended use.
Can I Sharpen Chisels Without Professional Equipment?
Yes, basic sharpening can be done with sandpaper and a flat surface. Use progressively finer grits for sharpening and finishing. This method is affordable and effective for beginners. Professional stones improve precision but aren’t mandatory.
Conclusion
Sharpening chisels keeps your tools ready and safe to use. Regular sharpening helps you work faster and with better results. Use the right stones and follow the steps carefully. Take your time and check the edge often. A sharp chisel makes cutting wood easier and cleaner.
Keep practicing to improve your technique each time. Good chisels make great furniture. Keep them sharp, and your projects will look better.