Imagine standing in your garden, ready to shape your plants into perfection. You reach for your pruning shears, only to find that they stick, snag, and leave behind jagged cuts.
Frustrating, isn’t it? Maintaining your pruning shears is crucial for smooth, precise cuts that keep your plants healthy and thriving. In this guide, you’ll discover simple, effective tips to keep your shears in peak condition. Whether you’re a seasoned gardener or just starting out, these practical steps will transform your gardening experience.
Stay with us, because by the end of this article, you’ll be equipped with the secrets to mastering your pruning tools. Your garden deserves the best, and so do you. Let’s dive in and unlock the potential of perfectly maintained pruning shears.
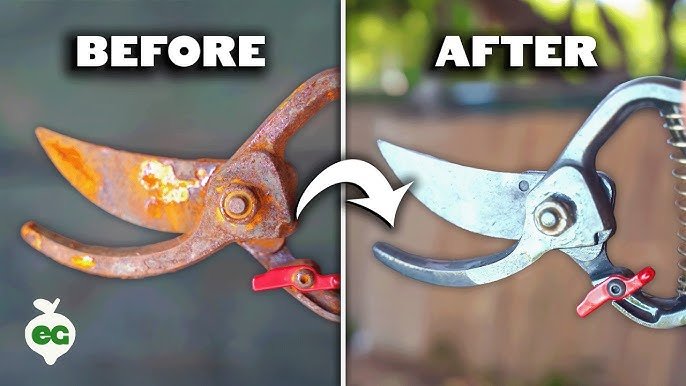
Credit: worksharptools.com
Choosing The Right Pruning Shears
Pruning shears help keep your plants healthy by making clean cuts. Picking the right shears makes cutting easier and smoother.
This guide will explain types of pruning shears and what materials last longer.
Types Of Pruning Shears
There are several types of pruning shears. Each type suits different tasks in the garden.
- Bypass Shears:These have two blades that pass each other like scissors. They make clean cuts on live plants.
- Anvil Shears:One sharp blade cuts against a flat surface. These work well for dead wood.
- Ratchet Shears:They cut in steps and need less hand strength. Good for thick branches.
Materials And Durability
| Material | Durability | Maintenance |
| Carbon Steel | High | Requires regular sharpening and oiling |
| Stainless Steel | Medium | Rust-resistant but dulls faster |
| Aluminum Handles | Medium | Lightweight but can bend under pressure |
| Plastic Handles | Low | Less durable, may crack easily |
Choose shears with strong blades and comfortable handles. Good materials last longer and give smooth cuts.
Cleaning After Each Use
Keeping your pruning shears clean helps them work smoothly. Dirt and sap can build up on the blades. This can make cutting harder and damage the tool.
Regular cleaning after each use keeps your shears sharp and lasts longer. Here are simple ways to clean them properly.
Removing Sap And Debris
Sap and plant residue stick to the blades after use. Removing these keeps blades from sticking and rusting. Use these tips to clean sap and debris off your shears.
- Wipe blades with a dry cloth to remove loose dirt.
- Apply rubbing alcohol or a sap remover to soften sticky sap.
- Use a soft brush or old toothbrush to scrub off residue gently.
- Rinse blades with water and dry thoroughly with a clean cloth.
- Repeat as needed until blades are clean and smooth.
Using Appropriate Cleaning Solutions
Choosing the right cleaning solution protects the metal and removes stubborn grime. Avoid harsh chemicals that can damage the blades.
| Cleaning Solution | Use | Notes |
| Rubbing Alcohol | Remove sap and disinfect | Dries quickly, safe for metal |
| Warm Soapy Water | General cleaning of dirt | Use mild soap, rinse well |
| White Vinegar | Remove rust spots | Apply carefully, rinse thoroughly |
| Commercial Sap Remover | Break down tough sap | Follow product instructions |
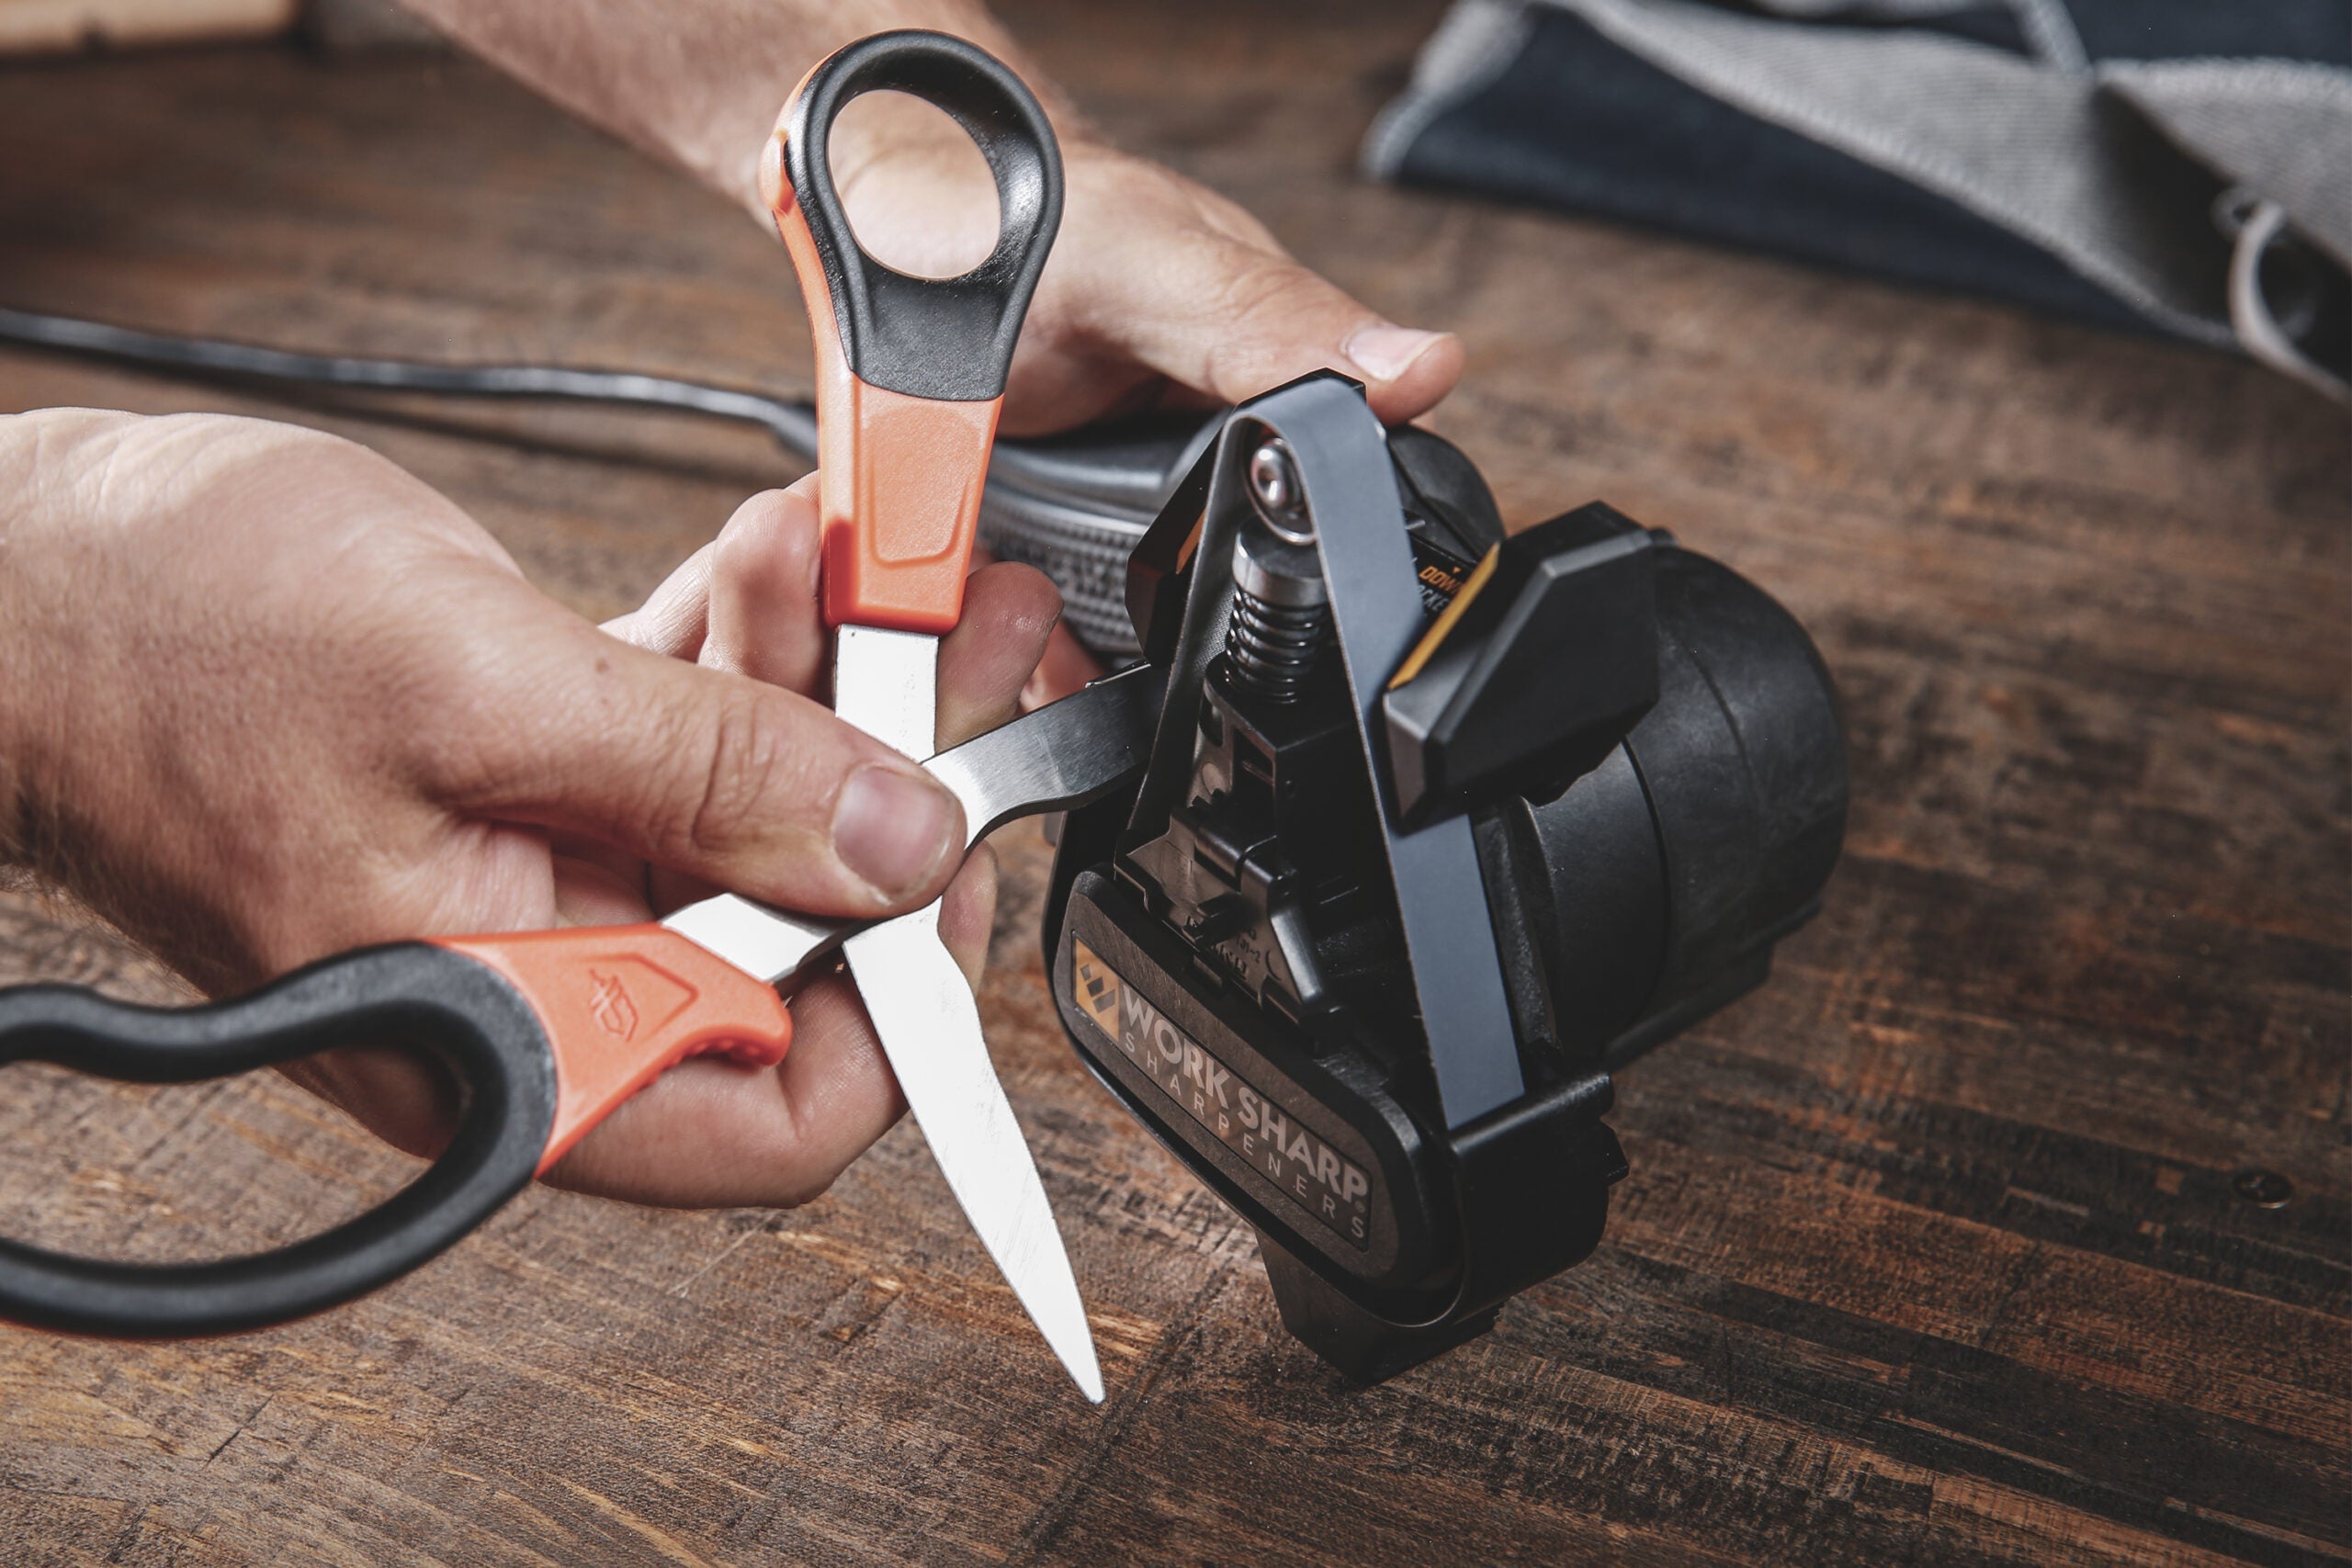
Sharpening Blades
Keeping pruning shears sharp helps you make clean cuts. Sharp blades reduce damage to plants.
Regular sharpening keeps your tool working well and lasting longer.
Tools For Sharpening
You need the right tools to sharpen pruning shears safely and effectively. Common tools include files and stones.
- Sharpening stone – smooths the blade edge
- Flat metal file – removes nicks and dull spots
- Diamond-coated file – works well on very dull blades
- Lubricating oil – helps prevent rust after sharpening
- Cloth – cleans the blade before and after sharpening
Step-by-step Sharpening Process
Follow these steps to sharpen pruning shears correctly and safely.
- Clean the blades with a cloth to remove dirt.
- Lock the shears open to expose the cutting blade.
- Hold the sharpening stone or file at a 20-degree angle.
- Stroke the blade away from the cutting edge smoothly.
- Repeat strokes until the blade feels sharp to touch.
- Wipe off metal filings and apply lubricating oil.
- Test the shears on a small branch to check the cut.
Lubricating Moving Parts
Pruning shears work best when their moving parts are smooth and free of rust. Lubricating these parts helps keep cuts clean and easy.
Regular lubrication prevents wear and tear. It also stops the shears from sticking or squeaking during use.
Best Lubricants To Use
Choose lubricants that protect metal and do not attract dirt. Light oils and sprays work well for pruning shears.
- 3-in-1 oil: A popular choice for garden tools
- WD-40: Helps clean and lubricate metal parts
- Silicone spray: Keeps parts moving without sticky residue
- Vegetable oil: A natural, simple option but needs frequent reapplication
How To Apply Lubrication
Clean your pruning shears before adding oil. Remove dirt and old grease with a dry cloth or brush.
Apply a small drop of lubricant to the pivot point and moving parts. Open and close the shears several times to spread the oil evenly.
- Wipe off extra oil to avoid attracting dust
- Lubricate after every few uses for best results
- Store shears in a dry place to keep them protected
Adjusting Tension And Alignment
Pruning shears need proper tension and alignment for clean cuts. Tight or loose blades can damage plants and tools.
This guide explains how to check blade tension and align blades for smooth cutting.
Checking Blade Tension
Blade tension controls how tightly the blades close. Too much tension makes cutting hard. Too little causes uneven cuts.
- Hold the shears and try to open and close them slowly.
- Look for any wobble or looseness between the blades.
- Locate the adjustment screw or bolt at the pivot point.
- Turn the screw clockwise to increase tension if blades are loose.
- Turn it counterclockwise to reduce tension if blades feel too tight.
- Test the shears again to ensure smooth movement without resistance.
Aligning Blades For Smooth Cuts
Blades must line up correctly to cut without crushing plants. Misaligned blades cause ragged cuts and damage.
| Blade Side | Check | Correction |
|---|---|---|
| Top Blade | Should rest evenly on the bottom blade. | Adjust the pivot bolt or bend blade gently if needed. |
| Bottom Blade | Should align flat and stable under top blade. | Replace if bent or damaged. |
| Blade Tips | Should meet evenly without gaps. | Tighten or loosen pivot bolt to align tips. |

Credit: www.youtube.com
Storing Pruning Shears Properly
Keeping pruning shears in good shape starts with proper storage. Good storage helps the blades stay sharp and the tool last longer.
Incorrect storage can cause damage and rust. Follow simple tips to keep your pruning shears ready for smooth cuts every time.
Ideal Storage Conditions
Store pruning shears in a dry, cool place. Avoid spots that get wet or humid. Keep them away from direct sunlight to prevent damage.
- Use a protective sheath or cover for the blades.
- Hang shears on a pegboard or hook to keep them off surfaces.
- Keep shears separate from other tools to avoid blade damage.
- Ensure the shears are clean and dry before storing.
Preventing Rust And Damage
Rust and damage reduce pruning shears’ effectiveness. Proper care can stop rust from forming and keep blades sharp.
| Action | Why It Helps |
| Wipe blades with an oily cloth | Prevents moisture from causing rust |
| Store shears in a dry place | Stops rust and mold growth |
| Sharpen blades regularly | Keeps cuts clean and easy |
| Check for loose screws | Prevents damage and improves safety |
Routine Maintenance Schedule
Maintaining pruning shears regularly keeps them sharp and safe to use. A good routine avoids rust and damage. Follow these care tips to ensure smooth cuts every time.
Consistent cleaning and lubrication help the blades last longer. Check your shears daily and perform deeper checks each month or season.
Daily Care Tips
Clean your pruning shears after each use to remove sap and dirt. Wipe the blades with a dry cloth and apply a light oil layer. Store shears in a dry place to stop rust.
- Wipe blades clean after every use
- Oil the pivot and blades lightly
- Check for loose screws and tighten
- Store in a dry, safe location
Monthly And Seasonal Checks
Perform a detailed inspection once a month or at the start of each season. Look for blade sharpness, rust, and any mechanical issues. Sharpen or replace parts as needed.
| Task | Action | Frequency |
| Blade Sharpening | Use a sharpening stone or file | Monthly or seasonally |
| Rust Removal | Use steel wool or fine sandpaper | Monthly |
| Pivot Check | Tighten and lubricate pivot bolt | Monthly |
| Handle Inspection | Check for cracks or splinters | Seasonally |

Credit: www.familyhandyman.com
Frequently Asked Questions
How Often Should I Sharpen Pruning Shears?
Sharpen pruning shears after every 10 to 15 uses. Regular sharpening keeps blades precise for clean cuts. Dull blades damage plants and strain your hands. Use a sharpening stone or file for best results. Consistent maintenance extends the tool’s lifespan.
What Is The Best Way To Clean Pruning Shears?
Clean pruning shears after each use to prevent rust and disease spread. Wipe blades with a damp cloth to remove sap and dirt. Use rubbing alcohol or soapy water for thorough cleaning. Dry completely before storing. Proper cleaning ensures smooth operation and longevity.
Should I Oil Pruning Shears Regularly?
Yes, oil pruning shears regularly to prevent rust and ensure smooth movement. Apply a light machine oil or WD-40 to blades and pivot points. Wipe off excess oil to avoid dirt buildup. Regular oiling keeps shears functioning efficiently and extends their life.
How Do I Store Pruning Shears Properly?
Store pruning shears in a dry, clean place after use. Keep blades closed and secured with a locking mechanism if available. Use a protective sheath or case to avoid damage. Proper storage prevents rust and maintains sharpness for smooth cuts.
Conclusion
Maintaining pruning shears keeps your garden tools working well. Clean blades cut smoothly and prevent damage. Regular sharpening helps you make precise cuts. Oiling moving parts stops rust and keeps shears easy to use. Store shears in a dry place after each use.
Small steps make a big difference over time. Healthy tools make gardening more enjoyable and efficient. Keep your pruning shears ready, and your plants will thank you. Simple care saves money and effort in the long run.
