Ever wondered how to make digging holes easier and more efficient? Using a spade might be the answer you need.
Whether you’re an avid gardener or just tackling a weekend project, mastering the art of using a spade can save you time and energy. Imagine slicing through soil with ease, getting the perfect depth every time, and finishing your task without breaking a sweat.
Curious to know how? You’ll discover practical tips and techniques in this guide that will transform your digging experience. Stay with us, and you’ll soon wield your spade like a pro, making every project smoother and more satisfying. Ready to dig in? Let’s get started!
Choosing The Right Spade
Using a spade makes digging holes easier. Picking the right spade helps you work faster and with less effort.
Different spades suit different jobs. Learn about the types, materials, and handle styles to find the best one.
Types Of Spades
Spades come in various shapes for specific tasks. Some have flat blades, others have pointed tips.
- Flat spades cut clean edges for digging straight sides.
- Pointed spades break hard soil and dig deep holes.
- Trenching spades work well for narrow trenches.
- Drain spades help with shallow, wide holes.
Blade Material And Shape
Strong blades last longer and dig better. Steel blades are common and very tough.
Blade shape affects digging style. A sharp tip goes into soil easier. A flat blade moves dirt well.
- Carbon steel blades are sharp and strong.
- Stainless steel blades resist rust but may be softer.
- Pointed blades cut through roots and hard ground.
- Flat blades are good for lifting and moving soil.
Handle Length And Grip
Handle length changes how you use the spade. Long handles give more reach but less control.
Good grips reduce hand strain. Wood handles feel natural, while fiberglass handles are strong and light.
- Short handles offer better control in tight spaces.
- Long handles help with leverage for deep digging.
- Wood handles absorb shock and feel warm.
- Fiberglass handles resist weather and are lighter.
- Rubber grips improve comfort and prevent slipping.

Credit: www.citywidefencesdecks.ca
Preparing The Ground
Using a spade to dig holes needs good ground preparation. This helps your digging go smoothly and saves effort.
Clear the area, mark where to dig, and loosen the soil first. These steps make digging easier and more accurate.
Clearing Debris
Remove leaves, rocks, and sticks from the digging spot. Debris can block the spade and make digging hard.
- Pick up large stones and branches by hand
- Rake smaller debris into a pile and discard it
- Clear weeds or grass in the hole area
- Check for hidden roots or objects before digging
Marking The Digging Spot
Mark the exact place for each hole. This helps keep your work neat and on plan.
| Method | Description |
| Spray Paint | Use bright paint to circle the hole area |
| String and Stakes | Stretch string between stakes to mark edges |
| Chalk or Flour | Draw outlines on the ground for temporary marks |
| Wooden Markers | Place small sticks at hole centers for reference |
Loosening Hard Soil
Hard soil makes digging slow and tiring. Loosen it before you start digging with the spade.
Try these ways to soften soil:
- Pour water and let it soak for 30 minutes
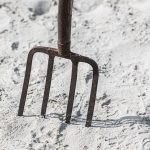
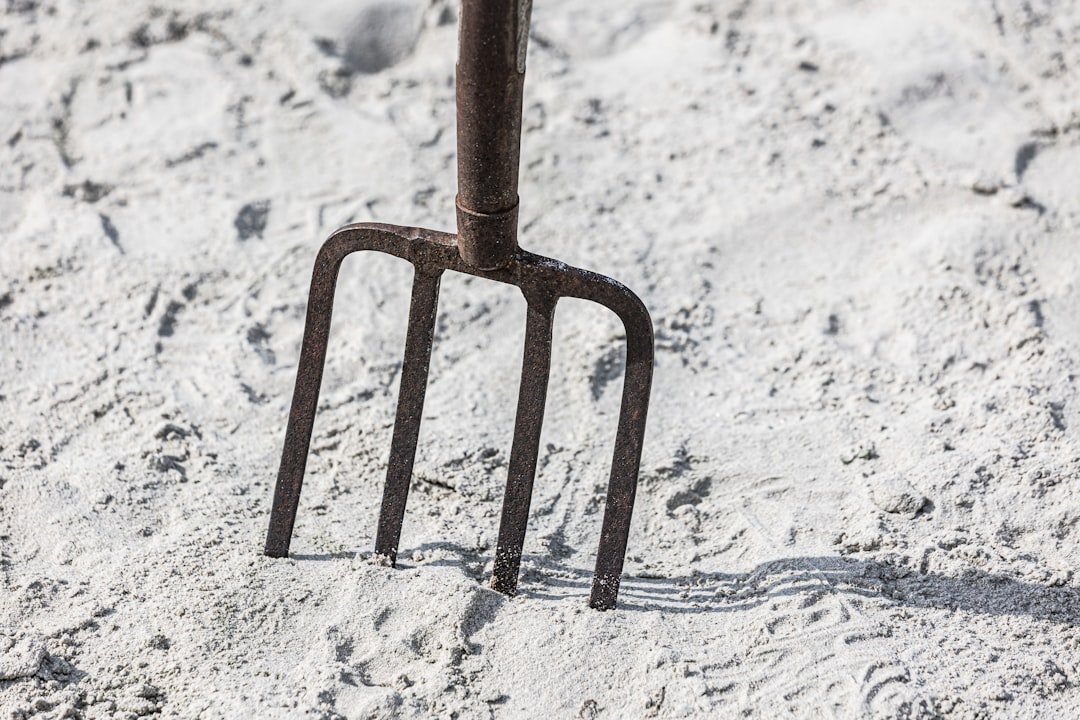
- Use a garden fork to break soil in the hole area
- Apply compost or mulch to improve soil texture
- Avoid digging right after dry weather without softening
Proper Digging Techniques
Using a spade to dig holes is easier with the right technique. Good digging saves energy and prevents injury.
Focus on your stance, how you use your weight, and the way you cut and lift soil. These tips help you dig well.
Correct Stance And Posture
Stand with your feet shoulder-width apart for balance. Keep your back straight and bend your knees slightly. Avoid leaning too far forward to protect your lower back.
Using Your Body Weight
Push the spade into the soil using your body weight, not just arm strength. Lean gently onto the spade handle to help it dig in. This method reduces arm strain.
- Place one foot on the spade blade to drive it into the ground.
- Shift your weight forward as you press down.
- Use your legs to help lift the soil, not your back.
Cutting And Lifting Soil
Cut the soil by pushing the spade straight down. Lift the soil by rocking the spade back with your feet on the blade.
| Action | How to Do It |
| Cutting | Push spade straight down with foot pressure. |
| Lifting | Rock spade back using your feet as leverage. |
| Removing Soil | Lift soil with legs, keep back straight. |
Credit: www.familyhandyman.com
Dealing With Different Soil Types
Using a spade to dig holes can be easier or harder depending on the soil type. Each soil type has unique traits that affect digging.
Knowing how to handle sandy, clay, or rocky soil helps you dig holes faster and with less effort.
Sandy Soil Tips
Sandy soil is loose and drains water quickly. This makes digging easier but the hole walls may collapse.
Use a sharp spade and dig gently to keep the hole shape. Remove loose sand from the hole often.
- Dig at a steady speed to avoid collapsing walls
- Use the flat side of the spade to smooth hole edges
- Fill the hole carefully to prevent sand from falling back in
Clay Soil Challenges
Clay soil is dense and sticky. It can be hard to push the spade through, especially when wet.
Dig when the soil is dry or just damp. This prevents the spade from getting stuck and makes digging easier.
- Tap the spade gently to break the hard clay
- Use a pointed spade to cut through the soil
- Loosen the soil around the hole before digging deeper
Rocky Soil Strategies
Rocky soil has stones that block the spade. This slows digging and can damage the spade.
Clear small stones from the surface before digging. Use the spade to pry out bigger rocks carefully.
- Lift rocks out with the spade’s edge
- Dig around large stones to loosen soil
- Take breaks to avoid tiring your arms
Maintaining Your Spade
Keeping your spade in good shape helps it last longer. It also makes digging easier and safer. Proper care after each use is important.
This guide covers cleaning, sharpening, and storing your spade to keep it ready for your next project.
Cleaning After Use
Remove dirt and debris from your spade right after use. This prevents rust and damage to the blade and handle.
- Use a stiff brush to clean soil off the blade
- Wipe the blade with a damp cloth to remove remaining dirt
- Dry the spade completely to stop rust from forming
- Clean the handle with a dry cloth to remove moisture
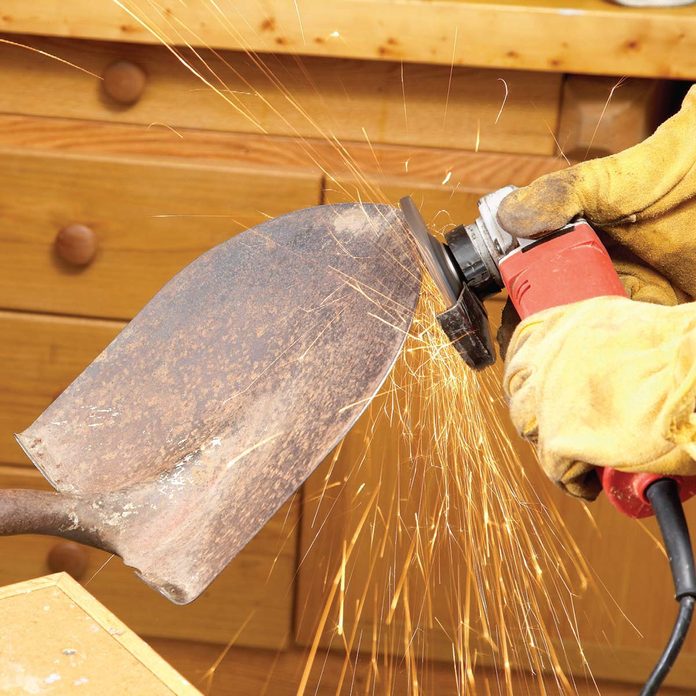
Sharpening The Blade
A sharp blade cuts through soil faster and with less effort. Sharpen your spade blade regularly for best results.
| Tool | Purpose |
|---|---|
| File or sharpening stone | Sharpen blade edge |
| Cloth | Wipe blade clean after sharpening |
| Oil | Protect blade from rust |
Sharpen the blade by holding the file at a 45-degree angle. Move it along the edge in one direction. Finish by wiping the blade clean and applying a thin oil layer.
Storing Properly
Store your spade in a dry place to avoid rust and damage. Proper storage keeps it ready for use and extends its life.
- Hang the spade on a wall hook to keep the blade off the ground
- Keep the tool in a shed or garage away from moisture
- Store the spade in a tool rack to avoid contact with other tools
- Check the spade regularly for signs of rust or wear
Credit: www.familyhandyman.com
Safety Tips While Digging
Using a spade to dig holes is simple but can be risky without care. Safety helps prevent injuries and accidents.
Follow these tips to dig safely and protect yourself from harm.
Wearing Protective Gear
Wear gloves to protect your hands from blisters and cuts. Strong shoes protect your feet from falling tools or sharp objects.
Safety glasses stop dirt and debris from getting into your eyes. A hat or sunscreen helps protect your skin from the sun.
- Wear sturdy gloves
- Use closed-toe shoes or boots
- Put on safety glasses
- Apply sunscreen or wear a hat
Avoiding Underground Utilities
Before digging, check for underground pipes and cables. Striking them can cause serious injury or damage.
Call local utility companies to mark safe digging areas. Always dig carefully near marked spots.
- Contact utility companies before digging
- Look for utility markings on the ground
- Dig slowly near marked areas
- Stop digging if you hit something unusual
Taking Breaks To Prevent Injury
Digging can be tiring and strain your body. Take regular breaks to rest your muscles and avoid injury.
Drink water during breaks to stay hydrated. Stop if you feel pain or extreme tiredness.
- Take short breaks every 20-30 minutes
- Drink water often
- Stretch your muscles during breaks
- Listen to your body and rest if needed
Frequently Asked Questions
What Is The Best Technique For Digging Holes With A Spade?
Use a firm grip and push the spade vertically into the ground. Rock it back and forth to loosen soil. Remove soil in layers for a clean, deep hole. Avoid twisting to reduce strain on your wrists.
How Can I Prevent Injury While Using A Spade?
Always wear gloves and sturdy footwear for protection. Keep your back straight and bend your knees when digging. Take frequent breaks to avoid muscle strain. Use proper lifting techniques when moving soil.
What Type Of Soil Is Easiest To Dig With A Spade?
Loamy soil is the easiest to dig due to its balanced texture. Sandy soil is also manageable but may require deeper digging. Clay soil is tough and may need moistening before digging.
How Do I Maintain My Spade For Better Digging?
Clean the spade after each use to prevent rust. Sharpen the blade regularly for easier soil penetration. Store it in a dry place to maintain durability. Check the handle for cracks or splinters often.
Conclusion
Using a spade to dig holes becomes easier with practice and care. Always keep your back straight and use your legs to push down. Choose the right spot and clear away any stones or roots first. Take breaks to avoid getting tired quickly.
A sharp spade cuts through soil better and saves effort. Digging holes is simple when you follow these basic tips. Soon, you will feel more confident and finish your work faster. Keep these ideas in mind for your next gardening task.
Dig smart, work safely, and enjoy your garden.