Are you tired of your tools being scattered all over the place, making it difficult to find what you need when you need it? Imagine the satisfaction of having a neatly organized tool rack, where everything is within arm’s reach.
Setting up a wall-mounted tool rack is easier than you might think, and it can transform your workspace into a haven of efficiency. This guide will walk you through the simple steps to get your tools up off the ground and onto the wall, saving you time and frustration.
Stick with us, and by the end of this article, you’ll be ready to tackle your next project with ease and confidence.
Credit: www.amazon.ca
Choosing The Right Tool Rack
Choosing the right wall-mounted tool rack helps keep your workspace neat. It also makes your tools easy to find and use. This guide covers key points to consider before buying.
Focus on the materials and styles, size and capacity, and weight considerations. These factors ensure your tool rack fits your needs and lasts long.
Materials And Styles
Tool racks come in different materials like wood, metal, and plastic. Each material offers a unique look and strength level. Choose a style that matches your workspace and tool types.
- Wood:Looks natural and sturdy but may wear with heavy tools.
- Metal:Very strong and durable, ideal for heavy tools.
- Plastic:Lightweight and resistant to moisture but less strong.
Size And Capacity
Measure the wall space where you want to install the rack. Also, count your tools to estimate how many hooks or slots you need. Choose a size that fits your tools without crowding.
| Rack Size | Suitable For | Tool Count |
| Small (12-18 inches) | Light tools | Up to 10 |
| Medium (18-30 inches) | General use | 10-20 |
| Large (30+ inches) | Heavy use | 20+ tools |
Weight Considerations
Consider the total weight of your tools. The rack and wall must hold this weight safely. Use strong mounting hardware to avoid accidents.
- Check the rack’s weight limit before buying.
- Choose racks with metal supports for heavy tools.
- Use wall anchors suitable for your wall type.
- Distribute tools evenly across the rack.
Selecting The Ideal Location
Choosing the right place for your wall-mounted tool rack is important. It affects how easy it is to use and how much space you have. Think about your workspace and tools before starting.
Focus on three main points: wall space, accessibility, and lighting. These will help you pick the best spot for your rack.
Assessing Wall Space
Look at the walls in your work area. Choose a space that is free of obstructions like windows, doors, or switches. The wall should be strong enough to hold the weight of your tools.
- Measure the height and width of the available wall area.
- Check for studs to support heavy racks.
- Avoid areas with pipes or electrical wiring.
- Consider walls near your workbench or main tool use area.
Accessibility And Convenience
Place the tool rack where you can reach it easily. It should be near your workspace but not in the way. Think about how often you use different tools and place the rack accordingly.
| Factor | Consideration |
| Distance from Workbench | Close enough to reach tools without walking |
| Height | Place tools at a comfortable arm level |
| Obstructions | Keep pathways clear for safety |
| Tool Frequency | Put often-used tools in easiest reach |
Lighting And Visibility
Good lighting helps you find tools quickly and work safely. Choose a wall spot that gets enough light or add extra lights if needed.
- Check natural light sources near the wall.
- Install task lights above or near the rack if needed.
- Ensure no shadows block your view of tools.
- Use bright colors or labels on the rack to improve visibility.
Gathering Necessary Tools And Materials
Setting up a wall-mounted tool rack helps keep your workspace neat. You need the right tools and materials to do it safely and correctly.
Gathering everything before you start saves time and avoids mistakes. Here are the key items you need.
Mounting Hardware
Mounting hardware holds the tool rack on the wall. Choose strong items that fit your wall type and tool rack.
- Screws suitable for drywall, wood, or concrete
- Wall anchors for extra support
- Brackets or hooks that come with the rack
- Washers to protect the wall and screw heads
Measuring Tools
Measuring tools help place the rack correctly and level it. Accurate measurements avoid mistakes and damage.
- Tape measure for distance checking
- Level to ensure the rack is straight
- Pencil or marker to mark drill points
- Stud finder to locate wall studs for strong mounting
Safety Equipment
Safety equipment protects you during installation. Use items that reduce injury risks and keep you safe.
- Safety goggles to protect your eyes from dust
- Work gloves to protect your hands
- Dust mask if drilling creates dust
- Ear protection if using loud power tools
Preparing The Wall Surface
Setting up a wall-mounted tool rack needs a strong, clean wall. Preparing the surface helps the rack stay secure and safe.
Follow these steps to get your wall ready for mounting your tool rack.
Cleaning And Inspection
Start by cleaning the wall where you want to mount the rack. Remove dust, dirt, and grease with a mild cleaner and a cloth. Let the wall dry completely.
Check the wall for damage like cracks or holes. Fix any problems before you mount the rack. A smooth, solid surface holds the rack better.
Locating Studs
Studs are vertical wood or metal beams behind the wall. Mounting the rack on studs makes it stronger and safer.
Use a stud finder to locate the studs in your wall. Move the tool slowly and mark where it detects a stud.
- Move the stud finder horizontally across the wall.
- Mark each stud edge with a pencil.
- Find the center point between the edges.
- Check for at least two or three studs to support the rack.
Marking Drill Points
Mark the spots where you will drill holes to mount the rack. These marks should align with the stud centers.
| Tool Rack Size | Drill Point Distance |
| Small (under 24 inches) | 16 inches apart |
| Medium (24–48 inches) | 16–24 inches apart |
| Large (over 48 inches) | 24 inches or more |
Use a level to make sure the marks are even. This keeps the rack straight when mounted.
Mounting The Tool Rack
Mounting a wall tool rack keeps your tools neat and easy to find. It saves space and makes your workspace safer. Follow clear steps to mount your rack securely.
Use the right tools and anchors to keep the rack strong. Check the rack’s stability before you hang your tools.
Drilling And Anchoring
Mark the wall where you want to place the rack. Use a level to keep the marks straight. Drill holes that match your rack’s mounting holes.
Choose anchors based on your wall type. Drywall needs stronger anchors than wood. Insert the anchors into the holes before screwing in the rack.
- Mark the drill points with a pencil
- Use a drill bit that fits the anchors
- Pick anchors for drywall or masonry
- Push anchors flush with the wall
Securing The Rack
Hold the rack against the wall and align the mounting holes with the anchors. Insert screws through the rack holes and tighten them into the anchors.
Do not overtighten screws. Tight screws hold the rack firm but avoid damaging the wall or rack.
- Align rack holes with wall anchors
- Insert screws all the way in
- Tighten screws with a screwdriver
- Keep screws firm but not too tight
Double-checking Stability
Test the rack by gently pulling on it. The rack should not move or feel loose. Check all screws are tight and anchors are secure.
If the rack moves, tighten the screws or replace anchors. Make sure the rack can hold the weight of your tools safely.
- Pull rack gently to test stability
- Retighten loose screws
- Replace weak anchors if needed
- Confirm rack supports tool weight
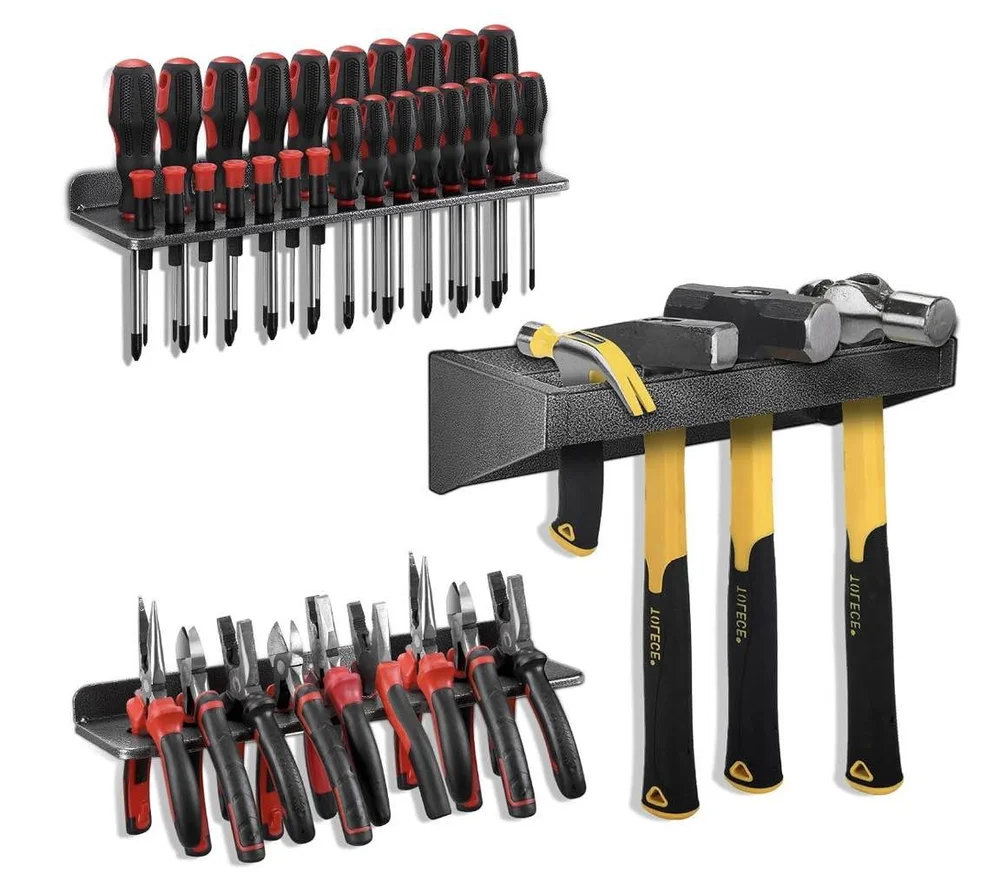
Organizing Tools On The Rack
Organizing tools on a wall-mounted rack keeps your workspace tidy. It also makes tools easy to find and use.
Proper arrangement improves safety and saves time during projects. Use simple methods to keep tools in order.
Grouping Similar Tools
Group tools by type or function to find them faster. Keep all screwdrivers, hammers, and wrenches in their own sections.
- Place hand tools together
- Keep power tools in a separate area
- Group measuring tools like tape measures and levels
- Store cutting tools such as saws and knives in one spot
Using Hooks And Holders
Hooks and holders help keep tools secure and visible. Use different types for various tool shapes and sizes.
| Tool Type | Recommended Holder |
| Hammers | Heavy-duty hooks |
| Screwdrivers | Slot holders or pegboard hooks |
| Wrenches | Magnetic strips or racks |
| Power Tools | Wall brackets or shelves |
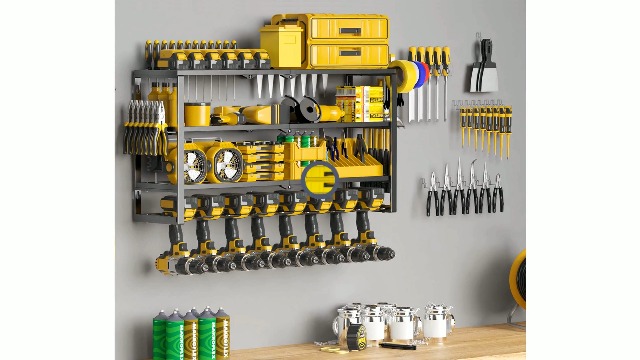
Maximizing Space Efficiency
Use vertical space to hold more tools. Arrange items by size and frequency of use to keep the rack neat.
- Place large tools at the bottom
- Hang frequently used tools at eye level
- Use small containers for nails and screws
- Install multiple rows of hooks
- Leave space for new tools
Maintenance Tips For Longevity
Keeping your wall-mounted tool rack in good shape helps it last longer. Regular care stops damage and keeps tools safe.
Simple maintenance tasks prevent problems and save money on repairs. Follow these tips to maintain your rack well.
Regular Cleaning
Dust and dirt can build up on your tool rack. Clean it often to stop rust and wear.
Use a soft cloth or brush to remove debris. Avoid harsh chemicals that damage the rack’s finish.
- Wipe the rack with a damp cloth weekly
- Remove grease and oil with mild soap
- Dry the rack completely after cleaning
Inspecting Mounts And Hardware
Check mounts and screws to keep the rack stable. Loose parts can cause accidents or damage.
Look for signs of wear, rust, or bending. Tighten any loose screws and replace damaged parts fast.
- Inspect mounts every month
- Use a screwdriver to tighten screws
- Replace rusted or broken hardware
Updating Tool Arrangement
Change your tool layout to fit new tools or work needs. This keeps your workspace neat and easy to use.
Remove tools you do not use often. Group similar tools together for quick access.
- Rearrange tools every few months
- Use labeled hooks or holders
- Keep heavy tools on lower racks

Credit: www.amazon.ca

Credit: www.amazon.ca
Frequently Asked Questions
What Tools Do I Need For A Wall-mounted Tool Rack?
You need a drill, screws, wall anchors, a level, measuring tape, and a pencil. These tools ensure secure and accurate installation.
How Do I Choose The Best Wall For Mounting?
Select a sturdy wall like drywall with studs or concrete. Avoid weak surfaces to support heavy tools safely.
What Materials Work Best For A Tool Rack?
Wood and metal are ideal for durability. Choose materials that can hold your tool weight and resist wear.
How High Should I Mount The Tool Rack?
Mount the rack at waist to chest height. This position offers easy access and prevents strain during use.
Conclusion
Setting up a wall-mounted tool rack saves space and keeps tools tidy. It helps you find tools quickly and work more efficiently. Choose the right location and secure the rack properly for safety. Organize tools by size or use for easy access.
Regularly check the rack to keep it sturdy. A simple project that improves any workspace. Try it and enjoy a cleaner, more organized area.
