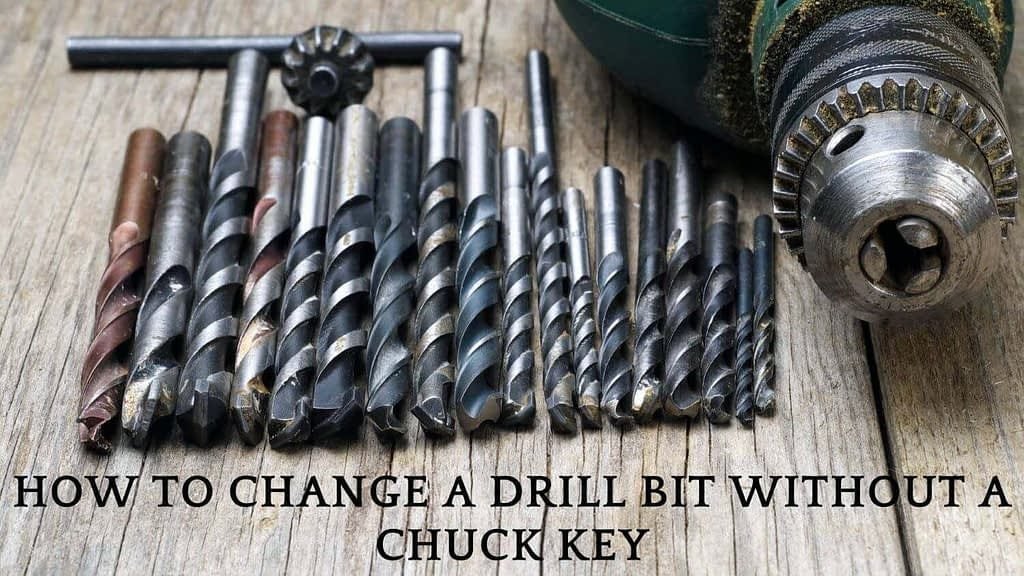
Are you struggling with changing your drill bits without fuss or worry? You’re not alone.
Many DIY enthusiasts and professionals alike find themselves in a bind when it’s time to swap out drill bits. But fear not, because mastering this task is simpler than you might think. Imagine the satisfaction of smoothly changing drill bits, knowing you’re taking every safety measure to protect yourself and your tools.
In this guide, we will walk you through the essential steps to replace your drill bits safely and efficiently. Whether you’re a seasoned pro or a weekend warrior, these tips will ensure you get back to your projects with confidence. Ready to transform your DIY experience? Let’s dive in!
Choosing The Right Drill Bit
Picking the right drill bit is key to safe and effective drilling. The right bit fits the task and material well.
Using the wrong drill bit can cause damage or injury. Learn how to choose the best bit for your job.
Types Of Drill Bits
Drill bits come in many shapes and sizes. Each type suits different tasks and materials.
- Twist bits: Good for wood, metal, and plastic.
- Masonry bits: Made for concrete, brick, and stone. <li bits:="" drilling="" for="" holes.
- Forstner bits: Create flat-bottom holes in wood.
- Hole saws: Cut large holes in wood and metal.
Matching Bits To Materials
Use drill bits made for the material you work with. Different materials need specific bit types and coatings.
| Material | Recommended Drill Bit | Tip |
| Wood | Twist, Spade, Forstner | Choose sharp edges for clean cuts. |
| Metal | High-speed steel (HSS) twist | Use cutting oil to cool bit. |
| Concrete | Masonry bit | Use hammer drill mode if available. |
| Plastic | Twist bit with slow speed | Drill slowly to avoid melting. |
Checking Bit Condition
Inspect drill bits before use. Damaged or dull bits increase risk and lower quality.
- Look for chipped or broken tips.
- Check if the bit is dull or worn down.
- Ensure the bit shank fits the drill chuck securely.
- Replace bits that show rust or corrosion.

Credit: www.melodysusie.com
Preparing Your Workspace
Replacing drill bits can be tricky without the right setup. Preparing your workspace helps you work safely and efficiently.
A clean and well-lit area reduces mistakes and accidents. Take time to organize before you start.
Ensuring Proper Lighting
Good lighting is important to see the drill and bit clearly. It helps you avoid injury and errors.
Use bright, focused lights on your workspace. Natural light or a strong lamp works well.
- Place a lamp above the drill area
- Avoid shadows that hide small parts
- Check lighting before starting work
Clearing The Area
Clear your workspace to prevent accidents. Remove tools and objects you do not need.
A tidy space helps you find parts quickly and keeps you focused on the task.
- Keep only the drill and drill bits nearby
- Clear away dust and debris before you begin
- Make sure the surface is stable and flat
Gathering Safety Gear
Wear safety gear to protect yourself from sharp bits and dust. Always use the right equipment.
Safety glasses and gloves reduce the risk of injury. Prepare these before you start.
- Safety glasses to protect your eyes
- Gloves to protect your hands
- Wear close-fitting clothes to avoid snags
Powering Down The Drill
Before changing drill bits, always power down the drill. This prevents accidents and keeps you safe.
Powering down stops the drill from running while you work on it. Follow these tips for corded and cordless drills.
Unplugging Corded Drills
For corded drills, unplugging is the safest way to power down. It cuts off all electricity to the tool.
- Hold the plug firmly, not the cord, to unplug the drill.
- Pull the plug straight from the outlet to avoid damage.
- Check the cord for any cuts or frays before unplugging.
- Keep the drill away from water and wet surfaces when unplugged.
Removing Batteries From Cordless Models
For cordless drills, remove the battery to stop the power. This prevents accidental starts.
| Battery Removal Tips | Reasons to Follow |
| Press the release button on the battery pack | Easily detaches the battery |
| Pull the battery straight out | Prevents damage to connectors |
| Store battery separately in a safe place | Protects battery and drill |
| Check battery for damage before removal | Ensures safety and tool function |

Credit: www.reddit.com
Removing The Old Bit
Removing the old drill bit is the first step to changing bits safely. You need to unlock the chuck to release the bit.
Using the right tools and careful handling helps avoid damage or injury while removing stuck bits.
Loosening The Chuck
The chuck holds the drill bit tightly. You must loosen it to remove the bit.
For keyless chucks, turn the chuck sleeve counterclockwise by hand. For keyed chucks, use the chuck key to turn it.
- Hold the drill firmly
- Turn the chuck sleeve or use the chuck key
- Keep turning until the bit is loose
- Pull the bit out carefully
Handling Stuck Bits
Sometimes bits get stuck in the chuck. This can happen if the chuck is very tight or dirty.
Try tapping the chuck gently with a rubber mallet or use a little oil to loosen it. Avoid using too much force.
- Apply a small amount of lubricating oil
- Let the oil sit for a few minutes
- Use the chuck key or hand to try loosening again
- If stuck, tap gently with a rubber mallet
- Do not use metal tools that can damage the chuck
Installing The New Bit
Replacing drill bits safely is important for your work and safety. Installing the new bit correctly helps the drill work well.
Follow simple steps to insert and tighten the bit. This keeps the bit stable during use.
Inserting Correctly
Hold the drill firmly and open the chuck jaws by turning the chuck sleeve. Insert the new bit straight into the chuck.
Make sure the bit’s shank fits fully inside the chuck. It should sit straight without wobbling.
- Open chuck jaws wide enough to fit the bit
- Insert bit straight and deep into the chuck
- Check the bit is centered and not tilted
Tightening The Chuck Securely
Turn the chuck sleeve by hand to close the jaws around the bit. Tighten it firmly so the bit does not move.
If your drill has a keyless chuck, use both hands to tighten. For keyed chucks, use the chuck key to secure the bit tightly.
- Tighten chuck by hand until snug
- Use chuck key if available for extra grip
- Test bit by pulling gently to check security
Testing The New Bit
After replacing a drill bit, testing it is important. This helps make sure it works well and is safe to use.
Testing the new bit reduces risks of accidents and damage to your work.
Running At Low Speed
Start the drill at a low speed when testing a new bit. This prevents sudden jerks or breaks.
Low speed helps you control the drill and see if the bit is properly fixed.
- Hold the drill firmly with both hands
- Turn on the drill at the lowest speed setting
- Watch for any unusual noise or vibration
- Stop immediately if the bit wobbles or feels loose
Checking For Stability
Look closely to see if the drill bit spins smoothly. Stability is key for safe and clean drilling.
If the bit moves side to side or shakes, tighten it or replace it before use.
- Check the bit’s grip in the chuck
- Spin the drill gently by hand to feel for wobble
- Listen for any rattling sounds
- Ensure the bit stays straight while spinning
Maintaining Drill Bits
Drill bits work best when they are clean and sharp. Taking care of them helps you drill smoothly and safely.
Proper maintenance extends the life of your drill bits and keeps your work precise.
Cleaning After Use
Remove dirt and debris from drill bits after each use. Clean bits drill more accurately and last longer.
Use a brush or cloth to wipe off dust, wood chips, or metal shavings.
- Use a wire brush for stubborn debris
- Wipe bits with a dry cloth
- Apply a light oil coat to stop rust
Sharpening Tips
Dull drill bits cause poor cuts and increase accidents. Keep bits sharp for better results.
Use a sharpening stone or a drill bit sharpener to restore edges carefully.
- Hold the bit at the correct angle
- Sharpen both cutting edges evenly
- Check sharpness by testing on scrap material
Proper Storage
Store drill bits in a dry place to stop rust. Proper storage keeps bits safe and organized.
Use a drill bit case or rack to prevent damage and loss.
- Keep bits separated by size
- Label storage for quick access
- Keep away from moisture and dust
Common Mistakes To Avoid
Replacing drill bits is a simple task but can be unsafe if done wrong. Many people make common mistakes that cause damage or injury.
Knowing what to avoid helps you work safely and keep your tools in good shape.
Over-tightening The Chuck
It is easy to think tightening the chuck very hard will hold the bit better. This can damage the drill or the bit.
Use firm but gentle pressure to tighten. Over-tightening can strip threads or break parts inside the chuck.
- Too much force wears out the chuck quickly
- May cause drill bit to get stuck or break
- Proper tightness keeps the bit secure and safe
Using Damaged Bits
Using drill bits that are bent, chipped, or dull is dangerous. They can break during use and cause injury.
Always check bits before use. Replace any that have visible damage or signs of wear.
- Damaged bits reduce drilling accuracy
- Broken bits may get stuck in the material
- New bits improve safety and work quality
Ignoring Safety Precautions
Skipping safety steps can cause accidents. Always wear safety glasses and gloves when changing bits.
Make sure the drill is unplugged or the battery is removed before replacing bits to avoid accidental starts.
- Wear protective gear to guard eyes and hands
- Keep fingers away from the chuck during changes
- Disconnect power to prevent unexpected drill movement

Credit: www.youtube.com
Frequently Asked Questions
How Do I Safely Remove A Drill Bit?
First, unplug the drill or remove the battery. Use the chuck key or hand twist the chuck to loosen the bit. Carefully pull the drill bit out, avoiding force to prevent damage or injury.
What Tools Are Needed To Replace Drill Bits?
You need a drill, the correct drill bit, and sometimes a chuck key. Safety gloves and goggles are also recommended for protection during replacement.
How Do I Choose The Right Drill Bit Size?
Select a drill bit matching your project’s hole size. Check the material you’re drilling and ensure the bit is compatible with it for the best results.
How Often Should Drill Bits Be Replaced?
Replace drill bits when they become dull, chipped, or bent. Using sharp bits ensures safety and improves drilling efficiency and accuracy.
Conclusion
Replacing drill bits safely protects you and your tools. Always turn off and unplug your drill first. Use the correct size wrench or chuck key to loosen the bit. Handle new bits carefully to avoid cuts. Tighten the chuck firmly before starting work.
Keep your workspace clean and well-lit. These simple steps save time and prevent accidents. Practice safety every time you change bits. Stay alert and work with care for best results. Safe habits make drilling tasks easier and safer.