Are you ready to take your woodworking skills to the next level? Imagine being able to create perfectly trimmed pieces of wood with ease and precision.
Whether you’re crafting a new piece of furniture or working on a home improvement project, knowing how to use a miter saw can make all the difference. This powerful tool can transform your DIY projects, turning daunting tasks into enjoyable endeavors.
With the right guidance, you’ll gain the confidence to tackle any trimming job, no matter how intricate. Dive into this guide and discover the secrets to mastering a miter saw, ensuring every cut is smooth and accurate. Ready to revolutionize your woodworking game? Let’s get started!
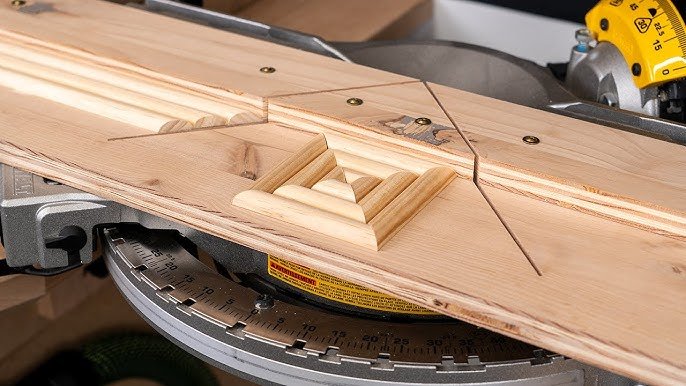
Credit: youcandiyblog.com
Choosing The Right Miter Saw
Picking the right miter saw helps you trim wood safely and accurately. Different saws suit different types of cuts and projects.
Consider your needs before buying. This guide covers types, blade choices, and safety features.
Types Of Miter Saws
There are three main types of miter saws. Each type fits different woodworking tasks and budgets.
- Standard Miter Saw:Cuts angles left and right. Good for basic trim work.
- Compound Miter Saw:Tilts to cut bevels and angles. Ideal for crown molding.
- Sliding Compound Miter Saw:Slides forward and back. Best for wide boards.
Blade Selection
Choosing the right blade affects cut quality and speed. Blades vary in size, teeth count, and material.
| Blade Size | Common Use | Cut Type |
| 8 to 10 inches | Small trim work | Fine cuts |
| 12 inches | General wood cutting | Smooth and fast |
| 14 inches | Thick or wide boards | Deep cuts |
| Teeth Count | Low (24-40) | Rough cuts, faster |
| High (60-80+) | Fine cuts, slower |
Safety Features To Look For
Safety matters when using a miter saw. Look for features that protect you during work.
- Blade guard to cover the blade when not cutting
- Electric brake to stop the blade quickly
- Safety switch to prevent accidental starts
- Dust collection port to keep your workspace clean
- Clamps to hold wood steady while cutting
Setting Up Your Workspace
Setting up your workspace properly is important before using a miter saw. A good setup helps you work safely and accurately.
Focus on having a stable work surface, good lighting, and ways to manage dust. These make your work easier and safer.
Stable Work Surface
Choose a flat, solid surface to place your miter saw. This keeps the saw steady and stops it from moving during cuts.
Make sure the surface is at a comfortable height. This helps reduce strain on your back and arms while working.
- Use a heavy workbench or sturdy table
- Check that the surface does not wobble
- Clear the area of clutter before starting
Proper Lighting
Good lighting helps you see the wood and cutting lines clearly. This improves the accuracy of your cuts.
Use bright overhead lights or a focused work light. Avoid shadows on the cutting area for better visibility.
- Position lights to shine directly on your work
- Use daylight bulbs if possible for clear color views
- Keep the workspace free from dark corners
Dust Collection Tips
Miter saws produce a lot of dust. Collecting dust helps keep your workspace clean and reduces health risks.
Use a dust bag or connect a vacuum system to your saw. Regularly clean dust from your work area to avoid buildup.
- Attach a dust collection bag to the saw’s dust port
- Use a shop vacuum for stronger suction
- Wear a dust mask to protect your lungs
- Clean the floor and surfaces after each use
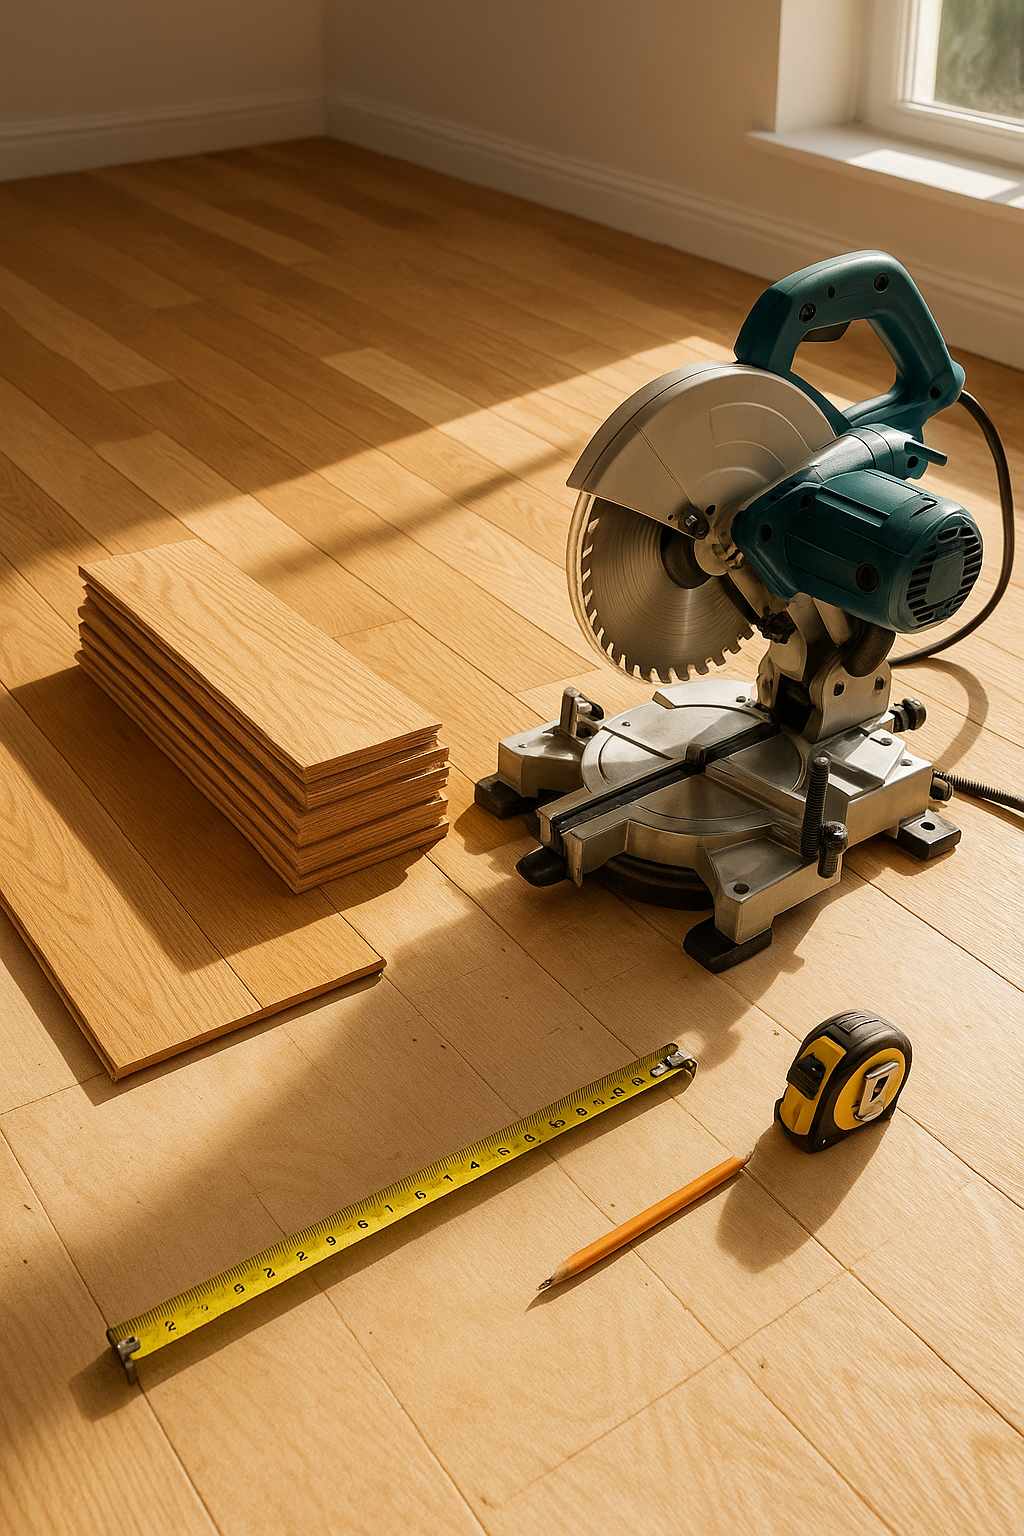
Preparing The Wood For Cutting
Preparing wood correctly helps you make clean and accurate cuts with a miter saw. Proper preparation also keeps you safe while working.
This section covers how to measure and mark the wood, secure it with clamps, and consider the wood grain before cutting.
Measuring And Marking
Measure the length you want to cut using a tape measure. Mark the cut line clearly with a pencil or chalk.
Double-check your measurements before cutting. Mark both sides of the wood if possible for better visibility.
- Use a straight edge to draw precise lines
- Mark the waste side to avoid mistakes
- Measure twice to ensure accuracy
Clamping Techniques
Clamping the wood firmly keeps it from moving during the cut. Use clamps that fit the size of your wood piece.
Place clamps close to the cutting area but not in the path of the saw blade. This provides stability and safety.
- Use a quick-release clamp for easy adjustments
- Clamp the wood to the saw’s fence or base
- Check that the wood does not wobble before cutting
Wood Grain Considerations
Look at the direction of the wood grain before cutting. Cutting with the grain reduces splintering and rough edges.
Cutting against the grain may cause the wood to chip or tear. Plan your cuts to follow the grain when possible.
- Identify the grain direction by looking at the wood surface
- Adjust your cut angle to match the grain flow
- Use a sharp blade to reduce splinters
Making Accurate Cuts
Using a miter saw correctly is key to making straight and precise cuts. Accurate cuts help your wood pieces fit well together.
Learn how to adjust the saw and use the fence to get clean, smooth edges every time.
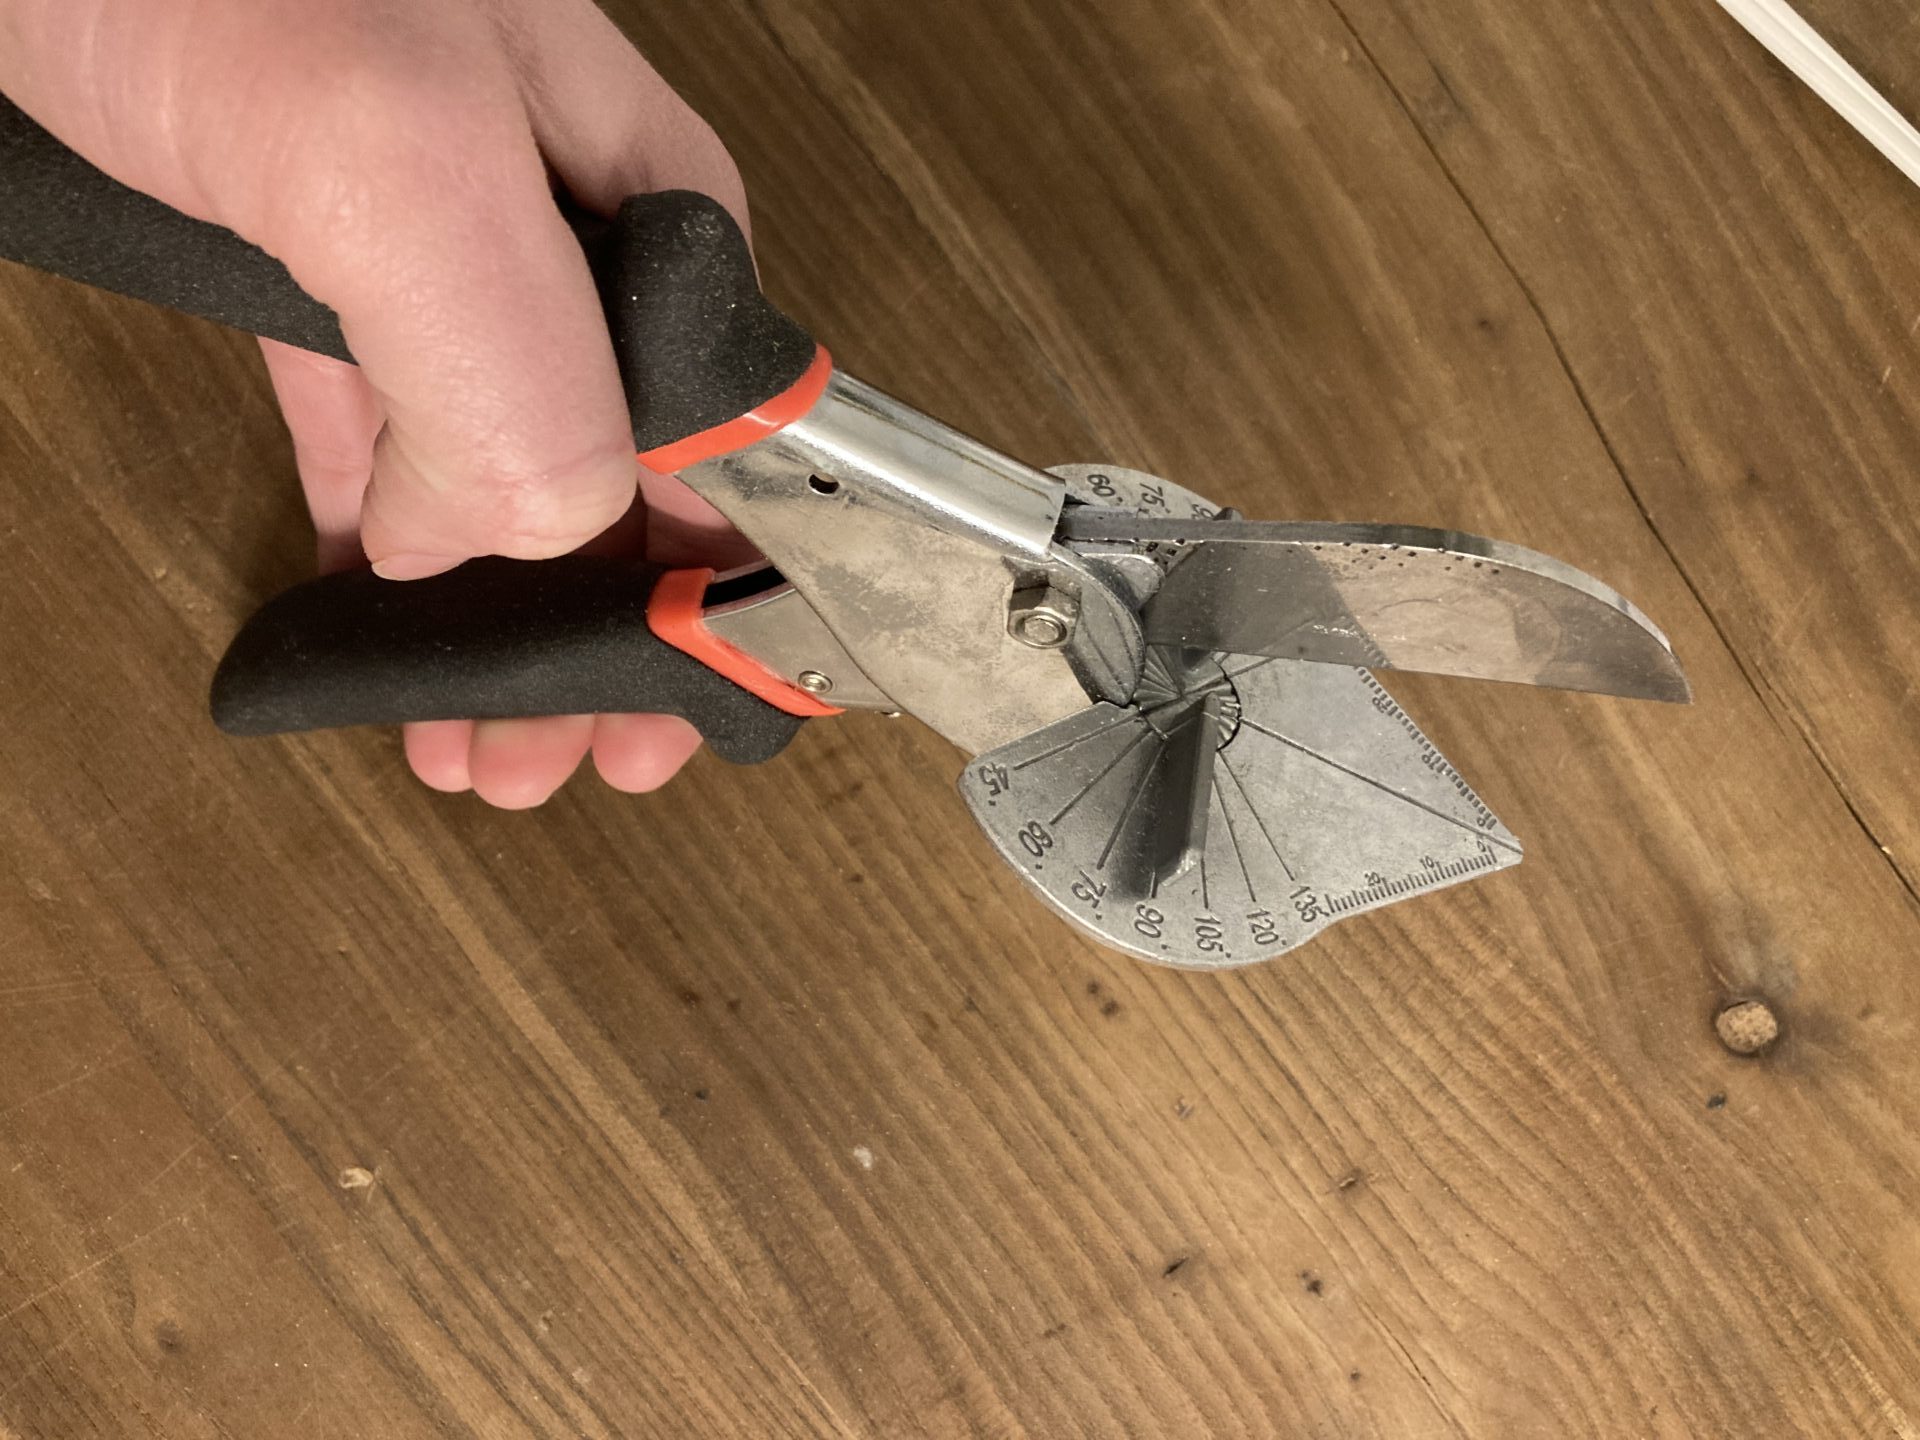
Adjusting Miter And Bevel Angles
Set the miter angle to cut wood at different horizontal angles. This helps create corners or frames.
The bevel angle changes the blade tilt for angled vertical cuts. Adjust it to match your project needs.
- Unlock the miter handle to turn the saw table left or right.
- Use the angle scale to pick the exact miter angle.
- Loosen the bevel knob to tilt the blade sideways.
- Set the bevel angle by reading the bevel scale.
- Lock both angles firmly before cutting.
Using The Fence Correctly
The fence supports your wood and helps keep it steady. Position it close to the blade for better control.
Hold the wood firmly against the fence to avoid movement. This improves cut accuracy and safety.
- Check the fence is square to the blade before starting.
- Place wood flat on the base and pressed against the fence.
- Use clamps for small or thin pieces to keep them steady.
- Keep your hands away from the blade path.
Cutting Techniques For Clean Edges
Start the saw before touching the wood. Slowly bring the blade down through the wood for smooth cuts.
Use a sharp blade and clean wood to reduce splintering. Let the blade stop before lifting it back up.
- Mark your cut line clearly on the wood.
- Align the blade with the mark before cutting.
- Cut slowly and steadily without forcing the blade.
- Do not twist or move the wood during the cut.
- Clean the sawdust from the blade and table regularly.
Common Mistakes To Avoid
Using a miter saw for trimming wood is simple if you avoid common errors. These mistakes can cause poor cuts and safety risks.
Knowing what to watch out for helps you work better and safer with your miter saw.
Misalignment Issues
One common mistake is not aligning the wood properly before cutting. Misalignment leads to uneven or angled cuts.
Always check the wood and saw angle twice before cutting. Use the miter gauge to set the correct angle.
- Make sure the wood is flat against the fence.
- Use clamps to hold the wood steady.
- Double-check the angle setting on the saw.
- Test cuts on scrap wood before trimming your project.
Improper Blade Usage
Using the wrong blade or a dull blade causes rough cuts and can damage the wood. It also strains the saw motor.
Choose a blade made for fine wood cutting. Replace or sharpen blades regularly for clean cuts.
- Check blade teeth count; more teeth mean smoother cuts.
- Use carbide-tipped blades for longer life.
- Replace blades if they are chipped or dull.
- Never use a blade that is not designed for wood.
Ignoring Safety Protocols
Skipping safety steps leads to accidents and injuries. Always follow safety rules when using a miter saw.
Wear safety gear and keep your hands away from the blade while cutting.
- Wear safety glasses to protect your eyes.
- Use ear protection to reduce noise damage.
- Keep fingers at least 6 inches from the blade.
- Make sure the saw is on a stable surface.
- Disconnect power before changing blades or making adjustments.

Credit: www.youtube.com
Maintenance And Care
Keeping your miter saw in good shape is important for safety and accuracy. Regular care helps your saw last longer and work better.
Simple maintenance tasks can prevent problems and save you time. This guide covers blade sharpening, cleaning, and proper storage.
Blade Sharpening And Replacement
A sharp blade cuts wood cleanly and safely. Dull blades cause rough cuts and strain the motor.
Check the blade often for dullness or damage. Replace it if it has missing teeth or is bent.
- Use a blade sharpener or take the blade to a professional.
- Always unplug the saw before changing the blade.
- Follow the saw’s manual for correct blade installation.
- Choose the right blade type for your wood and cuts.
Cleaning The Saw
Dust and debris can build up on your miter saw. This buildup reduces performance and can cause damage.
Clean the saw after each use to keep it working well. Use a brush or compressed air to remove sawdust.
- Wipe down the table and fence with a dry cloth.
- Clear dust from moving parts and vents.
- Use a small brush to clean tight spots.
- Check the blade guard and clean it if sticky.
Storing Your Miter Saw
Proper storage keeps your saw safe and ready to use. Store it in a dry, clean place away from moisture.
Cover the saw with a cloth or plastic cover to protect it from dust. Keep the blade in a safe position to avoid damage.
- Unplug and clean the saw before storing.
- Keep the saw on a stable surface or stand.
- Store blades separately in a dry case.
- Check for rust or damage regularly during storage.
Advanced Tips For Complex Trims
Using a miter saw for complex trims can improve your woodworking projects. Advanced techniques help you cut precise angles and shapes.
These tips focus on compound cuts, stop blocks, and combining cuts for the best results.
Compound Miter Cuts
Compound miter cuts use two angles at once. The saw tilts and rotates to cut both bevel and miter angles.
This technique is common for crown molding and complex trim work.
- Set the miter angle first on the saw’s base.
- Tilt the saw blade to the correct bevel angle.
- Make a test cut on scrap wood to check the fit.
- Adjust angles slightly if needed for a perfect joint.
Using Stop Blocks
Stop blocks help you make multiple cuts of the same length. This keeps your trim pieces consistent.
Attach a stop block to your saw’s fence or workbench to save time and reduce errors.
- Clamp the stop block firmly in place.
- Measure the first piece accurately before cutting.
- Use the stop block to guide the wood for each cut.
- Check each piece quickly to ensure uniform length.
Combining Cuts For Precision
Complex trims often need more than one cut on the same piece. Combining cuts improves precision and fit.
Plan your cuts carefully to avoid mistakes and wasted wood.
- Mark all cut lines clearly on the wood.
- Start with the longest or most angled cut first.
- Use the miter saw’s angle settings for each cut.
- Test fit the pieces before final assembly.
Credit: easiklip.com
Frequently Asked Questions
How Do I Set Up A Miter Saw For Trimming Wood?
To set up a miter saw, place it on a stable surface. Adjust the fence and blade angle to the desired cut. Ensure the wood is securely clamped before trimming for safety and precision.
What Safety Gear Is Needed When Using A Miter Saw?
Always wear safety goggles, ear protection, and a dust mask. Use gloves for hand protection. Ensure the work area is well-lit and free of distractions to prevent accidents.
How Do I Make Accurate Miter Cuts On Wood?
Measure and mark the wood precisely. Adjust the miter saw to the correct angle. Hold the wood firmly and make a slow, steady cut for accuracy.
Can I Trim Different Types Of Wood With A Miter Saw?
Yes, a miter saw can trim softwood, hardwood, plywood, and MDF. Use the appropriate blade for each type to ensure clean cuts and avoid damage.
Conclusion
Using a miter saw for wood trimming is simple with practice. Always measure twice before cutting to avoid mistakes. Keep the saw blade sharp and clean for better results. Hold the wood firmly and cut slowly for safety. Remember to wear safety gear while working.
With these steps, your wood projects will look neat and professional. Practice often to build confidence and skill. Enjoy creating with your miter saw!