
Are you tired of struggling with rough wood surfaces? Does achieving that perfect, smooth finish seem like a distant dream?
You’re not alone. Many DIY enthusiasts and even seasoned woodworkers face this exact challenge. But here’s the good news: mastering the art of using a belt sander can transform your woodworking projects from ordinary to extraordinary. Imagine effortlessly gliding your hand across a perfectly smooth, professional-looking surface.
That’s the power of a belt sander in action. In this guide, we’ll walk you through the steps of using a belt sander to achieve those smooth wood surfaces you’ve been longing for. Get ready to unlock the secrets that will elevate your woodworking skills and bring your projects to life. Curious to learn how? Keep reading and discover the key to perfecting your craft.

Credit: www.homebuilding.co.uk
Choosing The Right Belt Sander
Using a belt sander can make your wood surfaces very smooth. Picking the right sander is key for good results. You need to know about types, grit levels, and safety features.
This guide helps you choose the best belt sander for your woodworking projects. Learn what to look for before you buy or use one.
Types Of Belt Sanders
There are several types of belt sanders. Each works best for different tasks. Choose one based on your project size and detail needs.
- Handheld Belt Sanders:Portable and good for small to medium jobs.
- Stationary Belt Sanders:Fixed in place, used for larger pieces and heavy work.
- Detail Belt Sanders:Smaller belts for tight spaces and fine sanding.
- Drum Sanders:Large machines for sanding wide boards evenly.
Selecting The Right Grit
The grit of the belt affects how smooth the wood will be. Coarse grits remove wood fast but leave scratches. Fine grits smooth the surface but take longer.
| Grit Size | Use |
| 40-60 | Remove paint or rough wood fast |
| 80-100 | General sanding and shaping |
| 120-150 | Finish sanding for smooth surfaces |
| 180+ | Final polish and fine detail |
Safety Features To Look For
Safety is important when using a belt sander. Look for these features to protect yourself and others.
- Automatic belt tracking to keep the belt centered
- Dust collection port to reduce dust and keep air clean
- Ergonomic handles to keep a good grip and control
- Safety switch to prevent accidental start
- Sturdy casing to protect the motor and user
Preparing Your Workspace
Preparing your workspace is important before using a belt sander. A clean and safe area helps you work better and avoid accidents.
Take time to set up everything properly. This makes sanding smooth and easier to control.
Clearing And Securing The Wood
Remove all objects from your work area. Clear any tools, nails, or screws that could damage the sander or wood.
Secure the wood firmly to a stable surface. Use clamps to keep it from moving while sanding.
- Clear the table or workbench
- Check the wood for nails or staples
- Use clamps to hold the wood steady
- Make sure the wood does not wobble
Setting Up Dust Collection
Sanding creates a lot of dust. This dust can make your workspace dirty and harm your lungs.
Attach a dust bag or connect the sander to a vacuum system. This helps collect dust as you work.
- Use the dust bag that comes with the sander
- Connect the sander to a shop vacuum if possible
- Keep your workspace well-ventilated
- Clean dust regularly to avoid buildup
Wearing Proper Safety Gear
Wear safety gear to protect yourself from dust and debris. This keeps you safe during sanding.
Always wear eye protection, a dust mask, and hearing protection. Gloves can protect your hands from splinters.
- Safety glasses or goggles
- Dust mask or respirator
- Ear plugs or earmuffs
- Protective gloves
Setting Up The Belt Sander
Using a belt sander properly starts with setting it up right. Good setup helps you get smooth wood surfaces safely and quickly.
Check the belt sander parts before you start. Make sure everything is clean and ready to use.
Installing The Sanding Belt
First, unplug the sander to stay safe. Remove the cover that holds the sanding belt in place.
Put the new sanding belt on the rollers. Make sure the arrows on the belt match the sander’s direction.
Replace the cover and lock it securely. Check if the belt sits flat without twists or wrinkles.
Adjusting Belt Tension And Tracking
Tension keeps the belt tight. Use the tension lever or knob to adjust it. The belt should not slip or sag.
Tracking controls the belt’s path on the rollers. Turn the tracking knob slowly while running the sander.
- Watch the belt move in the center of the rollers
- Stop if the belt moves off the roller edges
- Adjust the tracking knob until the belt stays centered
Choosing The Correct Speed
Set the speed based on the wood type and sanding task. Hard woods need slower speed to avoid damage.
Soft woods and rough sanding can use higher speed for faster results. Change speed with the dial or switch.
- Low speed for fine sanding and finishing
- Medium speed for general sanding
- High speed for quick material removal
Sanding Techniques For Smooth Surfaces
Using a belt sander correctly helps create smooth wood surfaces. It removes rough patches quickly and evens out the wood grain. This guide covers key techniques to improve your sanding results.
Follow these tips to avoid common sanding problems and get a clean, smooth finish every time.
Starting With Coarse Grit
Begin sanding with coarse grit sandpaper to remove large imperfections. This grit cuts wood fibers faster but leaves rough marks. It prepares the surface for finer sanding steps.
- Attach the coarse grit belt securely to the sander.
- Keep the sander moving to avoid gouges.
- Sand only until major rough spots are gone.
- Switch to finer grits for smoothing.
Maintaining Even Pressure
Apply steady, even pressure on the belt sander. Pressing too hard can damage wood or wear out the sandpaper quickly. Too little pressure slows the work and leaves uneven surfaces.
| Pressure Level | Effect on Wood | Effect on Sandpaper |
|---|---|---|
| Light | Uneven sanding, slow progress | Longer belt life |
| Moderate | Even sanding, smooth finish | Optimal belt wear |
| Heavy | Gouges, burns wood | Fast wear, belt damage |
Sanding With The Grain
Always sand in the direction of the wood grain. This method prevents scratches and helps the surface look natural. Moving against the grain leaves marks that are hard to remove.
- Identify the grain direction before sanding.
- Keep the sander aligned with the grain.
- Use long, smooth strokes for best results.
- Check your work often to avoid cross-grain marks.
Avoiding Common Mistakes
Many beginners make avoidable errors when using a belt sander. Recognizing these mistakes can save time and protect your wood projects.
- Holding the sander in one spot too long.
- Using worn or incorrect grit belts.
- Ignoring dust collection and cleanup.
- Not securing the wood firmly.
- Skipping finer grit sanding stages.
Finishing Touches
Using a belt sander gets your wood mostly smooth. The final steps make the surface perfect. These steps help remove small scratches and prepare the wood for finish.
Paying attention to detail in the last stage makes a big difference. Sanding by hand and cleaning the wood are important before finishing.
Switching To Finer Grits
After rough sanding, change to finer grit belts. Finer grits smooth out the deep scratches left by coarse belts. This step makes the surface ready for hand sanding or finishing.
Start with a medium grit like 120, then move to 180 or 220 grit. Use light pressure to avoid uneven sanding.
- Use 80 grit for initial sanding
- Switch to 120 grit for smoothing
- Finish with 180 or 220 grit for a fine surface
Hand Sanding For Detail
Some areas are hard to reach with a belt sander. Sand these spots by hand using fine sandpaper. This helps you smooth corners and edges carefully.
Use a sanding block to keep pressure even. Sand with the grain to avoid scratches. Take your time to get a clean, smooth finish.
- Use 220 grit sandpaper for hand sanding
- Sand gently along the wood grain
- Focus on edges and tight spots
Cleaning The Wood Surface
Remove all dust and debris before applying any finish. Dust can ruin the look and feel of the wood. Use a soft brush or cloth to clean the surface well.
You can also use a vacuum or tack cloth to pick up fine dust. Clean wood helps finishes stick better and look clearer.
- Brush off loose dust with a soft brush
- Vacuum the surface if possible
- Use a tack cloth to remove fine dust
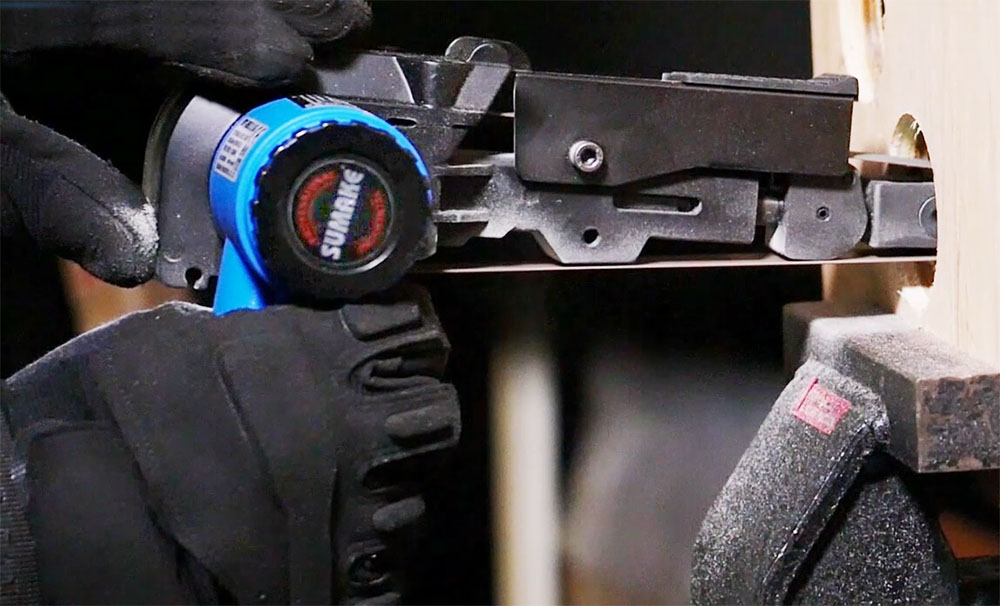
Credit: www.sumake.com
Maintaining Your Belt Sander
Keeping your belt sander in good shape helps you get smooth wood surfaces. Regular care stops problems and makes the tool last longer.
Follow simple maintenance tips to keep your sander working well every time you use it.
Cleaning And Storage Tips
Clean your belt sander after each use. Remove dust and wood chips from the belt and motor area. Use a soft brush or compressed air for cleaning.
Store your sander in a dry place. Keep it away from moisture and dirt. Use a case or cover to protect it from dust.
- Unplug before cleaning
- Clear dust from belt and vents
- Keep in a dry, clean area
- Cover to prevent dust buildup
Replacing Worn Belts
Check the sanding belt often for wear and damage. A worn belt will not sand smoothly. Replace it right away to keep your work clean.
To replace the belt, unplug the sander first. Release the belt tension lever. Remove the old belt and put on a new one. Align it properly before tightening.
- Unplug the sander
- Release tension lever
- Remove old belt
- Install new belt and align
- Tighten tension lever
Troubleshooting Common Issues
If your sander stops or slows down, check for belt slippage or motor problems. A slipping belt may need adjustment or replacement.
Listen for unusual sounds. They might mean worn bearings or loose parts. Tighten screws and replace parts if needed.
- Sander won’t start: Check power and switch
- Belt slips: Adjust tension or replace belt
- Unusual noise: Tighten screws or replace parts
- Overheating: Clean vents and avoid long use

Credit: www.familyhandyman.com
Frequently Asked Questions
How Do I Choose The Right Belt Sander Grit?
Choose a grit based on your project needs. Use coarse grit (40-60) for heavy sanding. Medium grit (80-120) works for smoothing surfaces. Fine grit (150-220) is ideal for finishing and polishing wood.
What Safety Gear Is Needed When Using A Belt Sander?
Always wear safety goggles to protect your eyes. Use a dust mask to avoid inhaling wood particles. Hearing protection is also recommended due to noise. Wear gloves for a better grip and to protect your hands.
How Do I Prevent Gouging Wood With A Belt Sander?
Keep the sander moving steadily without pressing too hard. Avoid staying too long in one spot. Use the correct grit for the job. Maintain a flat sanding base to ensure even surface contact.
Can A Belt Sander Be Used On Finished Wood?
Yes, but use fine grit to avoid removing too much finish. Sand lightly to smooth imperfections without damaging the surface. Always test on a small area first to ensure desired results.
Conclusion
Using a belt sander helps create smooth wood surfaces quickly. Always follow safety tips and sand evenly for best results. Start with coarse grit and finish with fine grit paper. Keep the sander moving to avoid damage or uneven spots.
Practice on scrap wood before working on your project. With patience and care, sanding becomes easier and your wood looks great. Try these steps and enjoy smooth, clean wood every time.