Are you tired of searching through a cluttered mess of tools to find the right hammer when you need it? Organizing your hammers on racks isn’t just about tidiness—it’s about saving time, reducing frustration, and even improving safety in your workspace.
Imagine reaching effortlessly for the exact hammer you need, every single time. This article will guide you through simple yet effective steps to organize your hammers, ensuring that your workspace becomes a more efficient, pleasing environment. Stick around to discover how an orderly setup can transform your tool management experience.

Credit: www.amazon.ca
Choosing The Right Hammer Rack
Organizing hammers makes your workspace safer and more efficient. Choosing the right hammer rack helps keep tools in place.
Pick a rack that fits your needs and space. Consider the type, material, and size before buying.
Types Of Hammer Racks
Hammer racks come in different styles to hold your tools securely. Some racks hang on walls, while others sit on benches.
Common types include pegboards, magnetic strips, and wooden racks. Each type offers unique benefits for organizing hammers.
- Pegboards:Hooks hold hammers on a perforated board.
- Magnetic strips:Strong magnets keep metal hammers in place.
- Wooden racks:Custom slots or holes fit hammer handles.
Material Considerations
Choose a durable material to support your hammers safely. The rack should resist wear and damage over time.
Metal racks are strong and last long. Wood racks look nice and offer gentle support. Plastic racks are lightweight but less sturdy.
- Metal:Heavy-duty and durable
- Wood:Classic look and gentle on tools
- Plastic:Lightweight and budget-friendly
Size And Capacity
Measure the space where you want to place the rack. Choose a rack size that fits well and holds all your hammers.
Check the rack’s capacity for how many hammers it holds. Avoid overcrowding to keep tools easy to grab and put away.
- Measure wall or bench space before buying
- Count your hammers to pick the right capacity
- Allow extra space for future tools
Preparing Your Workspace
Organizing hammers on racks starts with a clean workspace. A tidy area helps you work faster and safer.
Preparing your space well sets the stage for neat and easy tool storage.
Clearing And Cleaning The Area
Remove all items from your workspace. Clear the racks and surrounding space fully.
Clean dust and dirt from shelves and walls. Use a damp cloth or a mild cleaner.
- Take out old tools and debris
- Wipe down racks and nearby surfaces
- Sweep or vacuum the floor area
- Check for any damages or weak spots
Gathering Necessary Tools
Collect all tools you need to organize your hammers. Having the right tools saves time and effort.
Common tools include screwdrivers, nails, screws, and measuring tape.
- Screwdriver or drill
- Measuring tape or ruler
- Nails, screws, or hooks
- Hammer holder or rack parts
- Safety gloves and glasses
Mounting The Hammer Rack
Mounting a hammer rack properly keeps your tools safe and easy to reach. A secure rack also prevents damage to your hammers and walls.
Pay attention to where and how you install the rack. This guide covers height, anchors, screws, and stability tips.
Optimal Height And Placement
Place the hammer rack where you can grab tools without stretching or bending too much. The right height saves time and effort.
- Mount the rack between waist and shoulder height for easy access.
- Choose a wall near your workspace to reduce walking distance.
- Avoid placing the rack where it blocks doors or walkways.
- Make sure there is enough space to hang and remove hammers easily.
Using Anchors And Screws
Use the right anchors and screws for your wall type to hold the rack firmly. This prevents the rack from pulling out or wobbling.
| Wall Type | Recommended Anchor | Screw Type |
| Drywall | Toggle or Molly anchors | Wood screws, 2 to 3 inches |
| Concrete | Plastic or metal masonry anchors | Concrete screws or lag bolts |
| Wood Stud | No anchor needed | Wood screws, 2 to 3 inches |
Ensuring Stability
Check the rack’s stability after mounting. Tighten screws and test the rack with weight before using it regularly.
- Use a level to keep the rack straight during installation.
- Tighten all screws securely but avoid over-tightening.
- Test the rack by hanging several hammers to check for movement.
- Re-check and tighten screws every few months for safety.

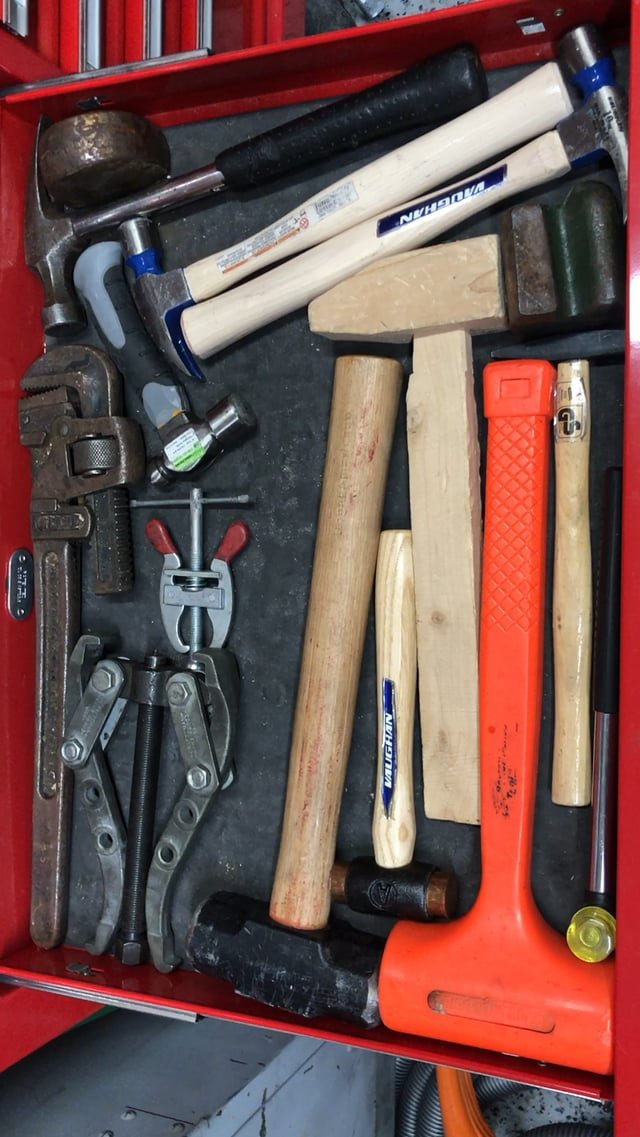
Credit: www.reddit.com
Arranging Hammers For Easy Access
Organizing hammers on racks helps you find the right tool fast. A neat rack keeps your workspace safe and tidy.
Good organization means arranging hammers by type, size, and using labels. Hooks and holders make storage simple.
Organizing By Type And Size
Group hammers by their type, like claw hammers, ball-peen, or sledgehammers. This helps you pick the right hammer quickly.
Arrange hammers from smallest to largest within each type. Size order makes your rack look neat and easy to use.
- Claw hammers: small to medium size
- Ball-peen hammers: light to heavy
- Sledgehammers: by weight and handle length
Labeling Techniques
Label each section or hook to show hammer type and size. Clear labels save time when searching for tools.
Use simple labels with big, readable fonts. You can use printed stickers or write on small boards.
- Label by hammer type (claw, ball-peen, sledge)
- Include size or weight on the label
- Use waterproof materials for durability
Using Hooks And Holders
Hooks and holders keep hammers in place and easy to grab. They prevent clutter and damage to the tools.
Choose hooks that fit hammer handles well. Holders with slots or clips also work great for different hammer types.
- Use sturdy hooks for heavier hammers
- Place hooks at comfortable heights
- Try holders with slots for smaller hammers
- Leave space between hammers to avoid damage
Maximizing Space Efficiency
Organizing hammers on racks saves space and keeps your workspace tidy. Using the right storage method helps you find tools quickly.
This guide covers vertical and horizontal storage, stackable racks, and multi-tool options to maximize your space.
Vertical Vs Horizontal Storage
Vertical storage holds hammers upright on the wall or rack. Horizontal storage places hammers side by side on shelves or racks.
- Vertical racks save floor space and keep handles easy to grab.
- Horizontal racks hold more tools in a row but need more wall width.
- Choose vertical if you have limited floor space.
- Pick horizontal if wall space is wide and easy to reach.
Stackable And Modular Solutions
Stackable racks let you add layers of storage vertically. Modular racks allow you to change the layout as your tool collection grows.
| Feature | Benefit |
| Stackable Design | Uses vertical space efficiently |
| Modular Parts | Customizes storage size and shape |
| Easy Assembly | Quickly adds or removes sections |
Incorporating Multi-tool Racks
Multi-tool racks hold different tools along with hammers. This saves space and keeps many tools in one place.
- Use slots sized for each tool type
- Label each spot for easy tool return
- Place frequently used tools near the center
- Keep heavier tools on lower racks for safety
Maintaining Your Hammer Rack
Keeping your hammer rack clean and organized helps extend its life. Regular care makes sure your tools stay safe and easy to find.
Check your rack often to catch any problems early. Small fixes save time and money later.
Regular Cleaning Tips
Dust and dirt can build up on your hammer rack. Clean it often to stop rust and damage.
- Wipe the rack with a dry cloth weekly
- Use a damp cloth to remove stubborn dirt
- Dry the rack completely after cleaning
- Avoid harsh chemicals that may harm the rack
- Keep the rack in a dry place to prevent rust
Inspecting For Wear And Damage
Look closely at your hammer rack for signs of wear. Check hooks, shelves, and supports for cracks or bends.
Fix small problems before they become bigger. Replace broken parts if needed to keep your rack strong.
- Check for loose or missing screws
- Look for rust or corrosion spots
- Test hooks to make sure they hold hammers safely
- Replace bent or broken holders quickly
- Tighten any loose fittings to keep the rack stable
Updating Organization As Needed
Your collection of hammers may grow or change over time. Adjust your rack to fit new tools and keep it neat.
Rearrange hammers by size or type to find them faster. Remove tools you no longer use to free space.
- Group hammers by size or purpose
- Label sections to stay organized
- Remove old or broken hammers
- Add extra hooks or holders if needed
- Keep frequently used hammers easy to reach

Credit: www.reddit.com
Frequently Asked Questions
How Do I Choose The Best Hammer Rack?
Select a rack that fits your hammer sizes and workshop space. Look for sturdy materials and easy accessibility to keep tools organized and safe.
What Is The Ideal Hammer Rack Height?
Place the rack at a comfortable reach, usually between waist and chest height. This prevents strain and allows quick, safe hammer access.
Can I Use Magnetic Strips For Hammer Storage?
Yes, magnetic strips hold hammers securely and save space. Ensure the magnets are strong enough to support hammer weight safely.
How To Prevent Hammer Damage On Racks?
Use racks with padded hooks or individual slots. This prevents metal-on-metal contact and keeps hammers in good condition.
Conclusion
Organizing hammers on racks keeps your workspace neat and safe. It saves time when you need the right tool quickly. Using racks also protects your hammers from damage. Choose a rack that fits your space and hammer types. Keep heavier hammers lower and lighter ones higher for balance.
Regularly check and adjust your setup for better efficiency. A simple rack system makes your work easier every day. Try these tips and enjoy a tidy, organized tool area.