If you want your furniture to look smooth, polished, and brand new, mastering the best sanding techniques is a must. Sanding isn’t just about rubbing wood; it’s the secret step that prepares your furniture for a flawless finish.
Whether you’re fixing a worn-out chair or creating a custom piece, knowing how to sand properly will save you time and frustration. You’ll discover simple, effective methods that anyone can use to achieve professional-looking results. Ready to transform your furniture and impress everyone with your skills?
Let’s dive in and get started!
Credit: www.familyhandyman.com
Choosing The Right Sandpaper
Using the right sandpaper is key to good furniture sanding. It helps you smooth wood without damage. Knowing which sandpaper to pick saves time and effort.
This guide explains grit levels, types for materials, and when to change your sandpaper.
Grit Levels Explained
Sandpaper comes in different grit levels. The grit number shows how rough the paper is. Lower numbers mean rougher paper. Higher numbers mean finer paper.
- Coarse grit (40-60) removes old finishes fast.
- Medium grit (80-120) smooths rough wood surfaces.
- Fine grit (150-220) prepares wood for finishing.
- Extra fine grit (240 and up) polishes the surface.
Material-specific Sandpaper
Different materials need different sandpapers. Wood, metal, and plastic require special types to avoid damage.
| Material | Recommended Sandpaper Type |
| Softwood | Aluminum oxide grit |
| Hardwood | Silicon carbide grit |
| Metal | Emery cloth or silicon carbide |
| Plastic | Wet/dry sandpaper |
When To Replace Sandpaper
Old sandpaper loses its grit and clogs easily. Using worn sandpaper can damage your project.
- Replace if it feels smooth or shiny.
- Change if sanding takes longer than usual.
- Swap when paper tears or wrinkles.
- Use fresh sandpaper for best finish results.
Credit: www.ecohome.net
Hand Sanding Tips
Hand sanding is a simple way to smooth furniture surfaces. It lets you work carefully on small areas and corners.
Using the right techniques can help you get a fine finish without damaging the wood.
Proper Sanding Motion
Use even, gentle strokes to sand your furniture. Move the sandpaper in the direction of the wood grain. This avoids scratches that cross the grain.
- Hold the sandpaper firmly but not too tight.
- Use long, smooth strokes along the grain.
- Keep your hand moving to avoid uneven spots.
- Check your progress often to prevent over-sanding.
Avoiding Surface Damage
Protect the wood surface by using the right grit sandpaper. Start with a coarser grit, then switch to finer grits for a smooth finish. Too much pressure can leave marks or dents.
| Grit Type | Use For |
| Coarse (60-80) | Removing old finish or rough areas |
| Medium (100-150) | Smoothing out scratches |
| Fine (180-220) | Final sanding before finishing |
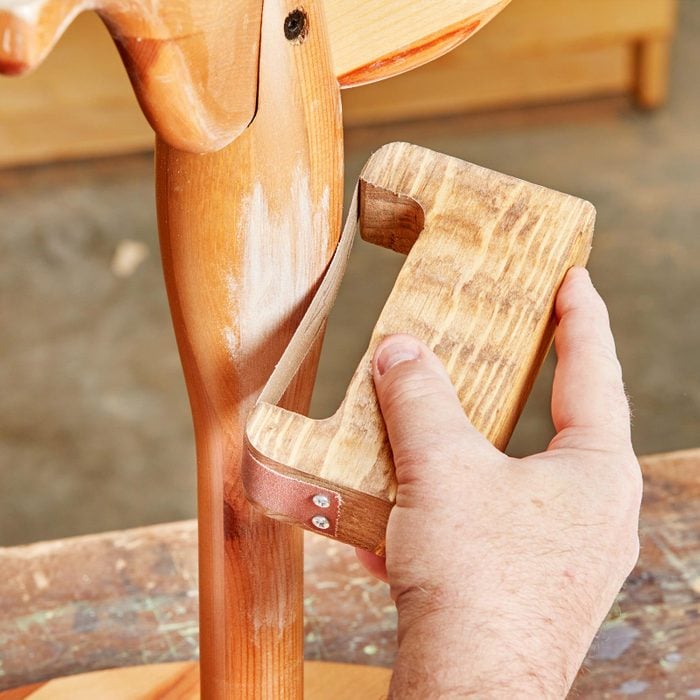
Using Sanding Blocks
Sanding blocks help you keep even pressure. They make sanding flat surfaces easier and prevent fingers from causing dents.
- Wrap sandpaper around a soft wood or foam block.
- Use the block to keep the sandpaper flat on the surface.
- Replace sandpaper often for best results.
- Use smaller blocks or sponges for curved or detailed areas.
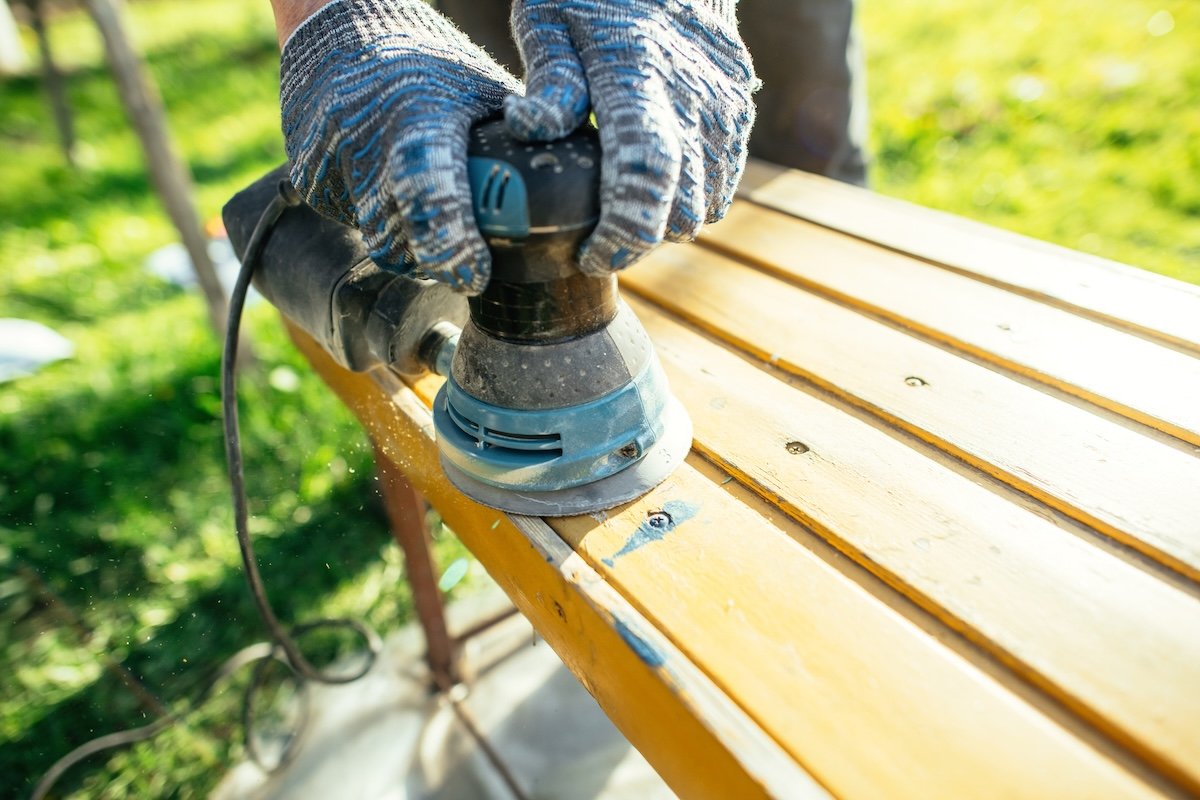
Power Sanding Techniques
Power sanding helps finish furniture faster than hand sanding. It smooths surfaces and removes old finishes quickly.
Using the right techniques keeps the wood safe and gives you a clean result. Learn how to use power sanders well.
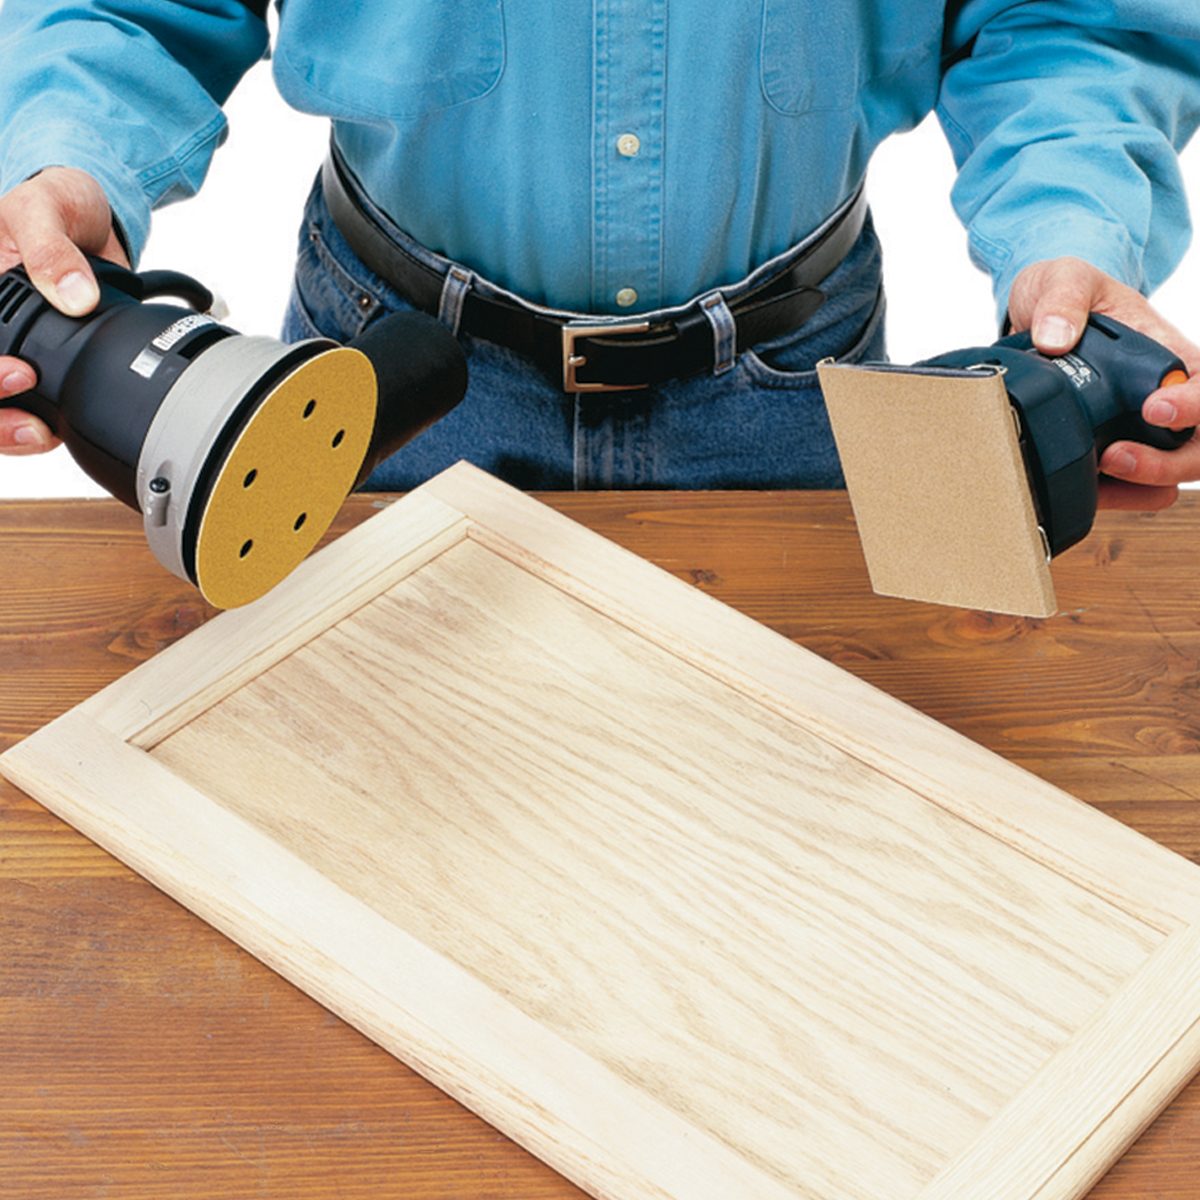
Selecting The Right Sander
There are many sanders. Choose one based on your project size and detail needed. Orbital and belt sanders are common.
- Orbital Sander:Good for fine finishing and small areas.
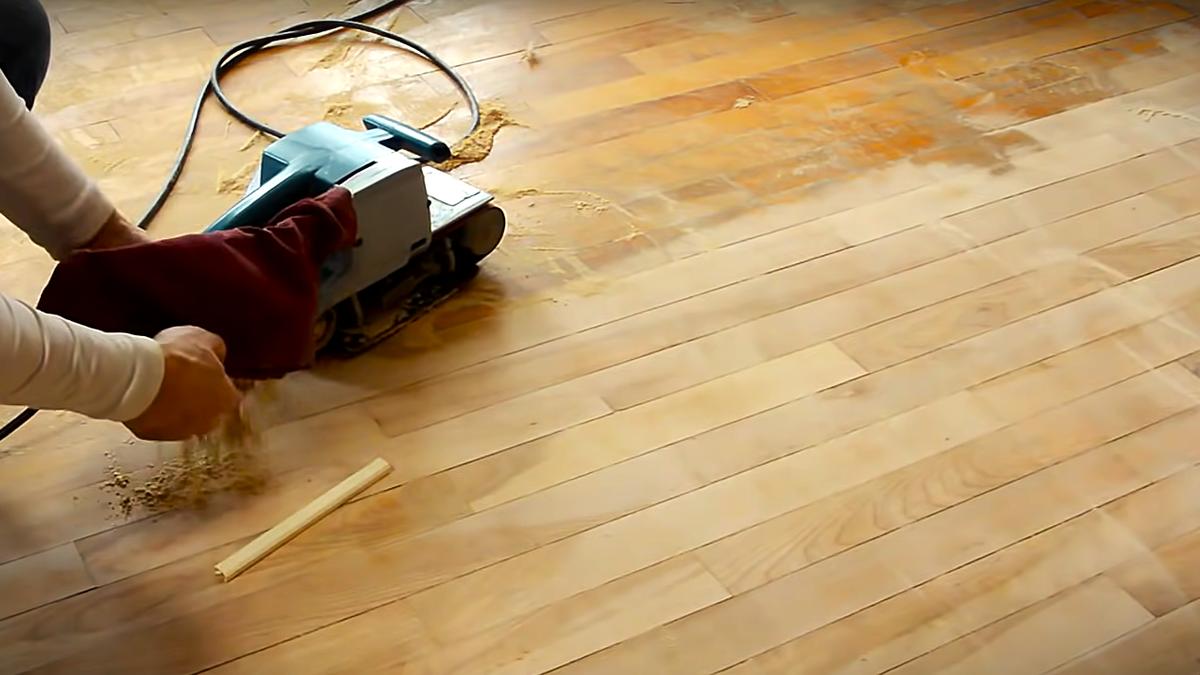
- Belt Sander:Best for removing rough material fast on large surfaces.
- Detail Sander:Useful for tight corners and edges.
- Random Orbital Sander:Combines speed and smooth finish with less risk of marks.
Controlling Speed And Pressure
Adjust speed to avoid damage. Too fast can burn wood or leave marks. Use medium speed for most jobs.
| Speed Setting | Use |
| Low | Fine sanding and delicate wood |
| Medium | General sanding on most surfaces |
| High | Removing old paint or rough shaping |
Apply light to moderate pressure. Pressing too hard can cause uneven surfaces. Let the sander do the work.
Safety Precautions
Wear safety glasses to protect eyes from dust and debris. Use a dust mask to avoid breathing fine particles.
- Check cords and plugs before use.
- Work in a well-ventilated area.
- Keep fingers away from sanding surfaces.
- Unplug sander when changing sandpaper.
Sanding Different Wood Types
Sanding wood is a key step in making furniture smooth and ready for finishing. Different woods need different sanding techniques. Knowing how to sand each type helps protect the wood and improve the final look.
This guide covers sanding softwoods and hardwoods, working with grain patterns, and handling veneered surfaces. Use the right approach for each to get the best results.
Softwoods Vs Hardwoods
Softwoods like pine and cedar are easier to sand but can dent easily. Hardwoods such as oak and maple are tougher and need more sanding effort. Choose the right sandpaper grit for each type.
Start with medium grit sandpaper for softwoods. For hardwoods, begin with coarse grit then move to finer grits. Always sand gently to avoid damaging the wood surface.
- Softwoods: Use 120 to 150 grit sandpaper
- Hardwoods: Start with 80 to 100 grit, finish with 180 grit
- Sand along the wood grain to avoid scratches
Dealing With Grain Patterns
Wood grain direction affects how sanding should be done. Sanding against the grain can cause scratches and rough patches. Follow the grain for smooth results.
Some woods have uneven grain patterns like oak or ash. Use a light touch and fine grit sandpaper to avoid tear-out. Always check your progress often while sanding.
- Sanding with the grain prevents scratches
- Use fine grit sandpaper on uneven grain
- Light pressure reduces tear-out
Handling Veneered Surfaces
Veneered furniture has a thin wood layer glued on top of a base. Sanding too hard can remove this thin layer. Use very fine sandpaper and gentle strokes.
Test sanding a small hidden area first. Avoid electric sanders that remove wood fast. Hand sanding is best to control pressure and avoid damage.
- Use 220 grit or finer sandpaper
- Sanding by hand is safer than power tools
- Test on a hidden spot before sanding all over
Preparing For Finishing
Sanding furniture is an important step before finishing. It smooths the surface and removes old finishes.
Good preparation helps the finish stick better and look nicer. Clean and dry wood is easier to work with.
Final Sanding Steps
Use fine-grit sandpaper for the last sanding pass. This removes small scratches and makes the wood smooth.
Sand lightly with the grain to avoid marks. Check the surface under bright light to find rough spots.
Cleaning Dust And Debris
Remove all dust after sanding. Dust can cause bumps or roughness in the finish.
- Use a vacuum with a brush attachment to clean the surface.
- Wipe the wood with a damp cloth or tack cloth to pick up fine dust.
- Make sure the wood is dry before applying any finish.
Moisture Testing
Check the wood’s moisture level before finishing. Wet wood can cause finish problems like peeling.
- Use a moisture meter to get an accurate reading.
- Wood moisture should be below 12% before finishing.
- If the wood is too wet, let it dry in a warm, dry place.
Common Sanding Mistakes To Avoid
Sanding is an important step when working on furniture. It helps create a smooth surface for painting or staining.
Avoiding common mistakes can save you time and improve your results. Learn what to watch out for during sanding.
Over-sanding Issues
Sanding too much can damage the wood surface. It can make the wood too thin or create unwanted dips.
Over-sanding may also remove the wood’s natural texture, making finishes look uneven or blotchy.
Uneven Surfaces
Uneven sanding leaves rough spots or high and low areas on furniture. This affects the final look and feel.
Uneven surfaces can cause paint or stain to pool in low spots and not stick well on high spots.
- Check your work often under good light
- Use sanding blocks to keep pressure even
- Sand in smooth, consistent strokes
Ignoring Grain Direction
Sanding against the wood grain can cause scratches that show through finishes. Always sand with the grain.
Following the grain keeps the surface smooth and helps finishes look their best.
Credit: www.familyhandyman.com
Frequently Asked Questions
What Grit Sandpaper Is Best For Furniture Sanding?
Start with coarse grit (80-120) to remove old finish. Progress to medium grit (150-180) for smoothing. Finish with fine grit (220-320) for a polished surface. This ensures a smooth, even finish and prepares wood for staining or painting.
How Do I Sand Curved Or Detailed Furniture Surfaces?
Use flexible sanding sponges or folded sandpaper for curves. Sand gently to avoid damaging details. Small sanding blocks or hand sanding work best for intricate areas, allowing better control and preserving the furniture’s shape.
Should I Sand Furniture Before Or After Applying Primer?
Always sand before applying primer to remove rough spots. Lightly sand after primer dries to smooth imperfections. This process ensures better paint adhesion and a flawless finish for your furniture project.
Can I Use An Electric Sander On All Furniture Types?
Electric sanders work well on flat, sturdy surfaces. Avoid using them on delicate or intricate furniture to prevent damage. Hand sanding is safer for detailed areas, while electric sanders save time on large, smooth surfaces.
Conclusion
Sanding furniture brings beauty and smoothness to your pieces. It requires patience and care. Different techniques suit different furniture types. Start with rough grit; finish with fine. Always sand with the wood grain. Use the right tools for best results.
Practice makes perfect, so don’t rush. Sanding well increases your furniture’s life and appearance. Regular maintenance keeps pieces looking new. Enjoy the process and the results. Transform your furniture, one stroke at a time. Happy sanding!