If you want to build strong, precise frames quickly, mastering framing techniques with a nail gun is a game-changer. Imagine cutting your work time in half while making your projects look professional and sturdy.
Whether you’re a DIY enthusiast or a budding contractor, knowing how to use a nail gun properly can boost your confidence and skills. You’ll discover simple tips and tricks that make framing faster, safer, and more accurate. Ready to take your building skills to the next level?
Keep reading to unlock the secrets of framing like a pro.
Choosing The Right Nail Gun
Picking the right nail gun helps make framing faster and safer. You need a tool that fits your project and skill level.
This guide covers the types of nail guns, power sources, and nail sizes for framing work.
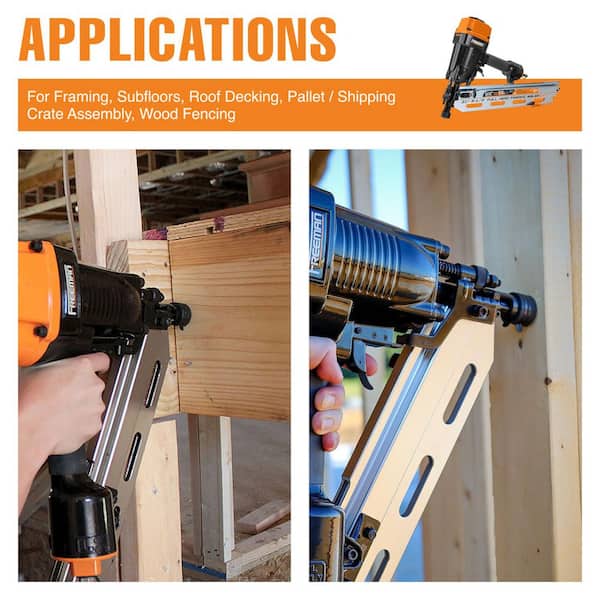
Types Of Nail Guns For Framing
Framing nail guns drive large nails to join wood parts. The main types include coil, stick, and clipped head nailers.
Coil nail guns hold many nails in a coil. Stick nail guns use straight strips of nails. Clipped head nailers use smaller heads for tight spacing.
- Coil Nail Guns:Good for long jobs with many nails.
- Stick Nail Guns:Easier to reload and lighter to handle.
- Clipped Head Nailers:Fit more nails on a strip for framing walls.
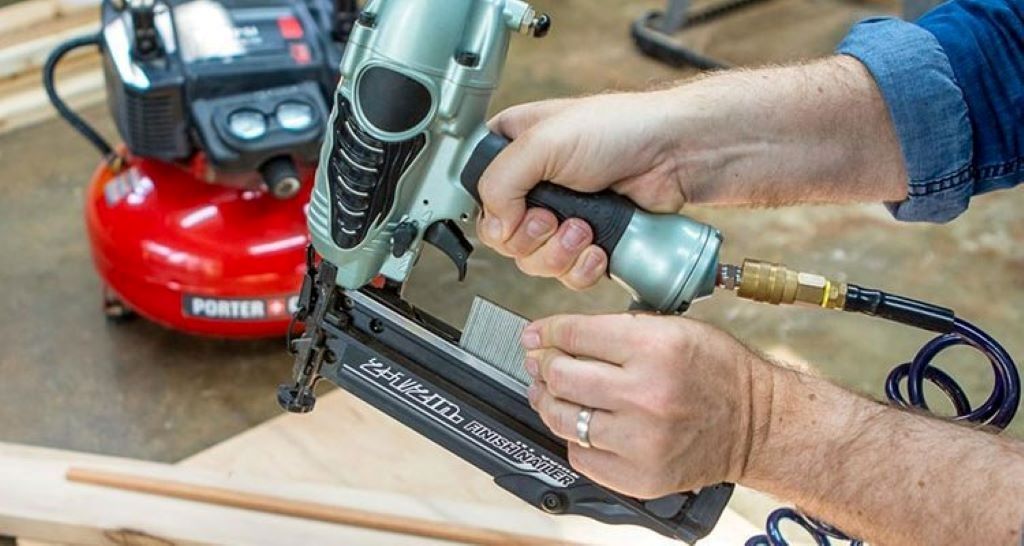
Power Sources And Their Benefits
Nail guns can use air, battery, or gas to power the nail driving. Each has pros and cons for framing work.
Air-powered nail guns need a compressor but work well for heavy use. Battery-powered tools are cordless and easy to move. Gas-powered nail guns offer strong power and mobility.
- Air-powered:Strong and reliable, but need an air compressor.
- Battery-powered:Cordless and flexible, good for small jobs.
- Gas-powered:Portable with good power, requires gas cartridges.
Selecting The Correct Nail Size
Nail size matters for framing strength and safety. Choose nails that fit the wood thickness and your nail gun.
Common framing nails range from 2 to 3.5 inches long. The gauge number shows the nail thickness. Lower gauge means thicker nails.
| Nail Length | Use | Gauge |
|---|---|---|
| 2 inches | Light framing and trim | 8-10 |
| 2.5 inches | Standard framing | 8 |
| 3 to 3.5 inches | Heavy framing and posts | 8 |
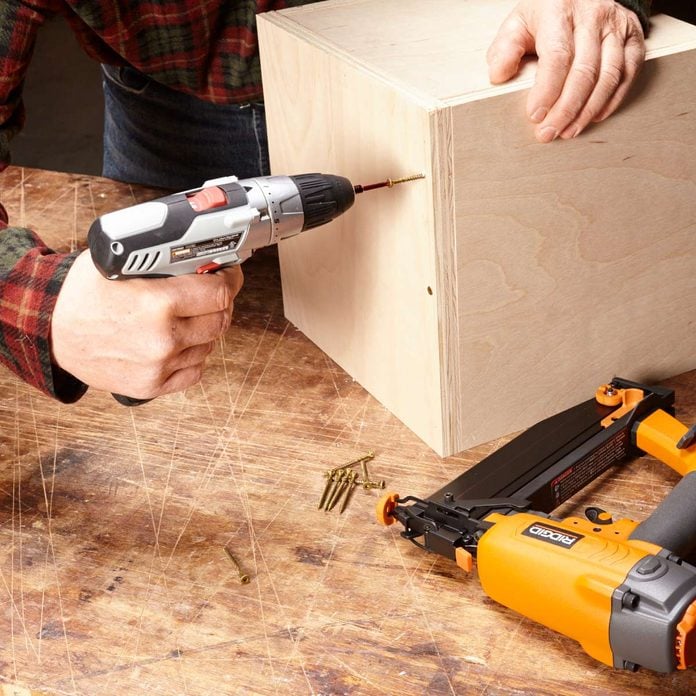
Credit: www.familyhandyman.com
Essential Safety Measures
Using a nail gun can speed up framing work. It also carries risks if not handled carefully. Safety is very important when using this tool.
Always follow safety rules to prevent injuries. This guide covers key safety steps when working with a nail gun.
Protective Gear For Nail Gun Use
Wearing the right gear protects you from harm. Never skip safety equipment when using a nail gun.
Use protective gear to shield your eyes, ears, and hands from accidents and noise.
- Safety glasses or goggles to protect your eyes
- Hearing protection like earplugs or earmuffs
- Work gloves to protect your hands
- Long sleeves and pants to cover your skin
- Sturdy footwear to avoid foot injuries
Safe Handling And Operation Tips
Hold the nail gun firmly and use both hands if needed. Keep your fingers away from the trigger unless ready to fire.
Always point the nail gun away from yourself and others. Disconnect the tool when not in use or during maintenance.
- Read the nail gun manual before use
- Check the tool for damage before starting
- Use the correct nails for your nail gun
- Keep the work area clean and free of clutter
- Never carry the nail gun by the hose or trigger
Preventing Common Injuries
Most injuries come from accidental firing or flying nails. Stay alert and keep the nail gun controlled at all times.
Use safety features like the trigger lock. Avoid using the nail gun when tired or distracted.
- Keep your hands away from the nailing area
- Do not bypass safety mechanisms
- Use clamps to hold materials instead of your hands
- Wear proper gear to reduce injury impact
- Take breaks to stay focused
Setting Up For Precision
Using a nail gun correctly helps build strong frames quickly. Setting up the nail gun and workspace right improves your accuracy.
Small details in preparation make a big difference in the final result. Let’s look at how to get ready for precise framing.
Preparing Materials And Workspace
Clear your workspace to avoid distractions and accidents. Make sure your wood pieces are cut to the right size before starting.
Organize your nails and tools nearby. This saves time and keeps the area safe.
- Clean the floor and workbench
- Sort wood pieces by size
- Keep nails and tools within reach
- Check for proper lighting
Adjusting Nail Gun Settings
Set the nail gun depth to match the wood thickness. Too deep or too shallow nails reduce strength.
Check the air pressure if using a pneumatic nailer. Follow the manufacturer’s guide for best settings.
- Adjust depth control dial
- Set air compressor pressure (70-120 PSI common)
- Test on scrap wood before nailing
- Use the correct nail size and type
Positioning For Accurate Nailing
Hold the nail gun steady and square to the wood surface. This prevents nails from bending or missing the mark.
Keep your body balanced and your eyes focused on the spot where you want to nail.
- Place the nail gun tip firmly against the wood
- Align the gun so nails enter at a right angle
- Keep both hands on the tool for control
- Press the trigger gently to avoid jumping
Mastering Framing Techniques
Using a nail gun can speed up framing tasks. It also helps make strong, lasting structures.
Learning the right ways to nail wood ensures safety and quality in your building projects.
Proper Nailing Angles
Holding the nail gun at the correct angle keeps nails secure. It stops wood from splitting or moving.
Usually, nails should go in at a 45-degree angle. This angle gives the best hold for framing wood.
- Keep the nail gun steady and pointed where two boards meet
- Use a 45-degree angle for toe-nailing
- Drive nails straight in for flat surfaces
- Avoid angles that push wood apart
Efficient Nailing Patterns
Nailing in a good pattern saves time and strengthens the frame. It also reduces the chance of wood damage.
Space nails evenly. This helps spread the load and keeps boards tight together.
- Nails should be about 16 inches apart on studs
- Place two nails at each joint for better grip
- Use a staggered pattern to avoid splitting wood
- Check each nail is fully driven in
Handling Corners And Joins
Corners and joins need special care. They are key points for the frame’s strength.
Use nails to pull boards tightly together. This keeps corners square and strong.
- Nail both sides of a corner for extra support
- Use longer nails to reach deeper wood layers
- Check alignment before nailing
- Keep nail guns steady to avoid bending nails
Troubleshooting Common Issues
Nail guns speed up framing work but may face common problems. Knowing how to fix these issues saves time and keeps projects on track.
This guide covers fixing nail jams, misfires, misalignments, and keeping your nail gun working well.
Dealing With Nail Jams
Nail jams block the nail gun and stop work. Most jams happen from wrong nails or dirt inside the tool.
- Turn off and unplug the nail gun before fixing a jam.
- Open the magazine and remove any stuck nails carefully.
- Check the nails size to match your tool’s requirements.
- Clean the magazine and feed system to remove dust and debris.
- Reload the nails properly and test the gun on scrap wood.
Fixing Misfires And Misalignments
Misfires happen when the nail gun fires nails incorrectly or not at all. Misalignments cause nails to go in the wrong spot.
| Cause | How to Fix |
| Wrong air pressure | Adjust compressor to the right PSI |
| Worn or damaged driver blade | Replace the driver blade part |
| Dirty or dry tool parts | Clean and lubricate moving parts |
| Improper nail size | Use nails that fit the nail gun specs |
| Loose fasteners | Tighten screws and bolts on the gun |
Maintaining Nail Gun Performance
Regular care keeps your nail gun safe and working well for a long time.
- Check and clean the tool after each use.
- Oil the nail gun as the manual says to keep parts moving smoothly.
- Store the nail gun in a dry place to avoid rust.
- Inspect nails and air hoses for damage before use.
- Schedule professional servicing if the gun shows repeated problems.
Credit: www.homedepot.com
Advanced Tips For Professionals
Framing with a nail gun speeds up work and improves precision. Professionals need to balance fast nailing with exact placement.
Using the right accessories and caring for your nail gun helps keep it working well for years. This guide covers key tips for experienced users.
Speed Vs. Accuracy Balance
Fast nailing saves time but can cause mistakes. Focus on steady hand movements and proper tool control to keep accuracy high.
- Set the nail gun depth to avoid over-driving nails.
- Use sequential firing mode for precise placement.
- Practice steady pacing instead of rushing.
- Check alignment often during framing.
- Keep workspace organized to reduce errors.
Customizing Nail Gun Accessories
Choosing and adapting accessories can improve nail gun performance. Select parts that fit your work style and materials.
| Accessory | Benefit | Best Use |
| Adjustable depth guide | Controls nail depth | Wood framing |
| Rubber tip | Prevents surface damage | Finished surfaces |
| Extended magazine | Increases nail capacity | Large projects |
| Ergonomic handle grip | Reduces hand fatigue | Long workdays |
Maximizing Tool Longevity
Regular care extends your nail gun’s life. Clean and inspect parts often to avoid breakdowns on the job.
- Clean the air filter weekly to prevent dust buildup.
- Lubricate moving parts with recommended oil every 5000 nails.
- Check and tighten screws and bolts monthly.
- Store the tool in a dry place to avoid rust.
- Use only manufacturer-approved nails and parts.
Credit: bestusatools.com
Frequently Asked Questions
What Are The Best Nail Guns For Framing?
The best nail guns for framing are framing nailers designed for 2-3. 5 inch nails. Choose cordless or pneumatic models for efficiency. Look for lightweight, durable options with adjustable depth settings for precise framing work.
How Do I Use A Nail Gun Safely During Framing?
Always wear safety goggles and hearing protection when using a nail gun. Keep hands away from the nail exit area. Follow manufacturer instructions and never point the gun at anyone. Use sequential trigger mode for controlled nailing.
What Nail Size Is Ideal For Framing With A Nail Gun?
Use nails between 2 and 3. 5 inches for framing projects. The size depends on lumber thickness and material. Commonly, 3. 25-inch nails provide strong hold for standard 2×4 framing studs.
Can A Nail Gun Replace Traditional Hammer Framing?
Yes, a nail gun significantly speeds up framing tasks compared to a hammer. It offers consistent nail depth and reduces fatigue. However, proper technique and safety precautions remain essential when using nail guns.
Conclusion
Framing with a nail gun is efficient and easy. It saves time. Using the right techniques ensures strong structures. Start with safety gear. Choose the correct nail size. Practice makes perfect. A nail gun can handle tough projects. It boosts productivity.
Suitable for both DIY enthusiasts and professionals. Follow guidelines for best results. Happy building!