If you own a table saw, you know how important it is to keep it running smoothly. One part that often gets overlooked is the dust port.
When dust builds up there, it can clog your system, reduce efficiency, and even cause safety issues. But don’t worry—cleaning your table saw dust ports doesn’t have to be a hassle. In this guide, you’ll discover simple, effective steps to keep your dust ports clear and your workspace cleaner.
Ready to improve your saw’s performance and protect your health? Let’s dive in.

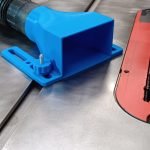
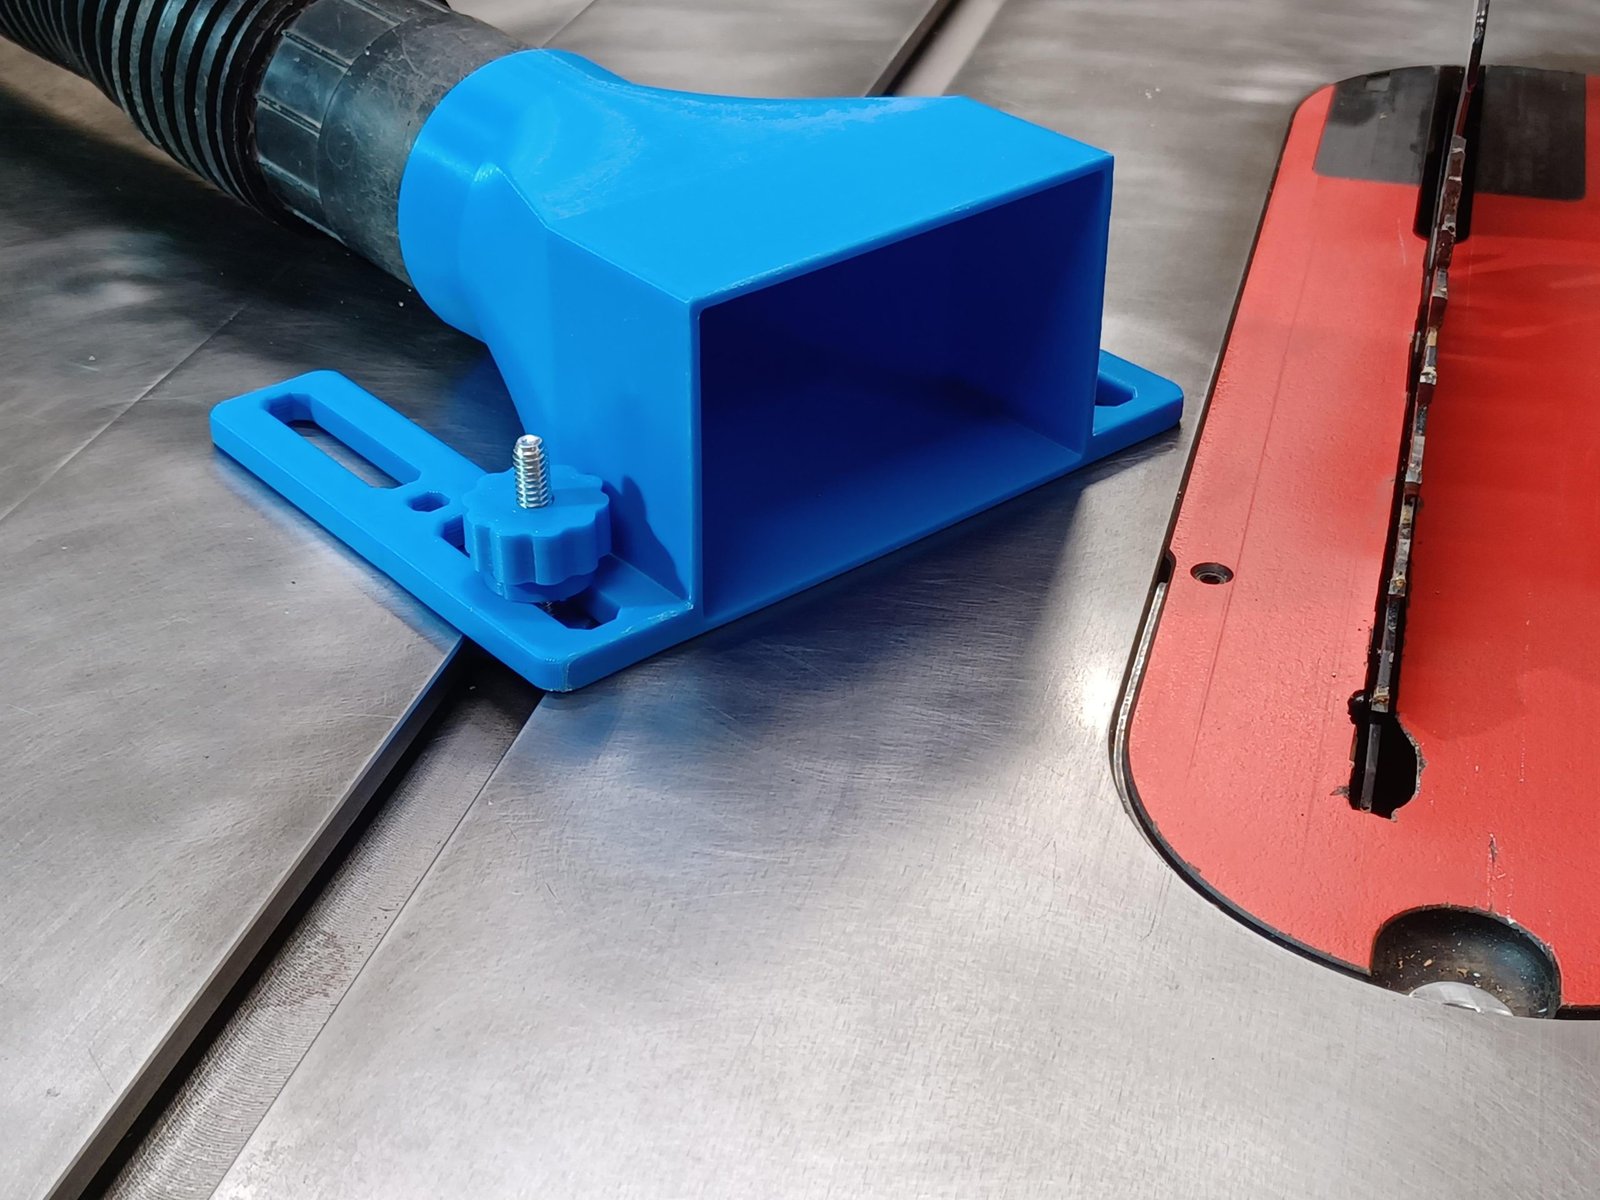
Credit: www.reddit.com
Importance Of Dust Port Maintenance
Keeping your table saw dust ports clean helps the saw work better. Dust buildup can block air flow and slow down the saw.
Regular cleaning also keeps the work area safer and healthier for everyone nearby.
Impact On Saw Performance
Dust ports that are clogged make your saw work harder. This can cause the motor to overheat and parts to wear out quickly.
- Reduces motor efficiency
- Causes overheating
- Increases wear on parts
- Leads to less accurate cuts
Health And Safety Benefits
Cleaning dust ports lowers the amount of fine dust in the air. This protects your lungs and keeps the workspace clear of fire hazards.
| Benefit | Details |
| Improved Air Quality | Less dust means cleaner air to breathe. |
| Fire Risk Reduction | Removing dust lowers chance of sparks causing fires. |
| Better Visibility | Clear workspace helps prevent accidents. |
Identifying Common Dust Port Issues
Table saw dust ports help keep your workspace clean. They collect sawdust and debris while you work. Over time, these ports can develop problems.
Knowing how to spot issues early can save you time and keep your saw running well. Two common problems are clogs and wear signs.
Clogs And Blockages
Dust ports often get clogged with sawdust and small wood chips. This stops dust from flowing out properly. Clogs reduce suction power and cause dust to build up around the saw.
Blockages can happen if you use the wrong hose size or if the port is too narrow. Wet or sticky sawdust can also cause clogs.
- Sawdust buildup inside the port
- Reduced suction or airflow
- Visible dust leaking from the port
- Hose connections that feel tight or blocked
Wear And Tear Signs
Dust ports face wear from constant use. Cracks, holes, or loose fittings can reduce their efficiency. Wear makes it harder for the port to seal tightly with the hose.
Look for damaged edges or parts that do not fit well. These signs mean the port may need repair or replacement to work correctly.
- Cracked or broken port edges
- Loose or missing screws and fittings
- Hose connections that do not fit snugly
- Worn or brittle plastic or rubber parts
Tools Needed For Cleaning
Cleaning the dust ports on a table saw keeps the tool working well. Dust buildup can block airflow and reduce suction.
Using the right tools makes cleaning easier and safer. Below are the main supplies and equipment you need.
Basic Cleaning Supplies
You can use simple cleaning tools that you likely have at home. These help remove dust and debris from the ports.
- Soft-bristle brush to sweep dust out
- Vacuum cleaner with a narrow nozzle
- Compressed air canister or air compressor
- Microfiber cloth to wipe surfaces
- Protective gloves to keep hands safe
Specialized Equipment
For deeper cleaning, use tools designed for dust ports. These help reach tight spots and clear stubborn dust.
| Equipment | Use |
| Flexible dust port brush | Reaches inside narrow ports |
| Small shop vacuum attachment | Improves suction inside ports |
| Air compressor with pressure regulator | Blows dust from hard-to-reach areas |
| Inspection flashlight | Helps check if ports are clear |
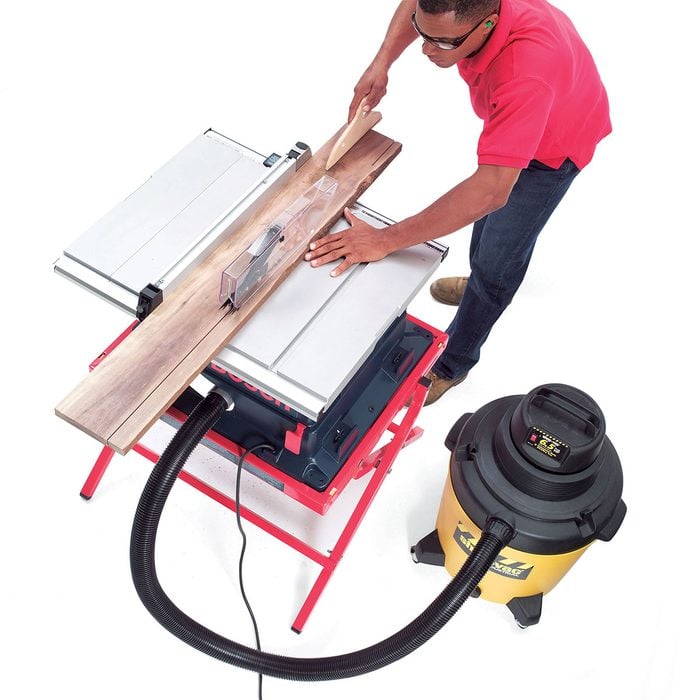
Credit: www.familyhandyman.com
Step-by-step Cleaning Process
Keeping your table saw dust ports clean improves dust collection and safety. Regular cleaning stops clogging and keeps your workspace tidy.
This guide shows you how to clean dust ports step-by-step. Follow these simple instructions for best results.
Disassembling The Dust Port
Start by unplugging your table saw for safety. Then, locate the dust port attached to the saw’s housing or blade guard.
Use a screwdriver or wrench to remove screws or bolts holding the dust port. Keep the parts safe to avoid losing them.
- Unplug the table saw
- Find the dust port
- Remove screws or bolts
- Take off the dust port carefully
Removing Debris And Dust
Use a brush or compressed air to clean inside the dust port. Remove all sawdust, wood chips, and debris.
Wipe the dust port with a damp cloth if needed. Make sure it is dry before putting it back.
- Brush out loose dust and chips
- Use compressed air for tight spots
- Wipe with a damp cloth
- Let the port dry completely
Reassembling And Testing
Put the dust port back in its place. Use the screws or bolts to secure it tightly.
Plug in the table saw and turn it on. Check if the dust collection works well and nothing is loose.
- Place dust port correctly
- Tighten all screws and bolts
- Plug in and power on the saw
- Verify dust collection and stability
Preventive Maintenance Tips
Cleaning table saw dust ports helps keep your saw working well. Dust buildup can cause problems and reduce safety.
Preventive maintenance stops dust from blocking the ports. This makes your saw last longer and work better.
Regular Cleaning Schedule
Set a regular time to clean dust ports. This prevents dust from piling up and blocking airflow.
Cleaning after each use is best. At least clean weekly if you use the saw less often.
- Turn off and unplug the saw before cleaning
- Use a brush or compressed air to clear dust
- Check inside the ports for clogs
- Wipe down the outside to remove surface dust
Using Proper Dust Collection Systems
A good dust collection system helps keep dust away from the ports. This lowers cleaning time and keeps the air clean.
Choose a system that fits your saw size. Make sure it connects well to the dust ports.
- Use a vacuum or dust extractor with strong suction
- Check hoses for leaks or cracks
- Empty dust bags or containers regularly
- Seal all connections tightly to avoid dust leaks
Troubleshooting Common Problems
Cleaning table saw dust ports keeps your tool working well. Dust buildup causes issues. This guide helps fix common problems.
Look at two main problems: blockages and low suction. Follow simple tips to solve them.
Persistent Blockages
Blockages happen when sawdust or debris clogs the dust ports. Check the port for stuck dust often. Use tools to clear the blockage.
- Turn off the saw and unplug it before cleaning.
- Use a flexible brush or compressed air to clear the port.
- Inspect the hose connected to the port for clogs.
- Remove any large debris by hand if possible.
- Repeat cleaning regularly to prevent buildup.
Reduced Suction Power
Low suction can cause dust to escape and reduce cleaning efficiency. Check for leaks and hose damage.
| Cause | Check | Fix |
| Hose leaks | Look for holes or cracks | Seal with tape or replace hose |
| Loose connections | Inspect joints and fittings | Tighten or secure connections |
| Clogged filter | Remove and check filter | Clean or replace filter |
| Vacuum power low | Test vacuum suction | Service or replace vacuum |
Upgrading Dust Collection Efficiency
Keeping your table saw dust ports clean helps improve dust collection. Efficient dust collection keeps your workspace safe and clean.
Upgrading dust ports can make airflow better. This guide explains how to choose better ports and improve airflow and filtration.
Choosing Better Dust Ports
Select dust ports that fit your table saw correctly. A tight fit stops dust from escaping during use.
Look for dust ports made from durable materials. They last longer and handle dust better.
- Check the port size matches your vacuum hose
- Choose ports with smooth edges to avoid clogs
- Use ports designed to capture fine dust particles
- Consider ports that are easy to remove and clean
Enhancing Airflow And Filtration
Good airflow helps carry dust into the collection system. Blocked or narrow ports reduce suction and collect less dust.
Improve filtration by using quality filters in your dust collector. Clean filters let air pass while trapping dust.
- Keep dust ports and hoses free from clogs
- Use smooth, wide ports for better airflow
- Regularly replace or clean dust collector filters
- Seal all connections tightly to avoid air leaks
Credit: www.woodworkingtalk.com
Frequently Asked Questions
How Often Should You Clean Table Saw Dust Ports?
Regular cleaning is essential for optimal performance. Clean dust ports after every major project or at least monthly. This prevents clogs and ensures efficient dust extraction. Regular maintenance extends the lifespan of your table saw and improves safety by reducing fire hazards.
What Tools Are Needed For Cleaning Dust Ports?
To clean dust ports, you’ll need a vacuum, brush, and compressed air. Use the vacuum to remove loose dust and debris. A brush helps dislodge stubborn particles. Compressed air effectively clears out hard-to-reach areas, ensuring a thorough cleaning.
Can Clogged Dust Ports Affect Saw Performance?
Yes, clogged dust ports can severely impact saw performance. They restrict airflow, leading to inefficient dust extraction. This increases the risk of overheating and reduces cutting precision. Regular cleaning ensures consistent performance and prolongs the life of your table saw.
How Do You Prevent Dust Port Clogs?
To prevent clogs, regularly inspect and clean dust ports. Use a vacuum and brush to remove debris. Employing a high-quality dust collection system can also minimize clogs. Ensuring proper maintenance will keep your table saw running efficiently and safely.
Conclusion
Cleaning table saw dust ports keeps your workspace safe and tidy. It helps your saw work better and last longer. Regular cleaning stops dust buildup that can cause problems. Use simple tools and take your time for the best results.
A clean dust port means less mess and easier work. Keep this habit to enjoy smoother and safer woodworking. Small steps make a big difference in your workshop. Stay safe, clean, and ready for your next project.