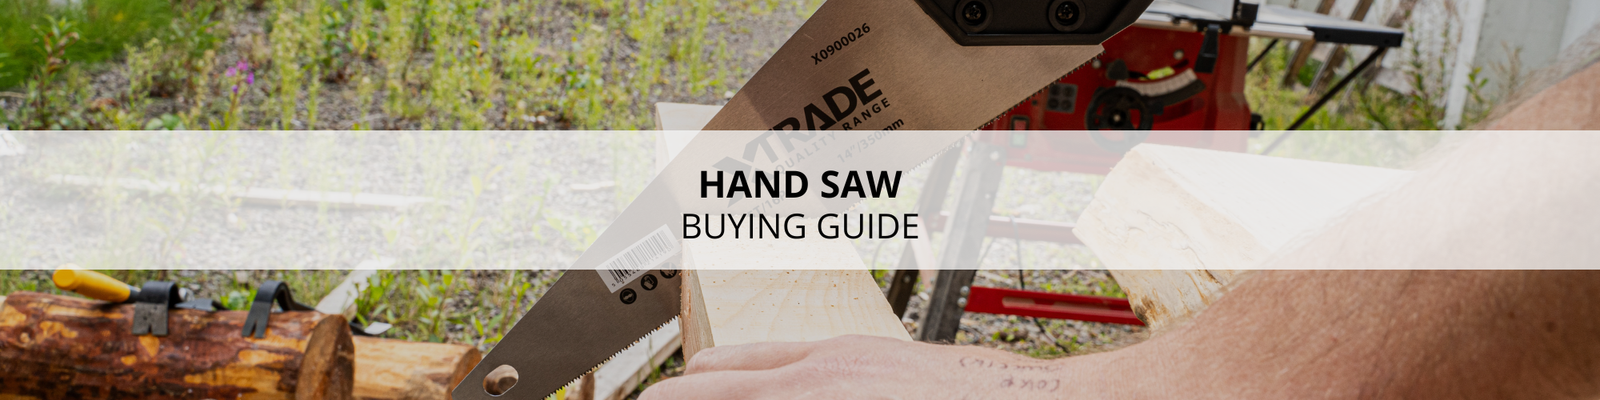
Picture this: You’re in the middle of an important woodworking project, and your trusty hand saw suddenly feels awkward in your grip. The handle is worn, uncomfortable, and no longer provides the control you need.
Frustrating, right? If you’re nodding along, you’re not alone. Keeping your hand saw handles in top shape is crucial for both comfort and precision in your work. In this guide, you’ll discover simple and effective ways to maintain your hand saw handles, ensuring they remain as reliable and comfortable as the day you bought them.
Imagine the satisfaction of a perfectly balanced tool in your hand, boosting not only your efficiency but also the joy of creating with ease. Dive in, and let’s ensure your hand saw handles are always ready for action.
Choosing The Right Handle Material
Picking the right handle material affects comfort and durability of your hand saw. The handle must feel secure and last long. Common materials include wood, plastic, and metal.
Each material has its strengths and weaknesses. Knowing these helps you choose a handle that fits your needs and work style.
Wood Vs Plastic Handles
Wood and plastic are popular choices for hand saw handles. Wood offers a traditional look and natural grip. Plastic handles are lightweight and often less expensive.
- Wood Handles:Comfortable and warm to touch, but can crack or swell if wet.
- Plastic Handles:Resistant to water and chemicals, but may feel slippery when wet.
- Wood handles often require more care, like oiling to prevent drying out.
- Plastic handles need less maintenance but can break under heavy use.
Pros And Cons Of Metal Handles
Metal handles are less common but very strong. They provide excellent durability and can handle tough jobs. Some metal handles include rubber grips for comfort.
| Metal Handle Feature | Pros | Cons |
| Strength | Very strong and long-lasting | Can be heavy |
| Grip | Often paired with rubber for better hold | Metal alone can be slippery and cold |
| Maintenance | Resistant to cracking and warping | May rust if not properly cared for |
| Cost | Usually mid to high price | Heavier cost than plastic or wood |
Credit: www.amazon.com
Regular Cleaning Techniques
Keeping hand saw handles clean helps them last longer. Dirt and grime can damage the wood or plastic parts.
Regular cleaning removes buildup and keeps the handle comfortable to hold. This guide explains safe cleaning steps.
Removing Dirt And Debris
Start by wiping the handle with a dry cloth to remove loose dirt. Use a soft brush to clean cracks and crevices.
For sticky dirt, dampen a cloth with water and gently scrub the handle. Avoid soaking the wood to prevent damage.
- Use a dry cloth for dust and loose particles
- Soft brush cleans hard-to-reach areas
- Damp cloth removes sticky spots without soaking
Using Safe Cleaning Agents
Choose mild cleaning agents to protect the handle’s material. Avoid harsh chemicals that can strip finishes or cause cracks.
Soap mixed with water is usually safe. Test any cleaner on a small area before full use to check for damage.
- Mild soap and water mix cleans gently
- Avoid bleach, ammonia, and strong solvents
- Test cleaners on a hidden spot first
Preventing Moisture Damage
Hand saw handles often get damaged by moisture. Water can cause wood to swell and crack. Protecting handles keeps your saws strong and safe to use.
Simple care steps stop moisture from ruining the wood. These steps extend the life of your hand saw handles.
Proper Storage Methods
Store your hand saws in a dry place to avoid moisture damage. Avoid places like basements or outside sheds that get damp. Use racks or hangers to keep saws off the ground.
Keep the handles away from direct water or humidity. Cover saws with cloth or plastic covers if needed. Good airflow helps wood stay dry.
- Store saws in a dry, cool area
- Use racks to keep saws off the floor
- Avoid damp basements or garages
- Cover handles with cloth when not in use
- Ensure good air circulation around tools
Applying Protective Coatings
Protective coatings shield wood handles from moisture. Use natural oils or varnishes to create a barrier. These coatings also keep the wood looking good.
Apply coatings regularly, especially after heavy use or cleaning. Lightly sand the handle before applying to help the coating stick well.
- Use linseed or tung oil for natural protection
- Apply a thin layer with a cloth or brush
- Let the coating dry fully before use
- Reapply every few months or after cleaning
- Sand the handle lightly before each new coat

Credit: www.safetyandhealthmagazine.com
Repairing Handle Cracks And Splits
Hand saw handles often face cracks and splits from regular use. Fixing these damages keeps the tool safe and comfortable. This guide shows how to identify and repair these common problems.
Proper repair extends the life of your saw handle and improves your grip. Follow the steps carefully to restore your handle.
Identifying Common Damage
Look closely at the handle to find cracks or splits. These can occur near the grip or where the handle joins the blade. Small cracks may grow if left untreated.
- Check for visible cracks on all sides of the handle.
- Feel for rough or uneven areas with your fingers.
- Notice any looseness where the handle connects to the saw blade.
- Look for wood pieces that may be chipped or missing.
Step-by-step Repair Process
Use these steps to repair cracks or splits in your hand saw handle safely and effectively.
- Clean the damaged area with a soft cloth to remove dirt and dust.
- Apply wood glue into the cracks using a small brush or toothpick.
- Press the cracked parts together firmly to close the gap.
- Clamp the handle securely and leave it to dry for 24 hours.
- After drying, sand the repaired area smooth with fine-grit sandpaper.
- Apply a wood finish or oil to protect the handle and improve appearance.
- Check the handle for stability before using the saw again.
| Tool | Purpose |
| Soft cloth | Clean surface before repair |
| Wood glue | Seal cracks and bond wood |
| Brush or toothpick | Apply glue in tight spaces |
| Clamps | Hold handle parts tightly |
| Sandpaper (fine-grit) | Smooth repaired area |
| Wood finish or oil | Protect and seal wood |
Tightening Loose Handles
A loose handle on a hand saw can make cutting unsafe and hard. Fixing it keeps your saw strong and easy to use.
Check your saw handle often. Tightening it is a simple task with the right tools and care.
Tools Needed For Tightening
You need a few basic tools to tighten a loose saw handle. These tools help you work safely and accurately.
- Screwdriver (flathead or Phillips, depending on screws)
- Wrench or adjustable spanner for nuts and bolts
- Wood glue for extra hold (optional)
- Small hammer or mallet
- Cloth to clean the handle and screws
Techniques To Secure Handles
Start by cleaning the handle and screws. Remove dirt and old glue to get a good grip.
Use the screwdriver to tighten the screws. Turn them slowly and check if the handle moves.
- If screws are stripped, replace them with new ones of the same size.
- Apply wood glue inside the handle joint for stronger hold.
- Tap gently with a hammer to fit loose parts tightly.
- Do not over-tighten screws; it can crack the wood.
- Check handle tightness regularly to keep it safe.
Polishing And Finishing Tips
Maintaining the handle of your hand saw keeps it comfortable and safe to use. Polishing and finishing help protect the wood and keep it looking good. These simple steps extend the life of your saw handle.
This guide explains how to choose the right finish and how to keep the handle shiny over time. Follow these tips for a smooth and durable hand saw handle.
Choosing The Right Finish
Pick a finish that protects the wood from moisture and wear. Some finishes also add shine and make the handle smooth. Common finishes include oil, wax, and varnish.
Oil finishes soak into the wood and keep it from drying out. Wax adds a soft shine and extra protection. Varnish forms a hard layer on the surface but can feel rough if not applied well.
- Linseed oil: Penetrates wood, keeps it strong
- Beeswax: Adds shine and smooth feel
- Polyurethane varnish: Hard, durable coating
- Tung oil: Water-resistant and natural look
Maintaining Handle Shine
Keep the handle shiny by cleaning it regularly and applying finish as needed. Wipe the handle with a soft cloth to remove dirt and sweat. Avoid harsh chemicals that can damage the wood.
Reapply oil or wax every few months. Lightly sand the handle before applying finish to keep it smooth. This care helps the handle stay attractive and easy to grip.
- Clean handle with a dry or slightly damp cloth
- Use fine sandpaper to smooth rough spots
- Apply a thin layer of oil or wax after sanding
- Buff the handle gently to restore shine
Safety Practices During Maintenance
Maintaining hand saw handles keeps them safe and easy to use. Always follow safety rules to avoid injuries.
Taking time for safe maintenance helps your tools last longer. It also protects your hands and body.
Wearing Protective Gear
Wear protective gear to stop cuts and splinters during hand saw handle care. Gloves protect your hands well.
Safety glasses keep dust and wood chips out of your eyes. Always use them in dusty or rough work.
- Use sturdy gloves that fit well
- Wear safety glasses or goggles
- Consider a dust mask if sanding
- Wear long sleeves to protect your arms
Safe Handling Procedures
Hold the saw handle firmly but not too tight to avoid slips. Work on a stable surface for better control.
Keep your fingers away from sharp edges when cleaning or sanding. Use tools carefully to avoid accidents.
- Secure the saw in a clamp if possible
- Use gentle pressure when sanding or cleaning
- Keep your work area clean and well-lit
- Store saws safely after maintenance

Credit: www.indiamart.com
Frequently Asked Questions
How Do I Clean Hand Saw Handles Effectively?
Clean hand saw handles by wiping them with a damp cloth. Use mild soap if needed. Avoid soaking the wood. Dry thoroughly to prevent moisture damage and maintain grip quality.
What Oil Is Best For Hand Saw Handle Maintenance?
Use linseed oil or mineral oil for hand saw handles. These oils nourish the wood, prevent drying, and enhance durability. Apply sparingly and wipe off excess for a smooth finish.
How Often Should Hand Saw Handles Be Maintained?
Maintain hand saw handles every 3 to 6 months. Regular care prevents cracks and extends the handle’s lifespan. Frequency depends on usage and storage conditions.
Can Hand Saw Handles Be Repaired If Cracked?
Yes, small cracks can be repaired using wood glue and clamps. For larger damage, sanding and refinishing may be needed. Timely repair prevents further deterioration.
Conclusion
Caring for hand saw handles keeps them strong and safe. Clean and dry handles after each use. Use light oil to stop wood from drying out. Tighten screws to avoid loose handles while cutting. Store saws in a dry place to prevent damage.
Small steps protect your tools and help them last. A well-kept handle makes cutting easier and safer. Keep these tips in mind for a longer tool life. Simple care leads to better work and fewer problems. Your hands and tools will thank you.