
Are you tired of your power sander belts wearing out too quickly? You’re not alone.
Many DIY enthusiasts and professionals alike find themselves frustrated with short-lived sander belts. But what if you could extend their lifespan, saving both time and money? In this guide, we’ll unlock the secrets to maintaining your power sander belts, ensuring they work efficiently and last longer.
Imagine the satisfaction of smoother projects and fewer replacements. Get ready to discover simple yet powerful tips that will transform the way you care for your tools, giving you the edge in every project you tackle. Keep reading to find out how you can master the art of sander belt maintenance.
Choosing The Right Belt
Choosing the right power sander belt helps you work better. It affects how smooth and fast your sanding will be.
Picking the right belt depends on what you are sanding and the finish you want.
Material Types
Power sander belts come in different materials. Each type fits different jobs and surfaces.
Common materials include aluminum oxide, zirconia alumina, and ceramic. Aluminum oxide is good for wood and metal. Zirconia alumina lasts longer and works well on metal. Ceramic belts are tough and cut fast on hard materials.
- Aluminum oxide: good for general sanding
- Zirconia alumina: durable, for heavy metal work
- Ceramic: very tough, fast cutting on hard surfaces
Grit Selection
Grit size tells how rough or smooth the belt is. Lower grit means rougher sanding. Higher grit means finer sanding.
Use coarse grit for removing paint or shaping wood. Medium grit is good for smoothing surfaces. Fine grit works well for finishing and polishing.
- Coarse (40-60 grit): fast material removal
- Medium (80-120 grit): general smoothing
- Fine (150-220 grit): finishing and polishing
Size Considerations
Always pick a belt size that fits your sander. Belts come in different widths and lengths.
Check your sander’s manual for correct belt size. Using the wrong size can cause poor sanding and damage.
- Measure belt width and length needed
- Match size exactly to your sander model
- Use quality belts to avoid slipping or tearing

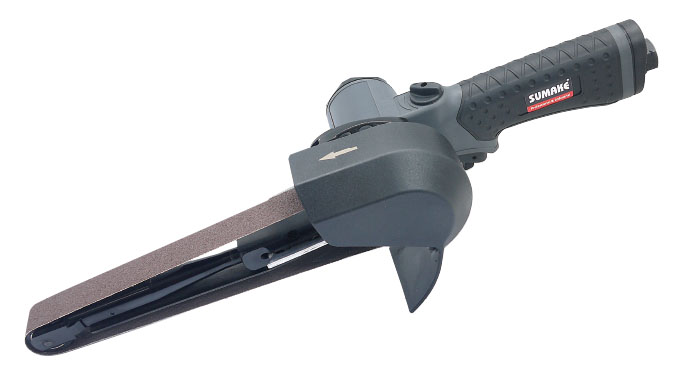
Credit: www.familyhandyman.com
Proper Installation
Installing power sander belts correctly helps your tool work better and last longer. Careful setup keeps the belt from slipping or tearing.
Follow simple steps to make sure your belt fits right and runs smoothly on the sander.
Alignment Techniques
Align the belt straight on the rollers to avoid damage. Check if the belt tracks in the center of the sanding drum.
- Place the belt on the sander with no twists.
- Turn on the sander briefly to see the belt movement.
- Adjust the tracking knob until the belt stays centered.
- Make small adjustments to keep the belt aligned during use.
Tension Adjustment
The belt needs the right tightness to work well. Too loose can slip, and too tight can break the belt or damage the sander.
| Condition | Adjustment |
| Belt slips during use | Increase tension slightly |
| Belt feels very tight | Reduce tension carefully |
| New belt installation | Set moderate tension as per manual |
Safety Checks
Safety is key when installing belts. Check parts and wear safety gear before starting the sander.
- Unplug the sander before installing the belt.
- Inspect the belt for tears or damage.
- Check rollers and pulleys for dirt or wear.
- Wear safety glasses and gloves during installation.
- Test run the sander without load to ensure safe operation.
Cleaning And Care
Keeping power sander belts clean helps them last longer. Dirt and dust reduce sanding quality.
Regular care makes your sanding work smoother and safer.
Removing Debris
Debris clogs the sanding belt and lowers its effectiveness. Use a soft brush to clear the belt after each use.
Do not use water or harsh chemicals to clean the belts. They can damage the abrasive surface.
Avoiding Contamination
- Keep belts away from oils and grease
- Do not touch the abrasive side with dirty hands
- Use clean gloves when handling belts
- Store belts separately from chemicals and solvents
Contamination reduces sanding performance and can clog the belt quickly.
Storage Tips
| Storage Condition | Recommendation |
| Temperature | Store belts in a cool, dry place below 80°F (27°C) |
| Humidity | Keep belts away from moisture to avoid damage |
| Position | Hang belts or store flat to prevent bending |
| Protection | Use sealed containers or bags to block dust |
Regular Inspection
Regular inspection helps keep power sander belts working well. It prevents problems and saves time. Check belts often for safety and good results.
Look closely at your sander belts before use. Catching issues early stops damage and keeps your work smooth.
Identifying Wear Signs
Wear signs show that the belt is aging or breaking down. Check belts for fading or rough spots. Look for cracks or frays on the edges.
- Loss of grit or smoothness
- Visible cracks or tears
- Frayed or worn edges
- Uneven sanding marks
- Slipping during use
Checking For Damage
Damage can harm your work and tool. Check belts for cuts or holes. Feel for rough spots or hard patches. Ensure the belt tracks straight on the sander.
| Damage Type | Signs to Look For | Effect on Performance |
| Cracks | Lines or splits on the belt surface | Uneven sanding, belt breakage risk |
| Tears | Small rips or holes | Loss of sanding area, belt slipping |
| Wear | Worn grit, smooth patches | Poor sanding results |
| Misalignment | Belt not tracking straight | Uneven wear, damage to sander |
Replacing Worn Belts
Replace belts as soon as wear or damage appears. Use the right size and type for your sander. Follow the tool manual for proper installation.
- Turn off and unplug the sander.
- Release belt tension carefully.
- Remove the old belt gently.
- Align the new belt on the rollers.
- Tighten the tension and check tracking.
- Test the sander to ensure smooth operation.
Optimizing Usage
Using power sander belts correctly helps you work faster and keeps the tool safe. You get better results and the belt lasts longer.
Learn how to apply pressure, adjust speed, and avoid overheating to improve your sanding tasks.
Proper Pressure Application
Use light to moderate pressure on the sander belt. Pressing too hard can wear out the belt fast and damage the surface.
- Hold the sander firmly but do not force it down.
- Let the belt do the sanding work.
- Move the sander evenly across the surface.
- Release pressure when sanding edges or curves.
Maintaining Speed Settings
Set the speed according to the material you sand. Different surfaces need different speeds for best results.
| Material | Recommended Speed |
| Softwood | Medium |
| Hardwood | Low to Medium |
| Metal | High |
| Plastic | Low |
Avoiding Overheating
Overheating damages the belt and work surface. Watch for signs and take breaks to cool down the sander.
- Stop sanding if the belt smells burnt or turns dark.
- Use shorter sanding bursts, then pause.
- Keep the sander moving to avoid heat build-up.
- Check the belt regularly and replace if worn or damaged.
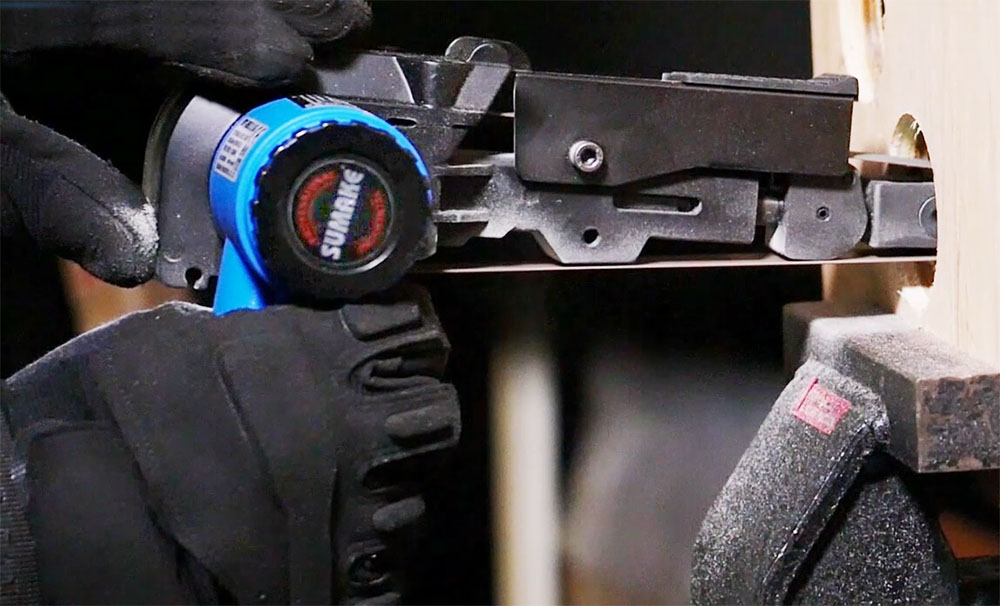
Credit: www.sumake.com
Troubleshooting Common Issues
Power sander belts can sometimes cause problems that affect your work. Knowing how to fix these issues keeps your tool working well.
This guide explains how to handle tracking problems, belt slippage, and uneven sanding. These tips help you get smooth results.
Tracking Problems
Tracking problems happen when the belt moves off the rollers. This can damage the belt or the sander.
Adjust the tracking knob slowly to keep the belt centered. Check for worn rollers or debris that block the belt.
- Turn off the sander before adjusting
- Clean rollers and belt path regularly
- Replace damaged belts or rollers
Belt Slippage
Belt slippage happens when the belt slips off the drum. This stops sanding and can cause damage.
Check belt tension and tighten if needed. Clean the drum and belt to remove dust and oil.
- Inspect the belt for wear and replace if loose
- Keep the drum clean and dry
- Do not press too hard during sanding
Uneven Sanding
Uneven sanding leaves rough spots or grooves on the surface. It can happen if the belt is damaged or poorly installed.
Make sure the belt is tight and aligned properly. Replace worn belts and check the sander’s base for flatness.
- Use the correct grit for your project
- Apply even pressure while sanding
- Change belts before they wear out
Credit: www.sumake.com
Frequently Asked Questions
How Often Should I Replace Power Sander Belts?
Replace power sander belts when they show wear or tear. Frequent use may require changing every few weeks. Check for fraying, glazing, or loss of grit to ensure optimal sanding performance and avoid damage to your workpieces.
What Is The Best Way To Clean Sander Belts?
Use a rubber cleaning stick or belt cleaner to remove debris. Cleaning extends belt life and improves sanding efficiency. Avoid water or harsh chemicals, as they damage the abrasive surface and reduce belt effectiveness.
Can I Reuse Worn Power Sander Belts?
Reusing worn belts is not recommended. Worn belts reduce sanding quality and can damage your project. Always replace belts when grit wears down or the belt becomes damaged to maintain smooth, consistent sanding results.
How Do I Properly Store Power Sander Belts?
Store belts flat in a cool, dry place away from sunlight. Avoid folding or bending belts to prevent damage. Proper storage preserves belt flexibility and grit, extending their lifespan and ensuring effective sanding performance.
Conclusion
Keeping power sander belts clean and well-stored helps them last longer. Check belts often for wear or damage. Replace belts when they show signs of tearing or loss of grip. Proper use also prevents quick wear and tear. Follow these simple steps to save money and work better.
Good belt care means smoother sanding and fewer interruptions. Remember, small efforts bring big results in tool maintenance. Stay consistent and your power sander will serve you well.