Have you ever found yourself rummaging through a cluttered toolbox, searching for the right hammer to get the job done? You’re not alone.
Many people underestimate the power of an organized tool collection, especially when it comes to hammers. Whether you’re a seasoned DIY enthusiast or just getting started on your home improvement journey, organizing your hammers by function can save you time, reduce frustration, and boost your productivity.
Imagine reaching for the perfect hammer for every task with ease—sounds like a dream, right? Let’s turn that dream into reality. In this guide, you’ll discover simple yet effective ways to categorize and store your hammers. Prepare to transform your workspace and elevate your projects to new heights. Ready to dive in? Let’s get started!

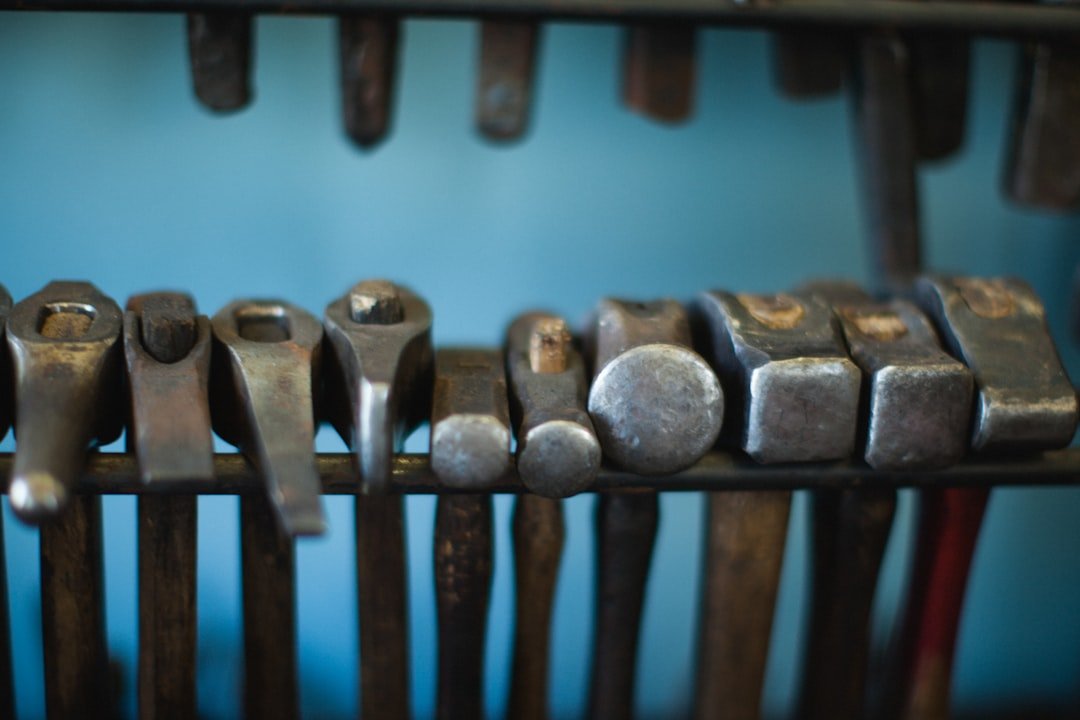
Credit: www.velcro.com
Types Of Hammers By Function
Hammers come in many types. Each type has a specific use. Organizing hammers by function helps find the right tool fast.
This guide explains common hammer types and their main uses. Knowing these helps keep your tools neat and easy to use.
Claw Hammers
Claw hammers are the most common hammers. They have a flat head for pounding nails. The claw on the back removes nails easily.
They are great for woodworking and general home repairs. The claw helps pull out bent or stuck nails.
Sledgehammers
Sledgehammers have large, heavy heads. They deliver strong blows. These hammers work well for demolition and heavy-duty tasks.
Use sledgehammers to break concrete, drive stakes, or shape metal. Their weight makes tough jobs easier.
Ball Peen Hammers
Ball peen hammers have a rounded end opposite the flat face. They are used in metalworking and shaping metal parts.
The ball end helps shape and bend metal without cutting it. These hammers are common in workshops and garages.
Mallets
Mallets have soft heads made of rubber, wood, or plastic. They avoid damaging the work surface when hitting.
Use mallets for delicate tasks like woodworking or fitting pieces together. They give gentle but firm blows.
Tack Hammers
Tack hammers are small and light. They have a magnetized face to hold small nails or tacks in place.
These are ideal for upholstery and craft work. The small size helps with precision and control.
Specialty Hammers
Specialty hammers serve unique purposes. Examples include brick hammers, roofing hammers, and cross-peen hammers.
Each type fits a specific trade or task. Organizing these by function helps keep work efficient and tools safe.

Credit: www.amazon.com
Benefits Of Organizing Hammers By Function
Organizing hammers by function helps keep your workspace tidy. It also makes finding the right hammer faster.
This guide explains how sorting hammers by their use can improve your work.
Improved Efficiency
When hammers are grouped by function, you spend less time searching. Each hammer is easy to reach and ready to use.
- Quickly grab the right hammer for the job
- Reduce interruptions during tasks
- Keep work moving smoothly without delays
Enhanced Safety
Organizing hammers reduces accidents. Tools stored properly are less likely to fall or cause injury.
| Safety Benefit | Explanation |
| Less clutter | Reduces tripping hazards |
| Stable storage | Prevents tools from falling |
| Easy access | Avoids unsafe reaching or stretching |
Space Optimization
Sorting hammers by function helps use space better. You can store more tools in less room.
Consider this simple layout for organizing your hammers:
- Claw hammers in one rack
- Ball-peen hammers on a magnetic strip
- Rubber mallets in a drawer
Choosing The Right Storage Solutions
Organizing hammers by their function helps you work faster. Picking the right storage keeps tools safe and easy to find.
There are many storage options. Choose one that fits your space and tool types.
Wall-mounted Racks
Wall-mounted racks save floor space. They keep hammers visible and accessible. Mount racks near your workbench for quick reach.
Toolboxes And Chests
Toolboxes and chests protect hammers from dust and damage. They are easy to carry for jobs outside your workshop.
- Sort hammers by size or type inside compartments
- Use foam inserts to keep tools from moving
- Label compartments for fast identification
Magnetic Strips
Magnetic strips hold metal hammers securely on the wall. They let you grab tools without opening drawers or boxes.
Pegboards
Pegboards offer flexible storage. Hooks and holders fit many hammer shapes. You can rearrange tools as your collection grows.
| Hammer Type | Best Pegboard Hook | Storage Tip |
| Claw Hammer | Standard Hook | Hang by handle for easy grab |
| Ball Peen Hammer | U-Shaped Holder | Place head down for safety |
| Sledgehammer | Heavy-Duty Hook | Use strong hooks near floor |
Custom Storage Options
Custom storage fits unique needs and spaces. Build cases or shelves to hold special hammers. Use dividers to keep tools separate.
Custom Storage Ideas:
- Wooden slots shaped for each hammer head
- Sliding trays with foam cutouts
- Rotating racks for small workshops
Sorting And Labeling Techniques
Organizing hammers by their function helps you find the right tool fast. Sorting and labeling make your workspace neat and safe.
Simple techniques like grouping, color coding, and labeling can improve your tool management. These methods save time and reduce confusion.
Grouping By Hammer Type
Group hammers based on their specific type. This makes it easier to pick the right hammer for each job.
For example, keep claw hammers, sledgehammers, and ball-peen hammers in separate sections or containers.
- Claw hammers for nails and light work
- Sledgehammers for heavy duty tasks
- Ball-peen hammers for metalwork
Color Coding
Use colors to mark different hammer functions. Color coding helps you spot tools quickly.
Paint handles or add colored tape to show the hammer’s purpose or size.
- Red for heavy hammers
- Blue for general use hammers
- Green for specialty hammers
Using Tags And Labels
Attach tags or labels to each hammer with its name or function. Clear labels reduce mistakes.
Use waterproof labels or tags to keep the information readable over time.
- Write hammer type on the tag
- Add size or weight details
- Place tags on handles or storage spots
Maintaining Your Hammer Storage
Keeping your hammers organized helps you find the right tool fast. Proper storage also extends the life of your hammers. Regular care makes sure your workspace stays neat and safe.
This guide covers easy ways to maintain your hammer storage. Follow these tips for inspection, cleaning, and reorganizing.
Regular Inspection
Check your hammer storage often to spot damage or clutter. Look for rust, loose handles, or broken parts. Fix or replace any damaged hammers quickly. Clear out unused tools to free up space.
Cleaning Tips
Clean your hammers and storage area regularly. Dirt and grime can cause wear. Use a dry cloth to wipe handles and heads. For sticky spots, use mild soap and water, then dry completely.
- Remove dust and debris from shelves or racks
- Apply a light coat of oil to metal parts to prevent rust
- Avoid harsh chemicals that can damage hammer surfaces
- Store hammers in a dry place to reduce moisture build-up
Reorganizing Strategies
Keep your hammer storage organized by grouping tools by function. Use labels or color codes for easy identification. Rearrange your storage to fit new tools or remove clutter.
| Action | Benefit |
| Group hammers by use | Find tools faster |
| Label storage spots | Keep order consistent |
| Remove unused hammers | Create more space |
| Adjust racks as needed | Fit new or different tools |
Space-saving Hacks For Hammer Storage
Keeping hammers organized saves space and makes work easier. You can store them in smart ways that fit small areas. This guide shows easy ideas to store hammers by function.
Use these tips to keep your workspace tidy and hammers easy to find. Each method works well in different spaces and tool collections.
Vertical Storage Ideas
Vertical storage uses wall or door space to hold hammers. It keeps surfaces clear and makes tools visible.
- Hang hammers on pegboards with hooks
- Use magnetic strips to hold metal hammer heads
- Install narrow shelves to stand hammers upright
- Attach tool holders to the inside of cabinet doors
Multi-purpose Storage Units
Combine hammer storage with other tools using multi-purpose units. These save space by grouping tools together.
| Storage Type | Best For | Space Used |
| Tool Chest Drawers | Different hammer sizes | Compact under workbench |
| Wall-mounted Racks | Quick access hammers | Vertical wall space |
| Rolling Tool Carts | Mobile workspace | Small floor footprint |
Diy Storage Projects
Build your own hammer holders to fit your space and style. DIY projects can be simple and cheap.
Try these DIY ideas:
- Make a wooden rack with slots for hammer handles
- Use PVC pipes cut to size as hammer holders on a board
- Repurpose an old drawer with dividers for hammer types
- Attach clamps to a board to hold hammer heads securely
Common Mistakes To Avoid
Organizing hammers by function helps you find the right tool fast. Avoid common mistakes that make storage cluttered and tools hard to use.
Keep your hammer storage neat and efficient by learning what to watch out for.
Overcrowding Storage Areas
Putting too many hammers in one place makes it hard to see and grab the right one. Overcrowding can cause damage and slow you down.
- Limit the number of hammers in each storage spot.
- Use dividers or separate containers for different types.
- Keep frequently used hammers within easy reach.
- Regularly remove unused or broken hammers.
Ignoring Hammer Condition
Storing hammers without checking their condition leads to safety risks and poor work results. Damaged handles or loose heads should not be ignored.
| Condition Issue | Risk | Action |
| Loose hammer head | Can fly off and cause injury | Tighten or replace hammer |
| Cracked handle | May break during use | Replace handle or hammer |
| Rusty metal | Weakens hammer and causes stains | Clean and oil regularly |
| Worn striking surface | Reduces effectiveness | Replace or resurface hammer |
Lack Of Proper Labeling
Without labels, you waste time searching for the right hammer. Misplaced tools cause confusion and delays.
- Label storage bins by hammer type or function.
- Use clear, easy-to-read tags or stickers.
- Group hammers with similar uses together.
- Update labels when you add or remove tools.
Credit: vetopropac.com
Frequently Asked Questions
What Are The Main Types Of Hammers By Function?
Hammers are categorized by function into claw, sledge, ball-peen, and mallet types. Each serves specific tasks like driving nails, shaping metal, or demolition.
How Do I Organize Hammers For Easy Access?
Sort hammers by function and size, then use labeled hooks or racks. This keeps your workspace tidy and tools quickly accessible.
Why Organize Hammers Based On Their Function?
Organizing by function helps you find the right hammer fast. It improves efficiency and prevents tool damage or misuse.
Can Organizing Hammers Improve Work Efficiency?
Yes, organizing hammers reduces time spent searching for tools. It streamlines tasks and enhances productivity on projects.
Conclusion
Organizing hammers by function saves time and effort during work. Each hammer has a special use that fits certain tasks. Keeping them sorted helps you find the right tool fast. It also protects your hammers and makes your workspace neat.
Small steps in organizing create big benefits later. Try these tips to keep your tools in order. Your work will feel easier and more efficient. Simple habits make a big difference in any project.