Are you ready to take your sanding skills to the next level? Whether you’re working on a small DIY project or a larger woodworking task, knowing how to use sanding blocks effectively can make all the difference.
This guide will show you the best sanding blocks and techniques that will save you time and give your work a smooth, professional finish. By the end, you’ll feel confident handling any surface like a pro. Let’s dive in and transform the way you sand forever!
Types Of Sanding Blocks
Sanding blocks help smooth surfaces by holding sandpaper firmly. Different blocks suit various tasks and materials. Picking the right block makes sanding easier and more even.
This guide explains four common sanding blocks: wooden, foam, rubber, and sanding sponges. Each type has unique features for specific uses.
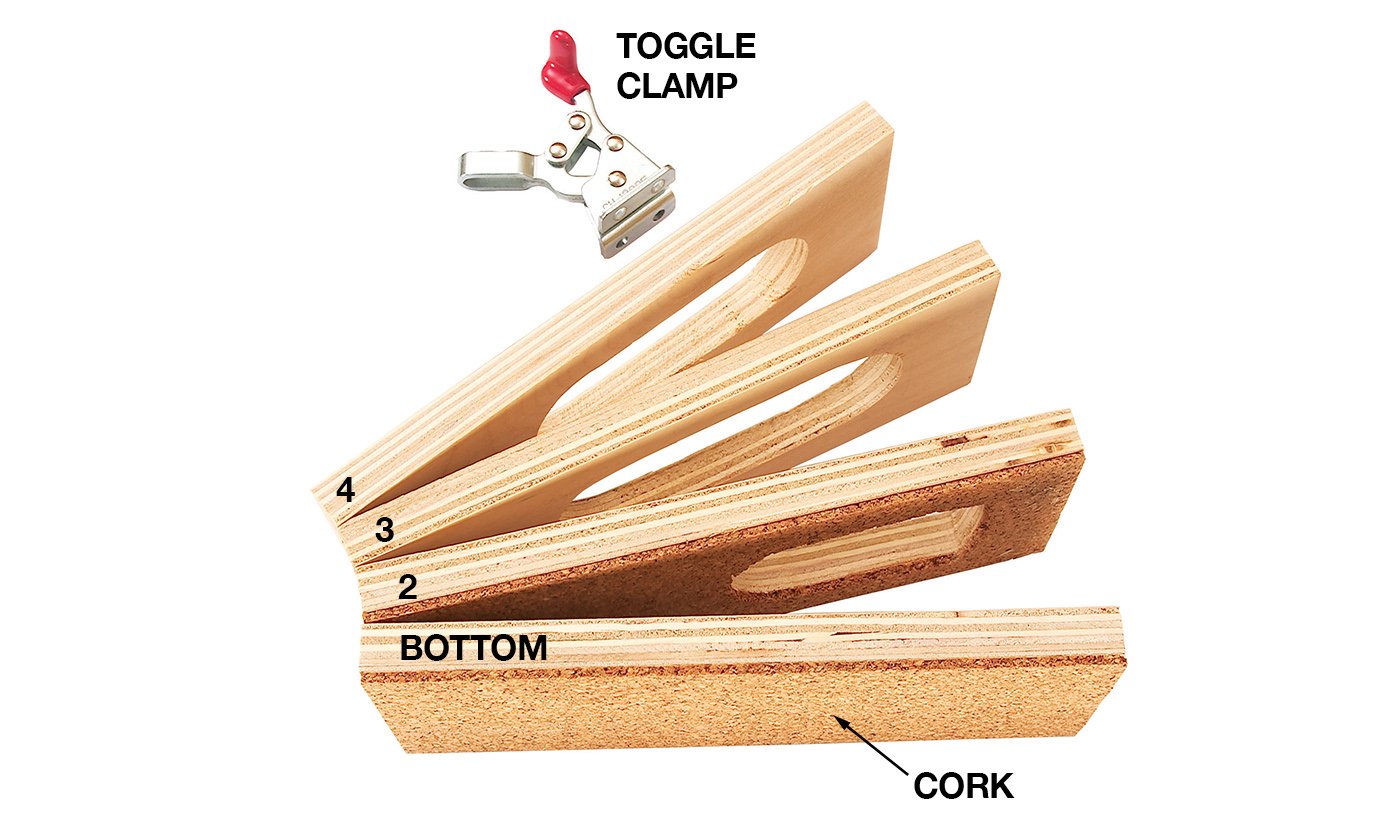
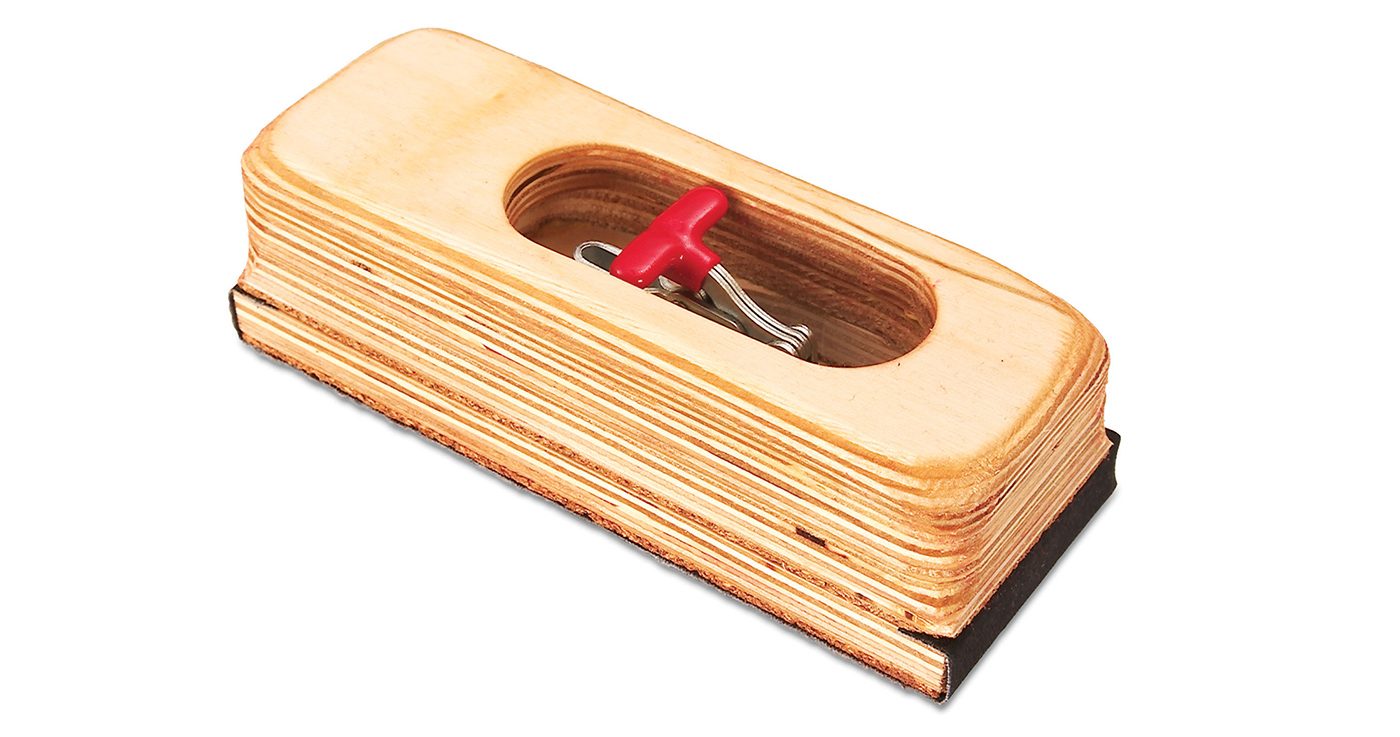
Wooden Blocks
Wooden blocks are strong and durable. They provide a hard, flat surface that helps keep sandpaper tight. Wood blocks are great for flat surfaces and edges.
These blocks come in various sizes and shapes. They can be wrapped with different grits of sandpaper for versatile use.
Foam Blocks
Foam blocks are soft and flexible. They bend to fit curved or uneven surfaces. Foam blocks help avoid sanding too deep or unevenly.
- Good for sanding curved wood or metal
- Reduces pressure spots
- Works well with fine grit sandpaper
- Easy to hold and control
Rubber Blocks
Rubber blocks offer a firm but slightly flexible surface. They are ideal for sanding small areas and delicate parts. Rubber blocks resist wear and last longer than foam.
| Feature | Benefit |
| Firmness | Good control on tight spots |
| Durability | Long-lasting under heavy use |
| Flexibility | Adapts to slight curves |
Sanding Sponges
Sanding sponges combine foam and abrasive material. They are easy to grip and shape. These sponges work well on irregular surfaces and corners.
Sanding sponges are reusable and can be rinsed with water to clean. They come in different grit levels for rough or fine sanding.
Choosing The Right Grit
Sanding blocks come with different grit sizes. Each grit suits certain tasks. Picking the right grit improves your project’s finish.
Grit measures how rough or smooth the sandpaper is. Lower numbers mean rougher grit. Higher numbers mean finer grit.
Coarse Grit Uses
Coarse grit sandpaper has rough texture. It removes material fast and shapes surfaces quickly.
- Remove old paint or varnish
- Shape wood or metal surfaces
- Level uneven areas
- Prepare rough surfaces for finer sanding
Medium Grit Benefits
Medium grit is good for smoothing surfaces after coarse sanding. It helps remove scratches left by rough grit.
| Grit Number | Purpose |
| 80-120 | Remove rough marks, shape edges |
| 150-180 | Smooth surface, prep for fine sanding |
Fine Grit Applications
Fine grit sandpaper creates a smooth finish. Use it before painting or staining to get a clean surface.
Fine grit sandpaper is ideal for:
- Final surface smoothing
- Removing minor imperfections
- Polishing surfaces
Preparing Surfaces For Sanding
Proper preparation is key before sanding any surface. It helps achieve smooth and even results.
This guide covers cleaning, removing old finishes, and checking for imperfections.
Cleaning The Surface
Remove dust, dirt, and grease to allow sanding to work well. Use a damp cloth or mild cleaner.
- Wipe the surface with a clean cloth
- Use soap and water for sticky spots
- Let the surface dry completely
- Remove any loose debris before sanding
Removing Old Finishes
Old paint or varnish can block sanding and cause rough patches. Remove these finishes carefully.
| Finish Type | Removal Method |
| Paint | Use paint stripper or heat gun |
| Varnish | Apply chemical remover or sand lightly |
| Wax | Clean with mineral spirits |
Checking For Imperfections
Look for dents, holes, or cracks that sanding alone cannot fix. Mark these spots for repair.
Use these tips to check the surface:
- Run your hand gently over the surface to feel bumps
- Inspect under good light to spot cracks or holes
- Fill imperfections with wood filler before sanding
Credit: www.popularwoodworking.com
Basic Sanding Techniques
Sanding blocks help smooth surfaces for a clean finish. Learning basic sanding techniques improves your work.
Use the right motions and pressure to avoid damage. This guide covers simple ways to sand effectively.
Sanding With The Grain
Always sand in the direction of the wood grain. This keeps the surface smooth and avoids scratches.
Sanding against the grain can leave marks that are hard to remove. Follow the grain for better results.
Using Circular Motions
Use small circular motions when sanding uneven areas. This helps blend rough spots into the surface.
Circular sanding is good for curves or corners. Be gentle to avoid removing too much material.
Applying Even Pressure
Press evenly on the sanding block to avoid dips or grooves. Uneven pressure can ruin the surface.
Keep your hand steady and move the block smoothly. Check your work often to keep the surface flat.
Advanced Sanding Methods
Sanding blocks help smooth surfaces before finishing. Using advanced methods improves your results. These techniques make surfaces even and ready for paint or stain.
Try these methods to get a better finish. They work well on wood, metal, and other materials.
Wet Sanding Tips
Wet sanding uses water or oil to reduce dust and heat. It helps create a smooth surface without scratches. Use fine grit sandpaper for best results.
Keep the surface wet while sanding. This stops the sandpaper from clogging. Clean the surface often to check your progress.
- Use water with waterproof sandpaper
- Sand gently in circular motions
- Wipe surface clean frequently
- Dry surface before finishing
Using Sanding Blocks On Curves
Curved surfaces need special care when sanding. Use flexible sanding blocks or wrap sandpaper around a soft pad. This helps follow the shape smoothly.
Sand lightly and check the curve often. Avoid heavy pressure that can change the shape. Move the block in the curve’s direction for even sanding.
- Choose flexible or small sanding blocks
- Wrap sandpaper around foam or cloth
- Smooth with light, even strokes
- Check curve shape regularly
Layered Sanding For Smoothness
Layered sanding means using different grit sandpapers step-by-step. Start with coarse grit to remove rough spots. Then use finer grits to smooth the surface.
This builds a very smooth finish. Change sandpapers slowly and clean the surface between layers. This avoids scratches and unevenness.
- Begin with 80-120 grit for rough areas
- Move to 150-220 grit for smoothing
- Finish with 320 grit or higher for polish
- Clean surface after each sanding layer

Credit: www.youtube.com
Maintaining Sanding Blocks
Keeping your sanding blocks in good shape helps you get better results. It saves money and time on projects.
Simple care steps can make your sanding blocks last longer and work well every time you use them.
Cleaning After Use
Clean your sanding block right after use to remove dust and debris. This stops buildup that can reduce sanding power.
Use a soft brush or cloth to gently wipe the block. Avoid water if the block is made of wood or foam.
Replacing Sandpaper
Change the sandpaper when it wears out or clogs. Old sandpaper will not sand well and can damage your work.
Peel off the used sandpaper carefully. Attach a new sheet firmly to keep it flat and secure on the block.
- Check sandpaper edges for lifting
- Make sure the new paper matches the block size
- Press firmly to avoid wrinkles
Extending Block Lifespan
Store sanding blocks in a dry place to stop moisture damage. Keep them away from direct sunlight.
Do not press too hard while sanding. Let the sandpaper do the work to avoid wearing out the block fast.
- Keep blocks clean after use
- Replace sandpaper as needed
- Store blocks properly in a cool, dry spot
- Use gentle pressure during sanding
Common Sanding Mistakes To Avoid
Sanding blocks help smooth surfaces and prepare them for finishing. Using the right technique is important for good results.
Many beginners make simple mistakes that damage the wood or waste time. Avoid these errors to get a clean, even finish.
Over-sanding
Over-sanding means sanding too much in one area. This can create uneven spots or thin the material.
Stop sanding once the surface feels smooth. Check your work often to avoid removing too much material.
- Do not press too hard on the sanding block
- Use gentle, even strokes across the surface
- Sand only as long as needed to smooth the surface
Ignoring Grain Direction
Wood grain shows the direction of the fibers. Sanding against the grain can cause scratches and rough patches.
Always sand in the same direction as the grain. This keeps the surface smooth and helps the finish stick better.
- Look closely to find the grain direction
- Move the sanding block along the grain
- Avoid circular or back-and-forth motions across the grain
Using Wrong Grit
Sanding grit means the roughness of the sandpaper. Using the wrong grit can damage the surface or waste time.
Start with coarse grit to remove rough spots. Then use finer grits to smooth the surface before finishing.
- Coarse grit: 40 to 60, for heavy sanding
- Medium grit: 80 to 120, for smoothing
- Fine grit: 150 to 220, for finishing touches
Finishing Touches After Sanding
After sanding, the project is almost complete. The next steps protect the surface and improve appearance. Proper finishing makes the work last longer and look better.
Use the right methods to clear dust, apply coatings, and check for flaws. These details bring out the best in your work.
Dust Removal Techniques
Removing dust is key before sealing or painting. Dust can cause rough finishes and weak adhesion. Clean the surface well to avoid problems.
- Use a vacuum with a brush attachment to lift dust gently.
- Wipe the surface with a tack cloth to catch fine particles.
- Blow air with a compressor or canned air to clear hard-to-reach spots.
- Use a damp cloth for stubborn dust, then let the surface dry fully.
Applying Sealants Or Paint
Sealants and paint protect and enhance the surface. Choose a product that matches your project’s needs. Apply evenly for a smooth finish.
| Product Type | Purpose | Application Tips |
| Wood Sealant | Protects wood from moisture and wear | Apply thin coats with a brush; sand lightly between coats |
| Primer | Prepares surface for paint and improves adhesion | Use a roller or brush; allow full drying time |
| Paint | Adds color and protection | Apply multiple thin coats; avoid dripping |
Final Inspection Tips
Check your work before calling it done. Look for any missed spots or uneven areas. Fix small problems early to avoid bigger issues later.
- Examine the surface under good light to spot dust or bubbles.
- Run your hand over the surface to feel for rough patches.
- Touch up any missed areas with sandpaper or paint.
- Allow the finish to cure fully before heavy use.

Credit: www.youtube.com
Frequently Asked Questions
What Is The Best Sanding Block For Woodworking?
The best sanding block is firm, lightweight, and holds sandpaper tightly. Choose one made of rubber or foam for smooth finishes. It helps evenly sand wood surfaces without creating uneven spots or gouges.
How Do You Use A Sanding Block Effectively?
Wrap sandpaper around the block firmly. Sand in consistent, even strokes with moderate pressure. Use long, smooth motions to avoid scratches. Change sandpaper grit as needed for finer finishes.
When Should I Replace My Sanding Block?
Replace your sanding block when it becomes misshapen or loses firmness. A worn block causes uneven sanding and poor finishes. Also, change sandpaper frequently for the best results.
What Grit Sandpaper Is Ideal For Sanding Blocks?
Start with coarse grit (80-120) for rough surfaces. Progress to medium grit (150-180) for smoothing. Finish with fine grit (220+) for a polished surface. Use the grit suitable for your project stage.
Conclusion
Sanding blocks are essential for smooth surfaces. They help achieve a clean finish. Different techniques suit different projects. Choose the right block for your needs. Practice makes sanding easier. Always sand in the grain direction. This prevents scratches on the wood.
Keep your blocks clean for best results. Regular maintenance extends their lifespan. Sanding might seem simple, but it requires patience. Remember these tips for better outcomes. Enjoy creating with smooth surfaces!
