
Are you tired of dealing with rough surfaces that ruin the look and feel of your projects? Whether you’re working on wood, metal, or walls, sanding is the key to achieving a smooth, flawless finish.
But sanding rough surfaces can be tricky if you don’t know the right techniques. In this guide, you’ll discover simple, effective tips that make sanding easier and faster. By the end, you’ll have the confidence to transform any rough surface into a perfect canvas.
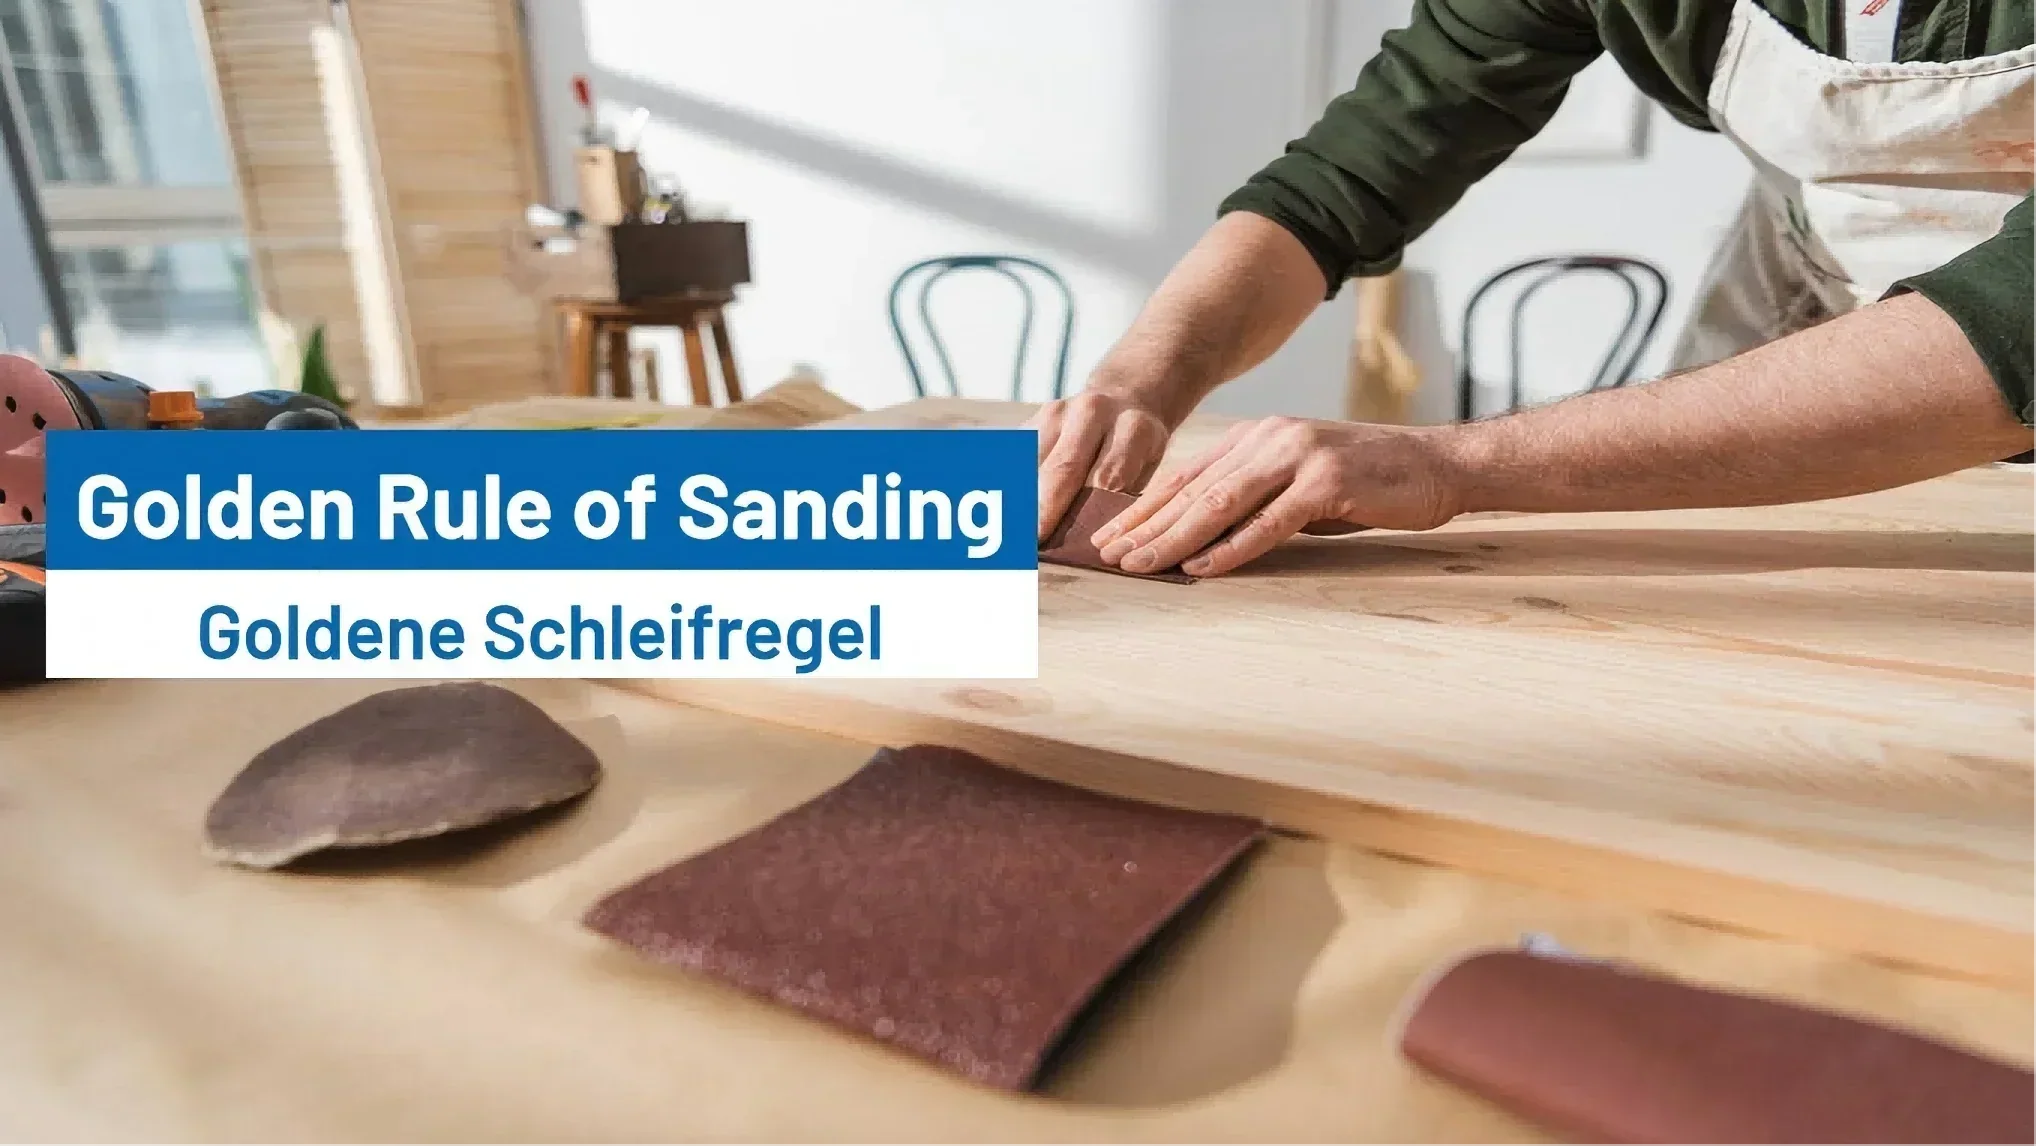
Keep reading to learn how to get professional results with tools and methods that anyone can use.
Credit: fastplus.eu
Choosing The Right Sandpaper
Sanding rough surfaces makes them smooth and ready to finish. Picking the right sandpaper is key to get good results. This guide helps you understand grit sizes and materials.
Use the correct sandpaper for the surface and task. This saves time and protects your work.
Grit Sizes And Their Uses
Sandpaper grit size shows how coarse or fine it is. Lower numbers mean rougher grit. Higher numbers mean finer grit. Choose grit based on the surface condition and desired smoothness.
- Coarse grit (40–60): Removes rough material fast. Use on very rough wood or metal.
- Medium grit (80–120): Smooths surfaces after coarse sanding. Good for shaping and removing marks.
- Fine grit (150–180): Prepares surface for finishing. Use before paint or stain.
- Very fine grit (220+): For final smoothing and polishing.
Material Types For Different Surfaces
Sandpaper comes with different materials. Each suits certain surfaces better. Knowing these helps you pick the best sandpaper for your project.
| Material | Best For | Notes |
| Aluminum Oxide | Wood, metal, painted surfaces | Durable and long-lasting |
| Garnet | Wood | Soft and good for fine sanding |
| Silicon Carbide | Metal, plastic, wet sanding | Sharp and tough, works well with water |
| Ceramic | Metal, hardwood | Very hard and fast cutting |
Preparing The Surface
Proper preparation is key to sanding rough surfaces effectively. It helps to achieve a smooth and even finish.
Before sanding, take time to clean and inspect the surface carefully. This makes the sanding process easier and better.
Cleaning And Removing Debris
Remove all dirt, dust, and loose particles from the surface. A clean surface allows the sandpaper to work well.
- Use a brush or vacuum to clear loose debris.
- Wipe with a damp cloth to remove dust.
- Allow the surface to dry before sanding.
- Remove grease or oil with a mild detergent if needed.
Checking For Damages And Imperfections
Look closely for cracks, holes, or dents on the surface. Fixing these before sanding will improve the final result.
| Type of Damage | How to Fix |
| Cracks | Fill with wood filler or putty |
| Holes | Use patching compound |
| Dents | Sand lightly or fill if deep |
Sanding Techniques
Sanding rough surfaces is key to making materials smooth. It helps prepare wood, metal, or plastic for finishing.
Using the right sanding technique saves time and gives better results. Learn how to sand by hand and with power tools safely.
Hand Sanding Tips
Hand sanding gives you control on small or detailed areas. Use sandpaper with the right grit for the surface condition.
Wrap sandpaper around a sanding block to keep even pressure. Change to finer grits to smooth the surface gradually.
- Start with coarse grit for rough spots
- Use medium grit to even the surface
- Finish with fine grit for smoothness
- Sand in circular or back-and-forth motions
Using Power Sanders Safely
Power sanders speed up sanding but need careful handling. Always wear safety gear like goggles and masks.
Keep the sander flat on the surface to avoid gouges. Turn off the sander before setting it down to prevent damage.
- Check the sandpaper is properly attached
- Keep fingers away from moving parts
- Work in a well-ventilated area
- Unplug the tool before changing sandpaper
Sanding Direction And Pressure
Sanding with the right direction helps avoid scratches. Follow the grain on wood or the pattern on other materials.
Use gentle pressure to avoid uneven surfaces. Let the sandpaper do the work instead of pressing too hard.
- Sanding along the grain for wood
- Light pressure keeps surfaces smooth
- Too much pressure can cause damage
- Move sandpaper evenly over the area

Credit: www.roepaint.com
Dealing With Tough Spots
Sanding rough surfaces can be tricky. Tough spots need special care to get smooth results.
This guide covers how to handle deep scratches and uneven areas effectively.
Removing Deep Scratches
Deep scratches require more time and the right tools. Start with coarse sandpaper to level the surface.
- Use 80-grit sandpaper to rough out the scratch.
- Switch to 120-grit to smooth the edges.
- Finish with 220-grit for a fine surface.
Make sure to sand in the direction of the grain to avoid new scratches.
Handling Uneven Areas
Uneven surfaces need careful sanding to blend high and low spots evenly.
| Tool | Purpose | Notes |
| Hand block sander | Even out small bumps | Good for light sanding |
| Orbital sander | Level large uneven areas | Use with medium grit sandpaper |
| Sanding sponge | Reach corners and curves | Flexible and easy to control |
Check your work often. Feel the surface to find remaining rough spots.
Finishing Touches
After sanding rough surfaces, the final steps are important. These steps help make the surface smooth and ready for use.
Cleaning the surface and applying finishes protect your work and improve its look.
Wiping Down And Dust Removal
Dust from sanding can stay on the surface. This dust can cause problems when you apply finishes.
Use a clean cloth or brush to remove dust. You can also use a vacuum or tack cloth for better results.
- Start with a dry brush or cloth to wipe dust off
- Use a damp cloth to catch fine dust particles
- Let the surface dry completely before finishing
Applying Sealants Or Finishes
Sealants and finishes protect the surface from damage and moisture. They also enhance the look of the material.
Choose the right finish for your project, like paint, varnish, or oil. Apply it evenly with a brush or cloth.
- Apply thin coats to avoid drips and uneven layers
- Let each coat dry before applying the next one
- Sand lightly between coats for a smooth finish
- Follow the product instructions for best results
Common Mistakes To Avoid
Sanding rough surfaces can be tricky if you do not avoid common errors. These mistakes can damage the surface or waste your time.
Knowing what to avoid helps you get smooth results faster and with less effort.
Skipping Surface Cleaning
Many people start sanding without cleaning the surface first. Dirt and dust can clog the sandpaper and scratch the material.
Using The Wrong Grit Sandpaper
Choosing the wrong grit can make sanding harder or damage the surface. Too coarse grit leaves deep scratches, while too fine grit wastes time.
- Start with coarse grit for very rough areas
- Use medium grit for smoothing
- Finish with fine grit for a polished look
Applying Too Much Pressure
Pressing hard can cause uneven sanding and quick wear on sandpaper. Light, even pressure works best for smooth results.
Ignoring Sanding Direction
Going against the grain or in random directions can cause scratches that show after finishing. Always sand with the grain for wood surfaces.
| Mistake | Effect | How to Avoid |
| Skipping Cleaning | Clogged sandpaper, scratches | Clean surface before sanding |
| Wrong Grit | Surface damage or slow progress | Use grit suitable for surface roughness |
| Too Much Pressure | Uneven sanding, fast sandpaper wear | Apply light, even pressure |
| Ignoring Direction | Visible scratches | Sanding with the grain |
Tools And Accessories
Sanding rough surfaces needs the right tools and accessories. These help you get smooth, even results faster.
Using proper equipment also makes your work easier and safer. Let’s look at what tools and add-ons you need.
Essential Sanding Tools
The main tools for sanding include different types of sanders and hand sanding supplies. These help remove rough patches effectively.
- Orbital Sander: Good for flat surfaces and quick sanding
- Belt Sander: Works well on large, rough areas
- Detail Sander: Perfect for corners and tight spots
- Sandpaper Sheets: Use various grits for different smoothness levels
- Sanding Blocks: Hold sandpaper firmly for better control
Helpful Add-ons For Efficiency
Extra accessories can improve your sanding speed and comfort. They also help keep the workspace clean.
- Dust Collection Bags: Capture dust to keep air clean
- Vacuum Attachments: Connect to sanders for less mess
- Safety Gear: Masks and goggles protect your lungs and eyes
- Extension Cords: Reach distant areas without moving equipment
- Work Gloves: Protect your hands from rough surfaces

Credit: surfprepsanding.com
Frequently Asked Questions
What Grit Sandpaper Is Best For Rough Surfaces?
For rough surfaces, start with coarse grit 40-60 sandpaper. It removes material quickly and smooths uneven areas. Gradually move to finer grits for a smooth finish. This process ensures effective sanding without damaging the surface.
How To Prepare Rough Surfaces Before Sanding?
Clean the surface to remove dirt and debris before sanding. Use a brush or vacuum to clear loose particles. Proper preparation helps sandpaper work efficiently and prevents clogging, resulting in a smoother finish.
Can I Sand Rough Surfaces By Hand Or Use A Machine?
Both methods work, but machines save time on large areas. Hand sanding offers more control on small or delicate spots. Choose based on surface size, material, and your skill level for best results.
How To Avoid Dust When Sanding Rough Surfaces?
Wear a dust mask and use a vacuum sander or dust collection system. Sand in well-ventilated areas to minimize inhaling dust. These steps keep your workspace clean and protect your health.
Conclusion
Sanding rough surfaces doesn’t need to be difficult. With the right tools, it becomes easier. Start with coarse grit. Move to finer grit for a smooth finish. Always wear protective gear. This ensures safety. Regular practice improves your skills. Keep your workspace clean.
It helps maintain focus and precision. Don’t rush the process. Patience leads to better results. Sanding brings out the beauty in wood and other surfaces. Enjoy the transformation. Your effort will shine through the finished product. Keep learning and experimenting.
Each project teaches something new. Happy sanding!