Are your hand saws scattered around your workspace, making it hard to find the right one when you need it? Storing your hand saws on wall racks can change that.
Imagine having all your saws neatly organized, easy to spot, and ready to use at a moment’s notice. In this guide, you’ll discover simple and effective ways to keep your hand saws safe, sharp, and within reach. Keep reading to transform your workspace and make your projects smoother from start to finish.
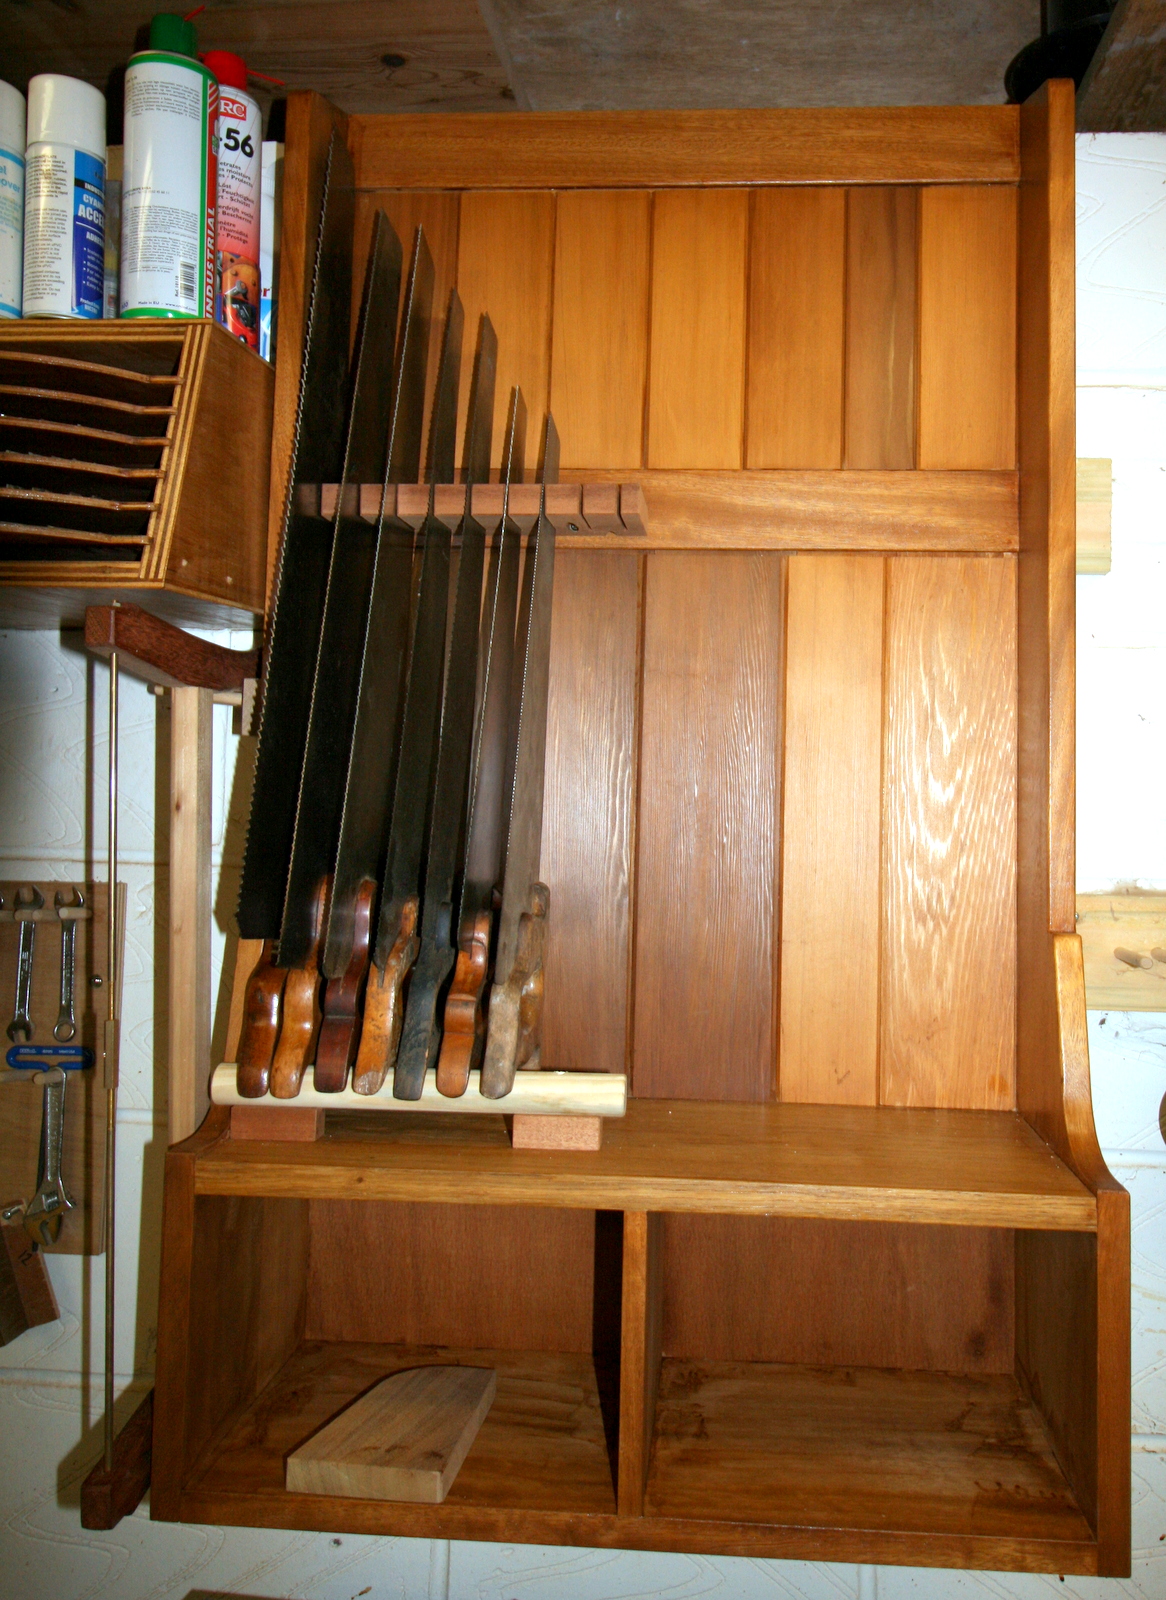
Credit: www.woodtalkonline.com
Choosing The Right Wall Rack
Storing hand saws on wall racks keeps your workspace neat. It also protects the saws from damage.
Choosing the right wall rack helps hold your saws safely. It also makes them easy to find and use.
Material Options For Durability
Wall racks come in many materials. Pick one that lasts and holds your saws well.
Metal racks are strong and resist bending. Wooden racks look nice and hold saws firmly. Plastic racks are light but may not hold heavy saws well.
- Metal racks are best for heavy use
- Wood racks fit well in workshops
- Plastic racks are good for light tools
Size And Capacity Considerations
Check the size of your hand saws before picking a rack. The rack should hold all your saws safely.
Consider how many saws you have now and if you will get more. Choose a rack with enough space for all.
- Measure saw length and width
- Count how many saws to store
- Pick racks with extra slots for new saws
Mounting Styles And Locations
Wall racks can mount in different ways. Choose a style that fits your wall and workspace.
Some racks screw directly into studs for strength. Others use anchors on drywall. Pick a location with good light and easy access.
- Mount racks on studs for heavy saws
- Use wall anchors for drywall mounting
- Place racks near your workbench
- Avoid damp or dark areas

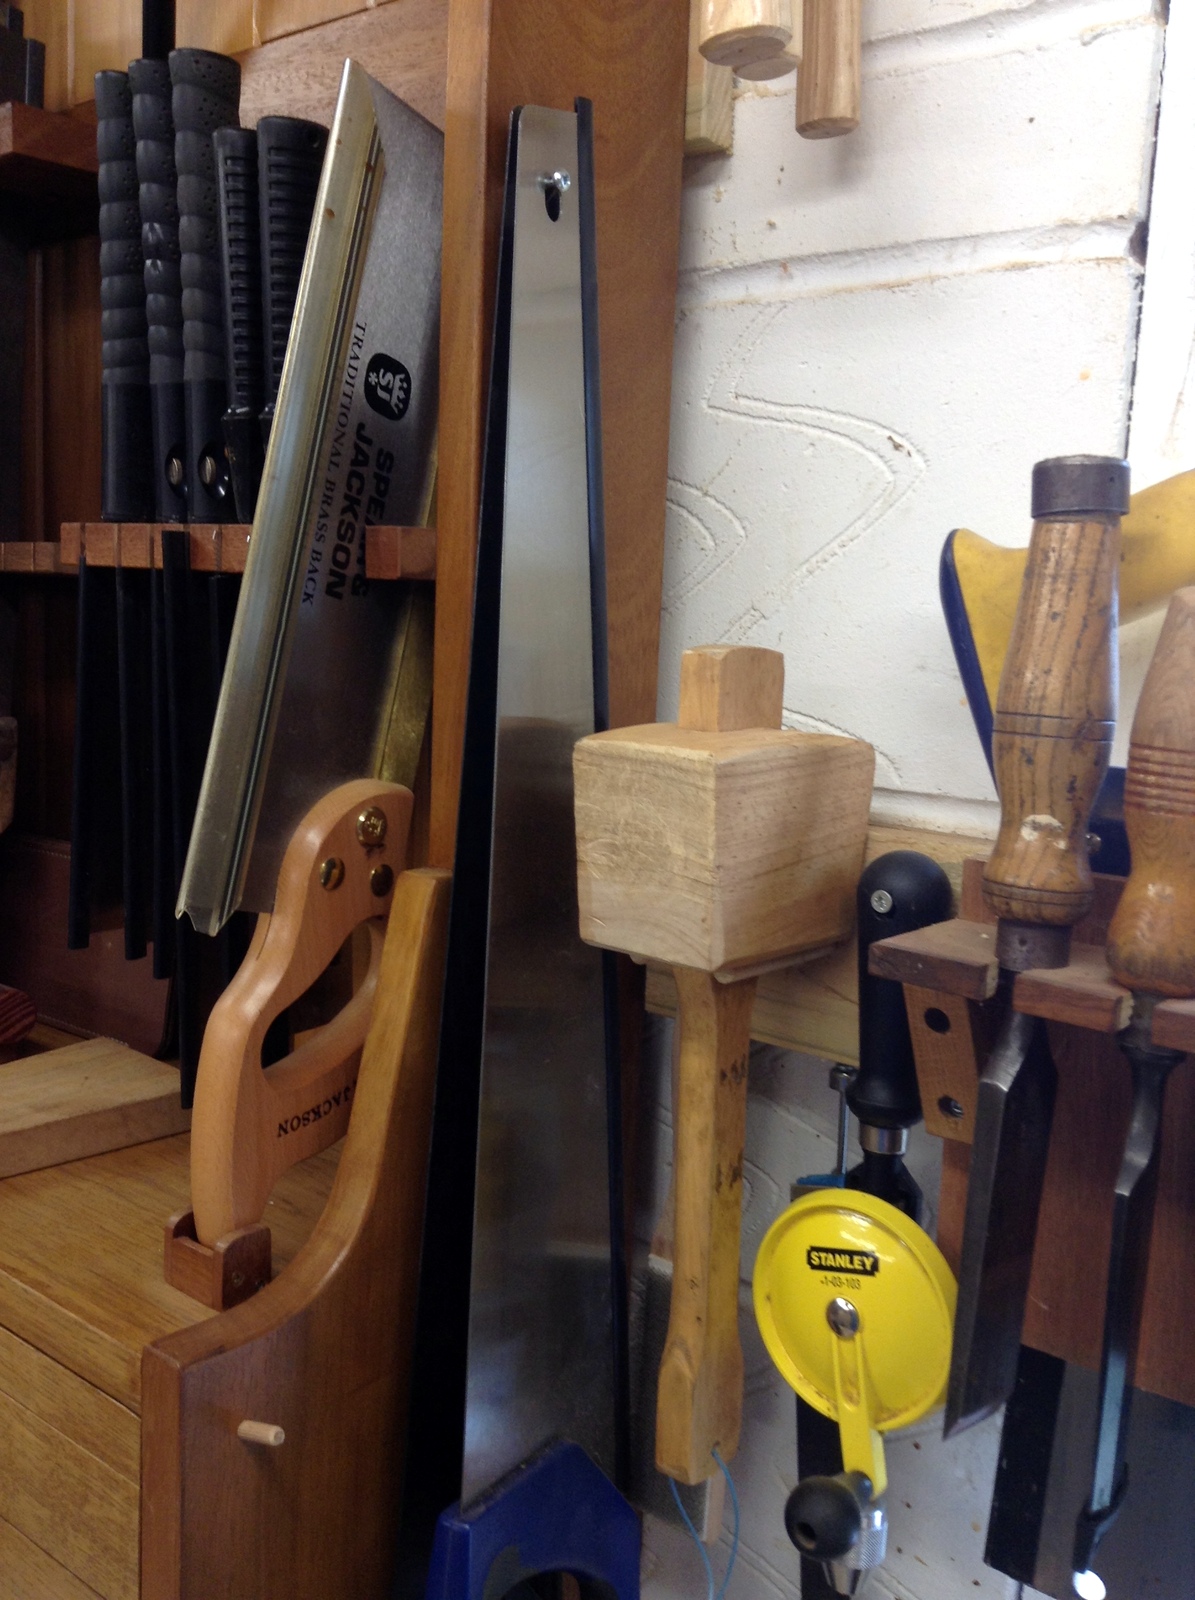
Credit: www.amazon.com
Preparing Your Wall For Installation
Storing hand saws on wall racks keeps them safe and easy to find. Preparing your wall properly helps hold the racks firmly.
Good preparation stops racks from falling and protects your tools and wall.
Finding Studs For Secure Mounting
Studs are the wooden frames inside your wall. Mounting racks on studs makes them strong and safe.
You can find studs using a stud finder or by tapping and listening for a solid sound.
- Use a stud finder tool to locate studs
- Look for electrical outlets or switches as they are usually attached to studs
- Tap the wall and listen for a solid sound indicating a stud
- Mark stud locations with a pencil
Tools And Hardware Needed
Gather the right tools and hardware before starting the installation. This saves time and ensures a smooth process.
- Stud finder
- Drill with drill bits
- Screwdriver or screw gun
- Level to keep racks straight
- Measuring tape
- Wall anchors or screws designed for studs
- Pencil for marking
Safety Precautions
Safety is important when drilling and mounting racks. Follow these precautions to avoid injury or damage.
- Wear safety glasses to protect your eyes
- Check for wires or pipes inside the wall before drilling
- Use a drill with care and keep fingers clear
- Keep the work area clean and free of clutter
- Do not over-tighten screws to avoid wall damage
Organizing Hand Saws Effectively
Storing hand saws properly helps keep your workspace safe and tidy. Wall racks save space and make saws easy to find.
Organizing saws by type and labeling them can speed up your work. Using the right hooks and holders keeps saws secure.
Grouping By Saw Type
Group saws by their type to keep similar tools together. This makes it easier to find the saw you need fast.
For example, place crosscut saws in one area and rip saws in another. Keep specialty saws separate for quick access.
- Crosscut saws
- Rip saws
- Back saws
- Keyhole and coping saws
Labeling For Easy Access
Labels help you find saws without guessing. Use clear, simple tags for each saw group or individual saw.
Place labels at eye level or on the rack near each saw. This reduces time spent searching and keeps you organized.
- Use durable labels that do not fade
- Include saw type and size on the label
- Use consistent fonts and colors for clarity
Using Hooks And Holders
Hooks and holders keep saws off surfaces and prevent damage. They also make your wall rack look neat and professional.
Choose hooks that fit your saw handles well. Holders with padded grips protect saw edges and make removal easy.
- Use strong hooks for heavy saws
- Install holders at comfortable heights
- Space hooks evenly to avoid crowding
Maximizing Space With Creative Layouts
Storing hand saws on wall racks helps keep your workspace neat. Using smart layouts saves space and makes tools easy to find.
Choosing the right layout helps you fit more saws on the wall. It also protects your tools and keeps them ready to use.
Vertical Vs Horizontal Placement
Vertical placement means hanging saws with blades down or up. This saves wall space and keeps handles easy to reach.
Horizontal placement lays saws flat along the wall. This method shows the whole blade and can hold larger saws safely.
- Vertical saves more wall space.
- Horizontal gives quick blade view.
- Vertical is better for small racks.
- Horizontal works well for wide racks.
Layering Techniques
Layering means placing saws in rows or tiers on the rack. This helps use vertical space without crowding tools.
Use hooks or shelves at different heights to avoid overlapping blades. This keeps each saw safe and easy to grab.
- Place smaller saws in front.
- Put larger saws behind or above.
- Use spacing to prevent blade damage.
- Label layers for quick identification.
Combining With Other Tool Storage
Wall racks for saws can share space with other tool holders. This keeps your whole workspace organized and efficient.
Mix hooks, pegboards, and shelves to store related tools like clamps or squares near your saws.
- Use pegboards for small hand tools.
- Install shelves for toolboxes or parts.
- Hang clamps close to saws for easy access.
- Group tools by type or use.
Maintaining Your Hand Saws On The Rack
Storing hand saws on wall racks keeps your tools organized and easy to find. Proper care helps your saws last longer and work better.
Regular maintenance prevents damage and keeps blades sharp. Follow simple steps to protect your hand saws on the rack.
Regular Cleaning And Rust Prevention
Clean your hand saws after each use to remove dust and sap. Dirt and moisture can cause rust and dull blades.
Use a dry cloth or soft brush to wipe the blade and handle. Apply a light coat of oil to the blade to stop rust from forming.
- Wipe saw blades with a dry cloth after use
- Remove sap or resin with mineral spirits
- Apply machine oil or rust inhibitor on blades
- Keep saws in a dry place on the rack
Sharpening Tips
Sharp saw blades cut cleanly and need less effort. Check your blades often for dullness or damage.
Use a proper file or sharpening tool to fix dull teeth. Follow the original tooth shape and angle while sharpening.
- Secure the saw in a vise before sharpening
- Use a triangular file matching the tooth size
- File each tooth evenly for consistent cutting
- Check blade sharpness by cutting soft wood
Inspecting For Damage
Look over your hand saws regularly for signs of damage. Small issues can get worse if not fixed early.
Check handles for cracks or loose screws. Examine blades for bent teeth, rust spots, or cracks.
- Check handles for cracks and tight screws
- Look for bent or missing teeth on the blade
- Inspect blade edges for rust or cracks
- Replace or repair damaged parts quickly
Credit: www.woodtalkonline.com
Alternative Storage Ideas
Storing hand saws properly keeps them safe and easy to find. Wall racks are common, but there are other smart ways to store saws. These ideas help save space and protect your tools.
This guide covers three useful alternatives: magnetic strips, pegboards, and portable storage solutions. Each method offers unique benefits for organizing your hand saws.
Magnetic Strips
Magnetic strips hold saws firmly on the wall. They keep blades visible and easy to grab. This storage saves shelf space and reduces clutter.
- Mount strong magnetic strips on a wall or workbench
- Place saw blades flat against the strip for secure hold
- Keep magnets away from electronic devices
- Check the magnet strength to avoid dropping saws
Pegboards
Pegboards offer flexible storage with hooks and holders. You can arrange saws in many patterns. Pegboards also allow easy access and quick changes.
| Hook Type | Best Use | Notes |
| Standard Hooks | Hanging saw handles | Simple and affordable |
| Tool Holders | Holding saw blades | Extra security for sharp tools |
| Custom Holders | Special saw shapes | Fits unique saw sizes |
Portable Storage Solutions
Portable storage keeps saws safe during transport. These options work well for job sites or moving tools between work areas.
- Tool rolls with separate slots for each saw
- Hard cases with foam inserts to protect blades
- Portable racks that fold flat when not in use
Frequently Asked Questions
How Do I Choose The Right Wall Rack For Hand Saws?
Select a wall rack with sturdy hooks and enough spacing. Ensure it fits your saw sizes and is easy to install. Proper spacing prevents blade damage and keeps saws accessible.
What Is The Best Height To Mount Hand Saw Racks?
Mount hand saw racks at eye level or slightly below. This height allows easy reach and safe handling. Avoid placing racks too high to prevent accidents.
How Can I Protect Hand Saw Blades On Wall Racks?
Use racks with padded hooks or add protective covers. Keep saws dry and clean before hanging. Proper protection prevents rust and blade dulling over time.
Can Wall Racks Hold Different Types Of Hand Saws?
Yes, most wall racks accommodate various hand saws. Choose adjustable racks or ones with versatile hooks. This helps organize all your saws neatly in one place.
Conclusion
Hand saw storage on wall racks keeps your tools organized. Saves space too. Protects the saws from damage. Enhances safety in your workshop. Choose racks that fit your needs. Install them securely on the wall. Make sure they’re easy to access.
Regularly check your saws for maintenance. Well-stored tools last longer. They work better too. Enjoy a tidier workspace and efficient workflow. Organize today. See the difference it makes. Your tools deserve good care. Happy sawing!