Are you tired of struggling to get perfect angles in your furniture projects? A bevel gauge might be the simple tool you’ve been missing.
This handy device helps you measure and transfer angles with ease, making your cuts more precise and your joints tighter. Whether you’re building a bookshelf or a table, mastering the bevel gauge can save you time and frustration. Keep reading, and you’ll learn exactly how to use this tool to take your woodworking skills to the next level.
Choosing The Right Bevel Gauge
A bevel gauge helps you measure and copy angles for furniture projects. Picking the right one makes your work easier and more accurate.
There are different bevel gauges to fit various needs. Look at the types, materials, and size before buying.
Types Of Bevel Gauges
Bevel gauges come in several types. Each type suits a different task in furniture making.
- Fixed Bevel Gauge:Has a locked blade at one angle. Good for repetitive cuts.
- Adjustable Bevel Gauge:Allows you to set and lock any angle. Useful for varied angles.
- Digital Bevel Gauge:Shows angle readings on a screen. Offers quick and precise measurements.
Materials And Build Quality
Good materials make bevel gauges last longer and stay accurate. Choose tools with strong build quality.
- Steel:Durable and resists wear. Ideal for heavy use.
- Brass:Offers good weight and corrosion resistance. Looks classic.
- Wood:Lightweight and traditional. Best for light work.
- Plastic:Affordable but less durable. Suitable for beginners.
Size And Adjustability
Size affects how you handle the bevel gauge. Adjustability lets you copy many angles easily.
- Blade Length:Longer blades help with large furniture parts.
- Handle Size:Choose a comfortable grip for better control.
- Angle Lock:Make sure the gauge locks firmly to hold angles.
- Adjustment Range:Pick a gauge that covers the angles you need.
Credit: www.axminstertools.com
Setting Up Your Bevel Gauge
Using a bevel gauge correctly helps you measure and transfer angles in furniture projects. Setting it up right ensures precise cuts and better fitting joints.
This guide covers how to set up your bevel gauge for accurate work. You will learn about calibration, locking tips, and keeping it precise.
Calibrating The Tool
Calibration makes sure your bevel gauge shows the correct angle. Start by placing it on a known angle, like a square or protractor.
Adjust the blade until it matches the reference angle exactly. Tighten the locking screw lightly to hold it in place.
- Use a carpenter’s square to check 90 degrees
- Match the blade to angles from a protractor
- Tighten the lock gently after alignment
- Recheck angles to confirm accuracy
Locking Mechanism Tips
The locking mechanism keeps your bevel gauge set at the desired angle. Use it carefully to avoid shifting the blade.
Turn the lock screw just enough to hold the blade firmly. Avoid over-tightening, as it can damage the tool or change the angle.
- Hold the blade steady while tightening the lock
- Check the angle after locking to ensure no movement
- Use the right tool to tighten screws if needed
- Keep the locking parts clean and free of debris
Maintaining Accuracy
Regular care helps your bevel gauge stay accurate over time. Clean the blade and body after each use to remove dust and dirt.
Store the bevel gauge in a dry place. Check calibration often, especially before important cuts.
- Wipe the blade with a dry cloth after use
- Apply a light oil to metal parts to prevent rust
- Keep the tool away from moisture and extreme heat
- Recalibrate if the gauge drops or gets knocked
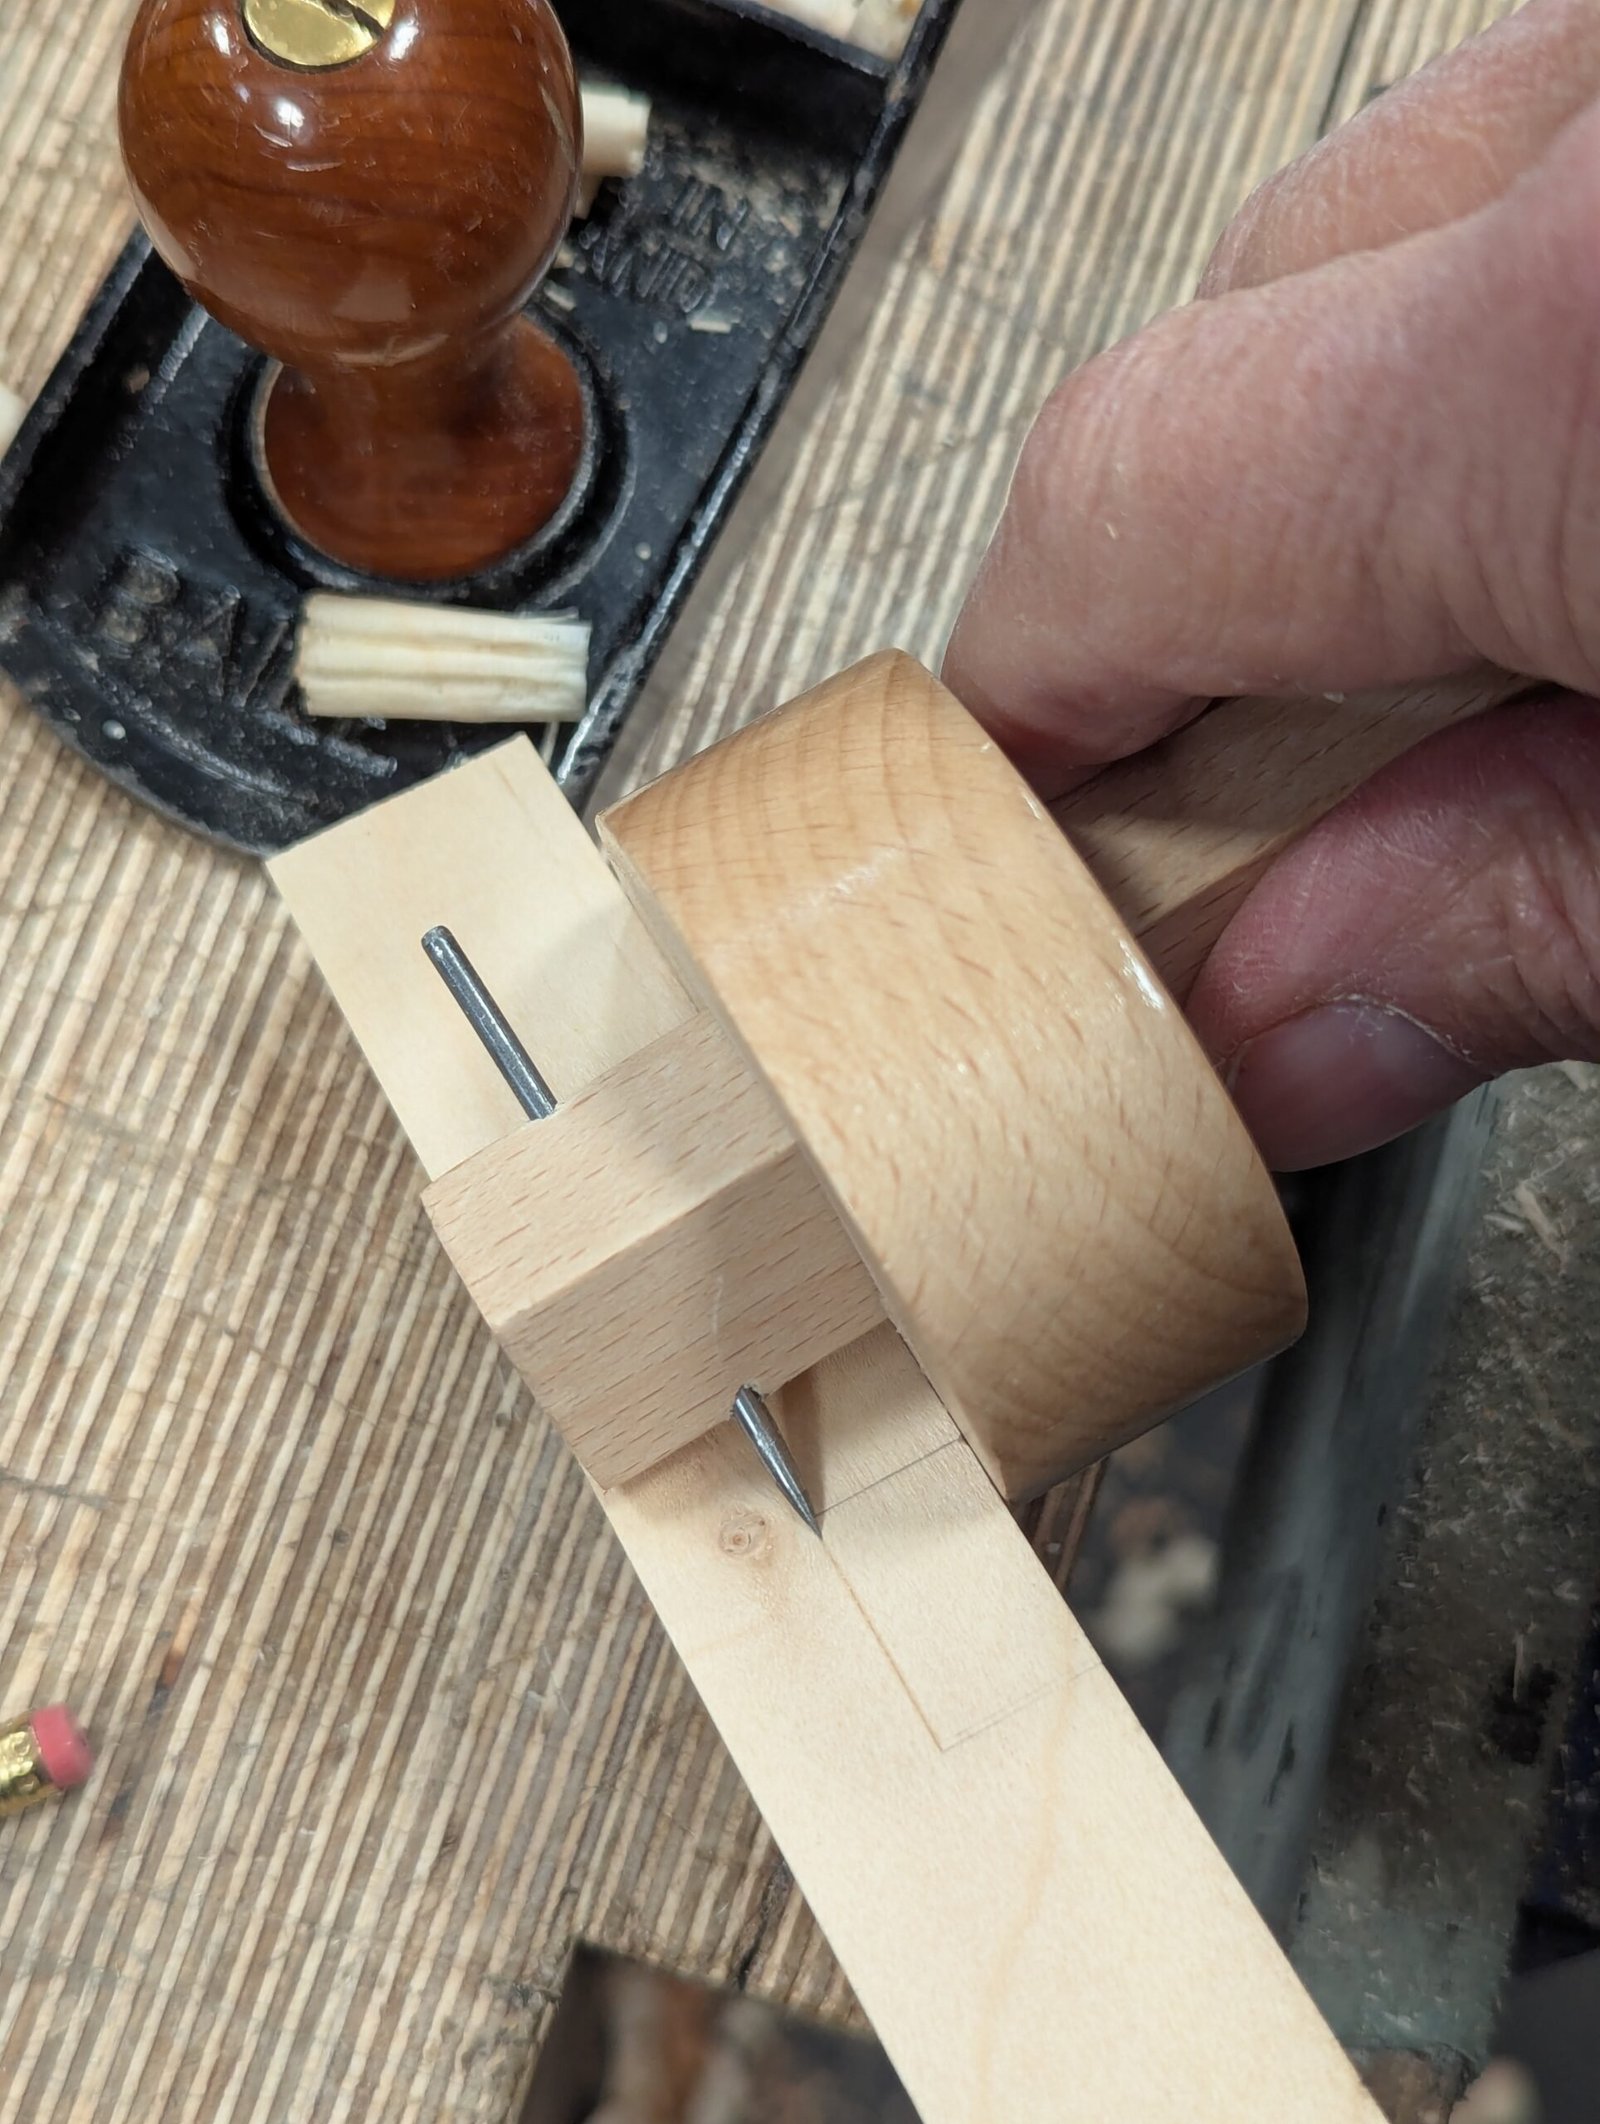
Measuring Angles Precisely
Using a bevel gauge helps you measure angles with accuracy in furniture projects. This tool ensures your cuts and joints fit perfectly.
Precise angle measurement reduces errors and improves the quality of your work. It is a must-have for woodworking tasks.
Transferring Angles From Templates
A bevel gauge can copy angles from templates easily. Place the gauge’s blade against the template edge and lock it in place.
After locking the blade, transfer the angle to your workpiece. This method keeps your angle consistent across pieces.
- Place blade on template edge
- Tighten the gauge to hold the angle
- Move gauge to workpiece
- Mark the angle for cutting or fitting
Copying Angles From Existing Furniture
You can copy angles from old furniture using a bevel gauge. Fit the blade along the angle you want to duplicate.
Lock the blade and transfer the angle to your new wood piece. This helps match repairs or new parts precisely.
- Place blade on existing furniture angle
- Secure blade with locking screw
- Transfer angle to new wood
- Cut or shape according to the mark
Using Bevel Gauges With Protractors
Combine a bevel gauge with a protractor for exact angle readings. First, set the bevel gauge blade to the desired angle.
Then, place the blade on the protractor to read the angle in degrees. This helps you make precise adjustments.
- Adjust bevel gauge to fit the angle
- Place blade on protractor scale
- Read the angle in degrees
- Fine-tune bevel gauge as needed
Applying Bevel Gauge In Furniture Projects
A bevel gauge is a tool that helps measure and copy angles. It is useful in furniture making to get precise cuts and joints. Using a bevel gauge ensures your pieces fit well together.
This guide explains how to use a bevel gauge for marking cut lines, checking joint angles, and keeping angles consistent across parts.
Marking Cut Lines
Use a bevel gauge to copy the angle you want to cut. Lock the gauge at the angle, then place it on the wood. Draw a line along the gauge’s edge to mark the cut.
This makes sure your cut lines match the exact angle needed for your project. It saves time and reduces mistakes.
Checking Joint Angles
A bevel gauge helps check if joint angles are correct before assembly. Place the gauge on the joint edge and compare the angle with your plan. Adjust if needed.
This step ensures joints fit tightly. It helps avoid gaps or weak connections in your furniture.
Ensuring Consistent Angles Across Pieces
Keep all parts at the same angle by copying the angle on your bevel gauge. Use it to check each piece before cutting or joining.
Consistent angles make furniture look professional and strong. This prevents problems during assembly and finishing.
Common Mistakes To Avoid
Using a bevel gauge correctly helps you get accurate angles in your furniture projects. Avoiding common mistakes saves time and prevents errors.
Pay attention to how you handle the tool and read measurements. These small details make a big difference in your work.
Slipping During Measurement
One common mistake is letting the bevel gauge slip while measuring. This can cause wrong angle readings and poor cuts.
Hold the bevel gauge firmly and steady it against the workpiece before locking it in place. Use your free hand to keep it stable.
- Place the bevel gauge flat on the surface
- Lock the angle tightly
- Double-check the position before marking
Ignoring Tool Maintenance
Not keeping your bevel gauge clean and in good condition leads to inaccurate readings. Dirt and rust affect its movement.
Regularly clean the blade and hinge. Apply light oil to the pivot point to keep it moving smoothly.
- Wipe off dust and debris after use
- Check for rust or damage
- Lubricate the hinge regularly
Misreading Angles
It is easy to misread the angle on a bevel gauge if you are not careful. This mistake causes wrong cuts and wasted material.
Always look straight at the scale and confirm the angle before marking. Use a protractor if you need a second check.
- Read the angle at eye level
- Check the scale markings carefully
- Compare with a known angle tool if unsure

Credit: paulsellers.com
Advanced Tips For Expert Precision
Using a bevel gauge helps you measure and transfer angles accurately in furniture projects. For expert precision, you need to use it smartly with other tools and customize it for your needs.
This guide shares advanced tips to improve your angle work and fix common problems with bevel gauges.
Combining Bevel Gauge With Other Tools
Combining a bevel gauge with other measuring tools gives you better control and accuracy. Each tool adds value for specific tasks.
- Use a combination square to check right angles after setting the bevel gauge.
- Pair the bevel gauge with a protractor for precise angle measurement and verification.
- Use a digital angle finder to double-check angles set on the bevel gauge.
- Mark angles with a pencil and straightedge to guide cuts after setting the bevel.
- Employ calipers alongside the bevel gauge to measure thickness and depth accurately.
Customizing Bevel Gauges For Specific Projects
Adjusting your bevel gauge can make it easier to work on unique furniture designs. Custom tweaks save time and increase precision.
| Customization | Benefit | How to Do It |
|---|---|---|
| Replace wooden blade with metal | Improves durability and stability | Remove old blade and fit a metal one with screws |
| Add a locking knob | Secures angle firmly | Attach a small knob where the blade pivots |
| Mark common angles | Speeds up repeated angle setups | Use a permanent marker or engrave marks on the blade |
| Attach a ruler scale | Measures small distances along the blade | Glue a thin ruler strip on the blade edge |
Troubleshooting Angle Issues
Sometimes angles from your bevel gauge seem off. These tips help you find and fix common problems quickly.
Common angle problems and fixes:
- Loose blade:Tighten the pivot screw to stop slipping.
- Worn edges:Sand or replace blade edges for sharper angle lines.
- Incorrect angle reading:Check against a protractor or angle finder.
- Blade not flat:Press blade flat before locking to avoid angle errors.
- Inconsistent markings:Use a sharp pencil and steady hand for clear lines.

Credit: paulsellers.com
Frequently Asked Questions
What Is A Bevel Gauge Used For In Furniture Projects?
A bevel gauge helps measure and transfer angles accurately. It ensures precise cuts and joints, improving furniture fit and finish. This tool is essential for creating angled parts like miters and chamfers in woodworking.
How Do I Adjust A Bevel Gauge Correctly?
Loosen the locking mechanism to move the blade freely. Set the blade to the desired angle using a protractor or reference. Tighten the lock firmly to hold the angle during marking or cutting.
Can A Bevel Gauge Measure Both Internal And External Angles?
Yes, a bevel gauge can measure and transfer both internal and external angles. Its adjustable blade allows you to replicate any angle needed in furniture making accurately.
What Materials Are Bevel Gauges Typically Made From?
Bevel gauges are usually made from wood, metal, or plastic. Wooden versions offer a classic feel, while metal ones provide durability and precision. Choose based on your project needs and personal preference.
Conclusion
Using a bevel gauge makes furniture projects easier. It helps with precise angles. Essential for accurate cuts and perfect fits. Practice using it regularly. Confidence grows with each project. Remember, patience and attention are key. The right tools make a big difference.
Keep your bevel gauge clean and calibrated. This ensures accuracy every time. Explore new techniques and designs. Each project improves your skills. Enjoy the process and the results. Happy crafting!
