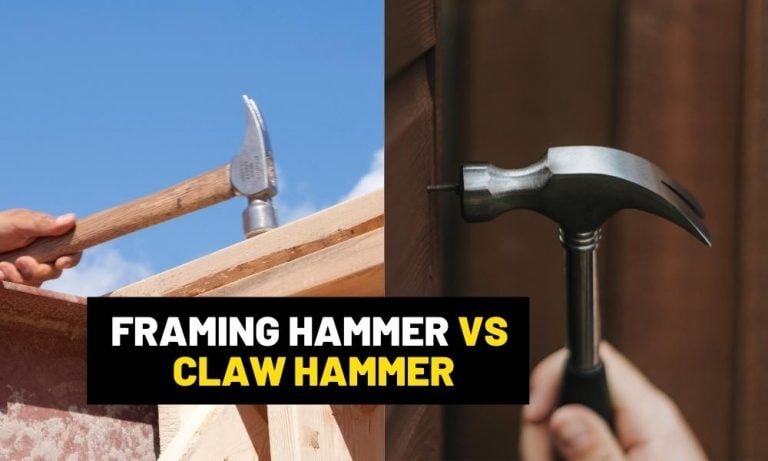
If you’re ready to tackle your next framing project, mastering the claw hammer is a must. This simple tool holds the key to building strong, reliable frames that stand the test of time.
But are you using your claw hammer the right way to get the best results with less effort? In this guide, you’ll discover practical tips and tricks that make every nail count and every frame solid. Keep reading to unlock the secrets that turn an ordinary hammer into your most powerful framing companion.
Credit: www.familyhandyman.com
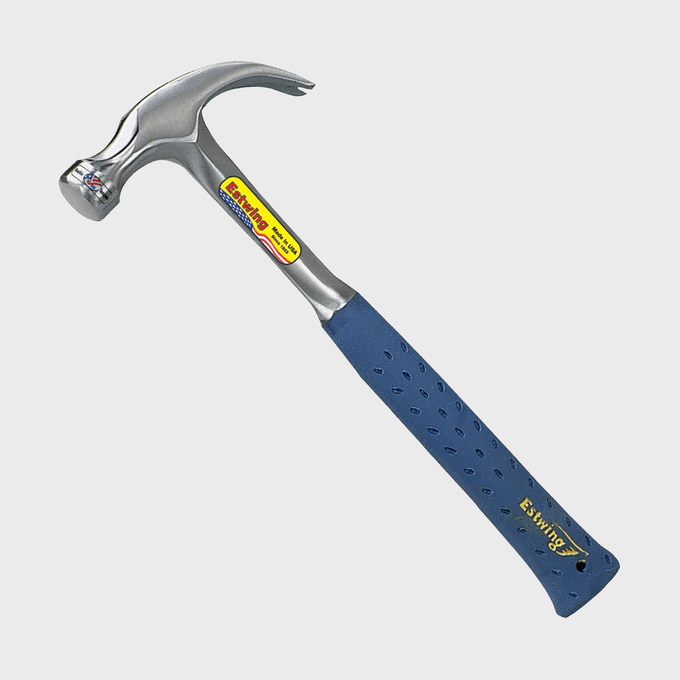
Choosing The Right Claw Hammer
Using the right claw hammer makes framing work easier and safer. Picking the correct hammer depends on your needs and comfort.
This guide explains the main factors to consider when choosing a claw hammer for framing projects.
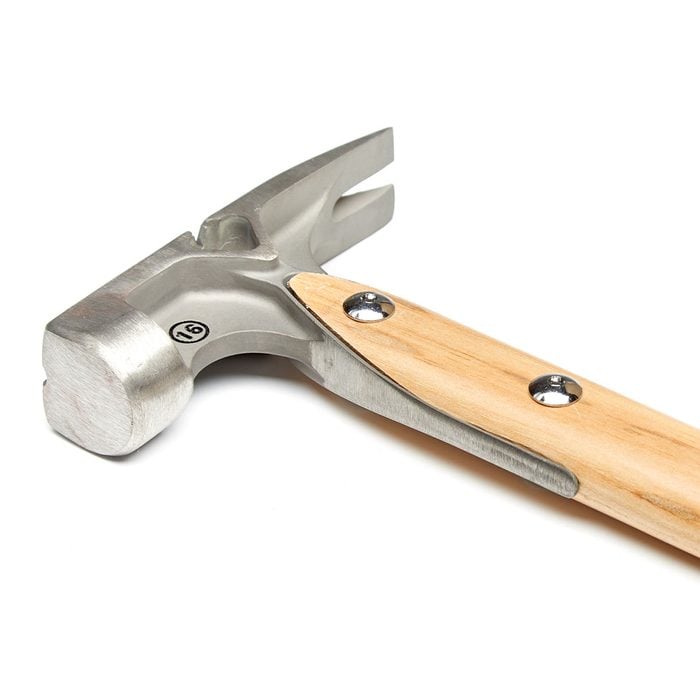
Types Of Claw Hammers
Claw hammers come in several types. Each type fits specific tasks during framing. The two main types are curved claw and straight claw hammers.
- Curved Claw:Best for pulling nails and general framing work.
- Straight Claw:Used for prying and demolition tasks.
- Rip Claw:Designed for heavy-duty framing and removing boards.
Hammer Weight And Balance
Weight affects how hard you can hit and how tired your arm gets. Balance helps control the hammer better during work.
| Weight | Best Use |
| 16 oz | Most common for framing, good balance of power and control |
| 20 oz | More power for heavy framing, but can tire the arm faster |
| 12 oz | Lighter work or for people who prefer less weight |
Handle Materials
The handle affects grip, shock absorption, and durability. Choose a handle that feels comfortable and fits your work style.
- Wood:Traditional feel, good shock absorption, but can break over time.
- Fiberglass:Strong and absorbs shock well, often lighter than wood.
- Steel:Very durable but can transmit more shock to the hand.

Credit: www.thisoldhouse.com
Preparing For Framing Work
Using a claw hammer for framing needs careful preparation. This helps you work safely and efficiently.
Before starting, set up your worksite and check your tools. Wear the right safety gear at all times.
Safety Gear Essentials
Wear safety gear to protect yourself from injury. Your eyes, hands, and feet need good protection.
- Safety glasses to protect your eyes
- Work gloves to protect your hands
- Steel-toed boots to shield your feet
- Hearing protection if noise is loud
- Hard hat if there is overhead risk
Worksite Setup
Clear your work area before framing. Remove any obstacles that could cause trips or falls.
Arrange materials close by to save time. Make sure the ground is level and stable for standing.
- Keep a clean space around your work
- Store lumber and nails nearby
- Use sawhorses or workbenches for support
- Check for good lighting to see clearly
Tool Inspection
Inspect your claw hammer before use. Make sure the handle and head are secure and undamaged.
Check the hammer for cracks, splinters, or rust. A well-maintained tool works better and is safer.
- Check the hammerhead is firmly attached
- Look for cracks or splinters on the handle
- Remove rust or dirt from the hammer
- Replace the hammer if it shows damage
Basic Hammering Techniques
Using a claw hammer correctly makes framing easier and safer. Good techniques help you work faster and avoid injury.
This guide covers proper grip and stance, how to drive nails efficiently, and how to control your swing force.
Proper Grip And Stance
Hold the hammer near the end of the handle for better control and power. Keep a firm but relaxed grip to reduce arm strain.
Stand with your feet shoulder-width apart. Position your body so you can swing the hammer straight without twisting your wrist.
Driving Nails Efficiently
Start the nail with light taps to hold it in place. Then use stronger swings to drive it fully into the wood.
- Hold the nail near the base with your fingers.
- Tap gently to set the nail tip into the wood.
- Swing the hammer in a smooth, controlled arc.
- Use your wrist and elbow together for power.
- Finish with firm hits until the nail is flush.
Controlling Swing Force
Too much force can bend the nail or damage the wood. Too little force means more swings and tired arms.
| Force Level | Effect |
| Light | Sets nail tip, prevents bending |
| Medium | Drives nail halfway in |
| Strong | Drives nail fully flush with surface |
| Too Strong | Bends nail or splits wood |
Credit: www.familyhandyman.com
Removing Nails With A Claw Hammer
Removing nails is a common task in framing projects. A claw hammer is a handy tool for this job.
Using the claw hammer properly helps you pull nails out quickly and safely. It also protects your wood work.
Using The Claw For Extraction
Place the claw around the nail head firmly. Make sure the claw grips the nail tightly before pulling.
Pull the hammer handle back slowly. This pulls the nail out without slipping or breaking it.
- Align the claw with the nail head
- Push the hammer handle down to grip
- Pull the handle back steadily
- Keep a firm grip on the hammer
Leveraging Techniques
Use the hammer handle as a lever to remove nails with less effort. This gives you more power.
Start by placing the claw under the nail head. Then, slowly lift the handle up like a lever.
- Position the claw firmly under the nail
- Use the hammer’s curved claw as a fulcrum
- Lift the handle slowly to pull the nail
- Apply steady pressure for best results
Avoiding Wood Damage
Protect your wood by placing a thin block under the hammer claw. This stops dents and scratches.
Pull nails gently to avoid splintering or breaking the wood surface. Work slowly and carefully.
- Use a small wood block under the claw
- Pull nails slowly and evenly
- Check the wood for cracks after removal
- Replace damaged wood if needed
Advanced Tips For Framing
Using a claw hammer well can save time and improve your framing work. Knowing advanced tips helps you work faster and more precisely.
This guide shares useful tricks for speed, handling tough materials, and keeping your hammer in top shape.
Speed And Accuracy Tips
Hold the hammer near the end of the handle for better control and power. Use your wrist to guide the hammer, not just your arm.
Start nails with light taps to set them quickly. Then use stronger swings for the final drive. Always keep your eye on the nail head.
- Grip handle end for more force
- Use wrist for precise control
- Tap nails lightly to start
- Drive nails fully with firm swings
- Watch nail head closely
Handling Tough Materials
For hardwood or dense materials, use longer nails and hit nails at a slight angle. This reduces nail bending and wood splitting.
If a nail bends, pull it out with the claw and try again. Use a nail set to finish nails below the wood surface without damage.
- Use longer nails for hard wood
- Drive nails at a small angle
- Remove bent nails with the claw
- Use a nail set for finishing
Maintaining Hammer Condition
Check your hammer regularly for cracks or loose handles. A solid handle improves safety and control. Replace damaged parts quickly.
Keep the hammer head clean and dry. Use light oil on metal parts to stop rust and keep the hammer working well for a long time.
- Inspect handle and head often
- Fix or replace damaged handles
- Clean hammer head after use
- Apply light oil to prevent rust
Common Mistakes To Avoid
Using a claw hammer in framing requires care and attention. Many people make simple mistakes that cause problems.
Avoiding common errors can make your work safer and stronger. Learn what not to do with your hammer.
Misusing The Hammer
Using the hammer the wrong way can damage your work or hurt you. Do not use the claw hammer as a pry bar for heavy tasks. Avoid hitting nails at sharp angles. Always strike the nail head squarely to avoid bending nails or slipping.
Ignoring Safety Precautions
- Wear safety glasses to protect your eyes.
- Check the hammer handle for cracks or splinters before use.
- Keep your work area clean to avoid trips and falls.
- Hold the hammer firmly and watch your fingers when nailing.
- Do not use a hammer with a loose head.
Poor Nail Placement
Placing nails incorrectly can weaken your framing. Avoid putting nails too close to the edge of the wood. Nails placed too far apart reduce strength. Drive nails straight, not at an angle, to hold materials firmly.
| Mistake | Effect |
| Nails too close to edge | Wood splits easily |
| Nails spaced too far apart | Less joint strength |
| Angled nails | Nails may loosen over time |
| Incomplete nail drive | Weak hold and safety risk |
Frequently Asked Questions
What Is The Best Way To Hold A Claw Hammer For Framing?
Hold the claw hammer near the end of its handle. This grip provides maximum leverage and control for driving nails efficiently in framing tasks.
How Do You Remove Nails Using A Claw Hammer?
Place the claw under the nail head. Then, gently rock the hammer back to pull the nail out without damaging the wood.
What Safety Tips Are Essential When Using A Claw Hammer?
Always wear safety glasses and gloves. Ensure your workspace is clear to avoid accidents while hammering or removing nails.
Can A Claw Hammer Be Used For Framing Nails?
Yes, a claw hammer is ideal for framing. It drives nails quickly and its claw helps remove misplaced nails easily.
Conclusion
Mastering the claw hammer is essential for framing tasks. It’s about balance and precision. Hold the hammer firmly. Strike with control. Always focus on safety. Wear protective gear. Start with small projects to build confidence. Choose the right hammer for the job.
Lightweight ones for simple tasks. Heavy ones for tougher jobs. Remember, practice makes perfect. Each swing improves skill. Soon, you’ll handle framing like a pro. Keep these tips in mind. Build with confidence. Enjoy the satisfaction of a job well done.
Happy hammering!