Imagine you’re planting seeds in your garden, hoping for a lush, vibrant growth. But often, seeds fail to sprout simply because they aren’t planted at the right depth.
That’s where a dibber comes in handy, and it’s the secret tool you need for success. By using a dibber, you ensure that each seed is placed at the perfect depth, giving them the best chance to thrive. Are you curious about how this simple tool can transform your gardening experience?
In this guide, we’ll walk you through everything you need to know about using a dibber effectively. Discover how a small tweak in your planting routine can lead to big, bountiful results. Keep reading, because your garden’s potential is about to blossom like never before.
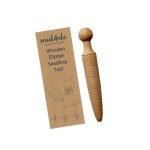
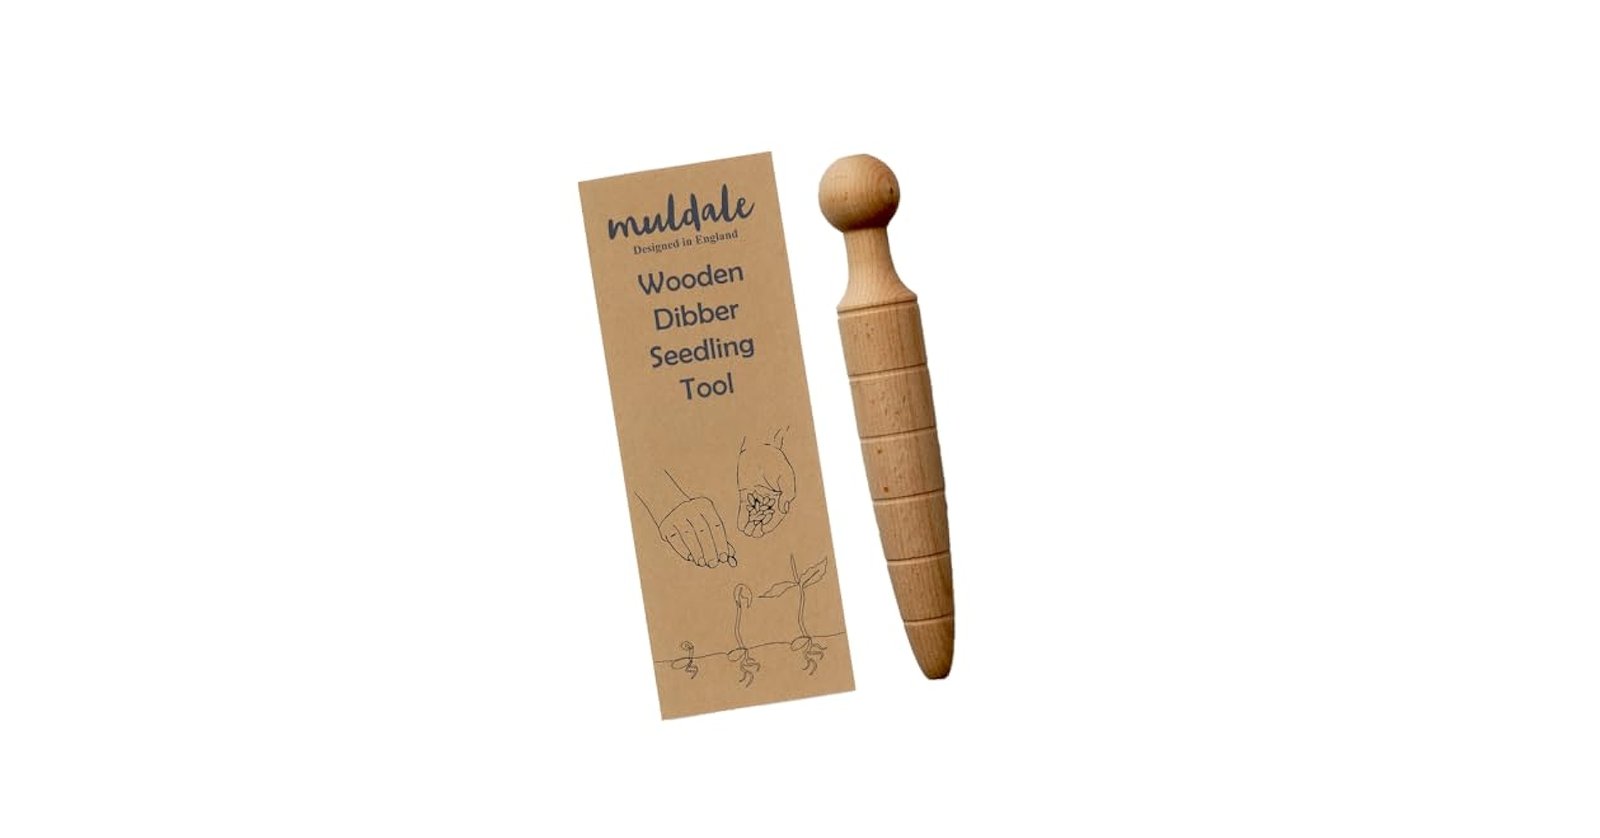
Choosing The Right Dibber
A dibber helps you plant seeds at the right depth. Choosing the right dibber makes your gardening easier and more effective.
Different dibbers fit different needs. It is important to know the types and sizes before buying one.
Types Of Dibbers
Dibbers come in many shapes and designs. Some have pointed tips, while others have hollow tubes to hold seeds.
- Pointed Dibber: A simple stick used to make holes for seeds.
- Tube Dibber: Allows you to drop seeds into the hole easily.
- Adjustable Dibber: Lets you set the seed depth for different plants.
- Ergonomic Dibber: Designed for comfort and less hand strain.
Materials And Sizes
Dibbers are made from various materials. Their sizes also vary to suit different seed types and soil conditions.
| Material | Advantages | Disadvantages |
| Wood | Lightweight and natural feel | Can wear out or crack over time |
| Metal | Durable and strong | Can rust if not cared for |
| Plastic | Light and affordable | Less durable, may break easily |
Preparing Your Soil
Good soil preparation helps seeds grow strong and healthy. Using a dibber works best when the soil is ready.
Before planting, you should loosen the soil and clear away any debris. This makes planting easier and improves seed growth.
Loosening The Ground
Loosening the ground breaks up hard soil. It lets roots grow and helps water reach the seeds.
- Use a fork or spade to dig the soil about 6 inches deep.
- Break large clumps into smaller pieces.
- Remove any rocks or hard lumps.
- Level the soil to make planting easier.
Removing Debris
Clear the soil surface from debris like stones, sticks, and old roots. These can block the dibber and stop seeds from going in evenly.
| Type of Debris | Why Remove It |
| Stones | Prevent dibber damage |
| Sticks | Allow smooth dibber entry |
| Old Roots | Stop seed blockage |
| Leaves | Avoid mold and pests |
Setting The Seed Depth
Using a dibber helps plant seeds at the right depth for good growth. Setting the seed depth correctly keeps seeds safe and helps them sprout evenly.
It is important to adjust the dibber so seeds go into the soil at the proper depth. This guide explains how to set the depth using depth markers and matching the depth to the seed type.
Adjusting Depth Markers
Most dibbers have depth markers you can move to control how deep you plant seeds. To adjust these markers:
- Loosen the marker by turning its screw or knob.
- Slide the marker up or down to the depth needed.
- Tighten the screw or knob to hold the marker in place.
- Test the dibber in soil to check the depth.
Adjusting depth markers lets you plant seeds at the right soil level every time.
Matching Depth To Seed Type
| Seed Type | Recommended Depth |
|---|---|
| Small seeds (e.g., lettuce, carrot) | 0.25 to 0.5 inch (6 to 12 mm) |
| Medium seeds (e.g., beans, peas) | 1 to 1.5 inches (25 to 38 mm) |
| Large seeds (e.g., corn, sunflower) | 1.5 to 2 inches (38 to 50 mm) |
Planting seeds at the correct depth helps them get enough water and warmth. Follow the seed packet for best depth advice.

Credit: www.amazon.com
Using The Dibber Effectively
A dibber is a simple tool used to make holes in the soil. It helps plant seeds at the right depth every time.
Using the dibber correctly saves time and improves plant growth by placing seeds evenly.
Creating Uniform Holes
To create uniform holes, hold the dibber straight and push it into the soil. Make sure each hole is the same depth.
Mark the rows or spots where you want to plant. This helps keep the holes evenly spaced and neat.
- Use a ruler or string to guide spacing
- Press the dibber straight down for best results
- Remove soil carefully from holes if needed
Maintaining Consistent Pressure
Apply steady pressure when pushing the dibber into the soil. Too much force can make holes too deep.
Too little pressure creates shallow holes that may not protect seeds well. Practice to find the right balance.
- Use your arm strength evenly for each hole
- Check hole depth regularly with a ruler
- Adjust pressure based on soil type and moisture
Planting Seeds With Precision
Using a dibber helps plant seeds at the right depth every time. This tool makes seed planting easier and more accurate.
Consistent seed depth improves germination and growth. A dibber gives you control over planting depth for better results.
Placing Seeds Correctly
Make a hole with the dibber at the recommended depth for your seeds. Place one seed gently in each hole to avoid crowding.
Spacing seeds properly ensures they have room to grow. Use the dibber to keep holes evenly spaced in rows or beds.
- Hold the dibber straight and press down to the right depth
- Drop one seed per hole for best growth
- Keep holes evenly spaced for healthy plants
Covering And Firming Soil
After placing seeds, cover them lightly with soil using the dibber or your hand. Do not bury seeds too deep or too shallow.
Firm the soil gently over the seeds. This helps soil contact the seed for better moisture absorption.
- Cover seeds with soil equal to their size
- Press soil gently to remove air pockets
- Keep soil moist but not soggy after planting
Maintaining Your Dibber
Keeping your dibber in good shape helps you plant seeds at the right depth. Regular care makes your dibber last longer and work better.
Simple maintenance steps prevent damage and keep your gardening smooth. Clean and store your dibber properly after each use.
Cleaning Techniques
Clean your dibber after every use to remove soil and debris. This stops rust and keeps the tool sharp and smooth.
Use a brush or cloth to wipe dirt off. For tough dirt, rinse with water and dry well to avoid rust.
- Remove soil with a stiff brush
- Rinse with water if needed
- Dry fully before storing
- Use sandpaper for any rust spots
Storage Tips
Store your dibber in a dry place to keep it from rusting. Avoid leaving it outside where moisture can build up.
Hang your dibber or keep it in a toolbox. This protects the tool and makes it easy to find when you need it.
- Keep in a dry, sheltered area
- Hang on a wall hook or pegboard
- Store in a toolbox or container
- Check tool condition before each use
Troubleshooting Common Issues
Using a dibber helps plant seeds at the right depth. Sometimes, problems can make seed depth uneven or soil too hard. Fixing these issues improves seed growth.
This guide covers two common problems: uneven seed depth and soil compaction. Follow simple tips to solve each problem.
Uneven Seed Depth
Uneven seed depth means some seeds are too deep or too shallow. This affects how well seeds grow. Check if the dibber hole size is correct for your seed type.
- Make sure you press the dibber straight into the soil.
- Use the same depth mark on the dibber for every seed.
- Clear debris from the dibber tip before use.
- Check soil moisture; too dry or wet soil changes hole depth.
- Practice steady hand pressure to keep holes uniform.
Soil Compaction Problems
Soil compaction makes the ground hard and stops roots from growing well. A dibber may not make deep holes in compacted soil.
| Cause | Effect | Solution |
| Heavy rain | Soil becomes dense | Loosen soil with a fork before dibbing |
| Walking on seedbed | Soil hardens | Walk around seedbed, not on it |
| Clay soil type | Holes close quickly | Water soil lightly before dibbing |
| Using wrong dibber size | Too much pressure needed | Choose a smaller dibber for hard soils |

Credit: www.amazon.com

Credit: www.amazon.com
Frequently Asked Questions
What Is A Dibber Used For In Gardening?
A dibber is a tool that helps create uniform holes for seeds. It ensures consistent seed depth, improving germination and plant growth.
How Do You Use A Dibber For Seed Planting?
Press the dibber into soil to the desired depth. Drop the seed in the hole, then cover with soil gently.
Why Is Consistent Seed Depth Important In Gardening?
Consistent seed depth ensures even germination and healthy seedlings. It prevents seeds from drying out or being buried too deep.
Can A Dibber Improve Seed Germination Rates?
Yes, a dibber creates uniform planting holes. This leads to better water absorption and seed contact, boosting germination rates.
Conclusion
Using a dibber helps plant seeds at the right depth every time. This tool makes planting easier and more precise. Consistent seed depth improves seed growth and garden success. Small steps, like using a dibber, lead to better results. Try it in your next planting session and see the difference.
Simple tools can make gardening more enjoyable and productive. Keep your seeds safe and growing strong with this easy method.