Are you tired of struggling with inaccurate measurements in your DIY projects or professional work? Meet the digital caliper, your new best friend in achieving precision like never before.
Imagine the satisfaction of knowing every measurement you take is exact, eliminating any guesswork from your tasks. This guide will walk you through using a digital caliper effectively, ensuring you gain confidence in your measurements and improve your results, whether you’re working in the garage or on the job site.
Keep reading to discover how mastering this tool can transform your approach to measuring and open up a world of precision at your fingertips.
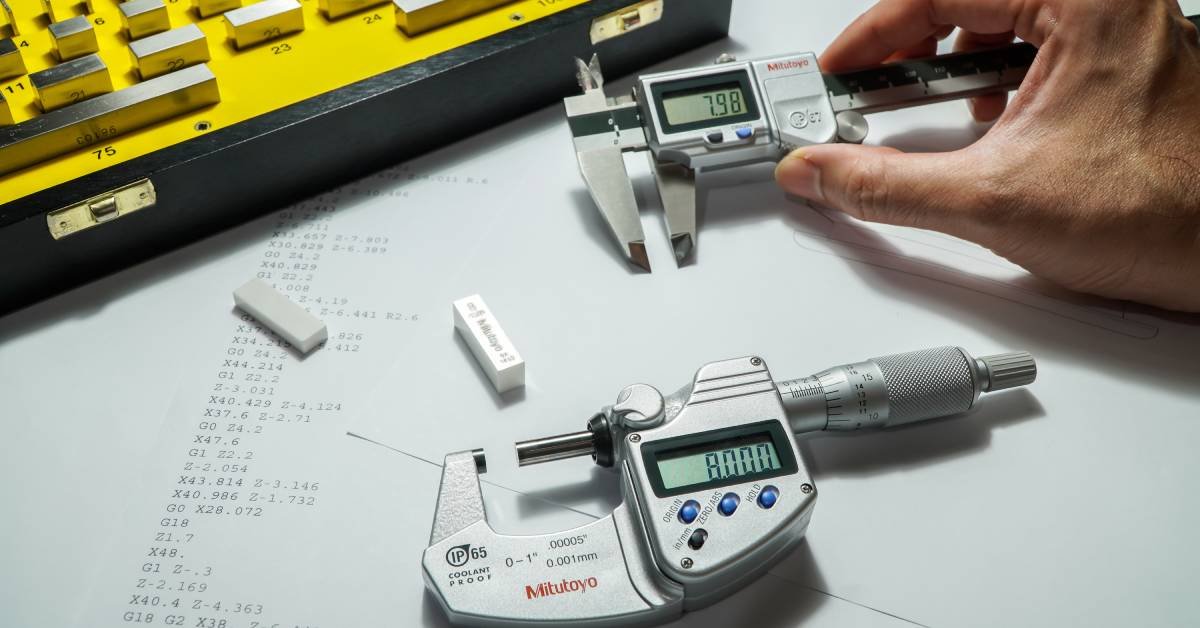
Credit: www.accu.co.uk
Choosing The Right Digital Caliper
Digital calipers help measure objects with accuracy and ease. Picking the right one depends on your needs and budget.
This guide explains types of digital calipers, key features, and how to balance cost with quality.
Types Of Digital Calipers
There are several types of digital calipers. Each type suits different measuring tasks.
- Standard Digital Calipers:Most common type for general use.
- Vernier Digital Calipers:Combine digital display with vernier scale.
- Dial Digital Calipers:Include a dial for quick reading and digital output.
- Depth Digital Calipers:Designed to measure depths of holes or slots.
- Specialized Digital Calipers:Made for specific industries or measurements.
Key Features To Consider
Look for features that improve accuracy, ease of use, and durability in your digital caliper.
| Feature | Why It Matters |
| Measurement Range | Choose a range that fits the objects you measure most often. |
| Resolution | Higher resolution means more precise readings. |
| Display Type | A clear digital display helps you read measurements quickly. |
| Material | Stainless steel calipers last longer and resist wear. |
| Zero Setting | Allows you to reset the caliper at any position for relative measurements. |
| Water Resistance | Protects the tool from damage in wet or dusty conditions. |
Budget Vs Quality
Digital calipers come in a wide price range. Balance your budget with the quality you need.
- Lower-cost calipers may lack durability and accuracy.
- Mid-range options usually offer good features and reliable performance.
- High-end calipers have better build quality and more advanced functions.
- Consider how often and for what tasks you will use the caliper.
- Invest in quality if precision and durability are important.
Setting Up Your Caliper
Using a digital caliper correctly begins with proper setup. This ensures accurate and reliable measurements every time.
Follow simple steps to prepare your caliper before measuring objects. Pay attention to calibration, display zeroing, and battery care.
Calibrating For Accuracy
Calibration helps your caliper give precise readings. Start by closing the jaws completely and checking the display.
- Clean the measuring surfaces to remove dust or dirt.
- Close the jaws gently until they touch.
- Check if the display reads zero or a small number.
- Adjust the calibration dial or button if available.
- Repeat the process to confirm consistent readings.
Zeroing The Display
Zeroing sets the baseline measurement on your caliper’s screen. This step avoids errors caused by slight jaw gaps.
- Close the caliper jaws completely until they meet.
- Press the zero button on the display.
- Ensure the screen shows 0.00 or 0.000 depending on precision.
- Open and close the jaws again to verify the zero setting.
- Repeat zeroing if the display does not reset properly.
Battery Installation And Care
Battery power keeps your digital caliper running smoothly. Use the correct battery type and handle it carefully.
| Battery Type | Installation Tips | Care Advice |
| CR2032 | Open battery cover with a small screwdriver | Remove battery if unused for months |
| SR44 | Insert with correct polarity (+/-) | Replace battery when display dims |
| LR44 | Check for corrosion before installing | Store caliper in dry place |
Measuring Techniques
A digital caliper is a tool to measure objects with accuracy. It gives quick and clear readings on a digital screen.
This guide explains how to use a digital caliper for different types of measurements. Follow these tips for best results.
Inside Measurements
Inside measurements check the distance between two inner surfaces. Use the small jaws on the top of the caliper for this.
Insert the small jaws into the space to measure. Open them until they touch the sides. Read the measurement on the screen.
Outside Measurements
Outside measurements find the size of an object’s outer edges. Use the large jaws on the bottom of the caliper for this.
Close the large jaws around the object. Make sure they touch the sides gently but firmly. Check the digital reading.
Depth Measurements
Depth measurements show how deep a hole or slot is. Use the thin depth rod at the end of the caliper for this task.
Place the caliper’s base on the surface. Slide the depth rod down into the hole until it reaches the bottom. Read the depth on the screen.
Step Measurements
Step measurements find the height difference between two surfaces. Use the caliper’s large jaws and the back step edge.
Set the caliper so the back step rests on the lower surface. Slide the jaws to touch the higher surface. Read the measurement shown.
Common Mistakes To Avoid
Using a digital caliper may seem simple, but small mistakes can cause errors. Avoiding these errors helps you get accurate measurements every time.
Here are some common mistakes to watch out for when using your digital caliper. Learn how to avoid them for better results.
Applying Excessive Force
Pressing the caliper jaws too hard can damage the tool or distort the object. This leads to incorrect readings and may break the caliper.
- Use gentle pressure when closing the jaws on the object.
- Let the caliper jaws touch the surface lightly.
- Check that the jaws move smoothly without forcing them.
- Do not use the caliper as a substitute for other tools.
Misreading The Display
The digital display shows the measurement, but it can be confusing if you are not careful. Make sure to read the units and numbers correctly.
| Common Display Errors | How to Avoid |
| Mixing millimeters and inches | Check the unit symbol before recording the number |
| Ignoring low battery warnings | Replace batteries when display dims or shows error |
| Not zeroing the caliper before use | Press the zero button with jaws closed each time |
Ignoring Calibration
Calibration ensures the caliper measures correctly. Skipping calibration can cause consistent errors in your results.
Follow these tips for proper calibration:
- Close the caliper jaws completely.
- Press the zero or calibrate button.
- Check calibration often if you use the tool daily.
- Store the caliper in a clean, dry place to keep it stable.
Maintenance And Storage Tips
Taking care of your digital caliper helps it stay accurate and last longer. Proper cleaning and storage protect it from damage.
Simple steps can keep your caliper working well. Follow these tips to maintain and store it correctly.
Cleaning Your Caliper
Clean your digital caliper after each use. Dirt and dust can affect its accuracy and damage the tool.
- Use a soft, dry cloth to wipe the surfaces.
- Remove any metal shavings or debris carefully.
- Avoid using water or cleaning liquids that can harm electronics.
- Do not spray cleaning agents directly on the caliper.
- Use compressed air to clean hard-to-reach areas if needed.
Proper Storage Practices
Store your caliper in a safe, dry place to prevent damage. Keep it away from heat and moisture.
| Storage Tip | Reason |
| Use a protective case | Prevents dust and physical damage |
| Keep away from direct sunlight | Avoids heat damage to electronics |
| Store in a dry area | Prevents rust and corrosion |
| Keep away from magnets | Protects electronic components |
Extending Battery Life
Proper battery care keeps your caliper ready to use. Follow these tips to extend battery life.
- Turn off the caliper when not in use.
- Remove the battery if you will not use the caliper for a long time.
- Replace the battery as soon as the display starts to fade.
- Use the recommended battery type for your model.
- Store the caliper with the battery removed if stored for months.

Credit: blocktobox.com
Advanced Tips For Precision
Using a digital caliper correctly helps you get exact measurements. Small errors can change your results a lot.
These tips focus on ways to improve your accuracy with a digital caliper. They help reduce mistakes and improve consistency.
Using Measuring Jigs
Measuring jigs hold parts steady while you measure. They keep the caliper in the right position every time.
Use jigs for small or slippery parts. This prevents movement that can cause wrong readings.
- Helps keep the caliper jaws aligned
- Reduces hand shake and movement
- Speeds up repeated measurements
- Improves repeatability of results
Temperature Considerations
Metal parts and calipers change size with temperature. Warm parts grow; cold parts shrink.
Measure parts and tools at the same room temperature. Avoid holding parts in your hand too long before measuring.
- Keep measuring tools at room temperature
- Let parts cool or warm up before measuring
- Avoid direct sunlight or heat sources
- Use gloves to reduce heat transfer from hands
Consistent Measuring Pressure
Pressing the caliper jaws too hard or too soft changes the measurement. Use steady, even pressure.
Practice applying the same force each time. Some digital calipers have a locking screw to hold the jaws.
- Apply gentle pressure to close jaws
- Avoid squeezing parts or tool too tight
- Use the locking screw to fix the reading
- Check readings twice for consistency

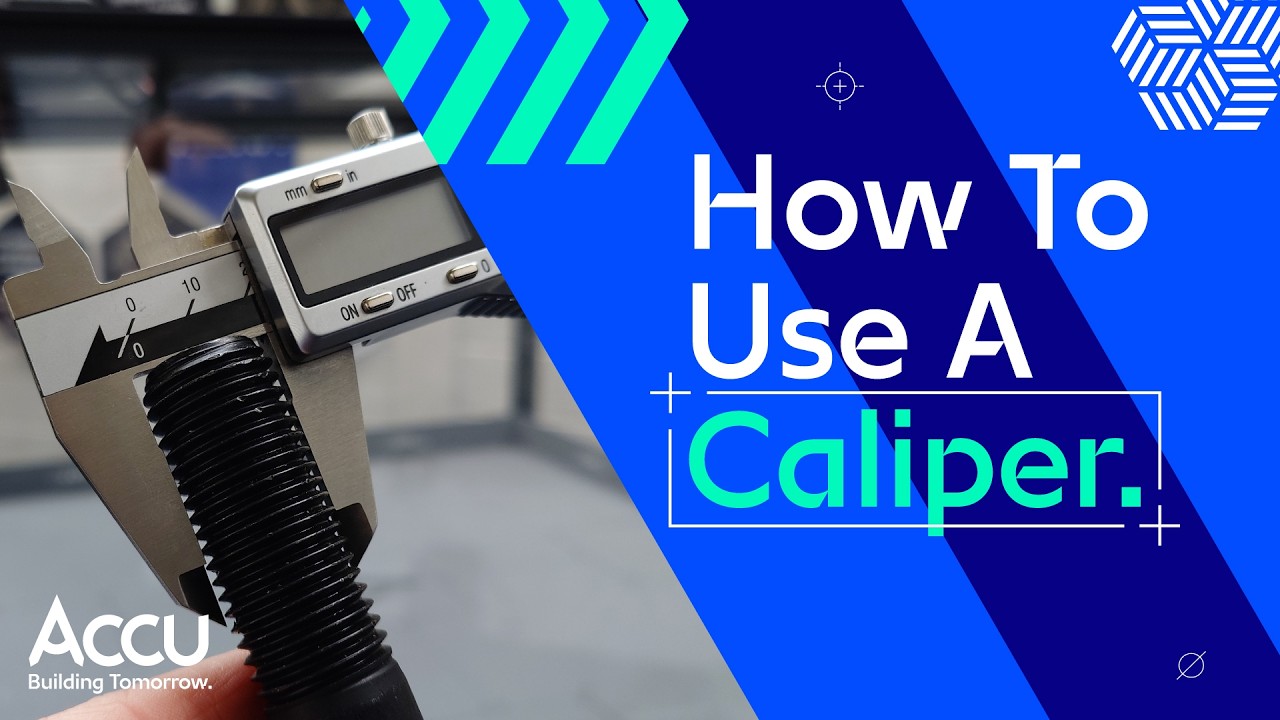
Credit: www.youtube.com
Frequently Asked Questions
How Do I Read Measurements On A Digital Caliper?
A digital caliper shows measurements on an LCD screen instantly. Simply close the jaws around the object. The screen displays accurate readings in millimeters or inches, making it easy to read without manual calculation.
What Are Common Uses For A Digital Caliper?
Digital calipers measure internal, external dimensions, and depths accurately. They are widely used in engineering, woodworking, metalworking, and DIY projects. Their precision helps ensure components fit perfectly and meet specifications.
How Do I Calibrate A Digital Caliper?
To calibrate, close the jaws completely and press the zero button. This sets the display to zero. Regular calibration ensures accurate measurements and maintains the tool’s reliability over time.
Can A Digital Caliper Measure Depth Accurately?
Yes, digital calipers have a depth rod for precise depth measurement. Extend the rod into holes or slots, and the digital display shows the exact depth, improving accuracy compared to traditional rulers.
Conclusion
Using a digital caliper makes measuring simple and precise. Practice often to get comfortable with its parts and functions. Always clean the caliper before use to ensure accuracy. Remember to zero the tool each time for correct readings. This tool fits many tasks, from woodworking to metalwork.
Keep the caliper safe in its case after use. With patience, anyone can measure like a pro. Small steps lead to big improvements in skill. Try using your caliper today and see the difference.