Are you ready to take your DIY projects to the next level? Using a hand drill can make your work faster, cleaner, and more precise.
Whether you’re hanging shelves, building furniture, or fixing something around the house, mastering this tool will save you time and frustration. In this guide, you’ll discover simple, step-by-step tips to use a hand drill like a pro—even if you’ve never picked one up before.
Keep reading, and you’ll gain the confidence to handle your next project with ease and accuracy.
Choosing The Right Hand Drill
Using a hand drill is helpful for many DIY projects. Picking the right drill makes your work easier and safer.
This guide helps you understand types of hand drills, key features, and good choices for beginners.
Types Of Hand Drills
Hand drills come in different types. Each type fits certain tasks better than others.
- Manual Hand Drill:Simple and low cost. Good for light drilling in wood or plastic.
- Electric Hand Drill:Powered by electricity. Faster and easier for tougher materials.
- Cordless Drill:Battery-powered. Offers freedom of movement without cords.
- Hammer Drill:Adds a hammering action. Great for drilling into concrete or brick.
Key Features To Consider
Some features affect how well a drill works for your projects. Consider these before buying.
| Feature | Why It Matters |
| Power Source | Choose corded for constant power or cordless for portability. |
| Chuck Size | Controls the size of drill bits you can use. |
| Speed Settings | Adjust speed for different materials and tasks. |
| Weight | Lighter drills reduce fatigue during long use. |
| Ergonomics | Comfortable grip helps control and safety. |
Best Drills For Beginners
Beginners need drills that are easy to use and safe. Some models fit this well.
- Look for drills with simple controls and low weight.
- Choose cordless drills for easy handling and no cords.
- Pick drills with variable speed to match your project.
- Check for safety features like a good grip and a trigger lock.
- Buy from brands that offer good manuals and support.

Credit: www.youtube.com
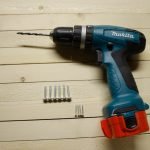
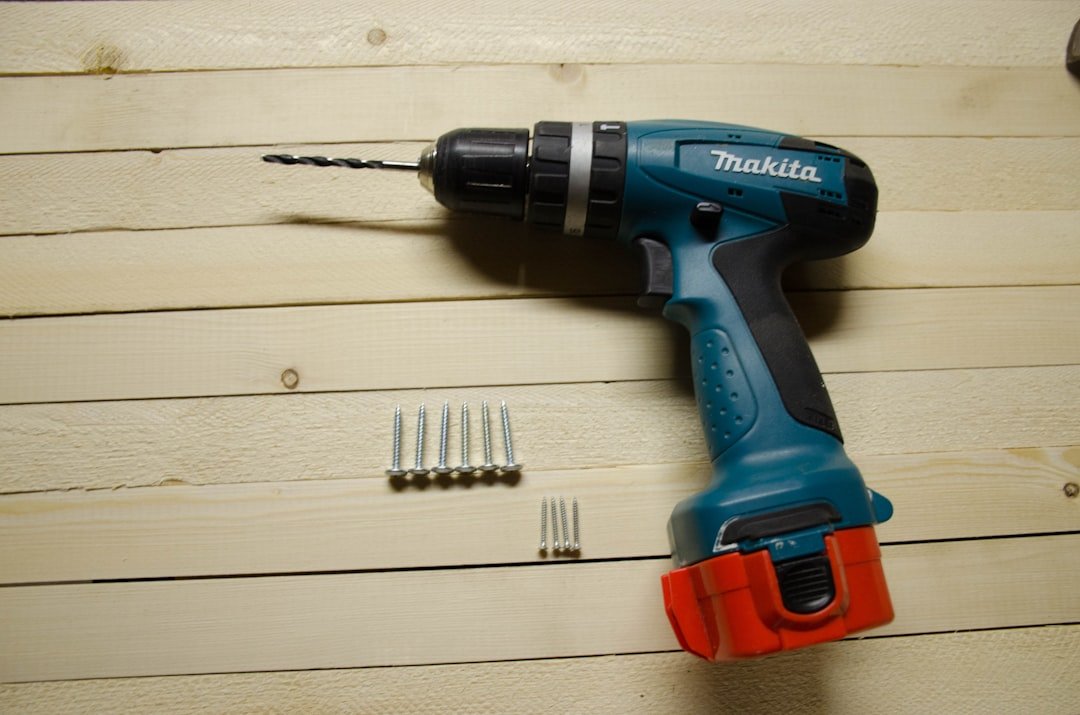
Essential Drill Bits And Accessories
Using a hand drill for DIY projects is easier with the right drill bits and accessories. They help you do many tasks well and safely.
This guide explains common drill bit types, useful attachments, and how to keep your drill bits in good shape.
Common Drill Bit Types
Different drill bits work best for different materials. Choose the right one to get clean holes and avoid damage.
- Twist Bits:Good for wood, metal, and plastic. Most common type.
- Masonry Bits:Made for drilling into brick, stone, and concrete.
- Brad Point Bits:Create clean holes in wood without splintering.
- Spade Bits:Fast drilling in wood for larger holes.
- Forstner Bits:Make flat-bottomed holes in wood, good for furniture.
- Hole Saw:Cut large holes in wood, plastic, or thin metal.
Using Attachments For Versatility
Attachments make your hand drill more useful. You can do more jobs without buying new tools.
- Screwdriver Bits:Turn your drill into a power screwdriver.
- Wire Brushes:Clean rust or paint from metal surfaces.
- Sanding Drums:Sand and smooth wood or metal.
- Right Angle Attachments:Reach tight spaces easily.
- Drill Bit Extensions:Help reach deep or awkward spots.
Maintaining Your Drill Bits
Taking care of your drill bits keeps them sharp and lasts longer. It also makes your work safer.
- Clean bits after use to remove dust and debris.
- Sharpen dull bits with a file or sharpening tool.
- Store bits in a dry place to stop rust.
- Use the right speed and pressure to avoid overheating.
- Replace bits that are bent or too worn out.
Preparing For Your Project
Using a hand drill for DIY projects can make your work easier and more precise. Proper preparation helps you get good results and stay safe.
Before you start drilling, take time to select materials, mark drill points, and set up a safe workspace. These steps will improve your project quality.
Selecting Materials
Choose the right materials for your project based on the drill type and bit you will use. Some materials are easier to drill than others.
Wood, plastic, and soft metals work well with most hand drills. Hard metals and thick materials may need special drill bits or tools.
- Use soft wood for easy drilling
- Choose plastic for lightweight projects
- Pick metals suitable for your drill bit
- Avoid materials that crack or splinter easily
Marking Drill Points
Mark the exact spots where you will drill holes. Clear marks help you drill straight and avoid mistakes.
Use a pencil or marker to make small dots. For better accuracy, use a center punch to create a small dent at each mark.
- Measure twice to find the correct spot
- Make small, visible marks
- Use a center punch for steady drilling
- Check marks before drilling
Setting Up A Safe Workspace
Prepare your workspace before you start drilling. A clean and organized area helps prevent accidents and damage.
Make sure your work surface is stable. Keep tools and materials within reach but away from the drill path to avoid hazards.
- Work on a flat, sturdy surface
- Clear away clutter and obstacles
- Wear safety glasses and gloves
- Keep cords and tools organized

Credit: www.youtube.com
Step-by-step Drilling Process
Using a hand drill correctly makes your DIY projects safer and easier. Follow these steps to get clean and accurate holes every time.
Focus on securing your work, adjusting settings, and drilling with care. These tips will help you handle the drill like a pro.
Securing The Workpiece
Make sure your workpiece is stable before drilling. A moving piece can cause mistakes or injuries.
- Use clamps to hold the workpiece firmly on a solid surface.
- If clamps are not available, place the piece against a wall or corner.
- Double-check that the piece does not wobble or shift.
- Keep your hands clear of the drilling area.
Adjusting Drill Speed And Torque
Adjust speed and torque to fit the material and bit size. This helps avoid damage and extends drill life.
| Material | Recommended Speed | Torque Setting |
| Wood | High (1500-2000 RPM) | Low to Medium |
| Metal | Low (500-1000 RPM) | High |
| Plastic | Medium (1000-1500 RPM) | Medium |
Proper Drilling Techniques
Use the right grip and pressure. Let the drill do the work without forcing it.
- Hold the drill firmly with both hands.
- Start drilling at a slow speed to create a guide hole.
- Keep the drill bit straight and steady.
- Apply gentle, even pressure; do not push hard.
- Pull the bit out occasionally to clear debris.
- Turn off the drill before removing it from the hole.
Safety Tips While Using A Hand Drill
Using a hand drill can make your DIY projects easier. Safety is important to avoid accidents.
Follow these tips to protect yourself and work safely with your hand drill.
Protective Gear To Wear
Wear the right gear to keep safe while drilling. It helps protect your eyes, hands, and ears.
- Safety goggles to protect your eyes from dust and debris
- Gloves to protect your hands from sharp edges and splinters
- Ear protection if you are drilling for a long time
- Close-fitting clothing to avoid loose fabric getting caught
- Non-slip shoes to keep a steady stance
Avoiding Common Mistakes
Many accidents happen because of simple errors. Be careful to avoid these common mistakes.
- Do not force the drill; let it work at its own speed.
- Keep your hands away from the drill bit.
- Make sure the drill bit is tight before starting.
- Check the wood or material for nails or screws before drilling.
- Use the right drill bit for the material you are working on.
Handling Emergencies
If an accident happens, stay calm and act quickly. Knowing what to do can reduce harm.
| Emergency | Action to Take |
| Cut or wound | Stop bleeding and clean the wound |
| Eye injury | Rinse eye with clean water and seek help |
| Electric shock | Turn off power and call for emergency help |
| Drill bit stuck | Turn off drill and remove bit carefully |

Credit: www.youtube.com
Troubleshooting Common Issues
Using a hand drill for DIY projects can sometimes cause problems. Knowing how to fix these issues will save time and effort.
This guide covers common problems like drill bit slippage, overheating, and misaligned holes. Follow these tips for smooth drilling.
Dealing With Drill Bit Slippage
Drill bit slippage happens when the bit spins without gripping the material. This can damage your work and the bit.
- Check if the drill bit is tightly secured in the chuck.
- Use the right drill bit for the material you are working on.
- Clean the drill bit and chuck from dust and debris.
- Apply steady, even pressure while drilling.
- Replace worn or dull drill bits to improve grip.
Fixing Overheating Problems
Overheating can damage the drill and the bit. It usually happens with long or hard drilling tasks.
| Cause | Solution |
| Drilling too fast | Reduce drill speed for better cooling |
| Using dull bits | Sharpen or replace the drill bit |
| Applying too much pressure | Use gentle, steady pressure |
| Drilling hard materials | Use lubricant or cooling fluid |
Correcting Misaligned Holes
Misaligned holes can ruin your project’s look and function. Careful setup helps avoid this problem.
Try these tips to fix misaligned holes:
- Mark the exact drilling point clearly with a pencil or center punch.
- Hold the drill perpendicular to the surface.
- Use a drill guide or clamp a straight edge to keep the drill steady.
- Drill a small pilot hole before the final size hole.
- Check alignment frequently while drilling.
Maintaining Your Hand Drill
Keeping your hand drill in good shape helps it work well for a long time. Regular care stops problems and saves money on repairs.
Simple maintenance tasks can keep your drill running smoothly. This guide covers cleaning, battery care, and storage tips.
Cleaning And Lubrication
Clean your drill after each use. Remove dust and dirt from all parts. Use a soft brush or cloth to wipe the surface.
Lubricate moving parts to keep them from sticking. Use light machine oil on the chuck and gears. Avoid over-oiling to prevent dirt buildup.
- Wipe the drill clean with a dry cloth
- Use a brush to remove dust from vents and crevices
- Apply a few drops of oil to the chuck and gears
- Run the drill briefly to spread the oil evenly
- Wipe off any extra oil to avoid dirt attraction
Battery Care For Cordless Models
Charge the battery fully before using your cordless drill. Avoid leaving the battery empty for long periods. Store batteries away from heat and moisture.
Remove the battery from the drill if you do not plan to use it for weeks. Check battery contacts and clean them with a dry cloth to keep good connection.
- Charge batteries after each use
- Do not overcharge; unplug once full
- Store batteries in a cool, dry place
- Keep battery contacts clean and dry
- Remove batteries from drill for long storage
Storing Your Drill Properly
Store your drill in a dry area to prevent rust and damage. Keep it in a case or toolbox to protect it from dust and drops.
Make sure the drill is clean and dry before storage. Keep it away from extreme temperatures and direct sunlight to avoid damage.
- Clean and dry the drill before storing
- Use a protective case or toolbox
- Store in a dry, cool place
- Avoid places with high humidity or heat
- Keep away from direct sunlight
Frequently Asked Questions
What Safety Tips Should I Follow Using A Hand Drill?
Always wear protective gear like safety glasses and gloves. Keep hair and loose clothing away from the drill. Use clamps to secure your workpiece. Inspect the drill and bits before use. Maintain a firm grip and drill at steady speeds to avoid accidents.
How Do I Choose The Right Drill Bit Size?
Select a drill bit that matches your screw or hole diameter. For pilot holes, use a bit slightly smaller than the screw shaft. Check the project material and bit type to ensure compatibility. Using the correct size prevents damage and ensures a secure fit.
Can I Use A Hand Drill On Metal Surfaces?
Yes, use a high-speed steel (HSS) or cobalt bit for metal. Secure the metal firmly and apply steady pressure. Use cutting oil to reduce heat and bit wear. Drill at slower speeds to prevent overheating and bit damage.
How Do I Maintain My Hand Drill For Longevity?
Keep your drill clean and dry after use. Lubricate moving parts regularly to prevent rust. Store it in a dry place away from moisture. Inspect cords and bits for damage before every use. Proper maintenance ensures consistent performance and extends tool life.
Conclusion
Mastering the hand drill opens up endless DIY possibilities. It’s a useful tool for every home project. Simplicity and safety are key. Always use the correct drill bit for the task. Practice makes perfect, so start with small projects. Soon, you’ll feel more confident with larger tasks.
Remember to maintain your drill properly. This ensures it lasts longer and works well. Happy drilling! Your DIY journey awaits. Embrace the challenge and enjoy the creativity.