Are you ready to make your DIY projects easier and faster? Using a hand drill for screwing can save you time and effort, but only if you know the right way to do it.
Imagine finishing your tasks smoothly, without struggling or damaging your materials. This guide will walk you through simple steps to help you use your hand drill like a pro. By the end, you’ll feel confident and ready to tackle any screwing job with ease.
Keep reading to unlock these handy tips and tricks that will change the way you work forever.

Credit: www.familyhandyman.com
Choosing The Right Hand Drill
Using a hand drill for screwing can make your work easier and faster. Picking the right drill helps you get better results. This guide explains what to look for.
We will cover types of hand drills, key features to check, and how to select drill bits for screwing.
Types Of Hand Drills
There are several kinds of hand drills. Each type fits different tasks and user needs. Choose one that matches your project and skill level.
- Manual Hand Drill:Uses hand power. Good for light jobs and tight spaces.
- Electric Corded Drill:Needs power outlet. Offers strong, steady power for heavy work.
- Battery-Powered Drill:Portable and easy to use. Ideal for quick jobs without cords.
- Right-Angle Drill:Designed for tight corners. Useful in hard-to-reach areas.
Key Features To Look For
Good hand drills have features that improve comfort, control, and durability. Check these before buying your drill.
| Feature | Why It Matters | What to Check |
| Power | Determines drilling strength | Choose based on task difficulty |
| Speed Settings | Controls drilling pace | Look for variable speed control |
| Ergonomics | Comfort during use | Check grip and weight |
| Chuck Size | Holds drill bits | Standard sizes: 3/8″ or 1/2″ |
| Battery Life (for cordless) | Work time without charging | Longer battery life is better |
Selecting Drill Bits For Screwing
Not all drill bits fit screws. Picking the right bits helps you drive screws well without damage.
- Phillips Bits:Used for cross-shaped screws.
- Flathead Bits:For single-slot screws.
- Torx Bits:Star-shaped, provide more grip.
- Hex Bits:For hexagonal screw heads.
- Size Matching:Bits must match screw size for best fit.
Preparing For Screwing
Using a hand drill for screwing requires careful preparation. This ensures your work is safe and accurate.
Before starting, take time to prepare your workspace and materials. This helps prevent mistakes and accidents.
Safety Precautions
Always wear safety goggles to protect your eyes from debris. Use gloves to avoid hand injuries.
- Check the drill for damage before use
- Keep your work area clean and well-lit
- Secure the material firmly before drilling
- Do not wear loose clothing or jewelry
- Keep children and pets away from the work area
Marking Screw Positions
Mark the exact spots for screws on the material. This helps guide the drill and keeps screws straight.
Use a pencil or marker to make small dots where screws will go. Measure carefully to keep even spacing.
Double-check the marks before drilling to avoid mistakes.
Drilling Pilot Holes
Drill small pilot holes before screwing. This makes inserting screws easier and prevents wood from splitting.
| Material | Pilot Hole Size |
| Softwood | Drill bit slightly smaller than screw |
| Hardwood | Drill bit same size as screw core |
| Metal | Use a metal drill bit matching screw size |
Techniques For Efficient Screwing
Using a hand drill for screwing can save time and effort. Following the right techniques helps you work safely and accurately.
This guide covers key methods to improve your screwing with a hand drill. Focus on speed, grip, and screw alignment for best results.
Adjusting Speed And Torque
Set the drill speed and torque to match the screw and material. Too fast or too much torque can damage the screw or surface.
- Start with low speed to avoid slipping.
- Increase speed gradually if needed.
- Use low torque for soft materials like wood.
- Choose higher torque for hard materials like metal.
- Stop drilling as soon as the screw is flush with the surface.
Maintaining Proper Grip
Hold the drill firmly with both hands. A steady grip helps control the drill and keeps the screw straight.
| Grip Type | Description | Benefit |
| Two-Handed | One hand on the handle, one on the body | Better control and stability |
| One-Handed | Only dominant hand on handle | Less control, use only for light tasks |
| Support Hand | Use non-dominant hand near the bit | Improves precision and pressure |
Aligning The Screw Correctly
Place the screw straight on the spot before starting. This prevents the screw from bending or stripping.
- Hold the screw perpendicular to the surface.
- Keep the drill bit aligned with the screw head.
- Apply gentle pressure to keep the screw steady.
- Check alignment often during screwing.

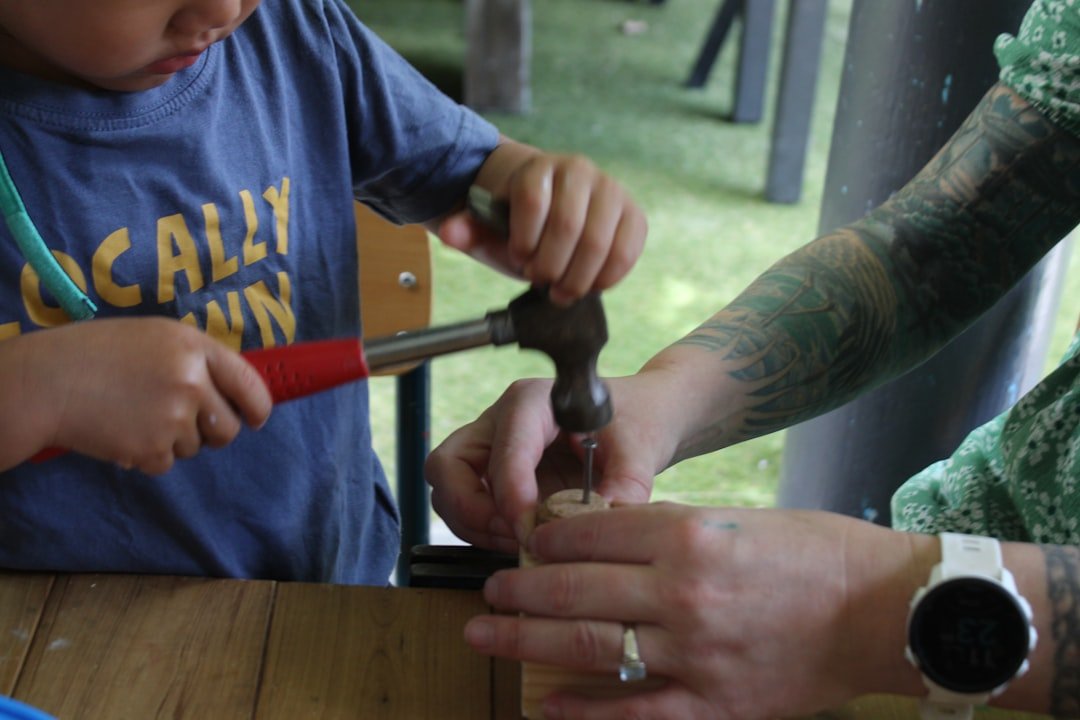
Credit: www.familyhandyman.com
Handling Common Challenges
Using a hand drill for screwing can be tricky at times. Some problems may slow down your work or damage the materials.
Knowing how to handle these common challenges helps you work safely and efficiently.
Dealing With Stripped Screws
Stripped screws have damaged heads that make them hard to turn. This can happen if you use the wrong bit or too much force.
To fix this, try using a rubber band between the drill bit and screw. It adds grip and helps the bit catch the screw.
- Use a screwdriver bit that fits the screw well
- Apply steady, gentle pressure while turning
- Try pliers to grip and turn the screw if needed
Working With Hard Materials
Hard materials like metal or hardwood can be tough to drill into. Using the wrong speed or bit may cause damage or slow progress.
Choose a drill bit made for hard materials. Start drilling slowly to avoid overheating the bit or material.
- Use a drill bit designed for metal or hardwood
- Keep the drill speed low at first
- Apply steady pressure without forcing the drill
- Take breaks to cool down the drill bit
Preventing Drill Bit Slippage
Drill bit slippage happens when the bit slips off the screw head. This can damage the screw and make the job harder.
To stop this, make sure the drill bit fits the screw head tightly. Press the drill straight and hold it steady.
- Use the right size and type of drill bit
- Hold the drill perpendicular to the surface
- Apply firm, even pressure
- Keep the drill speed moderate for control
Maintenance And Care
Taking good care of your hand drill helps it last longer. Proper maintenance keeps it working well for screwing tasks.
Regular cleaning and checks can prevent problems. Learn how to clean, store, and inspect your drill.
Cleaning Your Hand Drill
After using your hand drill, remove dirt and dust. Clean the outside with a dry cloth to stop rust.
Use a small brush to clean the chuck and moving parts. Avoid water or harsh chemicals that can damage the drill.
Storing Drill Bits Safely
Store drill bits in a dry place to keep them sharp. Use a case or container to avoid losing or damaging them.
Keep bits organized by size. This saves time and protects the bits from bending or rusting.
- Use a plastic or metal case
- Label bit sizes for easy access
- Keep bits away from moisture
Regular Inspection And Repairs
Check your hand drill often for wear or damage. Look for loose parts or worn gears that need fixing.
Tighten screws and oil moving parts to keep the drill smooth. Replace broken parts to avoid accidents.
- Inspect the chuck and handle regularly
- Oil gears and joints to reduce friction
- Replace damaged bits and parts quickly
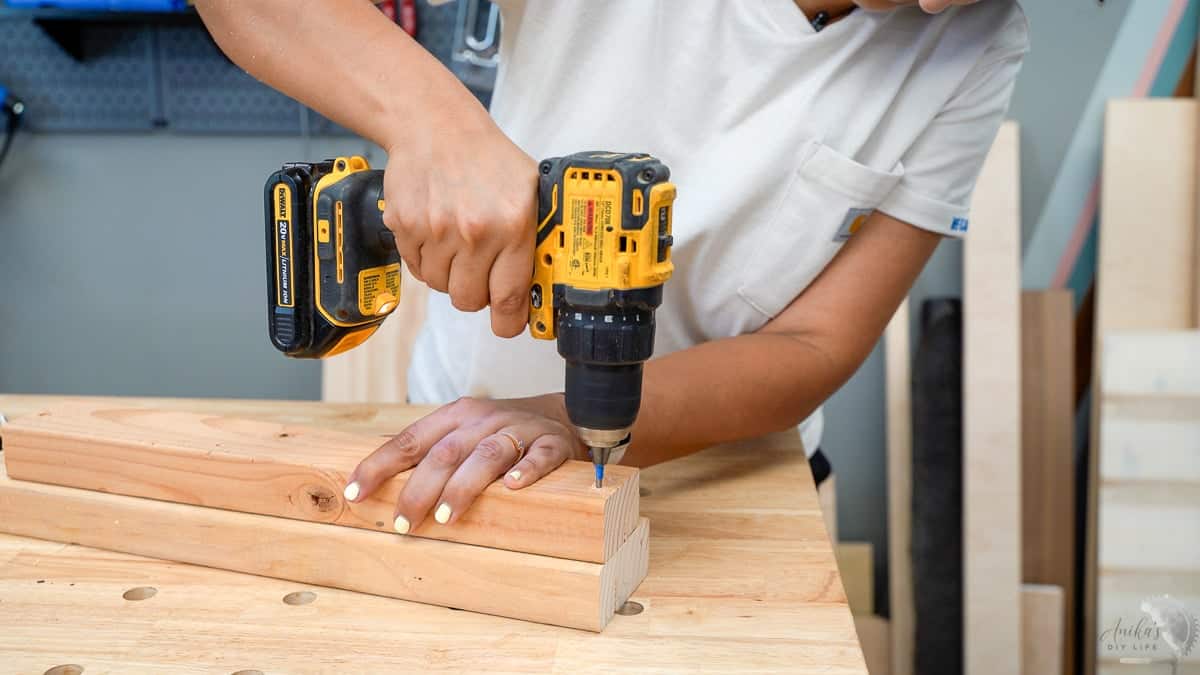
Credit: www.anikasdiylife.com
Advanced Tips For Professionals
Using a hand drill for screwing can be faster and easier with the right techniques. Professionals can improve their work quality by applying advanced tips.
This guide shares ways to use accessories, speed up repetitive screwing, and customize drill settings for better results.
Using Accessories For Better Performance
Accessories make your hand drill more effective. Choose the right drill bits and attachments for the job.
Magnetic bit holders keep screws steady. Use depth stops to avoid drilling too deep.
- Magnetic bit holders hold screws firmly
- Right drill bits prevent damage to materials
- Depth stops control screw depth
- Right grips reduce hand fatigue
Speeding Up Repetitive Screwing
Speed up work by using quick-change chucks. Prepare screws in a holder to grab them fast.
Work in small batches and keep your drill ready. This saves time between screws.
- Use quick-change chucks for fast bit swaps
- Organize screws close to your work area
- Group screws by size for easy access
- Keep drill battery charged and ready
Customizing Drill Settings
Adjust drill speed and torque to match the material and screw type. Lower speed for hard materials, higher for soft ones.
Use clutch settings to avoid overdriving screws. Fine-tune these settings for consistent depth and less damage.
- Set low torque for delicate materials
- Increase speed for quick screwing in soft wood
- Use clutch to prevent screw stripping
- Test settings on scrap material first
Frequently Asked Questions
How Do I Choose The Right Bit For A Hand Drill?
Select a bit that matches your screw head type. Common types include Phillips, flathead, and Torx. Using the correct bit ensures a secure fit and prevents damage to screws or materials.
Can I Use A Hand Drill For All Screw Sizes?
Hand drills work best with screws that fit the drill’s bit size. Avoid using screws too large or too small for the drill to maintain control and prevent stripping.
What Speed Setting Is Best For Screwing With A Hand Drill?
Use a low to medium speed setting for screwing. This offers better control and prevents overdriving or damaging the screw and material.
How Do I Avoid Stripping Screws With A Hand Drill?
Apply steady pressure and keep the drill bit aligned with the screw head. Use the correct bit size and speed to reduce slipping and stripping risks.
Conclusion
Mastering a hand drill for screwing is straightforward and useful. Practice often to gain confidence. Start with small projects. Adjust the drill speed for different materials. Always keep the drill bit sharp. This ensures smooth operation. Wear safety gear for protection.
Read instructions for your drill model. A hand drill is versatile for various tasks. Enjoy the satisfaction of DIY projects. With time, you will improve. Your skills will grow. Soon, you will tackle complex tasks. Remember, patience and practice are key.
Happy drilling!