Are you looking to get smooth, professional finishes on your wood projects? A hand planer is the perfect tool to help you achieve just that.
Whether you’re a beginner or have some experience, knowing how to use a hand planer correctly can save you time and give your work a polished look. In this guide, you’ll discover simple steps and expert tips that make using a hand planer easier than you might think.
Stick with me, and you’ll soon feel confident handling this essential woodworking tool like a pro.

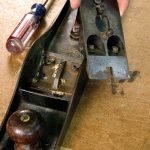
Credit: www.popularwoodworking.com
Choosing The Right Hand Planer
Using a hand planer helps smooth and shape wood surfaces. Picking the right one makes your work easier and better.
There are different types of hand planers for various tasks. Knowing what to look for helps you choose the best tool.
Types Of Hand Planers
Hand planers come in many styles, each for specific jobs. Some are small for fine work, others are large for big surfaces.
- Block Planer: Small and easy for quick trimming and smoothing.
- Belly Planer: Curved bottom for shaping curved wood.
- Jack Planer: Medium size for general use on flat surfaces.
- Jointer Planer: Large, used for flattening long boards.
- Rabbet Planer: Cuts grooves and edges.
Selecting Based On Wood Type
Different woods need different planers. Hard woods need sharper blades and stronger tools.
Softwoods are easier to plane but may need a lighter tool to avoid damage.
- Hardwood: Use a heavy-duty planer with sharp blades.
- Softwood: A lighter planer works well and prevents gouging.
- Green wood: Choose a planer that handles moisture without clogging.
- Fine-grain wood: Pick a planer for smooth, precise cuts.
Essential Features To Look For
Good features make a hand planer easy and safe to use. Look for strong handles and easy blade adjustment.
Sharp and replaceable blades save time and keep results smooth.
- Comfortable grip for better control.
- Adjustable blade depth for precise cutting.
- Durable body made of metal or hardwood.
- Easy blade replacement system.
- Flat sole for smooth planing.
Preparing Your Workspace
Before using a hand planer, it is important to get your workspace ready. A clean and organized area helps you work better and safer.
This guide covers how to arrange your tools, stay safe, and set up good lighting.
Organizing Tools And Materials
Gather all the tools and materials you will need for planing. Keep them within easy reach to save time.
Organize your tools on a clean surface or in a toolbox. This helps avoid clutter and accidents.
- Hand planer
- Measuring tape
- Clamps
- Sandpaper
- Wood pieces
- Work gloves
Ensuring Safety Measures
Safety is very important when using a hand planer. Protect yourself and others around you.
Wear safety gear and check your tools before starting. Make sure your workspace is free of hazards.
- Wear safety glasses to protect your eyes
- Use work gloves to protect your hands
- Keep your work area dry and clean
- Secure the wood firmly with clamps
- Check the blade for sharpness and damage
Setting Up Proper Lighting
Good lighting helps you see your work clearly. It reduces mistakes and keeps you safe.
Use bright, even light that does not create shadows on your work surface.
- Work near a window during the day
- Use LED or fluorescent lights for bright light
- Position lights to avoid glare and shadows
- Consider a portable lamp for detailed work
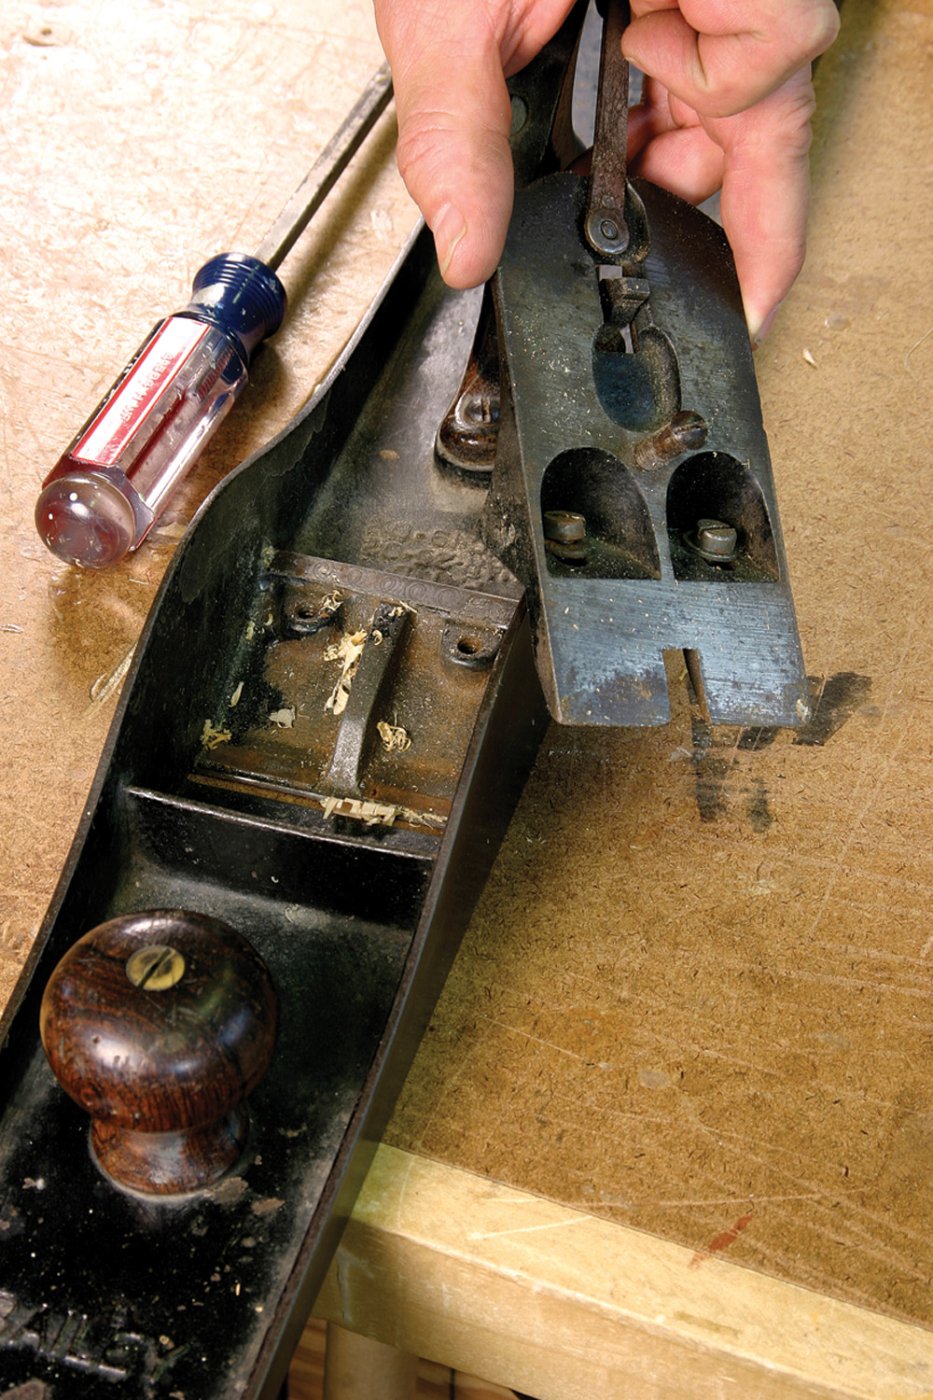
Hand Planer Setup
Setting up your hand planer correctly ensures smooth and safe woodworking. It helps you get clean, even cuts on your wood pieces. Proper setup also extends the life of your tool and blade.
This guide covers how to adjust the blade depth, check blade sharpness, and secure the wood piece before you start planing.
Adjusting The Blade Depth
Adjust the blade depth to control how much wood you remove with each pass. Start with a shallow setting and increase if needed.
- Unlock the blade adjustment knob or lever.
- Move the blade forward to deepen the cut or backward to reduce it.
- Lock the knob or lever tightly to secure the blade.
- Test on a scrap piece of wood to check the depth.
Checking Blade Sharpness
A sharp blade makes planing easier and produces a smooth surface. Dull blades cause rough cuts and increase effort.
| Signs of a Sharp Blade | Signs of a Dull Blade |
| Clean, smooth shavings | Rough, torn wood surface |
| Easy to push planer | Requires more force |
| Quiet cutting noise | Loud, scraping sound |
Securing The Wood Piece
Hold the wood piece firmly before planing. This prevents slipping and keeps your cuts even and safe.
- Place the wood on a stable workbench.
- Use clamps to hold the wood in place.
- Check that the wood does not move when pressed.
- Keep your hands away from the blade path.
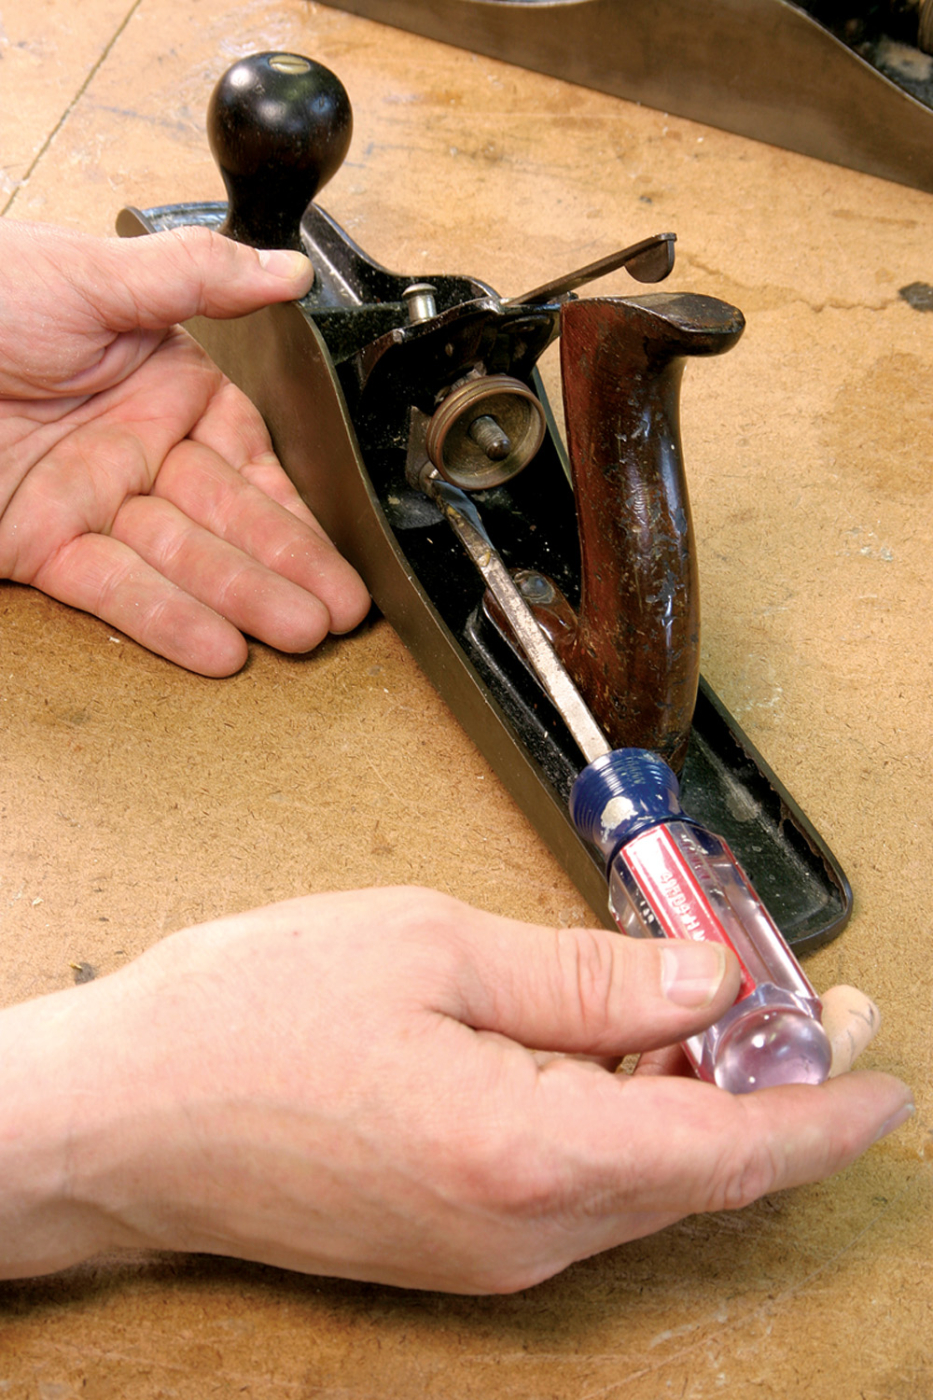
Credit: www.popularwoodworking.com
Techniques For Smooth Planing
Using a hand planer well takes practice and good technique. Smooth planing means even, clean cuts on your wood surface.
This guide covers key ways to hold and move the planer. These tips help you get a flat and polished finish every time.
Proper Hand Positioning
Hold the hand planer firmly with both hands. One hand should grip the front knob and the other the rear handle. Keep your fingers wrapped around the handles for control.
- Place your dominant hand on the rear handle to guide the plane.
- Use your other hand on the front knob to steady the tool.
- Keep your thumbs pointing forward along the body for better balance.
- Stand with feet shoulder-width apart for stability.
Correct Planing Angle
The angle of the planer affects how smoothly it cuts the wood. Hold the plane so the sole is flat against the surface at all times.
| Angle | Effect |
| Too flat | Skips or drags on wood |
| Correct (flat) | Smooth, even shavings |
| Too steep | Rough cuts and gouges |
Maintaining Consistent Pressure
Apply steady pressure to keep the blade cutting evenly. Uneven pressure causes dips and rough spots.
Follow these pressure tips:
- Push forward with even force using your whole body.
- Start with more pressure on the front, then shift it to the rear handle as you finish each stroke.
- Keep the planer moving at a steady pace without stopping.
- Check your work often to adjust pressure if needed.
Dealing With Common Challenges
Using a hand planer can be tricky at times. Wood can behave in unexpected ways. Knowing how to handle common problems makes your work easier.
This guide covers three main issues: tear-outs, knots and grain changes, and uneven surfaces. Each section offers tips to improve your planing results.
Avoiding Tear-outs
Tear-outs happen when wood fibers lift and break off. This leaves rough patches and damages your work. You can reduce tear-outs by adjusting your technique and tools.
- Check the blade sharpness and sharpen if needed.
- Plane with the grain, not against it.
- Use a higher angle on the blade for tricky woods.
- Take shallow passes instead of deep cuts.
- Try using a backer board to support the wood fibers.
Handling Knots And Grain Changes
Knots and grain changes can make planing uneven. Knots are harder and can dull your blade fast. Grain changes may cause the blade to catch or skip.
| Challenge | Tip |
| Knots | Slow down and use light passes to avoid chipping. |
| Grain Changes | Watch the grain direction and adjust your planing angle. |
| Dull Blade | Sharpen blade often to keep smooth cuts. |
Fixing Uneven Surfaces
Uneven surfaces need careful planing to become flat. Start by spotting high and low spots. Adjust your pressure and blade depth to even them out.
Tips for fixing uneven surfaces:
- Use a straight edge to find bumps and dips.
- Plane across the board first to level high spots.
- Work along the grain to smooth out low areas.
- Check often with a square or straight edge.
- Take light passes to avoid making new uneven spots.

Credit: emiratesessential.com
Maintaining Your Hand Planer
Taking care of your hand planer keeps it working well for a long time. Regular maintenance helps you get smooth results each time.
This guide covers cleaning, blade care, and storage tips to protect your tool.
Cleaning After Use
Clean your hand planer right after using it. Remove wood shavings and dust to stop damage.
- Use a brush to clear all debris from the blades and body.
- Wipe the planer with a dry cloth to remove fine dust.
- Apply a small amount of oil to metal parts to stop rust.
- Check for stuck wood chips and remove them carefully.
Sharpening And Replacing Blades
Dull blades make planing harder and damage wood. Keep blades sharp or replace them if needed.
| Blade Maintenance | How to Do It |
| Sharpen Blades | Use a whetstone or sharpening tool. Keep the angle steady and even. |
| Replace Blades | Loosen screws, remove old blade, insert new one, and tighten screws. |
| Check Blade Alignment | Make sure the blade sits evenly for smooth cuts. |
Storage Tips For Longevity
Proper storage protects your hand planer from damage and rust.
- Keep the planer in a dry place to avoid moisture.
- Cover it with a cloth or store in a case to keep dust out.
- Store with the blade retracted or covered to protect edges.
- Check the planer regularly for rust or dirt build-up.
Frequently Asked Questions
What Is A Hand Planer Used For?
A hand planer smooths and flattens wood surfaces. It removes thin layers, shaping edges and reducing thickness. It’s essential for woodworking projects needing precise finishes.
How Do I Sharpen A Hand Planer Blade?
Remove the blade carefully, then use a sharpening stone. Maintain the original bevel angle while sharpening. Regular sharpening ensures clean, smooth cuts and prolongs blade life.
Can A Hand Planer Replace An Electric Planer?
A hand planer offers more control for fine adjustments. It’s quieter, portable, and ideal for small projects. Electric planers are faster but less precise in delicate tasks.
How Do I Adjust The Depth On A Hand Planer?
Locate the depth adjustment knob or lever. Turn it to set the blade’s cutting depth. Proper adjustment prevents gouging and ensures even wood removal.
Conclusion
Using a hand planer can seem challenging at first. But practice makes it easier. Start with small projects to build confidence. Remember to check the blade’s sharpness regularly. Sharp blades make a big difference. Always work with the grain for smoother finishes.
Safety should be your priority; wear protective gear. Try different techniques to find what suits you best. Patience and precision lead to great results. Enjoy the process and watch your skills grow. With these tips, you can achieve smooth, professional wood surfaces.
Happy planning!