If you’ve ever stared at a confusing pile of parts and screws, wondering how to put it all together, a hex key might just be your new best friend. This simple tool can make assembly faster, easier, and less frustrating.
But if you’re not sure how to use it right, you could waste time or even damage your project. In this guide, you’ll discover the easy steps to master a hex key and get your assembly done like a pro.
Keep reading, and you’ll unlock the secret to smooth, stress-free building every time.

Credit: www.reddit.com
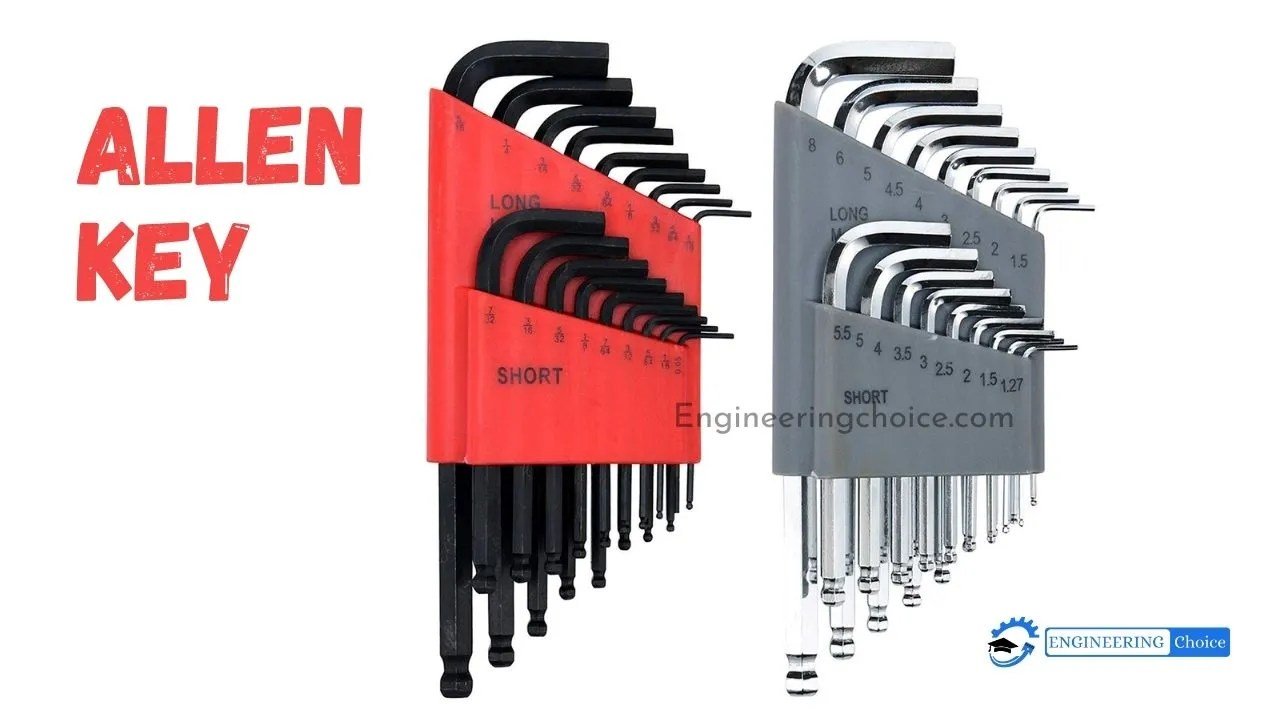
Choosing The Right Hex Key
Using the right hex key makes assembly easier. It helps avoid damage to screws and tools.
This guide explains how to pick the best hex key for your project.
Types Of Hex Keys
Hex keys come in many styles. Each style fits different needs and tools.
- Standard L-shaped keys are common and easy to use.
- T-handle keys offer more grip and torque.
- Fold-up sets keep keys organized and portable.
- Ball-end keys allow turning at an angle.
- Long-arm keys reach deep screws better.
Pick a style that fits your workspace and comfort.
Matching Size To Screws
Hex keys come in sizes matching screw heads. Using the correct size prevents stripping.
Check the screw size before choosing your hex key.
| Hex Key Size | Common Screw Size | Use |
|---|---|---|
| 1.5 mm | M2 | Small electronics and gadgets |
| 2 mm | M2.5 | Furniture assembly |
| 2.5 mm | M3 | Appliances and bicycles |
| 3 mm | M4 | Heavy furniture and machinery |
| 4 mm | M5 | Automotive and construction |
Using the right size key saves time and avoids damage.

Credit: www.reddit.com
Preparing For Assembly
Using a hex key for assembly is common in furniture and machines. Preparing well makes the process easier and faster.
Before starting, gather all needed items and arrange parts clearly. This helps avoid mistakes and saves time.
Gathering Tools And Materials
Collect the hex key set that fits your screws. Also, have other tools ready if the instructions need them.
Check the assembly guide for required materials. You may need screws, bolts, washers, and the parts to join.
- Hex keys in various sizes
- Screws and bolts
- Washers and nuts
- Assembly instruction manual
- Additional tools like screwdrivers or pliers
Organizing Components
Lay out all parts on a clean surface. Group similar pieces together for easy access during assembly.
Check each piece against the parts list. Make sure nothing is missing or damaged before you start.
- Sort screws by size and type
- Keep small parts in containers
- Place large parts flat and nearby
- Use labels or notes if helpful
Basic Hex Key Techniques
Using a hex key is simple once you know the right techniques. This guide covers the basic steps to use a hex key safely and effectively.
Follow these tips to insert the key properly, turn it the right way, and apply the correct force. Doing so helps avoid damage to screws and tools.
Inserting The Hex Key
Insert the hex key fully into the screw head. Make sure it fits snugly to prevent slipping. The key should sit straight in the socket to avoid rounding the screw edges.
- Check the hex key size matches the screw size.
- Push the key all the way into the screw.
- Align the key straight with the screw head.
- Avoid using a worn or bent key.
Turning Directions
Turn the hex key in the correct direction to tighten or loosen screws. Most screws tighten clockwise and loosen counterclockwise.
| Action | Direction |
| Tighten Screw | Turn Clockwise (Right) |
| Loosen Screw | Turn Counterclockwise (Left) |
Applying Proper Force
Use steady and firm pressure when turning the hex key. Avoid forcing the key too hard to prevent breaking the tool or stripping the screw.
Tips for applying force:
- Start with gentle pressure to feel the screw’s resistance.
- Increase force carefully if the screw is tight.
- Stop if the key slips or the screw won’t move.
- Use a longer key for more leverage if needed.
Step-by-step Assembly Process
Using a hex key is common for assembling furniture and equipment. It helps tighten screws and bolts with hexagonal sockets.
This guide shows simple steps for using a hex key safely and correctly during assembly.
Starting With Loose Parts
First, gather all parts and tools before starting. Check the instruction manual for the list of parts.
Lay out the loose parts on a flat surface. This helps find everything easily and prevents losing small pieces.
- Sort screws and bolts by size
- Keep the hex key handy
- Organize parts by assembly steps
Tightening Screws Securely
Insert the hex key into the screw’s hexagonal socket. Turn the key clockwise to tighten the screw.
Do not overtighten screws. Stop when the screw feels firm but not forced to avoid damage.
- Use steady pressure while turning
- Tighten screws evenly on all parts
- Check screws after initial tightening
Checking For Stability
After tightening, check if the assembled item feels stable. Gently shake or press to test strength.
If parts move or feel loose, retighten the screws with the hex key. Repeat the check until stable.
- Look for wobbling or shifting parts
- Retighten loose screws carefully
- Ensure all screws are tightened evenly
Common Challenges And Fixes
Using a hex key for assembly can sometimes be tricky. Many people face problems that slow down their work.
This guide covers common issues and simple ways to fix them. It will help you use a hex key more easily.
Dealing With Stripped Screws
Stripped screws happen when the hex key slips inside the screw head. This makes it hard to turn the screw.
To fix stripped screws, try using a rubber band or a bigger hex key for better grip.
- Place a rubber band over the screw head
- Press the hex key firmly into the rubber band
- Try turning the screw slowly
- If needed, use pliers to twist the screw
Handling Tight Spaces
Sometimes screws are in tight spots where it is hard to use a hex key. This can make assembly slow and frustrating.
Use a smaller or L-shaped hex key to reach screws in narrow areas. You can also try angled extensions.
- Choose a short or angled hex key
- Use an extension tool if available
- Work slowly to avoid slipping
- Lightly tighten screws in tight spaces first
Avoiding Over-tightening
Over-tightening screws can damage parts or strip screw heads. It also makes future repairs harder.
Turn the hex key until the screw is snug. Stop if you feel strong resistance or if the part moves less.
- Use gentle force when tightening
- Check if parts fit well after tightening
- Stop turning if screw feels stuck
- Use a torque wrench if you have one

Credit: can.oneupcomponents.com
Maintaining Your Hex Key
Keeping your hex key clean and well-stored helps it last longer. Dirt and rust can damage the tool and make assembly hard.
Simple care steps protect your hex key and keep it ready for use anytime.
Cleaning Tips
Remove dirt and grease from your hex key after each use. This stops buildup and prevents rust.
- Use a soft cloth to wipe off dirt and dust.
- For grease, apply a small amount of rubbing alcohol on the cloth.
- Dry the hex key fully to avoid moisture damage.
- If rust appears, gently scrub with fine steel wool or a wire brush.
- Apply a light coat of machine oil to protect the metal.
Storage Suggestions
Store your hex key in a dry place to prevent rust and damage. Proper storage keeps it organized and easy to find.
| Storage Method | Benefits |
|---|---|
| Toolbox with compartments | Keeps keys separated and protected |
| Magnetic strip on the wall | Easy access and saves space |
| Tool roll or pouch | Organized and portable storage |
| Dry cabinet or drawer | Protects from moisture and dust |
Frequently Asked Questions
What Is A Hex Key Used For In Assembly?
A hex key is used to tighten or loosen hexagonal screws in assembly tasks. It provides precise control and fits snugly into hex socket screws, making it essential for furniture, machinery, and electronics assembly.
How Do I Choose The Right Hex Key Size?
To choose the correct hex key size, match the key to the screw’s hex socket. Using the wrong size can damage screws or tools. Measure the screw head or check the manual for recommended sizes.
Can I Use A Hex Key For All Screw Types?
No, hex keys only fit hexagonal socket screws. Other screws like Phillips or flathead require different tools. Using a hex key on incompatible screws can strip or damage them.
How Do I Prevent Stripping Screws With A Hex Key?
Use the correct hex key size and apply steady pressure. Avoid forcing the key if it feels stuck. Clean the screw head from debris to ensure a good grip.
Conclusion
Using a hex key makes assembly tasks simple and efficient. This tool offers precision and ease for various projects. Always choose the right size to avoid damage. A snug fit ensures proper tightening and safety. Familiarity with hex keys boosts confidence in do-it-yourself tasks.
A little practice can lead to better skills. Organize your tools for easy access next time. With this guide, your assembly tasks will be smoother. Explore more projects and enjoy the process. Happy assembling!