
Are you tired of uneven walls that throw off the look of your room? Using a laser level for walls can be the game-changer you need.
Imagine getting perfectly straight lines every time, making your projects look professional and polished. Whether you’re hanging pictures, installing shelves, or painting stripes, this simple tool can save you time and frustration. Keep reading, and you’ll discover easy steps to master your laser level and transform your walls like a pro.
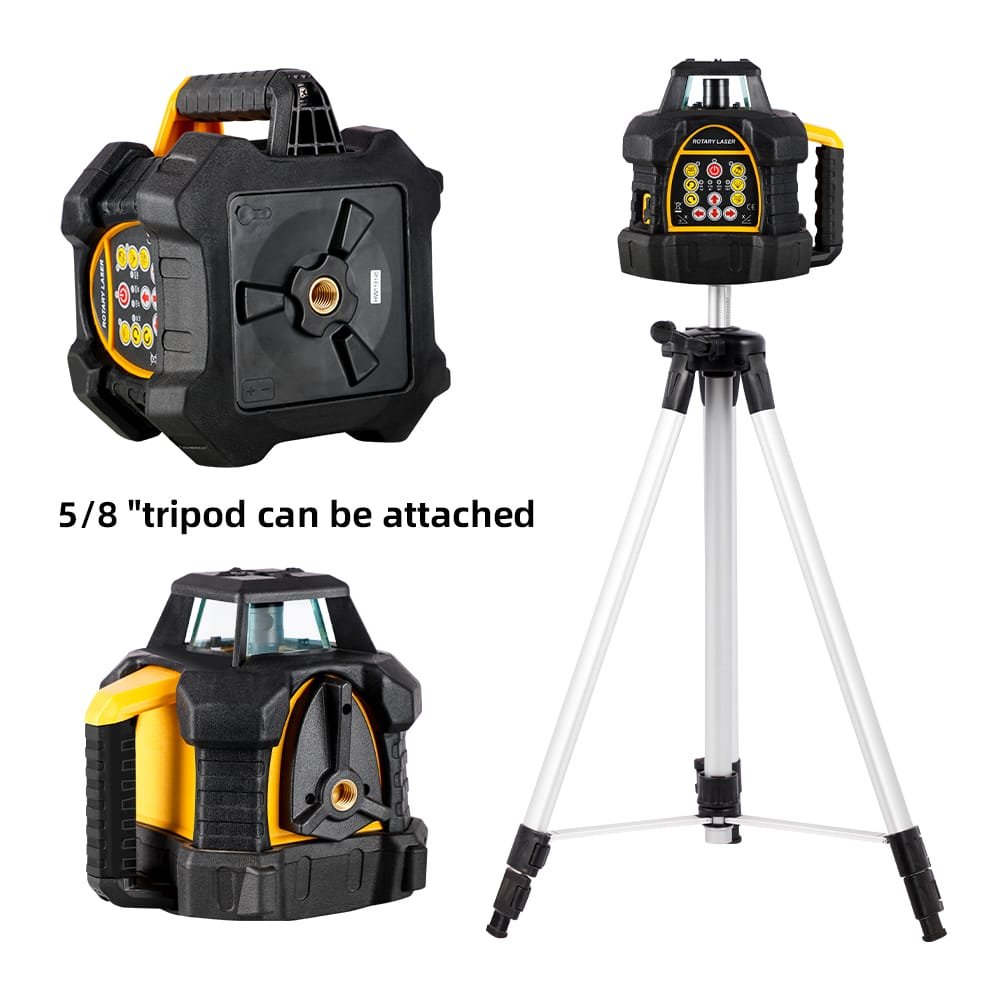
Credit: www.nxtools.com
Choosing The Right Laser Level
Using a laser level helps you make straight and even walls. Picking the right one makes your work easier and more accurate.
There are many types and features to think about before buying. Your budget also plays a big role in the choice.
Types Of Laser Levels
Laser levels come in different styles. Each style fits certain jobs better than others.
- Dot Laser Levels:These show points of light. Good for simple tasks like hanging pictures.
- Line Laser Levels:These project straight lines. Useful for aligning tiles or shelves.
- Rotary Laser Levels:These spin to create a full 360-degree line. Best for large walls and outdoor work.
- Combination Laser Levels:These include both dot and line lasers for more uses.
Features To Consider
Look for features that match your project needs. Some features improve ease and accuracy.
| Feature | Benefit |
| Self-Leveling | Automatically levels the laser for precise lines. |
| Range | Distance the laser can project, affects work area size. |
| Accuracy | How close the laser is to true level, measured in mm/m. |
| Mounting Options | Ability to attach to tripods or walls for stability. |
| Visibility | Laser brightness and color for clear lines in different light. |
Budget And Quality
Set a budget before shopping. Higher quality tools may cost more but last longer.
- Low-cost levels are good for small, simple jobs.
- Mid-range options offer better accuracy and more features.
- High-end laser levels provide maximum range and durability.
- Check reviews and warranties to ensure quality.

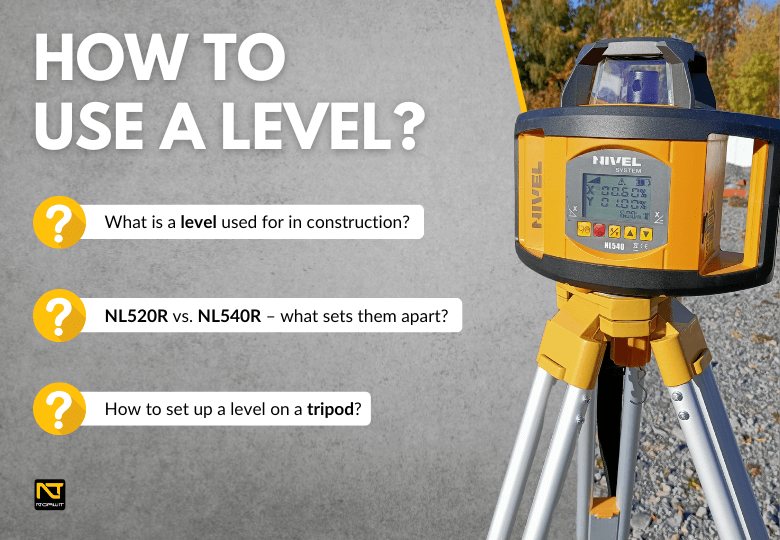
Credit: www.familyhandyman.com
Preparing Your Workspace
Using a laser level helps you get straight and even walls. Before you start, prepare your workspace well. This will make your work easier and safer.
Clear the area and mark important points. Always follow safety rules to avoid accidents. Let’s look at these steps in detail.
Clearing The Area
Remove all objects and furniture near the wall. This stops anything from blocking the laser line or causing tripping hazards. A clean space helps you move freely.
- Move chairs, tables, and decorations away
- Clear tools and cords from the floor
- Check for nails or screws sticking out
- Sweep dust and dirt from the area
Marking Reference Points
Mark points on the wall where you want the laser line to appear. These marks guide your placement of the laser and your work. Use a pencil for light marks that are easy to erase.
| Tool | Use |
| Pencil | Make light marks on the wall |
| Tape Measure | Measure distances for accuracy |
| Level | Check if marks are even |
| Masking Tape | Hold marks if needed |
Safety Precautions
Laser levels emit light that can harm your eyes. Always use safety gear and follow rules to prevent injuries. Keep others away from the laser beam.
- Wear safety glasses made for lasers
- Do not look directly into the laser beam
- Keep the laser level on a stable surface
- Turn off the laser when not in use
- Make sure children and pets are away
Setting Up The Laser Level
Using a laser level helps create straight and even lines on walls. Setting it up right is key to get good results.
This guide explains how to mount, calibrate, and adjust your laser level for walls.
Mounting And Positioning
Place the laser level on a stable surface or tripod. Make sure it is steady to avoid movement.
Position the device so the laser beam hits the wall where you need the line. The height should fit your project needs.
- Use a flat table or tripod for support
- Keep the device steady to avoid shifting
- Point the beam directly at the wall
- Adjust the height to match your work area
Calibrating The Device
Calibration ensures the laser level shows accurate lines. Check it before starting your work.
Use the built-in calibration tools or follow the user manual to set the device correctly.
- Turn on the laser level and place it on a flat surface
- Check if the laser line is perfectly horizontal or vertical
- Adjust the calibration screws or settings as needed
- Repeat the test to confirm accuracy
Adjusting The Beam
Adjust the laser beam to get the right line size and brightness. This helps you see it clearly on the wall.
Most devices allow you to change the beam angle or brightness. Make these changes carefully to match your room lighting.
- Use brightness controls for clear visibility
- Change the beam angle to cover the work area
- Avoid shining the beam into your eyes
- Check the beam line on the wall before starting
Using The Laser Level On Walls
A laser level helps you make straight lines on walls. It is useful for many home projects.
You can use it to hang pictures, install shelves, or align tiles with ease and accuracy.
Aligning Wall Fixtures
Place the laser level at the right height on the wall. Turn it on to project a line.
Use the laser line as a guide to position hooks, shelves, or other fixtures evenly.
- Set the laser level on a stable surface or tripod.
- Mark the exact spot where the laser hits the wall.
- Check that each fixture lines up with the laser line.
Creating Level Lines
Turn the laser level on and adjust it to project a horizontal line across the wall.
This line helps you draw or place objects straight without using a ruler.
- Make sure the laser level is on a flat surface.
- Use the line to mark points for painting or wallpaper borders.
- Double-check the line before starting your work.
Checking Vertical And Horizontal Accuracy
Use the laser level to check if walls or corners are straight up and down or side to side.
Adjust your work if the laser shows any tilt or unevenness on the wall.
- Set the laser to project vertical and horizontal lines.
- Compare the laser lines with your wall edges or corners.
- Fix any misalignment before installing fixtures or decorations.
Troubleshooting Common Issues
Using a laser level can make wall projects easier and more accurate. Still, problems can happen during use.
This guide helps you fix common issues with laser levels. It covers beam misalignment, battery problems, and environmental factors.
Beam Misalignment
Beam misalignment happens when the laser line is not straight or does not match your marks. This can cause errors in your work.
Check if the laser level is placed on a stable surface. Make sure it is properly calibrated and not dropped or hit.
- Place the level on a flat, even surface.
- Use the built-in calibration feature if available.
- Avoid moving the tool during use.
- If the beam is off, consider professional servicing.
Battery And Power Problems
Weak or dead batteries cause the laser to dim or turn off suddenly. This interrupts your work and reduces accuracy.
Check the battery level before starting your project. Replace or recharge batteries as needed to keep the laser working well.
- Use fresh batteries or fully charged rechargeable ones.
- Keep spare batteries handy for long jobs.
- Clean battery contacts to ensure good connection.
- Turn off the laser when not in use to save power.
Environmental Factors
Environmental conditions like bright light, dust, and uneven surfaces affect laser level performance. These factors reduce visibility and accuracy.
Use the laser level in suitable conditions for best results. Protect it from dust and strong sunlight to keep the beam clear.
- Use the laser in shaded or indoor areas to improve visibility.
- Clean the laser lens to remove dust or dirt.
- Set the level on a solid, flat surface to avoid errors.
- Avoid using the laser in heavy rain or extreme weather.
Maintenance And Storage Tips
Keeping your laser level in good condition helps it work well for a long time. Simple care and proper storage prevent damage and errors.
Follow these tips to clean, store, and check your laser level regularly. This keeps your tool ready for any wall project.
Cleaning The Laser Lens
Clean the laser lens carefully to keep the beam clear and accurate. Dust or dirt on the lens can blur the laser line.
Use a soft, dry cloth or lens brush to remove dust. Avoid using water or cleaning liquids directly on the lens.
- Turn off the laser level before cleaning
- Gently wipe the lens with a microfiber cloth
- Use a blower brush for hard-to-reach spots
- Do not scratch or press hard on the lens
Proper Storage Practices
Store the laser level in a safe, dry place to protect it from damage. Keep it away from dust, moisture, and extreme temperatures.
Use the case that comes with the tool. This helps avoid bumps and keeps parts organized.
- Keep the laser level in its carrying case
- Store in a cool, dry area out of direct sunlight
- Remove batteries if not using for a long time
- Avoid placing heavy items on top of the tool
Regular Calibration
Check the calibration of your laser level often. Calibration ensures the laser lines are straight and true for accurate work.
If the laser lines look off or the level falls, test and adjust it according to the user manual.
- Test calibration before important projects
- Use a flat surface or known level to check accuracy
- Follow the manual for calibration steps
- Send the tool for professional calibration if needed
Advanced Techniques
Using a laser level can make wall projects easier and more accurate. Advanced methods help with tricky layouts and professional results.
These techniques combine laser levels with other tools and tips to improve your work quality. Follow these steps to get better results.
Using Laser Levels For Complex Layouts
Complex wall layouts need careful planning. Laser levels help by projecting clear, straight lines across uneven surfaces and corners.
- Set the laser level at the center of the wall to cover all angles.
- Use the laser beam to mark reference points for doors and windows.
- Check the level line at multiple heights to ensure consistency.
- Adjust the laser until all lines match your design measurements.
Combining With Other Tools
Pair your laser level with measuring tapes and squares to improve accuracy. These tools work together to help you place objects exactly where needed.
| Tool | Use with Laser Level |
| Measuring Tape | Check distances from laser lines |
| Carpenter’s Square | Confirm right angles aligned to laser |
| Plumb Bob | Verify vertical points under laser marks |
| Chalk Line | Create temporary marks along laser projections |
Tips For Professional Results
Follow these tips to improve your work with laser levels and get clean, professional walls.
- Check battery levels before starting to keep the laser steady.
- Wear safety glasses when working with laser beams.
- Set the laser on a stable tripod for steady lines.
- Mark laser points lightly so they can be erased later.
- Double-check measurements before cutting or drilling.
- Keep the laser clean and free from dust for best visibility.
Credit: www.norwit.pl
Frequently Asked Questions
How Do You Use A Laser Level On Walls?
To use a laser level on walls, first securely mount it. Then, turn it on and adjust the beam to your desired height or angle. Use the visible laser line to mark measurements or install fixtures accurately. Ensure the level is stable and recalibrate if necessary.
Can You Use A Laser Level Outdoors?
Yes, you can use a laser level outdoors. Make sure it has a strong beam for visibility. Some laser levels come with a detector for better outdoor accuracy. Ensure the level is rated for outdoor use and is weather-resistant. Always check the manufacturer’s instructions for specific outdoor guidance.
What Is The Best Laser Level For Walls?
The best laser level for walls depends on your needs. Cross-line lasers are popular for wall tasks. They project horizontal and vertical lines, aiding various wall projects. Look for models with good visibility, accuracy, and durability. Brands like Bosch, DeWalt, and Johnson are well-regarded in the market.
Are Laser Levels Accurate?
Yes, laser levels are highly accurate. Most models offer precision within millimeters. For best results, ensure the laser level is properly calibrated. Regularly check the manufacturer’s specifications for accuracy standards. With proper use, they provide reliable measurements for construction and DIY projects.
Conclusion
Using a laser level makes wall projects easier and more precise. It helps keep lines straight and saves time. Always set the level on a stable surface for best results. Check the battery before starting to avoid interruptions. Practice a few times to feel confident with the tool.
With steady hands and clear marks, your walls will look professional. Small steps lead to great results. Keep your laser level clean and store it safely after use. This simple tool can improve any home project. Try it yourself and see the difference it makes.