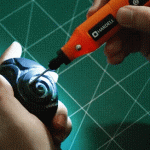
Are you ready to turn ordinary surfaces into stunning works of art? Using a rotary tool for engraving designs gives you the power to personalize almost anything—from wood and metal to glass and plastic.
But if you’re new to engraving, it might feel a bit overwhelming. Don’t worry. This guide will walk you through every step, helping you master the tool with confidence and creativity. By the end, you’ll be able to create detailed, professional-looking designs that impress everyone around you.
Keep reading, and discover how simple and rewarding engraving can be!
Choosing The Right Rotary Tool
Rotary tools are perfect for engraving designs on many materials. Picking the right tool helps you work easily and get good results.
Before buying, it is important to understand the types of rotary tools and what attachments you need. Also, think about key factors that affect your choice.
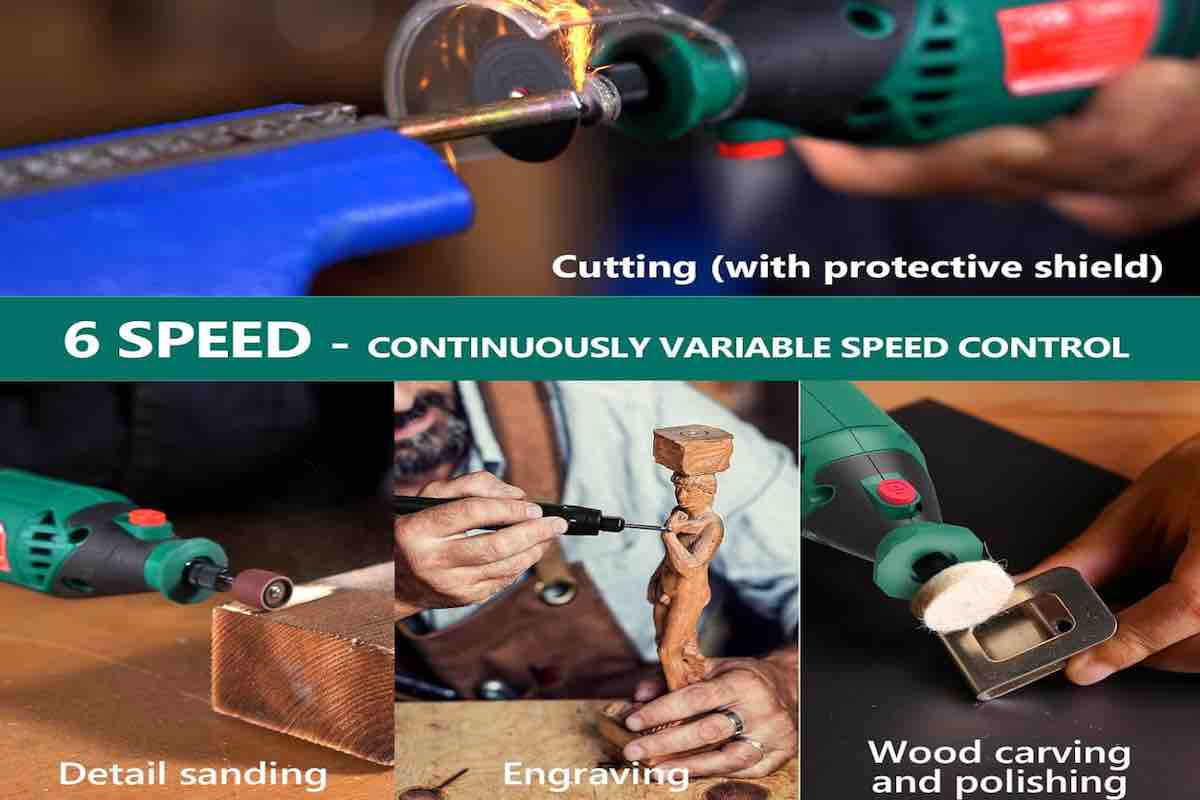
Types Of Rotary Tools
There are several types of rotary tools made for different tasks. Some are small and light, others are strong and heavy-duty.
- Basic rotary tools: Good for light engraving and small projects.
- Variable speed rotary tools: Allow speed control for delicate or tough materials.
- Cordless rotary tools: Offer freedom of movement but need charging.
- Heavy-duty rotary tools: Best for deep engraving and hard materials.
Essential Attachments For Engraving
Attachments change how your rotary tool works. For engraving, some attachments are very useful to get clean and detailed designs.
| Attachment | Use |
| Diamond bits | Cut hard materials like glass and metal |
| Carbide bits | Engrave wood and plastic |
| Grinding stones | Shape and smooth surfaces |
| Cutting discs | Cut thin materials |
| Polishing wheels | Give a shiny finish |
Factors To Consider Before Buying
Think about these points before choosing your rotary tool. They help find the best fit for your engraving needs.
- Speed settings: More speed options give better control.
- Power source: Decide between corded or cordless tools.
- Weight and size: Choose a tool that feels comfortable to hold.
- Durability: Look for strong materials and good build quality.
- Price: Balance features with your budget.
- Brand and warranty: Trusted brands may offer better support.
Credit: tendsupplies.com
Preparing For Engraving
Using a rotary tool for engraving needs good preparation. This helps you get clear and neat designs.
Before you start, it is important to choose the right materials, wear safety gear, and set up your workspace properly.
Selecting The Best Materials
Pick materials that work well with rotary tools for engraving. Soft materials are easier to carve.
Wood, plastic, and soft metals like aluminum are good choices. Avoid very hard or brittle materials at first.
- Soft wood like basswood or pine
- Acrylic and soft plastics
- Aluminum and brass for metal engraving
- Leather for decorative designs
Safety Gear And Precautions
Wear safety gear to protect yourself from dust and sharp bits. This keeps you safe during engraving.
Use goggles to shield your eyes and a mask to avoid breathing dust. Gloves help protect your hands.
- Safety goggles to protect eyes
- Dust mask or respirator
- Gloves to protect hands
- Work in a well-ventilated area
Setting Up Your Workspace
Prepare a clean and stable workspace for engraving. This helps you work comfortably and safely.
Use a sturdy table with good lighting. Secure your material using clamps or a vice to keep it steady.
- Strong table with flat surface
- Good lighting for clear view
- Clamps or vice to hold material
- Keep tools and bits organized
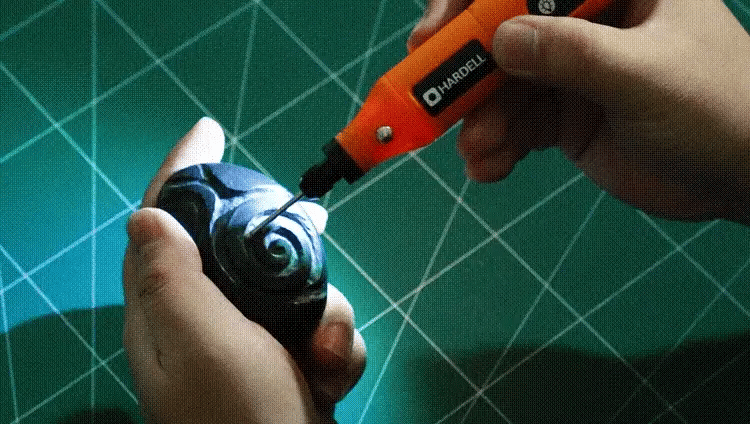
Basic Engraving Techniques
Engraving with a rotary tool lets you add detail to wood, metal, and more. Learning the right techniques helps you create clean designs.
This guide explains how to hold the tool, control speed and pressure, and create simple patterns for engraving.
Holding The Tool Correctly
Hold the rotary tool like a pen for better control. Keep your hand steady but relaxed to avoid fatigue. Use your fingers to guide the tool gently along the design.
- Grip the tool near the tip for precision
- Keep your wrist firm but not tense
- Support your hand on the work surface for stability
- Avoid holding the tool too tightly to prevent shaking
Controlling Speed And Pressure
Adjust the rotary tool speed based on the material and design detail. Use light pressure to avoid damaging the surface or breaking bits. Smooth, steady movements work best.
| Material | Recommended Speed | Pressure |
| Wood | Medium | Light |
| Metal | High | Moderate |
| Plastic | Low to Medium | Light |
Creating Simple Patterns
Start with easy shapes like lines, circles, and dots. Practice steady strokes to build confidence. Use stencils or draw outlines before engraving to guide your work.
Basic pattern ideas:
- Straight lines for borders
- Curved lines for waves or swirls
- Dots for texture or decoration
- Simple geometric shapes like triangles and squares
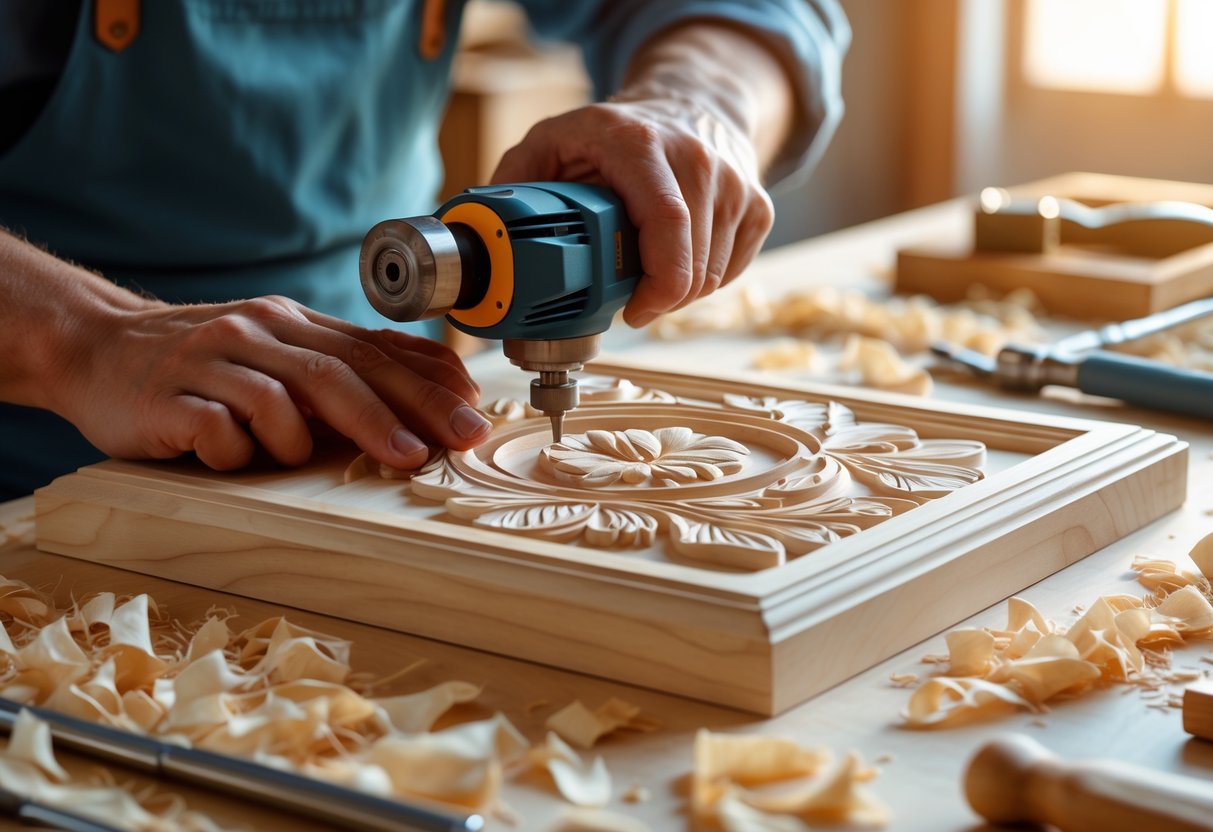
Advanced Design Tips
Using a rotary tool for engraving can create stunning designs. Learning advanced tips helps you improve your work. These tips focus on layering, shading, stencils, and fixing mistakes.
Follow these ideas to add depth and detail to your engravings. Practice will make your designs sharper and more creative.
Layering And Shading Effects
Layering means engraving multiple passes to build depth. Shading uses different pressure and speed to create light and dark areas. This adds realism to your design.
- Start with light passes to outline the shape.
- Increase pressure slightly for darker areas.
- Use slower speed for deeper cuts.
- Overlap layers carefully to blend shades smoothly.
- Clean dust between layers for clear details.
Using Stencils And Templates
Stencils and templates help create precise and repeatable patterns. You can make your own or buy ready-made designs. Attach them securely to avoid slipping.
| Stencil Type | Best For | Material |
|---|---|---|
| Adhesive vinyl | Small detailed designs | Sticky vinyl sheet |
| Plastic templates | Simple repeated shapes | Thin plastic |
| Paper templates | Quick guides | Regular paper |
Fixing Mistakes And Touch-ups
Mistakes happen, but you can fix them without ruining your work. Light sanding removes small errors. Use a fine tip rotary bit for touch-ups.
- Stop engraving as soon as you see a mistake.
- Use fine sandpaper to smooth rough edges.
- Fill deep errors with wood filler or putty.
- Re-engrave carefully after repairs dry.
- Clean the surface before finishing.
Maintaining Your Rotary Tool
Taking care of your rotary tool helps it work well for a long time. Clean and check it often to avoid problems.
Good maintenance keeps your tool safe and ready for engraving designs anytime you need.
Cleaning And Care Tips
Clean your rotary tool after each use. Remove dust and debris from vents and moving parts. Use a soft brush or compressed air.
Keep the tool dry and store it in a safe place. Avoid dropping or banging it to prevent damage.
- Unplug before cleaning
- Use a dry cloth for wiping
- Check vents for blockages
- Store in a clean, dry case
Replacing Bits And Accessories
Bits wear out with use and need replacing for best results. Use the right size and type for your engraving task.
Remove bits carefully using the tool’s collet or wrench. Install new bits securely but do not overtighten.
- Turn off and unplug tool before changing bits
- Match bit type to material and design
- Check for bit damage before use
- Store bits in a safe container
Troubleshooting Common Issues
If your rotary tool stops working or runs poorly, check the power source and cord first. Look for loose or broken parts.
Overheating can cause the tool to stop. Let it cool down before using again. Clean vents to improve airflow.
- Tool will not start: check power and connections
- Tool slows down: clean vents and replace worn bits
- Strange noises: inspect for loose parts
- Overheating: allow cooling breaks

Credit: www.youtube.com
Project Ideas To Try
Using a rotary tool for engraving lets you add unique designs to many items. You can create beautiful and personal projects easily.
Below are some fun ideas to try with your rotary tool. Each project adds a special touch to gifts, home items, or jewelry.
Personalized Gifts
Engraving gifts makes them more meaningful. You can add names, dates, or special messages to many surfaces.
- Wooden photo frames with engraved names
- Metal keychains with custom initials
- Glass mugs decorated with simple designs
- Leather bookmarks with engraved quotes
Home Decor Enhancements
Engraving can change ordinary home items into art pieces. Try adding patterns or shapes to match your style.
| Item | Engraving Idea | Material |
| Wooden Coasters | Leaf patterns | Wood |
| Candle Holders | Geometric designs | Glass |
| Flower Pots | Names or dates | Ceramic |
| Wall Art Panels | Abstract shapes | Wood or metal |
Custom Jewelry Engraving
Engrave small details on jewelry pieces to make them special. Use your rotary tool carefully for fine work.
Try these jewelry engraving ideas:
- Initials on metal rings
- Small symbols on pendant backs
- Dates or names on bracelet clasps
- Simple patterns on earrings
Credit: woodartsupply.com
Frequently Asked Questions
What Materials Can I Engrave With A Rotary Tool?
A rotary tool can engrave wood, metal, plastic, glass, and ceramics. Each material requires specific bits and speed settings for best results.
How Do I Choose The Right Rotary Tool Bit?
Select bits based on material and design detail. Diamond bits suit glass, while carbide bits work well for metals and wood.
What Safety Precautions Are Needed When Engraving?
Always wear safety glasses and a dust mask. Work in a well-ventilated area and secure your material firmly.
Can Beginners Use Rotary Tools For Engraving?
Yes, beginners can use rotary tools with practice. Start with simple designs and lower speeds to gain control and confidence.
Conclusion
Mastering the rotary tool opens a world of creativity. Engraving designs become easy with practice. Always choose the right bit for your project. Safety should be your top priority. Wearing protective gear is essential. Be patient and take your time.
Start with simple designs. Gradually, you will improve. It’s all about practice and patience. Your unique designs will impress others. Enjoy the process and have fun. Engraving adds a personal touch to items. Each piece becomes a unique masterpiece. Keep experimenting with different materials.
Over time, you’ll gain confidence. Engraving with a rotary tool is rewarding.