Are you ready to take your woodworking skills to the next level? Using hand planes might seem tricky at first, but once you master them, you’ll achieve smoother, cleaner cuts with ease.
Imagine effortlessly shaping wood exactly how you want it, with precision and control in your hands. This guide will walk you through everything you need to know to start using hand planes like a pro. Whether you’re fixing rough edges or creating fine finishes, you’ll discover simple tips that make a big difference.
Keep reading, and you’ll unlock the secrets to making every project look polished and professional.
Types Of Hand Planes
Hand planes are essential tools for woodworking. They help shape and smooth wood surfaces. Different types of hand planes serve different purposes.
This guide covers the main categories of hand planes. Learn about bench planes, block planes, and specialty planes to choose the right tool for your work.
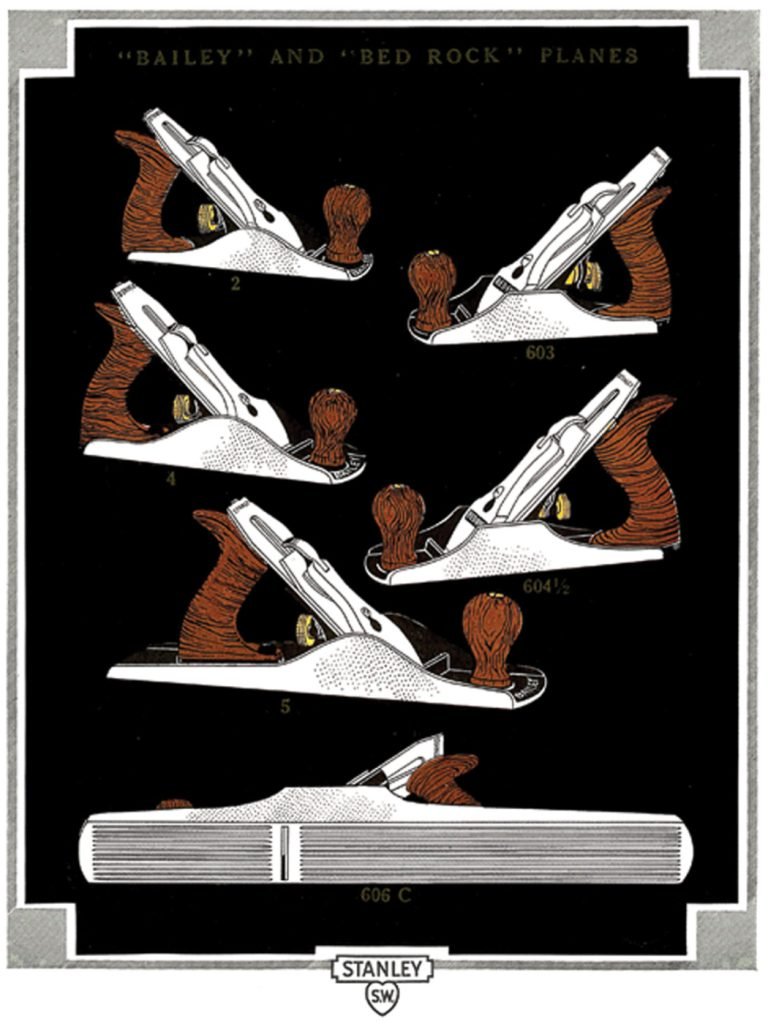
Bench Planes
Bench planes are the most common type used in woodworking. They come in various sizes for different tasks. These planes help flatten, smooth, and straighten wood.
- Jointer Plane: Used for flattening large boards.
- Fore Plane: Removes rough surfaces quickly.
- Jack Plane: A versatile plane for many tasks.
- Smoothing Plane: Creates a fine, smooth finish.
Block Planes
Block planes are small and easy to use with one hand. They are ideal for trimming end grain and small pieces. These planes often have a low-angle blade for fine cuts.
| Type | Use | Blade Angle |
| Standard Block Plane | General trimming and smoothing | 20 to 25 degrees |
| Low-Angle Block Plane | End grain trimming | 12 to 20 degrees |
Specialty Planes
Specialty planes serve unique functions that bench or block planes cannot. They include planes for molding, rabbeting, and more precise work.
- Rabbet Plane: Cuts rabbets or shoulders on edges.
- Molding Plane: Shapes decorative profiles.
- Router Plane: Levels grooves and recesses.
- Plow Plane: Cuts grooves for joints.
Credit: www.popularwoodworking.com
Choosing The Right Plane
Hand planes are useful tools for woodworking. Choosing the right one helps you work better. Different planes suit different tasks and wood types.
This guide covers key points to consider when picking a hand plane. Focus on material, size, blade quality, and comfort for best results.
Material And Size Considerations
Planes come in various materials and sizes. Cast iron and wood are common materials. Size affects the type of work the plane can do.
- Cast iron planes are durable and heavy, good for smooth work.
- Wooden planes are lighter and easier to handle for small jobs.
- Small planes fit tight spots and fine details.
- Larger planes are better for flattening big surfaces.
Blade Quality And Sharpness
A sharp blade makes clean cuts and easier planing. Look for blades made of high-quality steel. Keep blades sharp for best performance.
| Blade Material | Pros | Cons |
|---|---|---|
| High-carbon steel | Holds sharp edge well, easy to sharpen | Can rust if not cared for |
| Stainless steel | Resists rust, low maintenance | May not hold edge as long |
| Tool steel | Very hard, long-lasting edge | Harder to sharpen |
Ergonomics And Comfort
Comfort helps you work longer and better. Choose planes with handles that fit your hand size. Weight should feel balanced, not tiring.
Consider these tips for comfort:
- Grip should be firm but not tight.
- Handles made of smooth wood or rubber improve feel.
- Try the plane before buying if possible.
- Adjust blade depth easily for smooth use.
Preparing Your Plane
Before using a hand plane, it is important to prepare it properly. This helps you get smooth and even cuts on wood surfaces.
Preparing your plane includes sharpening the blade, adjusting the parts, and keeping it clean. These steps ensure better performance.
Blade Sharpening Techniques
A sharp blade is key to a clean cut. Dull blades cause rough surfaces and require more effort to use.
Use sharpening stones or sandpaper to sharpen the blade. Start with coarse grit and finish with fine grit for a smooth edge.
- Remove the blade from the plane carefully
- Hold the blade at the correct angle, usually 25 to 30 degrees
- Move the blade across the sharpening surface evenly
- Check the blade edge regularly for sharpness
- Hone the blade with a fine stone or strop for a polished edge
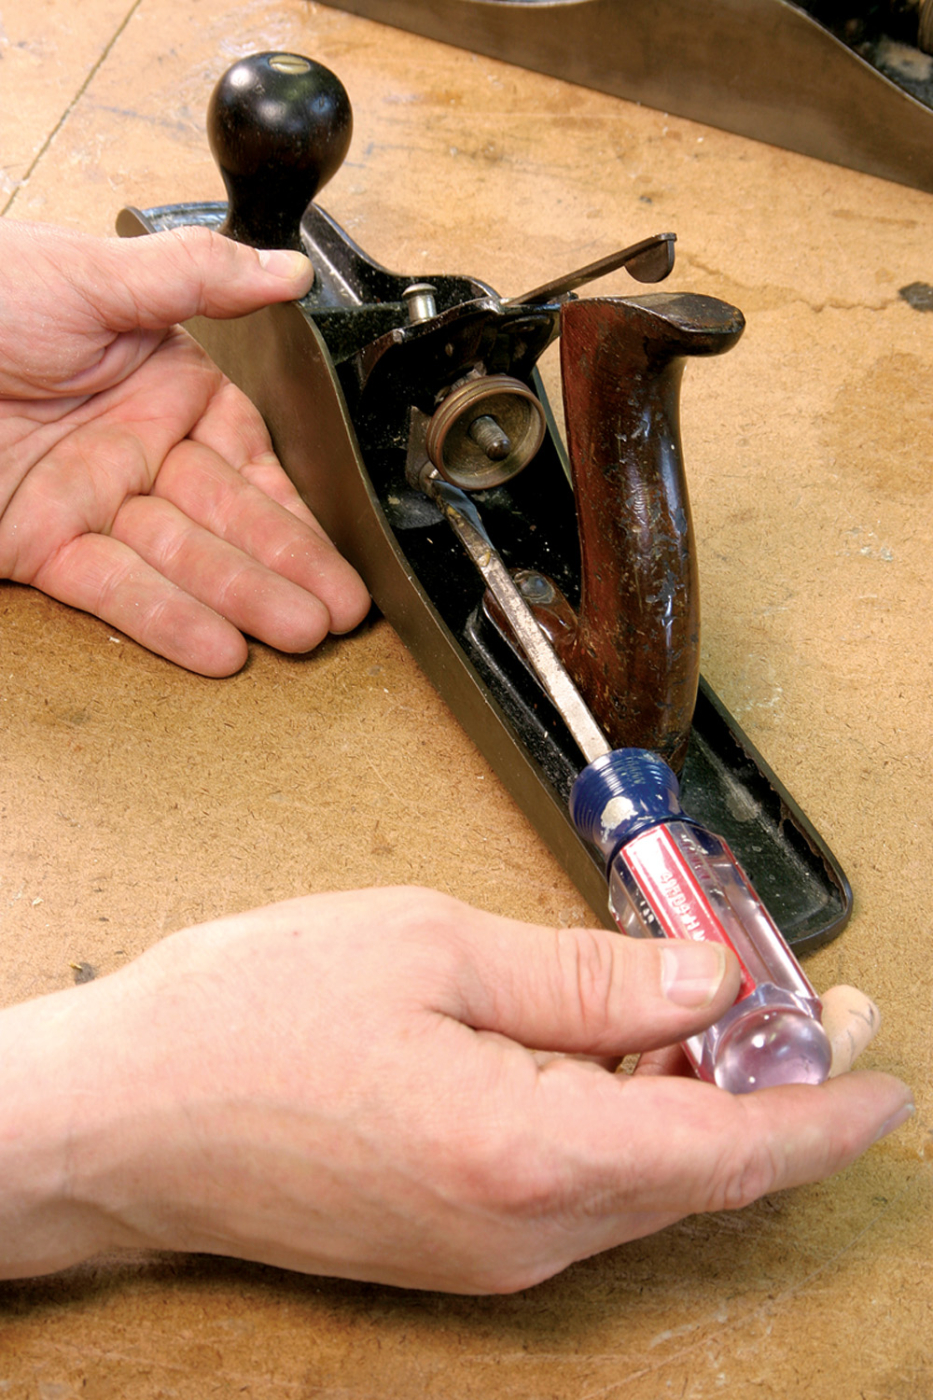
Adjusting The Mouth And Depth
Adjusting the mouth and depth controls the thickness of the shaving and the smoothness of the planed surface.
Open the mouth wider for thicker shavings and close it for finer shavings. Set the blade depth so it just touches the wood surface.
- Loosen the lever cap to adjust the blade
- Move the blade forward for deeper cuts
- Move the blade back for shallower cuts
- Adjust the mouth opening by moving the front plate if available
- Tighten the lever cap after adjustments
Cleaning And Maintenance Tips
Cleaning your plane regularly keeps it working well and prevents rust. Dirt and wood dust can damage parts over time.
Wipe the plane after each use. Apply light oil to metal parts to stop rust. Check screws and parts for tightness.
- Use a brush or cloth to remove dust and wood shavings
- Apply machine oil or paste wax on the sole for smooth movement
- Store the plane in a dry place to avoid moisture
- Sharpen the blade regularly to keep it ready
- Inspect the plane for any damage and fix it promptly

Credit: www.popularwoodworking.com
Basic Planing Techniques
Using a hand plane helps smooth wood surfaces and shape edges. Learning basic techniques makes your work easier and cleaner.
Good planing requires the right grip, understanding wood grain, and controlling the cut depth. These skills improve the final result.
Holding And Positioning
Hold the plane firmly with both hands. Place your dominant hand on the rear handle and the other on the front knob. Stand with feet shoulder-width apart for balance.
- Keep your body steady and relaxed.
- Push the plane forward in a straight line.
- Use your whole body weight, not just your arms.
- Keep the plane flat against the wood surface.
Direction And Grain
Always plane with the grain of the wood. Planing against the grain can cause rough surfaces and tear-out. Look closely to see the grain direction before you start.
If the grain changes direction, adjust your planing path to follow it. This keeps the surface smooth and clean.
Controlling Depth Of Cut
Control how deep the blade cuts to avoid heavy shavings or damage. A shallow cut gives a smooth finish, while a deep cut removes more material.
| Adjustment | Effect |
|---|---|
| Blade raised slightly | Thin, fine shavings |
| Blade raised more | Thicker shavings, faster removal |
| Blade too low | Plane drags or stops |
| Blade too high | Rough surface, tear-out |
Advanced Planing Skills
Hand planes are tools that let you shape wood with control. Skilled planing helps make wood smooth, neat, and ready for use.
This guide focuses on advanced skills to improve your results. You will learn how to smooth surfaces, create edges, and use planes in joinery.
Smoothing Surfaces
Smoothing removes small bumps and marks from wood. Use a finely set plane with sharp blades. Move the plane evenly along the grain. Avoid stopping or pressing too hard.
- Check the blade is sharp and clean
- Set the blade for a thin shaving
- Use long, steady strokes with the grain
- Lightly sand if needed after planing
Creating Chamfers And Bevels
Chamfers and bevels are angled edges. They add style and remove sharp corners. Adjust the plane blade to cut at an angle. Control the angle by the plane’s position and your hand movement.
| Edge Type | Blade Setting | Technique |
| Chamfer | Shallow, angled | Hold plane at 45°, push steadily |
| Bevel | Deeper, angled | Lean plane more, remove more wood |
| Micro-Bevel | Very shallow | Light passes for finish edge |
Using Planes For Joinery
Planes help make joints fit tightly. Use different planes for trimming, fitting, and cleaning joints. Work slowly and test the fit often.
- Use a smoothing plane to clean joint edges
- Use a shoulder plane for trimming tenons
- Use a block plane to adjust small areas
- Check joint fit after each pass
Common Issues And Fixes
Using hand planes can be tricky at first. Many woodworkers face common problems that affect the quality of their work. Knowing how to fix these issues helps you get smooth, clean results.
This guide covers three common problems: tear-out, uneven surfaces, and blade dullness with chatter. Each section explains what causes the issue and how to solve it.
Dealing With Tear-out
Tear-out happens when the wood fibers split and lift instead of cutting cleanly. It usually occurs on tricky grain or soft wood. This damage can ruin the smooth look of your project.
To reduce tear-out, try these tips:
- Adjust the blade to take a thinner shaving.
- Plane with the grain, not against it.
- Use a sharper blade for cleaner cuts.
- Try a higher angle blade setup to reduce splitting.
- Make a light finishing pass with the blade very close to the surface.
Uneven Surfaces
Uneven surfaces occur when the hand plane removes more material from some areas than others. This problem leaves bumps or hollows on the wood.
Follow these steps to fix uneven surfaces:
- Check the sole of the plane for flatness and clean it.
- Use long, smooth strokes to keep the plane level.
- Keep steady pressure on the front and back of the plane.
- Mark the wood with a pencil grid to see high and low spots.
- Work slowly and check your progress often.
Blade Dullness And Chatter
A dull blade cuts poorly and can cause chatter. Chatter is a vibration that leaves marks on the wood. It makes the surface rough and uneven.
To avoid dullness and chatter, do the following:
- Sharpen the blade regularly with a sharpening stone or system.
- Check blade alignment and adjust if it wobbles.
- Set the blade depth correctly; too deep causes chatter.
- Use a heavier plane if vibration is a problem.
- Keep the plane sole clean to reduce friction.
Maintaining Your Hand Plane
Keeping your hand plane in good shape helps it work better. Regular care saves you time and effort later.
Simple steps like cleaning, storing, and blade care keep the tool ready for use.
Routine Cleaning
Clean your hand plane after each use. Remove dust, wood chips, and sap to stop rust and damage.
Use a soft brush or cloth to wipe all parts. Avoid water on metal to prevent rust.
- Brush out wood shavings from the sole and blade area
- Wipe metal parts with a dry or slightly oiled cloth
- Check for sticky residues and clean gently
Storage Recommendations
Store your hand plane in a dry place. Moisture causes rust and can damage wood handles.
Keep the blade retracted or covered to protect the edge and avoid accidents.
- Use a tool chest or cabinet with low humidity
- Place the plane on its side to protect the blade
- Apply a light coat of oil on metal parts before storing
Blade Replacement And Upgrades
Replace blades when they become dull or chipped. Sharp blades give cleaner cuts and less effort.
Consider upgrading blades for better steel or different cutting needs. Match the blade size to your plane.
- Remove the blade carefully using the lever cap
- Check the blade angle and sharpen if needed
- Install new blades firmly and test for smooth operation

Credit: emiratesessential.com
Safety Tips For Hand Planing
Using a hand plane is a great way to smooth wood surfaces. Safety is very important to avoid accidents and injuries.
This guide shares key safety tips for hand planing. Follow them to work safely and confidently.
Proper Handling
Hold the hand plane firmly with both hands. Keep your fingers away from the blade.
Push the plane forward in a smooth, controlled motion. Do not force it or rush the work.
- Use your dominant hand on the rear handle for control
- Place your other hand on the front knob for guidance
- Keep your body balanced and feet steady
- Do not adjust the blade while planing
Protective Gear
Wear the right protective gear to keep yourself safe. Safety glasses protect your eyes from wood chips.
Use gloves only if they do not reduce your grip. Hearing protection can help if working with loud tools nearby.
- Wear safety glasses or goggles
- Use dust mask if wood dust is heavy
- Wear gloves if they fit well and allow good control
- Consider earplugs in noisy environments
Workspace Setup
Keep your workspace clean and organized. Remove any clutter to avoid trips or falls.
Make sure your workbench is stable and at a comfortable height. Good lighting helps you see the wood and blade clearly.
- Clear the area around your workbench
- Use clamps to secure wood pieces firmly
- Ensure the bench is strong and steady
- Work in a well-lit space
Frequently Asked Questions
What Is The Primary Use Of A Hand Plane?
A hand plane smooths and shapes wood surfaces. It removes thin shavings to create a flat, even finish. It’s essential for woodworking, furniture making, and fine carpentry tasks.
How Do You Choose The Right Hand Plane Size?
Select a hand plane size based on your project’s scale. Larger planes suit flattening big boards, while smaller ones are ideal for detailed trimming and smoothing.
How Often Should You Sharpen A Hand Plane Blade?
Sharpen the blade whenever it dulls and cuts poorly. Regular sharpening ensures smooth cuts and maintains the tool’s efficiency. Check before each use for best results.
Can Beginners Use Hand Planes Safely?
Yes, beginners can use hand planes safely by following basic safety tips. Keep blades sharp, maintain a firm grip, and work with controlled, even strokes to avoid accidents.
Conclusion
Exploring hand planes can be rewarding. They offer precision and control. Practice makes perfect with these tools. Begin with simple projects. Slowly, you’ll gain confidence. The right technique matters a lot. Sharpen blades regularly for better results. Choose the right plane for the job.
Safety should always come first. Keep your workspace tidy and organized. With patience, you’ll improve skills. Enjoy the satisfaction of your work. Hand planes add a personal touch to projects. They connect us to woodworking traditions. Happy woodworking, and keep experimenting!