Are you ready to build a sturdy workbench that makes every project easier and more enjoyable? Imagine having a reliable spot where you can organize your tools and work comfortably without hassle.
Assembling a workbench might sound tricky, but with the right steps, you can do it yourself quickly and confidently. In this guide, you’ll discover simple, clear instructions that turn a pile of parts into a solid, useful workspace. Keep reading, and you’ll be one step closer to creating your perfect workbench.
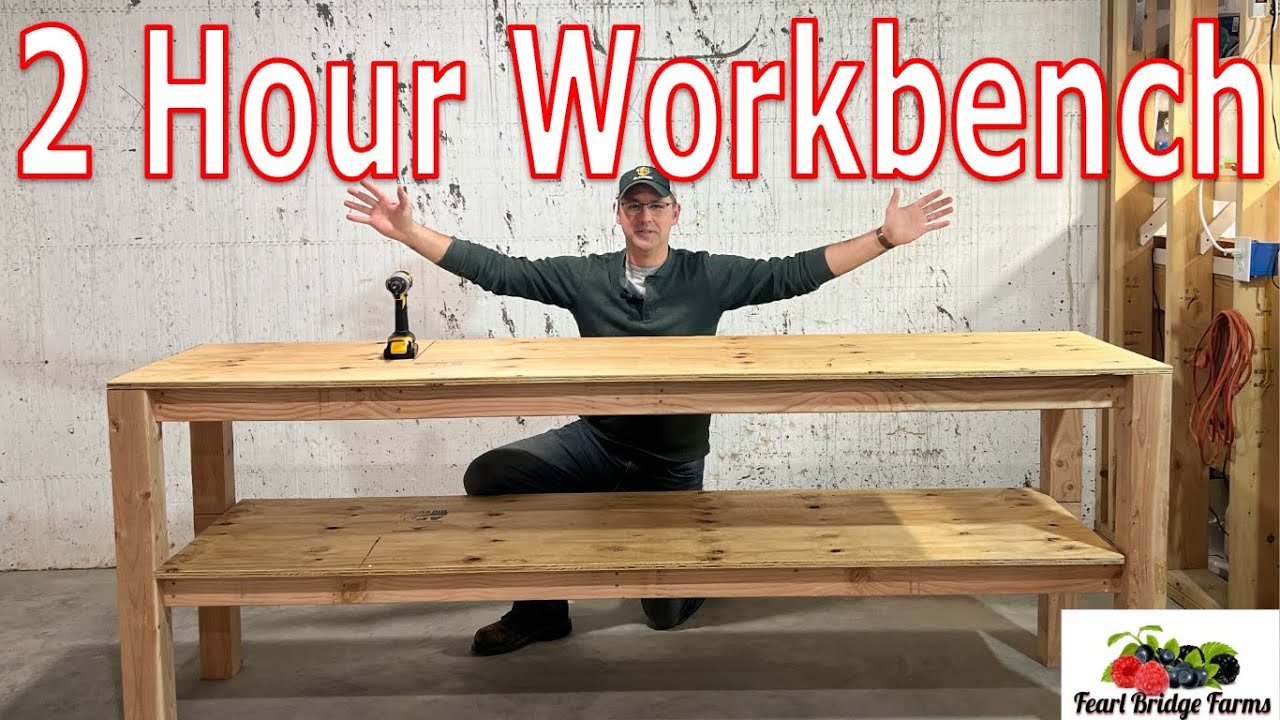
Credit: www.youtube.com
Choosing The Right Workbench
Building a workbench starts with picking the right type. The right workbench fits your workspace and project needs. It helps keep your tools organized and work efficient.
Consider your available space, the materials you will use, and the kind of work you do. This guide will help you choose the best workbench for your needs.
Types Of Workbenches
There are several common types of workbenches. Each serves different purposes. Knowing these will help you select the right one.
- Flat Top Bench:A simple, flat surface for general tasks.
- Workbench with Vise:Includes a vise for holding materials firmly.
- Folding Workbench:Portable and space-saving.
- Heavy-Duty Bench:Built for heavy tools and rough work.
- Multi-Function Bench:Offers storage and multiple surfaces.
Materials And Tools Needed
Select strong, durable materials for your workbench. The right tools help with a smooth assembly.
| Material | Purpose | Notes |
|---|---|---|
| Hardwood (Maple, Oak) | Workbench surface | Strong and long-lasting |
| Plywood | Workbench top or shelves | Cost-effective, easy to cut |
| 2×4 Lumber | Frame and legs | Affordable and sturdy |
| Screws and Bolts | Fastening parts | Use appropriate sizes for strength |
| Wood Glue | Extra hold | Use with screws for stability |
| Tools (Drill, Saw, Screwdriver) | Assembly | Basic tools needed |
Workspace Preparation
Prepare your workspace before starting assembly. A clean, organized area helps you work safely and fast.
- Clear enough space for the workbench size.
- Ensure good lighting for clear visibility.
- Gather all materials and tools in one place.
- Wear safety gear like gloves and goggles.
- Have a sturdy surface to work on if assembling parts.
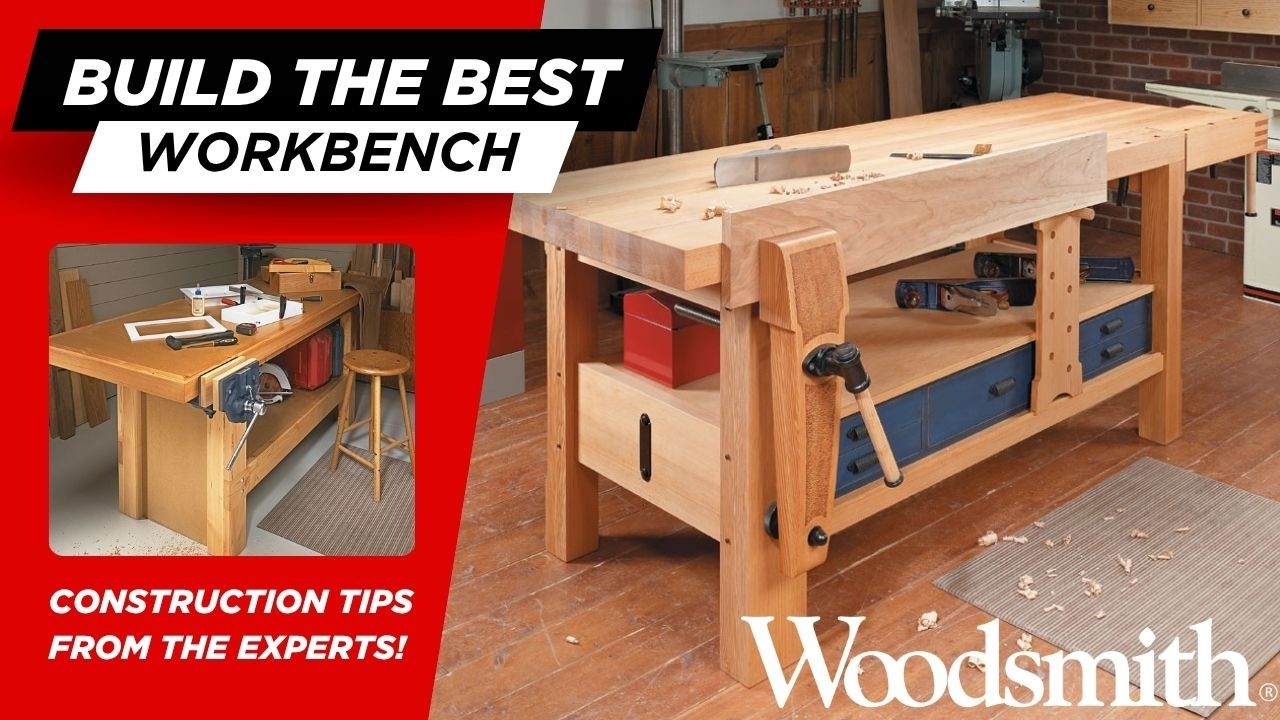
Credit: www.youtube.com
Gathering Supplies
Building a workbench starts with collecting the right supplies. Good preparation saves time and effort later.
Knowing what tools and materials you need helps you build a sturdy and safe workbench.
List Of Essential Tools
Gather these basic tools before you begin. They will make the assembly easier and faster.
- Hammer
- Screwdriver set
- Measuring tape
- Power drill with bits
- Wrench or socket set
- Clamps
- Level
Selecting Quality Materials
Choose strong and durable materials for your workbench. This ensures long-lasting use and safety.
| Material | Purpose | Tip |
| Hardwood (oak, maple) | Workbench top | Resists dents and scratches |
| Plywood | Workbench base or shelves | Use thick, high-grade sheets |
| 2×4 lumber | Frame and legs | Check for straightness and no knots |
| Wood screws | Fastening parts | Choose rust-resistant types |
Safety Equipment
Protect yourself by using safety gear. This lowers the risk of injury during assembly.
- Safety glasses to protect your eyes
- Work gloves to prevent splinters
- Ear protection if using loud power tools
- Dust mask when sanding or cutting wood
- Closed-toe shoes for foot protection
Preparing The Components
Before building your workbench, you need to prepare all the parts carefully. This step makes assembly easier and faster.
Preparing includes measuring, cutting, sanding, and organizing all the components. Each task helps create a strong and smooth workbench.
Measuring And Cutting
Start by measuring your wood pieces according to your workbench plan. Use a tape measure for accuracy.
Cut the wood carefully with a saw. Make sure each piece matches the right size for your workbench parts.
- Measure twice to avoid mistakes
- Use a straight edge to mark cut lines
- Cut slowly to keep edges clean
- Wear safety gear during cutting
Sanding And Finishing
Sand all cut edges and surfaces to remove splinters. This makes the wood smooth and safe to handle.
Apply a finish like paint or sealant to protect the wood. Finishing also helps the workbench last longer.
- Use medium grit sandpaper first
- Follow with fine grit for smoothness
- Clean dust before applying finish
- Let finish dry completely
Organizing Parts
Arrange all your cut and sanded parts in one place. Organizing helps you find each piece quickly during assembly.
Group similar parts together and keep hardware like screws and bolts in small containers. This saves time and reduces confusion.
- Sort wood pieces by size and type
- Label parts if needed
- Keep fasteners in clear containers
- Work in a clean, well-lit area
Assembling The Frame
Building a strong frame is the first step to making a workbench. The frame supports the top and holds everything steady. This guide covers how to join legs and supports, secure parts with screws and brackets, and check for stability.
Following these steps carefully will help you create a sturdy base for your workbench. Use the right tools and materials for best results.
Joining Legs And Supports
Start by attaching the legs to the horizontal supports. Make sure each leg fits tightly against the supports for a strong frame. Use wood glue at the joints to add extra strength before fastening.
- Cut legs and supports to the correct length.
- Apply wood glue on the contact surfaces.
- Fit legs against supports at right angles.
- Clamp the pieces together to hold them in place.
Securing With Screws And Brackets
Use screws and metal brackets to hold the frame pieces firmly. Screws provide strong connections, while brackets add extra support at corners and joints.
| Tool | Purpose | Tip |
| Wood screws | Fasten legs and supports | Pre-drill holes to prevent wood splitting |
| Metal brackets | Reinforce corners and joints | Use brackets sized to fit your frame thickness |
| Screwdriver or drill | Drive screws securely | Use a drill with clutch control for better screw depth |
Ensuring Stability
Check the frame for stability before moving on. A solid frame will not wobble or shift under pressure. Adjust any loose parts and tighten screws as needed.
- Place the frame on a flat surface.
- Push gently on each corner to test for movement.
- Tighten any loose screws or brackets.
- Use shims under legs if the floor is uneven.
Attaching The Work Surface
Attaching the work surface is an important part of building a sturdy workbench. The surface must be strong and properly fixed to the base. This ensures your workbench lasts long and feels solid.
This guide covers how to pick the right surface material, align it well, and finish the attachment.
Choosing The Right Surface Material
Select a surface material that fits your work type and budget. Common options include plywood, hardwood, and MDF. Each has its benefits and drawbacks.
- Plywood:Affordable and strong, good for general tasks.
- Hardwood:Durable and smooth, ideal for heavy use.
- MDF:Smooth surface, best for painting or finishing.
- Butcher Block:Very sturdy and attractive, but costly.
Aligning And Securing The Top
Place the work surface on the frame carefully. Check that it sits flat and is square with the base. Use clamps to hold it in place before fixing it.
| Tool | Purpose | Tip |
| Clamps | Hold surface steady | Use several to avoid shifting |
| Drill | Make pilot holes | Prevents wood splitting |
| Screws | Attach surface to frame | Use wood screws, 1.5-2 inches |
| Level | Check evenness | Adjust before final fixing |
Drive screws through pilot holes into the frame. Space screws evenly along the edges and center. This keeps the surface tight and strong.
Finishing Touches
After attaching, smooth the edges with sandpaper. Remove any dust or debris. You may apply a finish or sealant to protect the surface from damage.
- Use fine-grit sandpaper for a smooth edge.
- Apply a wood sealant to prevent stains.
- Let the finish dry completely before use.
Adding Functional Features
A workbench becomes more useful by adding functional features. These features help keep tools organized and tasks easier to do. This guide covers shelves, drawers, vices, clamps, and custom setups.
Adding the right features improves your work area. It saves time and makes projects more efficient. Each feature serves a purpose to meet your needs.
Installing Shelves And Drawers
Shelves and drawers store tools and materials neatly. Shelves hold larger items while drawers keep smaller tools safe. You can build them from wood or buy ready-made units.
- Measure the space under the workbench before installation
- Use strong brackets to support shelves
- Add drawer slides for smooth opening and closing
- Label drawers for easy tool finding
- Keep frequently used items within reach
Adding Vices And Clamps
Vices and clamps hold workpieces firmly. This helps with cutting, sanding, or drilling. Choose the right size and type for your projects. Mount vices to the bench edge for stability.
| Tool | Use | Placement |
| Bench Vice | Hold wood or metal | Front edge of bench |
| Quick-Release Clamp | Hold materials quickly | Anywhere on bench surface |
| C-Clamp | Secure workpieces tightly | Temporary use as needed |
Customizing For Specific Tasks
Customize your workbench to fit special tasks. Add tool racks, power strip mounts, or lighting. Adjust height or add wheels for mobility. Think about what makes your work easier.
Customization Ideas
- Install a pegboard for hanging tools
- Add a built-in power strip for easy access to electricity
- Attach a small light to brighten work areas
- Use adjustable legs to change bench height
- Attach wheels to move the bench around
Final Checks And Maintenance
After assembling your workbench, it is important to perform final checks. These checks ensure your workbench is safe and ready for use. Regular maintenance will help keep it strong and functional for years.
This guide covers how to test stability, maintain your workbench, and fix common issues. Follow these simple tips to protect your investment and work safely.
Testing Stability
Check if your workbench stands firm and does not wobble. Press down on different corners and the center to feel any movement. If it shifts, tighten all screws and bolts again.
- Place the workbench on a flat surface
- Push gently on each corner
- Look for any rocking or shaking
- Tighten loose fasteners
- Use shims under legs if needed
Routine Maintenance Tips
Regular care keeps your workbench in good shape. Clean it after each use and check fasteners monthly. Protect wood surfaces with oil or sealant to prevent cracks.
| Task | Frequency | Details |
|---|---|---|
| Clean surface | After each use | Remove dust and debris with a cloth |
| Check screws and bolts | Monthly | Tighten any loose parts |
| Apply wood oil or sealant | Every 6 months | Protect wood from moisture and wear |
| Inspect for damage | Monthly | Look for cracks or splits in wood |
Troubleshooting Common Issues
If your workbench has problems, try simple fixes first. Tighten loose parts, replace damaged pieces, or adjust legs for balance. Use tools like a wrench or screwdriver as needed.
- Loose legs: tighten bolts or use shims
- Wobbly top: check and tighten fasteners
- Wood cracks: fill with wood filler or replace board
- Rust on metal parts: clean and apply rust inhibitor

Credit: www.familyhandyman.com
Frequently Asked Questions
How Long Does It Take To Assemble A Workbench?
Assembling a workbench typically takes 1 to 3 hours. The time depends on your experience, tools, and workbench complexity. Following clear instructions speeds up the process. Preparing all parts beforehand also helps ensure smooth assembly.
What Tools Are Needed To Assemble A Workbench?
Common tools for assembling a workbench include a drill, screwdriver, wrench, measuring tape, and level. Some kits may require a hammer or clamps. Having the right tools ready ensures accurate and efficient assembly.
Can I Assemble A Workbench Alone?
Yes, you can assemble a workbench alone if you have basic DIY skills. However, having a helper can speed up the process and make handling heavy parts easier. Always follow safety guidelines during assembly.
What Materials Are Best For A Sturdy Workbench?
Hardwood or plywood tops with solid wood or metal legs create sturdy workbenches. Choose durable materials to withstand heavy use. Properly fastening parts also ensures long-lasting stability.
Conclusion
Building a workbench can be simple and rewarding. Follow each step carefully. Gather all your tools and materials before starting. Make sure everything fits properly. Tighten screws securely. Double-check your measurements for accuracy. Remember, safety comes first. Wear protective gear like gloves and goggles.
By assembling your workbench, you create a sturdy workspace. Ready for various projects. Enjoy the satisfaction of building it yourself. Keep your workspace organized and neat. This helps in working efficiently. Now, you’re ready to tackle more DIY tasks. Happy building!