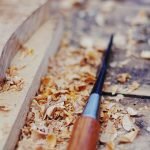
Have you ever wanted to transform a simple block of wood into a beautiful work of art? Carving wood with chisels gives you the power to do just that.
With the right tools and techniques, you can create detailed shapes, patterns, and designs that bring your ideas to life. You’ll discover easy steps to master wood carving with chisels, even if you’re a complete beginner. Keep reading, and you’ll soon be crafting pieces that impress everyone around you.
Your creative journey starts here—let’s dive in!
Choosing The Right Chisels
Wood carving needs the right tools to shape wood easily. Picking the best chisels helps you work with control and accuracy.
Different chisels serve different carving styles and wood types. Understanding these can make your work better and safer.
Types Of Wood Carving Chisels
Chisels come in many shapes and edges. Each type fits a certain carving need. Here are the main types:
- Gouges:Have a curved blade to scoop out wood. Used for rounded cuts.
- V-tools:Shaped like a V to make sharp lines and details.
- Straight chisels:Flat blades for making straight cuts and smoothing surfaces.
- Skew chisels:Angled edges for fine trimming and cleaning corners.
Selecting Chisel Sizes
Chisel size affects how much wood you remove. Smaller chisels are for detail work. Larger ones remove big wood pieces fast.
- Choose narrow chisels for fine lines and tight spaces.
- Use medium sizes for general shaping and smoothing.
- Pick wide chisels for rough cuts and removing large sections.
- Have a range of sizes for different parts of your project.
Quality And Material Considerations
Good chisels last longer and cut better. Look at the blade and handle materials before buying.
| Feature | What to Look For | Why It Matters |
| Blade Material | High-carbon steel or chrome-vanadium steel | Stays sharp longer and resists rust |
| Handle Material | Wood or tough plastic | Comfortable grip and strong hold |
| Blade Sharpness | Pre-sharpened or easy to sharpen | Better cutting and less effort |
| Balance | Well-balanced between blade and handle | Reduces hand fatigue and improves control |

Credit: www.schaaftools.com
Preparing Your Workspace
Carving wood with chisels requires a well-prepared workspace. A clean and organized area helps you work safely and efficiently.
Setting up your workspace correctly makes the carving process smoother. It also protects your tools and materials.
Setting Up A Stable Workbench
A stable workbench keeps your wood steady while you carve. It prevents slips that could cause mistakes or injuries.
Choose a bench with a flat surface and strong legs. Make sure it does not wobble or move during work.
- Check that the bench height suits your comfort
- Use clamps to hold the wood firmly
- Keep the surface clean and free of clutter
Safety Gear Essentials
Wearing the right safety gear protects your hands, eyes, and body. Always use gear designed for woodworking.
Basic safety gear includes gloves, goggles, and a dust mask. These items reduce risks from sharp tools and wood dust.
- Wear cut-resistant gloves to protect your hands
- Use safety goggles to shield your eyes
- Put on a dust mask to avoid inhaling wood particles
- Consider ear protection if using power tools nearby
Organizing Tools For Efficiency
Keeping your chisels and tools organized saves time and effort. It helps you find the right tool quickly.
Use a tool rack or box to store chisels safely. Arrange them by size or type for easy access.
- Clean tools before storing to prevent rust
- Keep sharp tools in protective covers
- Label tool holders for faster identification
- Arrange frequently used tools within arm’s reach
Selecting Wood For Carving
Choosing the right wood is important for carving with chisels. The wood affects how easy it is to shape and how the final piece looks.
This guide covers the best woods for beginners, how grain and hardness affect carving, and what wood flaws to avoid.
Best Woods For Beginners
Softwoods and fine-grained hardwoods are easier for new carvers. They cut well and show details clearly.
- Linden (Basswood): Soft and smooth, easy to carve.
- Pine: Soft, widely available, but can have knots.
- Butternut: Soft with a nice grain, good for beginners.
- Cherry: Slightly harder, offers good detail and finish.
- Walnut: Medium hardness, great for detailed work.
Grain And Hardness Impact
Wood grain and hardness change how your chisel moves and how the carving looks. Straight grains are easier to work with.
| Wood Type | Grain | Hardness | Carving Ease |
| Basswood | Straight | Soft | Very Easy |
| Cherry | Fine, Straight | Medium | Moderate |
| Walnut | Straight or Wavy | Medium-Hard | Moderate |
| Pine | Varies | Soft | Easy |
| Oak | Coarse, Wavy | Hard | Hard |
Avoiding Common Wood Flaws
Flaws make carving difficult and can spoil your work. Look for clear wood with few defects.
- Knots: Harder to carve and can cause chisel slips.
- Cracks and Splits: Weak spots that break easily.
- Warped or Twisted Wood: Hard to carve evenly.
- Resin Pockets: Sticky and can dull tools.
- Uneven Grain: Can cause chisel to jump.
Sharpening And Maintaining Chisels
Sharp chisels make wood carving easier and safer. Keeping chisels sharp takes regular care.
This guide explains how to sharpen, hone, and store chisels properly.
Sharpening Techniques
Start sharpening by using a coarse sharpening stone. This removes nicks and shapes the edge.
- Use a sharpening stone with water or oil to reduce friction.
- Hold the chisel at a consistent angle, usually 25 to 30 degrees.
- Move the blade across the stone in smooth, even strokes.
- Work from coarse grit to fine grit stones for a sharper edge.
- Check the edge regularly to avoid over-sharpening.
Proper Honing Methods
Honing polishes the chisel edge and removes small burrs. It improves cutting performance.
| Honing Tools | Description |
| Leather Strop | Used with polishing compound to refine the edge. |
| Fine Honing Stone | Removes tiny imperfections after sharpening. |
| Honing Oil | Protects the blade and aids smooth honing. |
Use light pressure during honing. Keep the same angle as sharpening for best results.
Storing And Caring For Tools
Proper storage keeps chisels sharp and rust-free. Clean tools after each use.
- Wipe blades with a dry cloth to remove moisture.
- Apply a thin coat of oil to prevent rust.
- Store chisels in a tool roll or wooden rack to protect edges.
- Avoid leaving chisels loose in a toolbox where they can get damaged.
- Inspect chisels regularly for damage or rust spots.
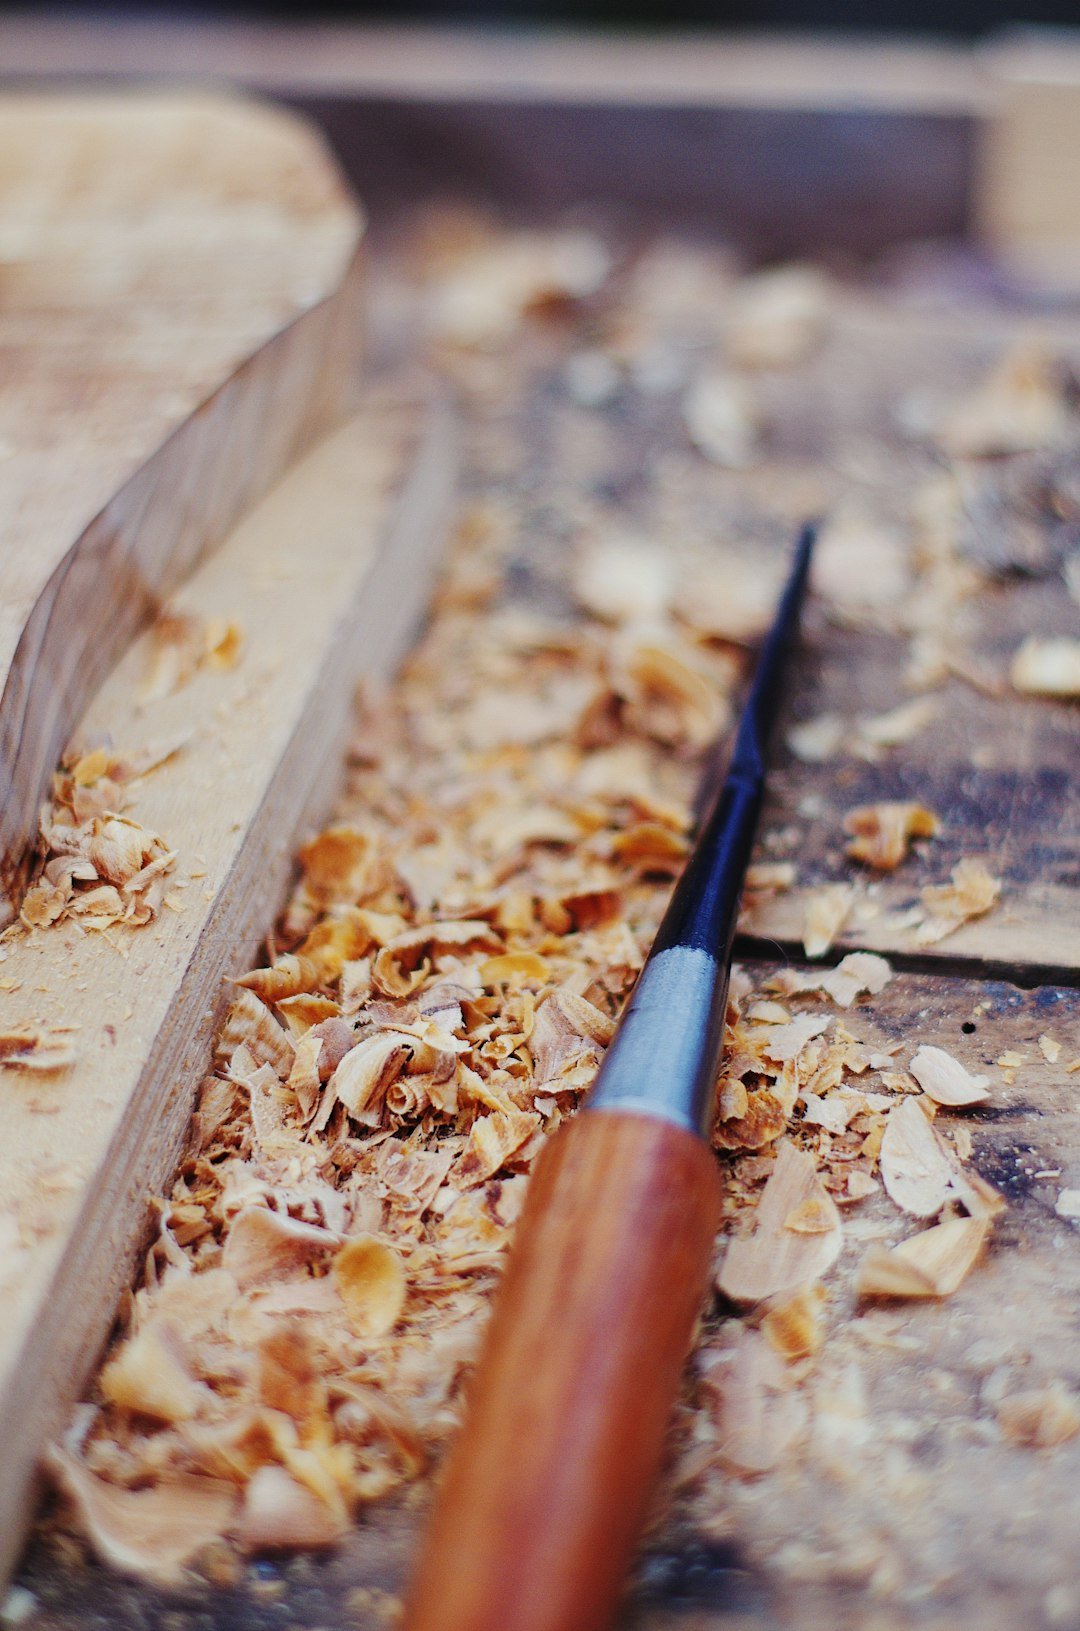
Basic Carving Techniques
Carving wood with chisels is a skill that needs patience and practice. It lets you shape wood into many designs.
Using the right techniques makes your work safer and more precise. Start with simple steps to build your skill.
Holding And Positioning Chisels
Hold the chisel firmly with your dominant hand. Your other hand should guide the blade for control.
Keep the chisel at a slight angle to the wood. This helps the blade cut smoothly and avoid slipping.
Controlling Cut Depth
Start with shallow cuts to avoid removing too much wood. Gradually deepen the cut as needed.
Use your hands to feel the wood surface. This helps you control how deep the chisel goes.
- Make small test cuts first
- Apply gentle pressure
- Check the depth often
- Adjust angle for finer cuts
Using Mallets Safely
Use a wooden or rubber mallet to tap the chisel gently. Hard hits can damage the tool or wood.
Keep your hands away from the chisel blade. Always strike the chisel handle in the center.
- Wear safety glasses to protect your eyes
- Hold the chisel handle firmly
- Tap with controlled force
- Check for cracks in the mallet
Advanced Carving Tips
Carving wood with chisels takes practice and skill. This guide shares advanced tips to improve your technique.
Focus on control and detail to make your work stand out. Each tip helps you work smarter and cleaner.
Creating Smooth Curves
To carve smooth curves, use gentle, even pressure. Move the chisel slowly along the wood grain to avoid rough edges.
Sharpen your chisels often. Dull tools cause uneven cuts and damage the wood surface.
Detail Work With Small Chisels
Small chisels help you add fine details to your carvings. Use them for tight spaces and intricate patterns.
- Hold the chisel like a pencil for better control.
- Use light taps with a mallet instead of heavy hits.
- Keep your hands steady to avoid slips.
- Work under good light to see small details clearly.
Avoiding Common Mistakes
| Mistake | How to Avoid |
| Cutting against the grain | Always carve with the grain direction for smooth cuts. |
| Using dull chisels | Sharpen tools regularly to keep edges sharp. |
| Applying too much force | Use gentle pressure to prevent splitting the wood. |
| Ignoring safety | Wear protective gloves and keep your workspace clean. |
Finishing Touches
After carving wood with chisels, finishing touches make your work look great. These steps help smooth and protect your piece.
Finishing also brings out the wood’s natural beauty. Take your time for the best results.
Sanding And Smoothing
Sanding removes rough spots left by chisels. Use fine-grit sandpaper to smooth the surface gently.
Start with medium grit to even out deep marks. Then use finer grits for a soft finish.
- Begin with 120-grit sandpaper
- Move to 220-grit for smoothness
- Use 320-grit for a polished feel
- Sand along the grain to avoid scratches
Applying Finishes And Sealants
Finishes protect wood from damage and dirt. They also enhance color and texture.
Choose finishes like oils, waxes, or varnishes. Apply thin coats evenly with a brush or cloth.
- Wood oil soaks in and shows grain well
- Wax adds a soft shine and some protection
- Varnish forms a hard protective layer
- Allow each coat to dry fully before next
Preserving Your Carved Piece
Keep your carved wood safe by storing it properly. Avoid extreme heat and moisture.
Clean dust gently with a soft cloth. Reapply finishes if wood looks dry or dull.
- Store in a cool, dry place away from sunlight
- Use a soft brush or cloth for cleaning
- Check finish every few months
- Touch up with oil or wax if needed

Credit: www.youtube.com

Credit: daitool.com
Frequently Asked Questions
What Type Of Wood Is Best For Carving With Chisels?
Softwoods like basswood and pine are ideal for beginners. They carve easily and have fewer knots. Hardwood like oak is tougher but offers finer detail. Choose wood based on your skill level and project needs for best results.
How Do I Sharpen Chisels For Wood Carving?
Use a sharpening stone or honing guide to maintain a sharp edge. Start with coarse grit, then progress to finer grit for a smooth finish. Regular sharpening improves precision and safety while carving wood.
What Safety Tips Should I Follow When Carving Wood?
Always carve away from your body to avoid injury. Wear protective gloves and use a secure workbench to prevent slips. Keep tools sharp to reduce force needed, lowering the risk of accidents.
How Do I Hold A Chisel Properly For Carving?
Grip the handle firmly with your dominant hand. Use your other hand to guide the blade gently. Maintain control and stability to create smooth, precise cuts in the wood.
Conclusion
Carving wood with chisels can be very rewarding. Start with basic tools. Practice regularly to improve your skills. Always prioritize safety while working. Keep your chisels sharp for best results. Experiment with different wood types. Each offers unique textures. Enjoy the process and learn from mistakes.
Over time, your confidence will grow. Soon, you’ll create impressive pieces. Share your work with friends and family. Inspire others with your craftsmanship. Remember, patience is key in carving. Keep pushing your limits. You’ll be proud of your progress. Enjoy every moment of this creative journey.