Are your battery terminals loose or corroded? Knowing how to crimp battery terminals properly can save you time, money, and frustration.
Whether you’re fixing your car, boat, or any battery-powered device, a strong connection is key to keeping power flowing smoothly. In this guide, you’ll learn simple, step-by-step techniques to crimp battery terminals like a pro—even if you’ve never done it before.
Stick with me, and by the end, you’ll have the skills to ensure your battery connections are secure and reliable every time.
Tools Needed For Crimping
Crimping battery terminals requires the right tools to ensure a safe and strong connection. Using proper tools helps prevent damage to the battery and cables.
This guide covers the essential tools you need before starting your crimping project.
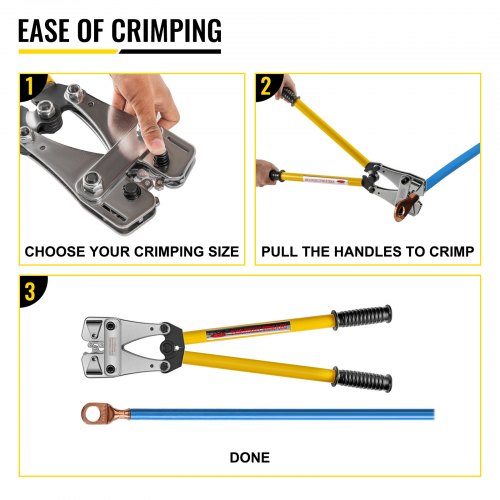
Selecting The Right Crimper
Choose a crimper that fits the size of your battery terminals and cables. The tool should provide a firm grip and even pressure when crimping.
- Manual crimpers for small jobs and low volume
- Hydraulic crimpers for large cables and heavy-duty work
- Ratchet crimpers for controlled and consistent crimps
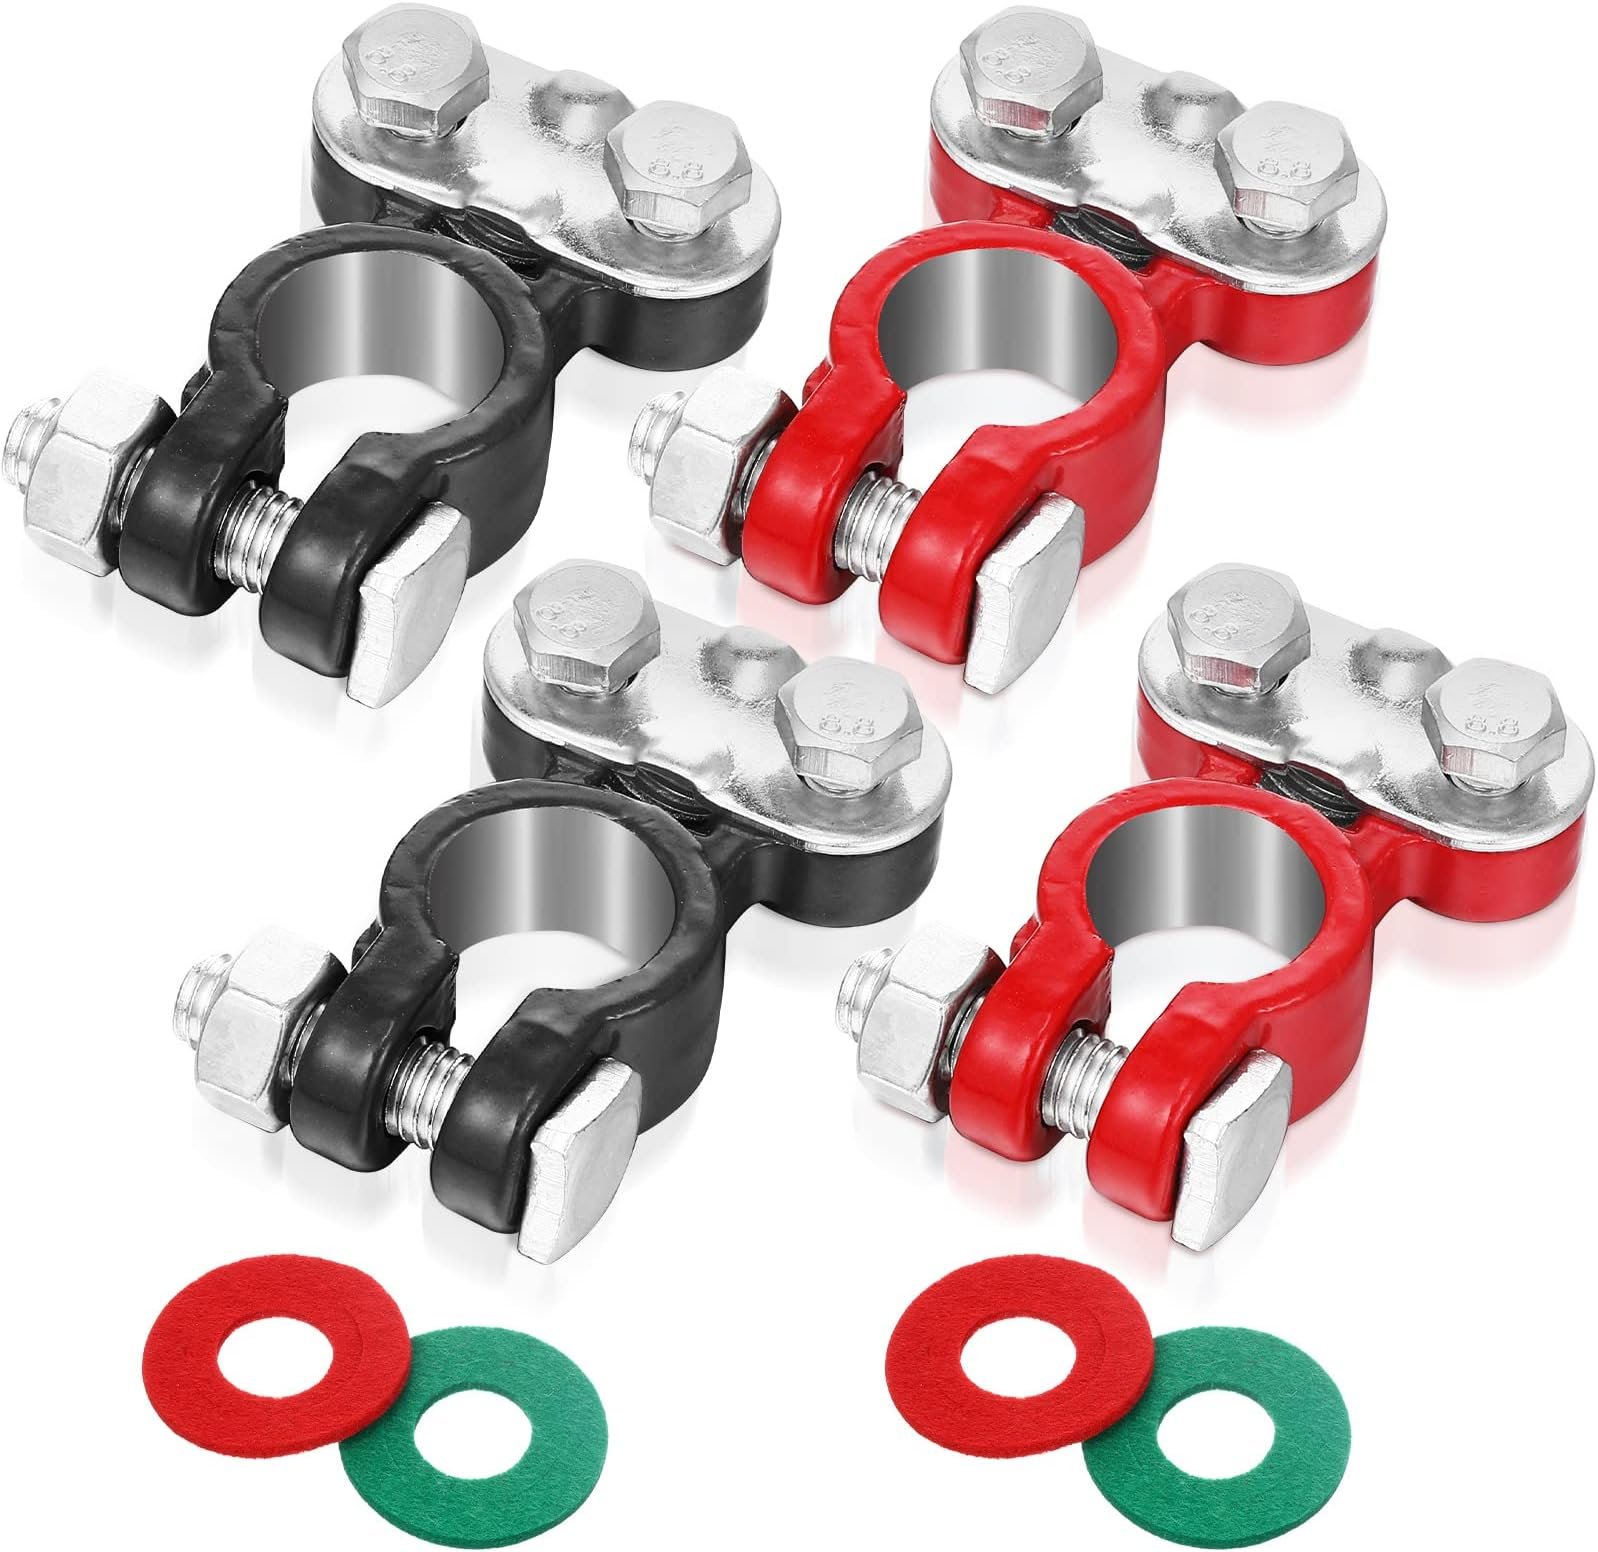
Choosing Suitable Battery Terminals
Battery terminals come in different sizes and materials. Pick terminals that match your battery post size and cable gauge.
| Terminal Type | Material | Common Use |
| Ring Terminal | Copper or Lead | Secure bolt connections |
| Spade Terminal | Copper | Quick connect/disconnect |
| Pin Terminal | Steel or Copper | Tight spaces and special connectors |
Additional Helpful Tools
Besides the crimper and terminals, several other tools make the job easier and safer.
- Wire stripper to remove insulation cleanly
- Heat gun or lighter to shrink heat shrink tubing
- Multimeter to check electrical connections
- Protective gloves for safety
- Cleaning brush to remove corrosion from terminals
Credit: www.vevor.com.au
Preparing The Battery Cable
Preparing the battery cable is an important step before crimping battery terminals. Proper preparation helps ensure a strong and safe connection.
This guide covers how to strip the cable insulation and clean the cable end for best results.
Stripping The Cable Insulation
Remove the outer insulation from the battery cable to expose the metal wires inside. Use a wire stripper set to the correct gauge for your cable.
- Measure the length to strip, usually about half an inch to three-quarters of an inch.
- Place the cable in the wire stripper jaws without cutting the wires.
- Squeeze the handles and pull the insulation off the cable end.
- Check that no wire strands are cut or damaged.
Cleaning The Cable End
Cleaning the cable end removes dirt, corrosion, and oils that affect the connection quality. Use a wire brush or sandpaper to clean the exposed wires.
| Tool | Purpose | Tip |
| Wire brush | Remove rust and dirt | Brush gently to avoid wire damage |
| Sandpaper (medium grit) | Clean surface and remove oxidation | Wrap around the wire and rub evenly |
| Cleaning solvent | Remove oils and grease | Use a cloth soaked with solvent |
Choosing The Correct Terminal Size
Choosing the right terminal size is key for a good battery connection. The terminal must fit the cable and battery post well.
Using the wrong size can cause poor contact or damage. This guide helps you pick the right terminal size.
Matching Terminal To Cable Gauge
Cable gauge measures wire thickness. Terminals come in sizes that match these gauges. You must match the terminal to the cable gauge for a secure fit.
| Cable Gauge (AWG) | Recommended Terminal Size |
| 10 | 10-12 mm |
| 8 | 12-14 mm |
| 6 | 14-16 mm |
| 4 | 16-18 mm |
| 2 | 18-20 mm |
| 1/0 | 20-22 mm |
Identifying Terminal Types
Battery terminals come in different styles. The type you use depends on your battery and cable setup.
- Ring terminals: Strong hold, fits over bolt posts.
- Spade terminals: Slide on flat battery posts.
- Pin terminals: Small cables, used in tight spaces.
- Clamp terminals: Wrap around post, easy to remove.
Crimping Process Steps
Crimping battery terminals creates a strong connection between the cable and terminal. This process ensures good electrical flow and safety. Follow these steps to crimp battery terminals correctly.
Each step is important for a secure and lasting connection. Take your time to do it right.
Inserting Cable Into Terminal
Start by stripping the cable insulation to expose the wire. Insert the bare wire fully into the battery terminal barrel.
Make sure no wires stick out. The wire must fit snugly inside the terminal for a good crimp.
Positioning Terminal In Crimper
Open the crimper tool and place the terminal barrel in the correct slot. The slot size should match the terminal size.
Hold the terminal steady and check it lines up well with the crimper jaws. Proper positioning prevents a weak crimp.
Applying The Crimp
Squeeze the crimper handles firmly and slowly. Apply even pressure to compress the terminal around the wire.
Keep the handles closed until the crimp is complete. Release the tool and remove the terminal carefully.
Inspecting The Connection
Check the crimp for tightness and uniform shape. The terminal should not move or wiggle on the wire.
Look for any damage to the wire or terminal. A good crimp is clean, secure, and free of cracks.
Testing Crimped Connections
Testing crimped battery terminals is important to ensure they work safely and well. Good tests help avoid loose connections and power loss.
This guide shows easy ways to check your crimped connections for security and electrical flow.
Checking For Secure Fit
First, check if the terminal fits tightly on the battery post. A loose fit can cause sparks or power drops.
- Try to wiggle the terminal by hand. It should not move easily.
- Look for any gaps between the terminal and the post.
- Check if the crimped area feels firm and not soft.
- Make sure the wire does not pull out from the crimp.
Electrical Continuity Tests
Use a multimeter to test if electricity flows through the crimped connection without resistance.
| Test Type | How to Do It | What to Expect |
| Continuity Test | Set meter to continuity mode and touch probes on battery post and wire end. | The meter beeps or shows zero resistance if connection is good. |
| Voltage Drop Test | Measure voltage across the crimp while battery powers a load. | Voltage drop should be very low, near zero volts. |
Common Mistakes To Avoid
Crimping battery terminals requires care and the right technique. Many people make simple errors that affect the connection quality.
Understanding common mistakes helps you get a secure and safe battery connection every time.
Using Incorrect Tools
Using the wrong tools can damage terminals or cables. Always use crimping tools made for battery terminals. Avoid pliers or regular cutters that do not fit properly.
- Choose a crimper designed for your terminal type
- Check the tool size matches the cable gauge
- Do not use tools that cause uneven pressure
- Keep tools clean and well maintained
Insufficient Crimp Pressure
Not pressing hard enough leaves a weak connection. The cable might slip or cause electrical problems. Press firmly but avoid crushing the terminal.
| Pressure Level | Result |
| Too Low | Loose connection, possible sparks |
| Correct | Strong, reliable contact |
| Too High | Damaged terminal or cable |
Poor Cable Preparation
Failing to prepare the cable properly causes bad crimps. Remove all insulation and clean the wire strands. Make sure the strands are not broken or bent.
- Strip the cable insulation to the right length
- Twist strands tightly before inserting into the terminal
- Check that no strands are loose or cut
- Clean the wire if it is dirty or corroded
Maintenance Tips For Battery Terminals
Battery terminals need regular care to work well. Proper maintenance helps your battery last longer.
Keeping terminals clean and secure prevents problems like poor connections and power loss.
Preventing Corrosion
Corrosion can damage battery terminals and reduce power flow. It looks like a white or green powder.
To stop corrosion, clean terminals regularly and use protective sprays or grease made for batteries.
- Wear gloves to protect your hands
- Disconnect the battery before cleaning
- Use a mixture of baking soda and water to clean corrosion
- Dry terminals fully before reconnecting
- Apply a thin layer of petroleum jelly or anti-corrosion spray
Regular Inspection
Check battery terminals often to catch problems early. Look for signs of corrosion or loose connections.
Inspecting helps you find cracks, broken wires, or worn terminals that need fixing or replacing.
- Look for discoloration or powder on terminals
- Make sure connections are tight and secure
- Check cables for damage or fraying
- Test battery voltage if possible
- Schedule inspections every few months

Credit: www.youtube.com
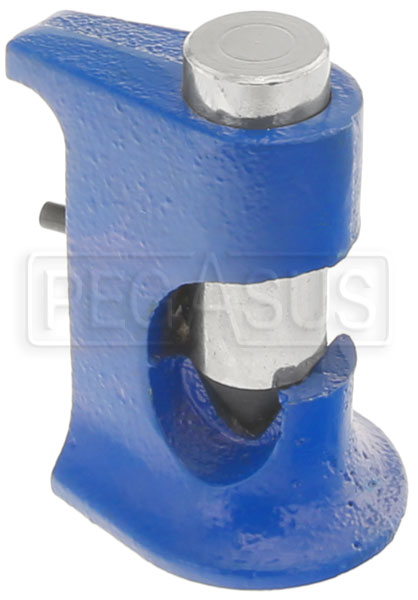
Credit: www.pegasusautoracing.com
Frequently Asked Questions
What Tools Do I Need To Crimp Battery Terminals?
To crimp battery terminals, you need a wire stripper, crimping tool, and the correct battery terminals. Make sure the tools match the wire gauge for a secure connection.
How Do I Prepare Wires Before Crimping Terminals?
Strip about 1/4 inch of insulation off the wire end. Ensure the wire strands are twisted tightly to fit snugly inside the terminal before crimping.
What Is The Correct Way To Crimp Battery Terminals?
Insert the stripped wire into the terminal barrel. Use the crimping tool to firmly compress the barrel until the wire is securely held.
Can I Reuse Crimped Battery Terminals?
It’s best not to reuse crimped terminals. Re-crimping weakens the connection and may cause electrical issues or corrosion over time.
Conclusion
Crimping battery terminals can be easy with practice. Always use the right tools. Ensure a secure connection by checking your work. A snug fit prevents electrical issues. This simple task boosts battery performance. It also extends battery life. Remember safety first.
Wear gloves and safety glasses. Proper crimping saves time and money. Your car or device will work better. Share these tips with others. Empower them to do it themselves. Safe and efficient. That’s the goal. Keep learning and improving your skills.
Enjoy the satisfaction of doing it right.