If you want to make perfect angled cuts for your woodworking projects, learning how to cut miters with a miter saw is a must. Whether you’re building picture frames, crown molding, or furniture, clean and accurate miter cuts can make your work look professional and polished.
But if you’ve ever struggled with uneven edges or confusing angles, don’t worry—this guide will walk you through every step. By the end, you’ll feel confident using your miter saw to create sharp, precise cuts that fit together like a glove.
Ready to take your skills to the next level? Let’s dive in.

Credit: www.stumblingbearwoodcraft.com
Choosing The Right Miter Saw
Cutting miters with a miter saw requires the right tool. Picking the correct miter saw makes your cuts accurate and safe.
Many types of miter saws exist. Each type suits different tasks and skill levels.
Types Of Miter Saws
There are three main types of miter saws: standard, compound, and sliding compound.
Standard miter saws cut angles left and right. Compound saws tilt to cut bevels too. Sliding compound saws move forward and back for wider cuts.
- Standard Miter Saw:Good for basic angle cuts.
- Compound Miter Saw:Cuts angles and bevels.
- Sliding Compound Miter Saw:Best for wider boards and complex cuts.
Blade Selection
Choosing the right blade affects the quality of your cuts. Blades differ by size, teeth count, and material.
A blade with more teeth cuts smoother but slower. Fewer teeth cut faster but rougher. Match blade size to your saw’s capacity.
- Smaller blades fit smaller saws and cut thinner materials.
- Carbide-tipped blades last longer and cut harder materials.
- Fine-tooth blades work well on finish wood.
Safety Features
Safety features protect you while cutting miters. Look for saws with blade guards and electric brakes.
Some saws have clamps to hold wood steady. A good saw also has easy-to-use safety switches.
- Blade guard covers the blade when not cutting.
- Electric brake stops the blade quickly after release.
- Clamps keep workpieces from moving.
- Safety switches prevent accidental starts.
Credit: www.familyhandyman.com
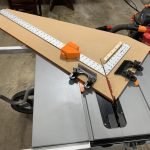
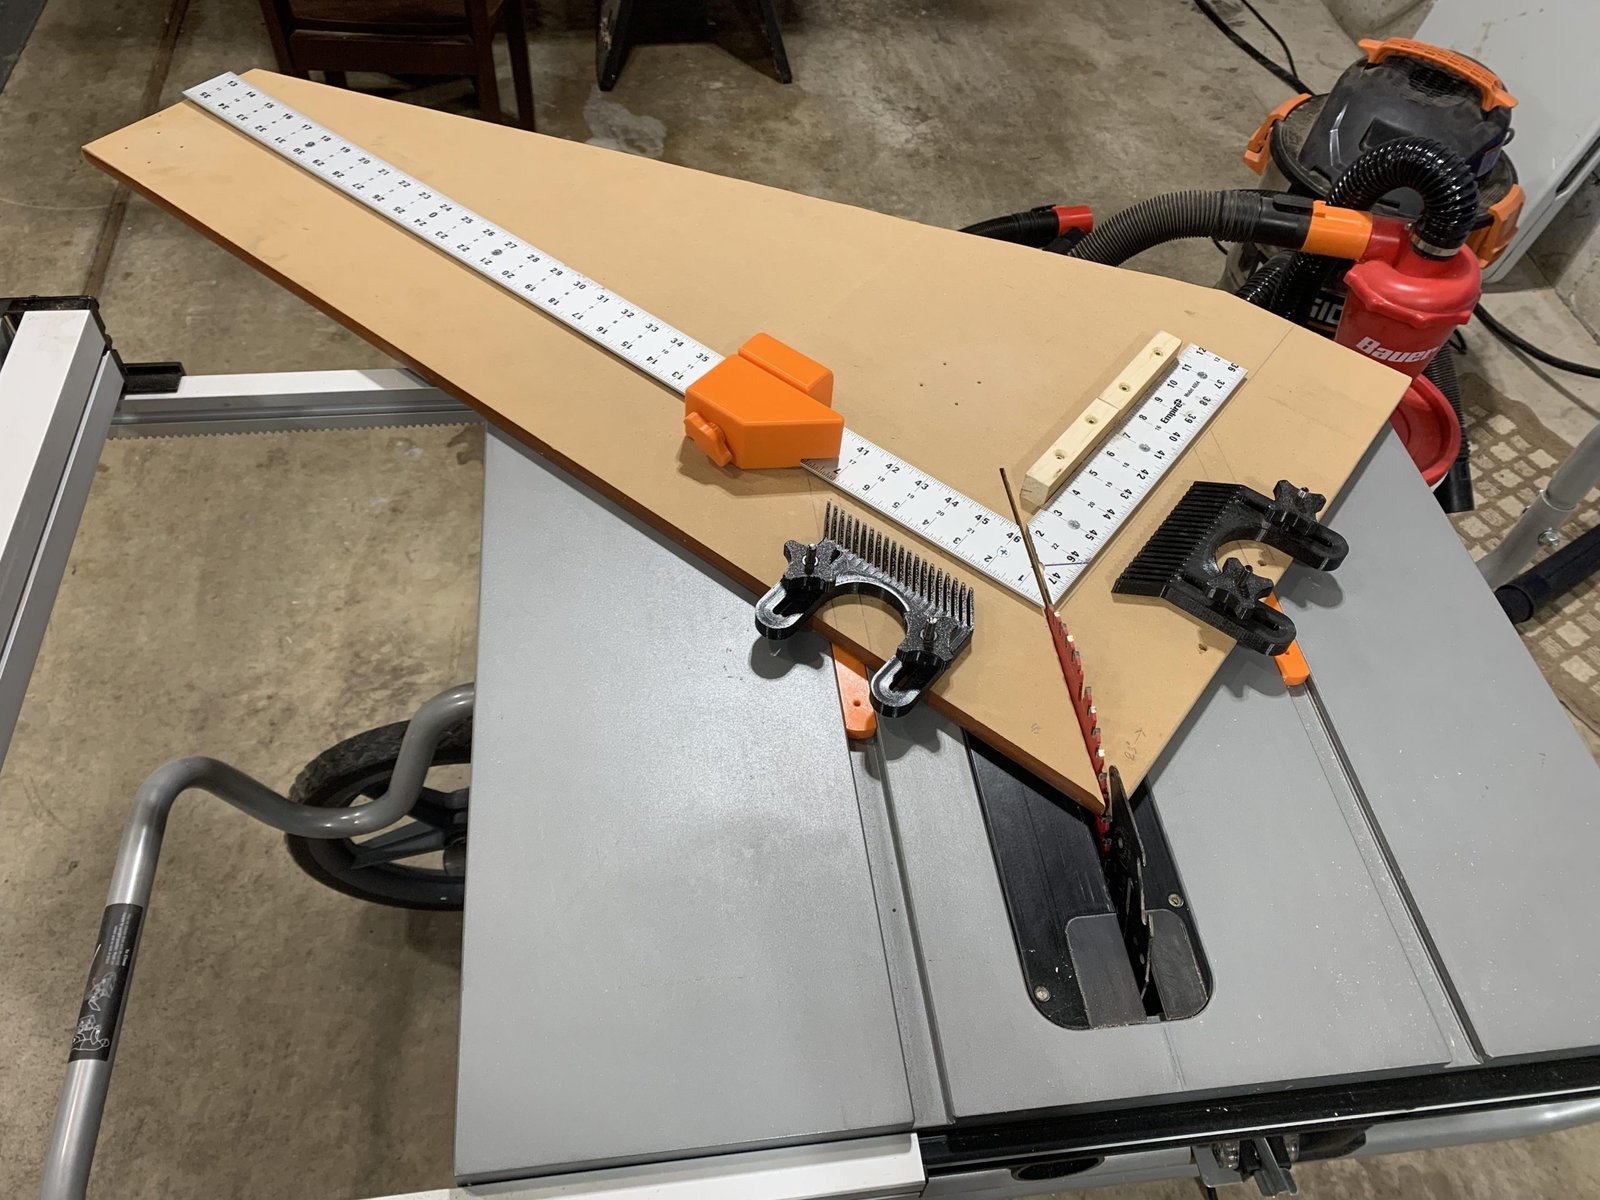
Preparing For Miter Cuts
Cutting miters with a miter saw needs careful preparation. This helps you get clean and precise cuts.
Before using the saw, check your measurements and angles. This step saves time and avoids mistakes.
Measuring Angles Accurately
Measure angles with a protractor or angle finder. Make sure the tool is set correctly for the cut.
Double-check your angle measurements before marking. Small errors can ruin your miter joint.
Marking The Workpiece
Use a sharp pencil or marking knife to mark the cut line. Clear marks help guide the saw blade.
Mark the edge where the cut will start and the angle line on the wood surface. This shows the exact cut area.
Setting The Saw Angle
Adjust the miter saw to match your measured angle. Lock the saw angle firmly to avoid movement.
Test the saw angle on a scrap piece of wood. This confirms the saw is set correctly before the final cut.
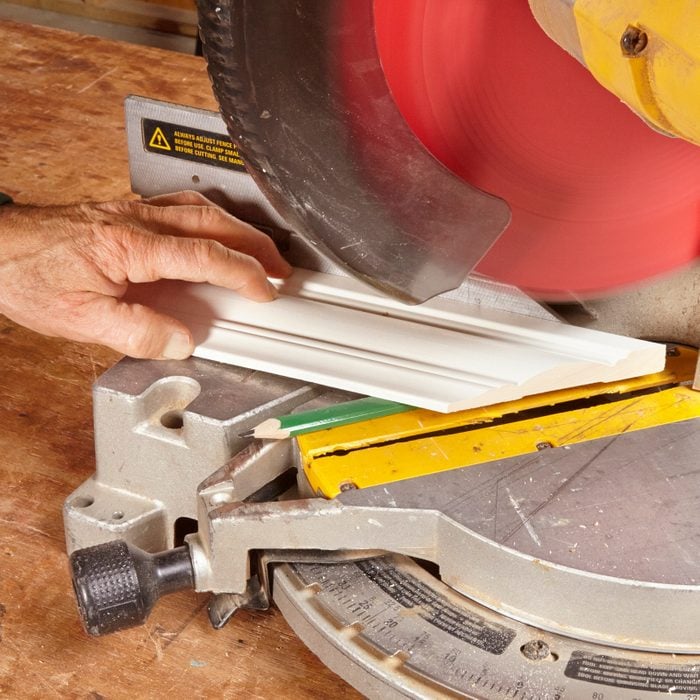
Cutting Techniques
Cutting miters with a miter saw takes careful handling. Using the right techniques helps you get clean and accurate cuts.
This guide covers key tips on positioning the material, making smooth cuts, and working with different materials.
Positioning The Material
Place the material firmly against the saw fence. This keeps the wood stable during the cut. Check that the piece is flat on the base of the saw.
- Use clamps if the material is small or thin.
- Align the cut mark with the saw blade.
- Ensure the material does not move when cutting.
- Keep your hands clear of the blade path.
Executing Smooth Cuts
Start the saw before touching the wood. Lower the blade slowly and steadily through the material. This prevents chipping and splintering.
| Tip | Reason |
| Use a fine-tooth blade | Gives cleaner edges |
| Cut at a steady speed | Prevents rough cuts |
| Do not force the blade | Protects the motor and blade |
| Let the saw stop before raising | Avoids damaging the cut edge |
Dealing With Different Materials
Different materials need different approaches. Wood, plastic, and metal all cut differently with a miter saw.
Material Tips:
- Wood:Use a blade made for wood. Cut slowly for hardwoods.
- Plastic:Use a fine blade. Support the piece well to avoid cracking.
- Metal:Use a metal-cutting blade. Wear safety gear and cut slowly.
Common Mistakes To Avoid
Cutting miters with a miter saw needs careful attention. Small errors can ruin your work.
Knowing what mistakes to avoid helps you get clean and accurate cuts every time.
Incorrect Angle Settings
Setting the wrong angle on the miter saw leads to poor fitting corners. The saw must match your cut angle.
Always double-check the angle before cutting. Adjust the saw carefully to the exact degree needed.
- Verify the saw’s angle gauge before each cut
- Use a protractor to confirm angles if unsure
- Remember that 45 degrees is common, but not always correct
Improper Clamping
Not securing the wood tightly causes movement during the cut. This leads to uneven or dangerous cuts.
Use clamps or hold the material firmly against the saw’s fence. This keeps the wood steady and safe.
- Check clamps are tight but not damaging the wood
- Place clamps where they do not block the saw blade
- Hold smaller pieces firmly if clamps cannot be used
Rushing The Cut
Cutting too fast lowers accuracy and increases the risk of kickback or splintering.
Take your time. Let the saw do the work without forcing the blade through the wood.
- Start the saw before touching the wood
- Cut slowly and steadily through the material
- Wait for the blade to stop before removing the piece
Finishing And Checking Cuts
After cutting miters with a miter saw, it is important to finish and check your cuts carefully. This ensures the joints fit well and look clean. Proper finishing helps your project appear professional and strong.
Take your time to sand, verify angles, and fit pieces before assembly. These steps prevent gaps and weak joints in your work.
Sanding Miter Joints
Sanding the miter joints smooths out rough edges and removes small imperfections. Use fine-grit sandpaper to avoid changing the angle of the cut.
- Sand lightly along the cut edges
- Focus on areas that feel rough or uneven
- Avoid sanding too much to keep the angle accurate
- Use a sanding block for flat and even pressure
Verifying Angle Accuracy
Check your miter angles to make sure they match the desired angle. Use a protractor or angle gauge to measure the cut. Accurate angles lead to tight joints and better fitting pieces.
| Tool | Purpose | How to Use |
|---|---|---|
| Protractor | Measures angle between two edges | Place on joint and read angle scale |
| Angle Gauge | Checks exact cut angle | Set gauge on cut surface for reading |
| Square | Confirms 90-degree cuts | Align against joint edges |
Fitting And Assembly Tips
Try fitting the mitered pieces before gluing or nailing. Small adjustments can improve the joint fit and overall look.
- Dry fit all pieces to check alignment
- Use clamps to hold joints firmly during fitting
- Fill small gaps with wood filler if needed
- Apply glue evenly and wipe excess before assembly
Advanced Tips For Complex Angles
Cutting miters with a miter saw can be tricky with complex angles. You need precise adjustments to get clean joints.
These tips help you handle advanced cuts with accuracy and confidence. They cover compound miters, jigs, and custom angles.
Compound Miters
Compound miters combine two angles: bevel and miter. This lets you cut angled edges on two planes at once.
Use the saw’s bevel and miter adjustments together. This creates perfect joints for crown molding and trim.
- Set the bevel angle by tilting the saw blade.
- Adjust the miter angle by rotating the saw base.
- Double-check angles before cutting for accuracy.
Using Jigs And Guides
Jigs and guides help hold your workpiece steady. They improve safety and repeatability for complex cuts.
Build or buy simple jigs for angled cuts. Use clamps to keep wood from moving during the cut.
- Use stop blocks for consistent length cuts.
- Angle guides help hold wood at the right tilt.
- Custom jigs can fit unusual shapes or sizes.
Custom Angle Adjustments
Sometimes you need angles not marked on the saw. Measure the angle with a protractor or angle finder.
Use the saw’s scale to set the closest angle. Fine-tune by making test cuts on scrap wood first.
- Mark the angle on the saw with tape for quick reference.
- Make small adjustments if the first cut is off.
- Record settings for future projects with the same angle.

Credit: www.youtube.com
Frequently Asked Questions
What Is The Best Way To Cut Miters With A Miter Saw?
The best way to cut miters is to set the saw angle precisely. Use the miter gauge to adjust the angle, secure the workpiece firmly, and make a smooth, controlled cut for accurate results.
How Do I Ensure Accurate Miter Cuts Every Time?
To ensure accuracy, measure twice and set the miter angle correctly. Clamp the material securely and use a sharp blade. Test cuts on scrap wood help verify settings before cutting your project piece.
Can I Cut Different Angles With A Miter Saw?
Yes, a miter saw can cut various angles. Most saws allow adjustments from 0 to 45 degrees or more. This flexibility helps create perfect corners for frames, moldings, and other angled cuts.
What Safety Tips Should I Follow When Using A Miter Saw?
Always wear safety glasses and keep hands away from the blade. Secure your workpiece firmly and never remove safety guards. Follow the manufacturer’s instructions to prevent accidents while cutting miters.
Conclusion
Cutting miters with a miter saw is easier with practice. Remember to measure carefully. Double-check your angles for accuracy. Use the right blade for the material. Safety should always come first. Keep your hands clear of the blade. Clean cuts depend on a steady hand and sharp tools.
Practice will improve your skills. Soon, you’ll create perfect miters effortlessly. Enjoy the process. Happy cutting!