Are you tired of miter cuts that just don’t fit right? Whether you’re working on a picture frame, crown molding, or any trim project, cutting miters with accuracy is key to a professional look.
Imagine your pieces joining perfectly every time, no gaps, no frustration. You’ll discover simple tips and tricks that will help you master miter cuts quickly and easily. Ready to take your woodworking skills to the next level? Keep reading—you’re about to unlock the secrets to flawless miters.
Choosing The Right Tools
Cutting miters accurately needs the right tools. Using the proper equipment helps you make clean and precise cuts.
This guide covers types of miter saws, essential accessories, and how to keep your tools in top shape.
Types Of Miter Saws
Miter saws come in different types. Each type suits different jobs and skill levels.
- Standard Miter Saw:Good for simple angle cuts.
- Compound Miter Saw:Can tilt to cut bevels and miters.
- Sliding Compound Miter Saw:Has a sliding arm for wider boards.
- Laser Guide Miter Saw:Includes a laser for better cut alignment.
Essential Accessories
Using the right accessories improves the accuracy of your miter cuts and safety.
| Accessory | Purpose |
| Clamps | Hold wood securely to avoid movement |
| Extension Wings | Support longer boards for stability |
| Stop Blocks | Make repeated cuts to the same length easy |
| Blade Guards | Protect you from the spinning blade |
| Dust Collection Bag | Keep the work area clean and improve visibility |
Tool Maintenance Tips
Well-maintained tools cut better and last longer. Regular care keeps your saw sharp and safe.
- Keep the blade clean from pitch and resin build-up.
- Check blade sharpness and replace dull blades.
- Lubricate moving parts according to the manual.
- Inspect the power cord and plugs for damage.
- Store the saw in a dry place to prevent rust.

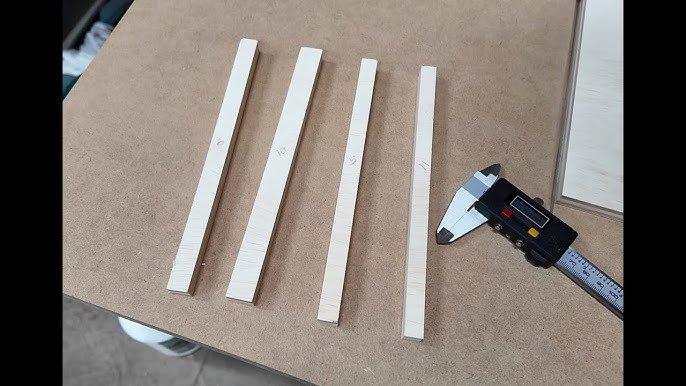
Credit: www.reddit.com
Preparing Your Workspace
Cutting miters accurately needs a good workspace. A clean and organized area helps you work better.
Preparing your workspace before cutting saves time and reduces mistakes. Let’s look at key steps.
Setting Up A Stable Surface
Use a flat and strong surface to cut miters. This keeps your wood steady and safe.
A stable surface stops the wood from moving. This helps you cut clean and straight edges.
- Choose a workbench or sturdy table
- Check if the surface is level
- Secure wood with clamps to prevent slipping
Lighting And Visibility
Good lighting helps you see the cut lines clearly. This lowers the chance of mistakes.
Use bright lights or daylight bulbs. Avoid shadows on your cutting area for better view.
- Position lamps to shine directly on the work surface
- Use extra light if your workspace is dark
- Keep your glasses or safety goggles clean
Safety Precautions
Safety is very important when cutting miters. Prepare your workspace to avoid accidents.
Wear safety gear and keep the area clear of clutter. Always check your tools before use.
- Wear safety glasses and ear protection
- Keep fingers away from the blade
- Clear the floor of any tripping hazards
- Check that tools work properly before starting
Measuring And Marking Angles
Cutting miters with accuracy depends on proper measuring and marking. Clear angles help you make precise cuts. Using the right tools is important to get the job done well.
This guide explains how to measure and mark angles correctly for miters. Follow these tips to improve your woodworking projects.
Using A Protractor
A protractor helps you measure angles quickly and accurately. Place it on the edge of your workpiece to find the exact angle needed. Make sure the base of the protractor is aligned with your work surface.
Read the degree marking carefully. Mark the angle with a sharp pencil where the protractor’s arm points. This mark guides your saw blade for a clean cut.
Marking Guidelines Clearly
- Use a sharp pencil or marking knife for clear lines.
- Draw the guideline long enough to follow with your saw.
- Mark both sides of the workpiece if needed to see the angle clearly.
- Use a square to check that your line is straight and true.
- Label your marks to avoid confusion during cutting.
Clear guidelines reduce mistakes and help you keep your cuts straight. Take your time to make sure the marks are easy to see.
Double-checking Measurements
| Action | Reason |
| Measure angle twice | Catch any errors early |
| Compare marks on both sides | Ensure consistency |
| Use a digital angle finder if available | Increase accuracy |
| Check tools for calibration | Prevent wrong readings |
| Ask someone to verify your marks | Get a second opinion |
Double-checking your measurements saves material and time. It helps avoid cutting mistakes that are hard to fix later.
Cutting Techniques For Accuracy
Cutting miters with accuracy requires careful attention to your tools and technique. Small mistakes can cause gaps or uneven angles. This guide covers key tips to improve your cutting skills.
Focus on saw positioning, control your cutting speed, and learn to avoid common errors. These factors help you create clean, precise miter joints every time.
Proper Saw Positioning
Place your saw at the correct angle before cutting. Align the blade with your mark and keep your body steady. A firm grip helps maintain control and accuracy.
Check that the workpiece is secure and will not move during the cut. Use clamps if needed. This prevents shifting that can ruin the angle.
Controlling The Cutting Speed
Cut at a steady, moderate speed to avoid splintering or rough edges. Too fast can cause mistakes; too slow may burn the wood or wear the blade.
- Start the cut gently to guide the blade.
- Keep a smooth, even pace through the cut.
- Do not force the saw; let the blade do the work.
- Pause briefly if the blade binds or sticks.
- Finish the cut carefully to maintain a clean edge.
Avoiding Common Mistakes
| Mistake | Cause | Solution |
|---|---|---|
| Blade misalignment | Improper saw setup or loose fence | Check blade angle and tighten all adjustments |
| Uneven pressure | Forcing saw or uneven hand grip | Apply steady, balanced pressure with both hands |
| Workpiece movement | No clamps or unstable surface | Secure workpiece firmly before cutting |
| Wrong angle setting | Incorrect miter gauge or saw angle | Double-check angle settings before cutting |
Checking And Adjusting Cuts
Cutting miters accurately is key for a clean, professional look. Checking your cuts early helps avoid mistakes.
Adjusting your work after the first cut improves fit and finish. Use the right tools for best results.
Using A Square For Verification
A square tool confirms if your miter cut is exactly 45 degrees. Place it inside the joint to see any gaps.
Check both sides of the cut. If the square doesn’t sit flush, your angle needs correction.
Making Fine Adjustments
Small changes can fix imperfect miters. Use these methods to adjust your cuts gently.
- Re-mark the cut line clearly for guidance.
- Use a fine-tooth saw to trim the edge carefully.
- Check the fit again with your square or by dry-fitting pieces.
- Repeat trimming if needed, but remove very little material each time.
Sanding And Finishing Edges
Sanding smooths out tiny gaps and roughness on miter edges. Use a sanding block for control.
| Grit Size | Purpose |
| 120 | Remove rough saw marks |
| 180 | Smooth edges for fitting |
| 220 | Prepare for finishing |
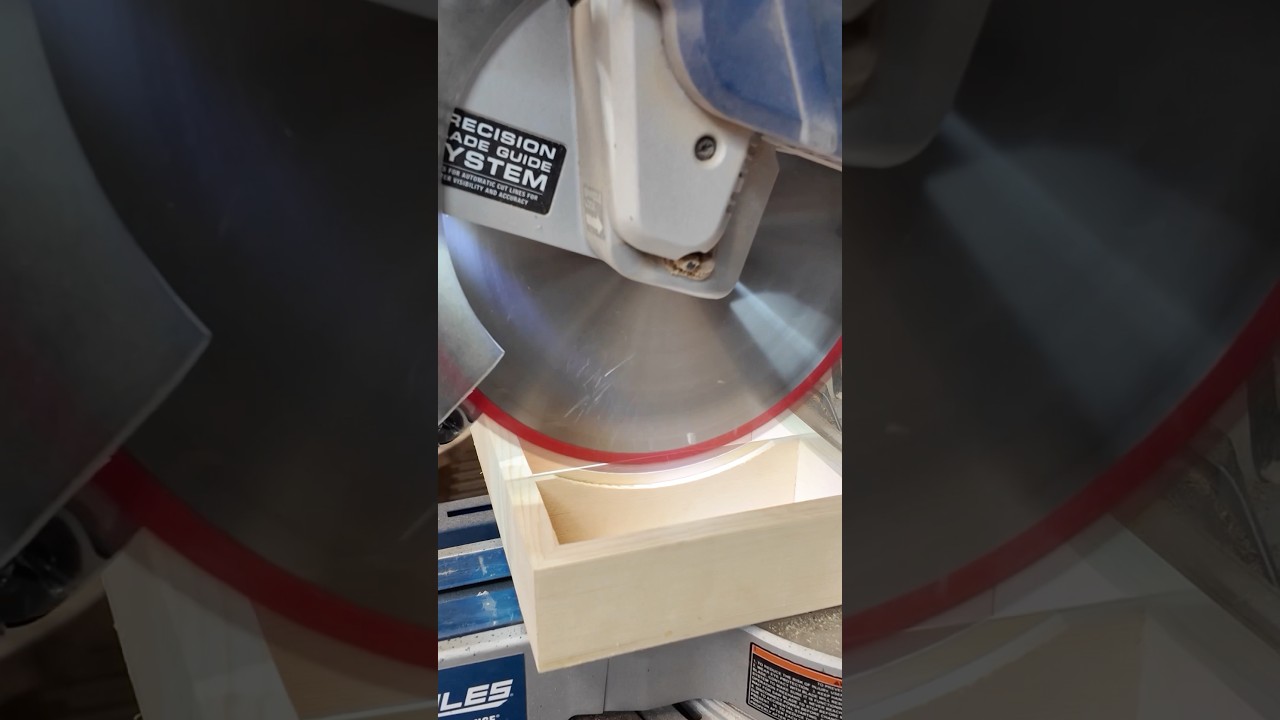
Credit: www.youtube.com
Tips From Experts
Cutting miters with accuracy is important for clean and precise joints. Experts share simple tips to help you improve your cuts.
Using the right tools and techniques can make your miter cuts sharp and consistent every time.
Common Challenges And Solutions
Many people find it hard to get perfect angle cuts. Small mistakes cause gaps and weak joints.
One challenge is setting the saw angle correctly. Use a protractor or angle gauge to check your settings.
- Check the saw blade for sharpness to avoid rough cuts
- Use clamps to hold the wood steady while cutting
- Make test cuts on scrap wood before the final cut
- Mark your cut lines clearly with a pencil
Time-saving Hacks
Experts suggest preparing all your tools and materials before cutting. This saves time and reduces errors.
Setting stops on your miter saw helps make repeated cuts faster and more accurate.
- Measure twice, cut once to avoid mistakes
- Use a miter saw stop block for repeated cuts
- Keep your workspace clean and organized
- Use a clamp or jig to hold pieces steady
Maintaining Consistency
Consistent miter cuts create neat joints and strong frames. Experts advise using guides and templates for uniform cuts.
Always check your saw’s calibration and keep your blade clean for best results.
- Use a stop block or fence to keep length consistent
- Label your pieces to avoid confusion
- Inspect your saw angle settings before each cut
- Practice on scrap wood to improve your technique

Credit: engineerwarehouse.com
Frequently Asked Questions
How Do I Measure Angles For Accurate Miters?
Use a protractor or angle finder to measure the exact angle. Mark the wood clearly before cutting. Accurate measurement ensures precise miter joints and clean finishes.
What Tools Are Best For Cutting Miters Precisely?
A miter saw or a miter box with a handsaw offers the best precision. Use sharp blades and stable setups for clean cuts every time.
How Can I Ensure My Miter Saw Is Correctly Aligned?
Check the saw’s fence and blade alignment regularly. Use a square to verify the blade is at the correct angle. Proper alignment prevents uneven or inaccurate cuts.
What Common Mistakes Cause Inaccurate Miter Cuts?
Misreading angles, dull blades, and unstable workpieces often cause errors. Always double-check measurements, maintain tools, and secure wood before cutting.
Conclusion
Achieving precise miters requires patience and practice. Start with quality tools. Measure twice before cutting to avoid mistakes. Consistency is key for accuracy. Use a miter saw for clean cuts. Check angles with a protractor to ensure exactness. Adjust as necessary to fit snugly.
Sand edges smoothly for a perfect finish. These steps help in crafting seamless miters. Remember, practice improves skills over time. Each project will boost your confidence. Enjoy the process and take pride in your work. With dedication, cutting miters accurately becomes second nature.
Your woodworking projects will shine with precision and care.
