Are you ready to transform your bathroom into a personal oasis? Installing a new shower supply line might seem daunting, but it’s a simple task with the right guidance.
Imagine enjoying a refreshing shower with improved water flow and efficiency. You don’t need to be a professional plumber to make this happen. This step-by-step guide will empower you to tackle this project with confidence. Whether you’re looking to upgrade your current setup or fix a pesky leak, understanding how to install a shower supply line can save you time and money.
Dive in, and discover how you can enhance your shower experience with just a few tools and a bit of know-how. Curious? Let’s get started!

Credit: www.vevor.com
Tools And Materials Needed
Installing a shower supply line requires specific tools and materials. Having the right items makes the job easier and safer.
This guide covers the essential tools, how to pick the right supply line, and extra supplies you might need.
Essential Tools
You need some basic tools to install a shower supply line properly. These tools help you measure, cut, and connect pipes.
- Adjustable wrench for tightening fittings
- Pipe cutter to cut supply lines cleanly
- Measuring tape to measure pipe lengths
- Pipe wrench for gripping and turning pipes
- Plumber’s tape to seal threaded connections
- Bucket to catch water during installation
- Safety gloves to protect your hands
- Flashlight if the work area is dark
Choosing The Right Supply Line
Pick a supply line that fits your shower’s plumbing and water pressure. The size and material matter most.
Common materials include braided stainless steel and reinforced plastic. Stainless steel lasts longer and resists leaks better.
- 1/2 inch diameter is standard for most showers
- Flexible lines are easier to install in tight spaces
- Check for certifications to ensure quality
- Length should reach from water source to shower valve
Additional Supplies
Besides tools and the supply line, you need some extra items to finish the job well. These help prevent leaks and protect your plumbing.
- Pipe joint compound or thread sealant for tight seals
- Teflon tape to wrap pipe threads
- Replacement washers for fittings
- Rags or towels to clean spills
- Bucket to catch any water during work
- Pipe clamps if securing the supply line is needed
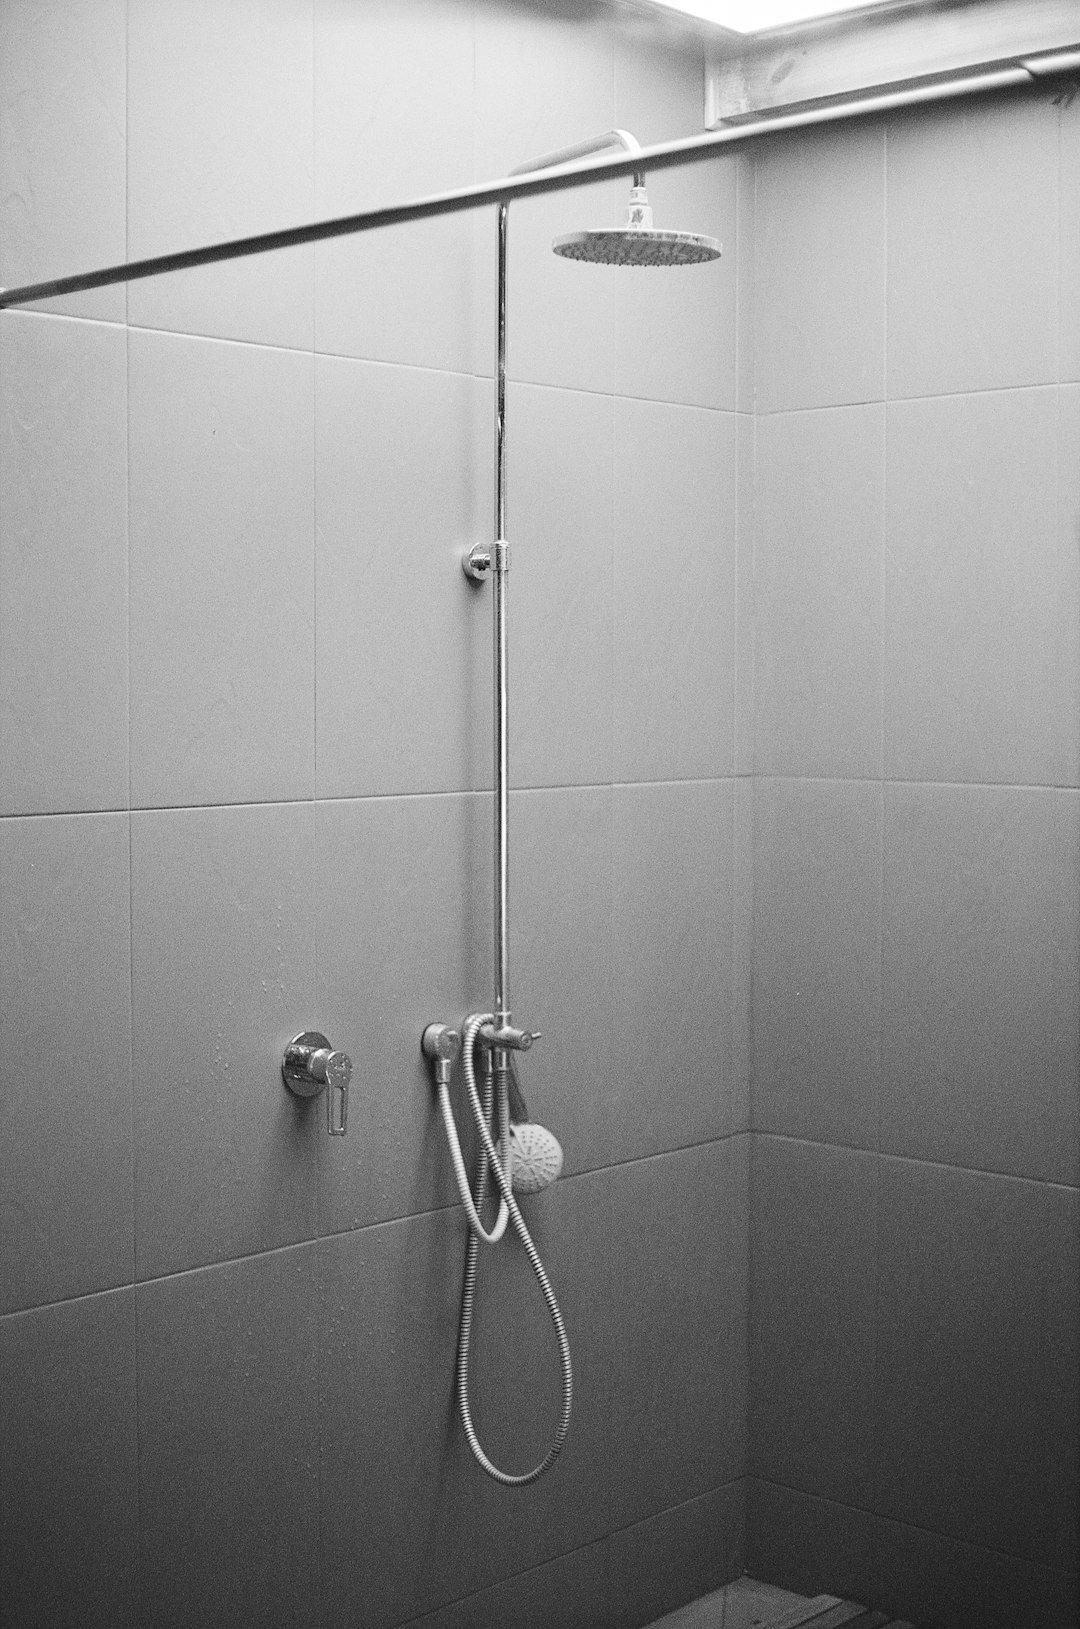
Credit: www.youtube.com
Preparing The Work Area
Installing a shower supply line needs a clean and safe work area. Proper preparation helps avoid accidents and delays.
Follow these steps to get your space ready before starting the installation.
Shutting Off Water Supply
First, turn off the main water supply to prevent leaks. This step is crucial to keep water from flowing while you work.
Locate your home’s water shutoff valve. If you don’t know where it is, check near the water meter or where the main pipe enters your house.
Clearing The Space
Remove anything that could block your work area. This includes shower curtains, personal items, and furniture nearby.
- Take out rugs and mats from the bathroom floor.
- Clear the countertop and shelves near the shower.
- Move any tools or cleaning supplies away from the area.
- Make sure the floor is dry and free of debris.
Gathering Safety Gear
Wear the right safety gear to protect yourself during the installation. This helps prevent injuries and keeps you comfortable.
| Safety Gear | Purpose |
|---|---|
| Gloves | Protect hands from sharp edges and dirt |
| Safety Glasses | Shield eyes from dust and splashes |
| Knee Pads | Comfort when kneeling on hard surfaces |
| Mask | Prevent inhaling dust or fumes |
Removing The Old Supply Line
Removing an old shower supply line is an important step before installing a new one. It helps prevent leaks and ensures a good fit for the new line.
Take your time to remove the old parts carefully. This way, you avoid damage to the pipes and connections.
Detaching Fixtures
First, turn off the water supply to the shower. Then, use a wrench to loosen the nuts holding the supply line to the fixtures. Be gentle to avoid breaking the fixtures.
If the fixtures are tight, try applying some penetrating oil. Let it sit for a few minutes before trying again.
Handling Old Pipes
Old pipes may be rusty or stuck. Use a pipe wrench to grip and turn them slowly. Avoid forcing the pipes as this can cause damage.
If pipes are very corroded, you might need to cut them carefully with a pipe cutter. Make sure to wear safety glasses during this step.
Cleaning Connection Points
After removing the old supply line, clean the connection points well. Remove old tape, sealant, and dirt to ensure a tight seal for the new line.
- Use a wire brush to clean metal threads
- Wipe with a clean cloth to remove debris
- Check for damage or corrosion at connections
Installing The New Supply Line
Installing a new shower supply line is a key step in bathroom plumbing. Doing it right ensures a steady water flow and avoids leaks.
This guide covers measuring and cutting the pipe, connecting it to your water source, and securing the line safely.
Measuring And Cutting
Measure the distance from the water source to the shower valve carefully. Use a tape measure for accuracy.
Cut the supply line pipe to the exact length using a pipe cutter or hacksaw. Make sure the edges are smooth.
- Wear gloves to protect your hands while cutting.
- Double-check measurements before making cuts.
- Remove any burrs on the pipe ends to prevent leaks.
Connecting To Water Source
Turn off the main water supply before starting the connection. This stops water flow and keeps the area dry.
Attach the supply line to the water source fitting. Use plumber’s tape on threads to create a tight seal.
- Wrap plumber’s tape clockwise around the pipe threads.
- Push the supply line fitting onto the water source pipe.
- Tighten the connection with a wrench without over-tightening.
Securing The Line
Secure the supply line to the wall or studs to prevent movement. Use pipe clamps or brackets for support.
| Tool | Purpose |
|---|---|
| Pipe clamps | Hold pipe firmly to wall |
| Screws | Fix clamps to studs |
| Drill | Make holes for screws |
Place clamps every 12 to 18 inches along the pipe. Check that the line is straight and stable.
Testing For Leaks
Testing for leaks is key after installing a shower supply line. It helps you avoid water damage and wasted water.
Check all connections and joints carefully before finishing the job. Small leaks can cause big problems later.
Turning Water Back On
Slowly turn the main water valve back on to restore water flow to the shower supply line. Watch the pressure as water fills the pipes.
Keep an eye on the supply line for any immediate leaks or dripping. If you notice water leaking, turn the valve off right away.
Inspecting Joints
Look closely at every joint and connection on the shower supply line. Use a dry cloth to check for moisture or small drips.
- Check the compression fittings for tightness.
- Inspect threaded connections for water seepage.
- Look for cracks or damage in the pipe or fittings.
- Use a flashlight to see hard-to-reach areas clearly.
Fixing Minor Issues
If you find small leaks, try tightening the fittings gently with a wrench. Avoid overtightening, which can cause damage.
| Issue | Possible Fix |
| Loose compression nut | Tighten with wrench |
| Threaded joint leak | Apply plumber’s tape and retighten |
| Cracked pipe | Replace damaged section |
| Drip at valve | Check valve washer and replace if needed |
Maintenance Tips
Keeping your shower supply line in good shape helps avoid leaks and water damage. Regular care extends the life of your plumbing.
Follow simple maintenance steps to ensure your shower supply line works well for years.
Regular Inspections
Check your shower supply line often for signs of damage or leaks. Look under the sink and behind the shower panel.
Early detection helps prevent big problems and costly repairs.
- Look for wet spots or drips
- Feel for corrosion or rust
- Check for loose connections or fittings
- Listen for unusual water sounds
Preventing Corrosion
Corrosion can weaken metal supply lines and cause leaks. Keep your pipes dry and clean to stop corrosion.
Use anti-corrosion tape or coatings if needed. Avoid harsh chemicals that damage pipes.
- Dry pipes after water exposure
- Apply anti-corrosion tape on metal threads
- Use gentle cleaning products
- Ensure good ventilation in the bathroom
When To Replace
Replace your shower supply line if you see cracks, leaks, or heavy rust. Old pipes may fail suddenly.
Replace supply lines every 5 to 7 years or as recommended by the manufacturer.
- Visible leaks or water stains
- Cracks or brittleness in tubing
- Rust or corrosion on metal parts
- Reduced water pressure or flow

Credit: lorenzettisa.com
Frequently Asked Questions
What Tools Are Needed To Install A Shower Supply Line?
You need a pipe cutter, adjustable wrench, Teflon tape, pipe fittings, and a drill. These tools ensure a secure and leak-free installation.
How Long Does It Take To Install A Shower Supply Line?
Installation typically takes 1 to 2 hours, depending on plumbing complexity. Proper preparation and following instructions speed up the process.
Can I Install A Shower Supply Line Myself?
Yes, with basic plumbing skills and proper tools, DIY installation is possible. Follow safety guidelines and local plumbing codes carefully.
What Materials Are Best For Shower Supply Lines?
Copper, PEX, and CPVC pipes are common. Choose based on durability, cost, and compatibility with your existing plumbing system.
Conclusion
Installing a shower supply line is simple with the right steps. Take your time and follow each part carefully. Use the proper tools and check for leaks after finishing. A well-installed line helps water flow smoothly and avoids damage. This small task can save money on repairs later.
Anyone can do it with patience and care. Keep safety in mind and turn off water before starting. Now, you have the confidence to install your shower supply line yourself.