
If you own a belt sander, you know how powerful and useful it can be for your projects. But without proper care, your sander can quickly lose its edge and performance.
You might feel frustrated when your tool doesn’t work like it used to or breaks down unexpectedly. What if you could keep your belt sander running smoothly, save money on repairs, and finish your work faster? In this guide, you’ll discover simple, effective ways to maintain your belt sander so it stays reliable and ready whenever you need it.
Keep reading, and you’ll learn how a little attention today can save you a lot of hassle tomorrow.
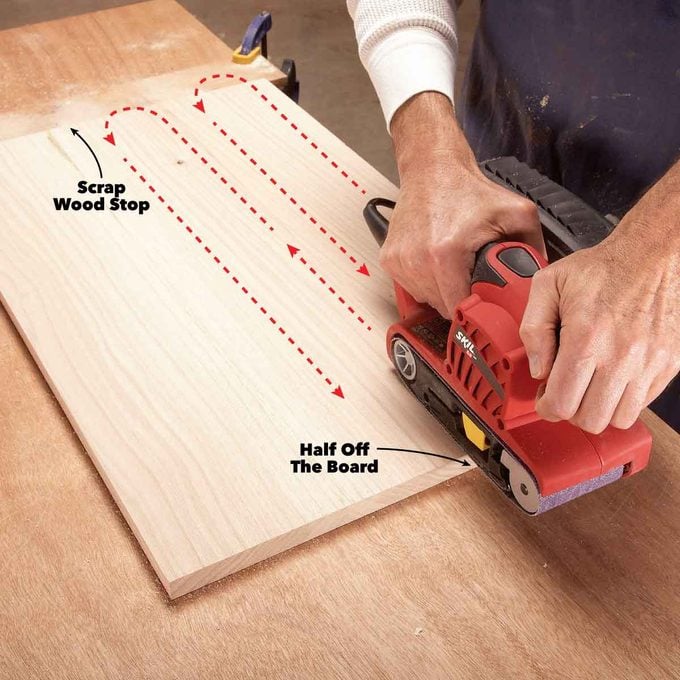
Credit: www.familyhandyman.com
Choosing The Right Belt Sander
Choosing the right belt sander helps you do your sanding tasks well. The correct tool saves time and gives smooth results.
You should know about different types, grit sizes, power, and speed to pick the best sander for your needs.
Types Of Belt Sanders
Belt sanders come in various types based on size and use. Some are handheld, and others are stationary.
- Handheld Belt Sanders:Easy to move, good for small jobs and edges.
- Stationary Belt Sanders:Fixed in place, great for heavy-duty sanding and shaping.
- Portable Belt Sanders:Lightweight and good for quick sanding tasks on the go.
Selecting The Suitable Grit
The grit size of the sanding belt decides how rough or smooth the finish will be. Lower grit means rough sanding.
Choose grit based on your project needs to get the best sanding result without damaging the surface.
- Coarse Grit (40-60):Removes lots of material fast.
- Medium Grit (80-120):Good for smoothing surfaces.
- Fine Grit (150+):Used for finishing and polishing.
Power And Speed Considerations
Power and speed affect how well the belt sander works on different materials. Higher power helps with tough jobs.
Variable speed controls let you adjust the sanding speed for better control and finish quality.
- Higher power means faster sanding and better for hard materials.
- Lower power suits light sanding and delicate surfaces.
- Variable speed helps avoid damage and improves precision.

Credit: www.safetyandhealthmagazine.com
Daily Cleaning Practices
Cleaning your belt sander every day keeps it working well. Dirt and dust can cause damage if not removed.
Simple cleaning steps help extend the life of the tool and improve safety during use.
Removing Dust And Debris
After each use, remove dust and debris from the sander. Use a soft brush or cloth to wipe off loose particles.
Check the vents and motor area to clear any buildup that can block airflow and cause overheating.
- Turn off and unplug the sander before cleaning
- Use a small brush to clean tight spots
- Wipe down the outside with a dry cloth
Cleaning The Belt Surface
Keep the sanding belt clean to improve sanding results. Remove stuck-on materials with a belt cleaning stick.
Press the cleaning stick gently against the moving belt to lift debris without damaging it.
- Use the right cleaning stick for your belt type
- Clean the belt regularly during long jobs
- Replace the belt if it is worn or damaged
Using Compressed Air Safely
Compressed air helps remove dust from inside the sander. Use it carefully to avoid damage or injury.
Hold the nozzle at a safe distance and use short bursts of air to blow out dust without pushing it deeper.
- Wear eye protection before using compressed air
- Keep the air pressure low to prevent damage
- Do not point air at yourself or others
Belt Replacement Tips
Belt sanders need regular maintenance to work well. Replacing the belt at the right time keeps the tool safe and effective.
This guide helps you know when and how to replace the belt on your sander.
Signs It’s Time To Replace
Watch for these signs to know when the belt needs changing. Using a worn belt can damage your work and the tool.
- The belt is torn or frayed on the edges
- The sanding surface is smooth and worn down
- The sander skips or slips during use
- Uneven sanding or burning marks on wood
- The belt does not stay tight or aligned
Proper Belt Installation
Turn off and unplug the sander before changing the belt. Remove the old belt carefully to avoid damage.
Fit the new belt so the arrows on the inside match the sander’s rotation. A wrong direction belt wears out fast.
- Loosen the belt tension lever or knob
- Slide the old belt off the rollers
- Place the new belt on the rollers with correct direction
- Tighten the tension to hold the belt firmly
Aligning And Tensioning The Belt
Check that the belt runs in the center of the rollers. A belt too far to one side can slip off or wear unevenly.
Adjust the tracking knob to keep the belt centered. The belt should be tight but not overly stretched.
- Start the sander at low speed to test belt position
- Turn the tracking knob slowly to center the belt
- Tighten the tension lever to secure the belt firmly
- Stop and recheck if the belt slips or moves off track
Lubrication And Moving Parts
Belt sanders have parts that move fast. These parts need care to work well. Lubrication helps keep the parts smooth and safe from damage.
Keeping moving parts clean and oiled makes the sander last longer. It also stops it from making strange noises or breaking down.
Oiling Bearings And Rollers
Bearings and rollers are key parts of a belt sander. They help the belt move smoothly. Oiling these parts keeps them from wearing out fast.
Use light machine oil for best results. Apply a few drops to each bearing and roller. Avoid using too much oil to prevent dirt buildup.
- Turn off and unplug the sander before oiling.
- Use a clean cloth to wipe old grease or dirt.
- Apply a small amount of oil to each bearing and roller.
- Spin the parts by hand to spread the oil evenly.
Avoiding Over-lubrication
Too much oil can cause problems. It can attract dust and dirt, which harms the sander. Over-lubrication can also make parts slip or jam.
Use only the amount of oil needed. Check the parts after a few uses to see if more oil is required. Keep the sander clean to avoid sticky buildup.
- Use a drop or two of oil per part.
- Wipe off any extra oil with a cloth.
- Do not oil parts that are sealed or labeled “no lubrication needed.”
- Keep the work area clean to reduce dust.
Maintenance Schedule
Regular maintenance keeps the belt sander working well. Create a schedule to check and oil moving parts. This prevents breakdowns and extends the tool’s life.
Follow these steps every few weeks or after heavy use. Adjust the schedule if you use the sander often or in dusty places.
- Inspect bearings and rollers for dryness or noise.
- Clean dust and debris from moving parts.
- Apply oil as needed to keep parts smooth.
- Check the belt tension and alignment.
- Store the sander in a dry, clean place.
Storage And Handling
Proper storage and handling help keep belt sanders in good shape. They last longer and work better when stored right.
This guide covers safe storage practices, protection from moisture and dust, and how to transport belt sanders safely.
Safe Storage Practices
Keep your belt sander in a dry, clean place away from direct sunlight. Avoid storing it near chemicals or heavy objects.
- Store on a shelf or in a toolbox to prevent falls
- Keep power cord neatly coiled to avoid damage
- Cover the sander with a cloth or plastic cover
- Ensure the sanding belt is removed or loosened
Protecting From Moisture And Dust
Moisture and dust harm the motor and belts. Use a sealed container or storage bag to keep them safe.
| Risk | Protection Method |
|---|---|
| Moisture | Use silica gel packs and airtight cases |
| Dust | Clean after use and store in dust-free area |
| Rust | Apply light machine oil on metal parts |
Transporting Without Damage
When moving your belt sander, handle it with care to avoid drops and bumps. Use padding to protect it inside a case or box.
- Unplug the sander and remove the sanding belt
- Wrap the tool in bubble wrap or thick cloth
- Place it in a sturdy box or carrying case
- Secure the sander so it does not move inside
- Carry the box with both hands to keep it steady
Troubleshooting Common Issues
Belt sanders are useful tools but can face problems during use. Fixing these issues helps keep your work smooth and safe.
This guide covers common problems with belt sanders and how to solve them quickly.
Fixing Belt Slippage
Belt slippage happens when the sanding belt moves off the rollers. This stops sanding and can damage the belt.
Check if the belt is tight enough. A loose belt often slips during use. Also, clean the rollers to remove dust or oil.
- Tighten the belt using the adjustment knob
- Clean rollers with a dry cloth
- Replace worn belts that lose grip easily
Addressing Uneven Sanding
Uneven sanding leaves rough patches on your workpiece. This may be due to a damaged belt or wrong pressure.
Make sure the belt is in good shape and fits correctly. Press the sander evenly and avoid holding it in one place too long.
- Inspect the belt for tears or worn spots
- Replace the belt if it is damaged
- Keep the sander moving steadily over the surface
Dealing With Motor Overheating
Motor overheating can stop the sander and cause damage. It often happens if the tool is used too long without breaks.
Give the motor time to cool down during long jobs. Check vents for dust and clean them to help airflow.
- Turn off the sander every 15 minutes during heavy use
- Clean air vents regularly to prevent dust buildup
- Do not block vents during operation
Safety Tips During Maintenance
Maintaining a belt sander keeps it working well and safe. Following safety tips helps prevent injuries during maintenance.
Always take care when cleaning or fixing the sander. Use the right steps to protect yourself from harm.
Using Protective Gear
Wear safety gear before starting maintenance. Protect your eyes, hands, and lungs from dust and sharp parts.
- Use safety glasses to guard your eyes.
- Wear gloves to protect your hands from cuts.
- Put on a dust mask to avoid breathing dust.
Disconnecting Power
Always unplug the belt sander before working on it. This stops the machine from turning on by accident.
Check that the power is off and the cord is unplugged. This simple step prevents serious injuries.
Handling Sharp Components
Belt sanders have sharp edges and moving parts. Handle these carefully to avoid cuts or scrapes.
- Use tools to remove or adjust blades when possible.
- Keep your fingers clear of sharp parts.
- Store sharp components safely after maintenance.

Credit: benchmarkabrasives.com
Frequently Asked Questions
How Often Should I Clean My Belt Sander?
Clean your belt sander after every use to prevent dust buildup. Regular cleaning extends the tool’s life and improves efficiency. Use a brush or compressed air to remove dust. Ensure the machine is unplugged before cleaning. Regular maintenance keeps your sander performing at its best.
What Is The Best Way To Change Sanding Belts?
To change sanding belts, first unplug the sander for safety. Release the tension lever to remove the old belt. Align the new belt with the arrows on the sander. Re-engage the tension lever to secure the belt. Ensure it’s aligned correctly before use.
How Do I Prevent Belt Sander Overheating?
Prevent overheating by not applying excessive pressure during use. Ensure the sanding belt is correctly aligned. Regularly check for dust buildup and clean accordingly. Allow the sander to cool down if it becomes too hot. Proper maintenance helps in preventing overheating.
Why Is My Belt Sander Leaving Marks?
Marks may occur due to worn or clogged belts. Check the belt for wear and replace if necessary. Ensure the belt is correctly aligned and tensioned. Clean the surface and the sander regularly to prevent debris marks. Consistent maintenance helps achieve a smooth finish.
Conclusion
Regular care keeps your belt sander working well and lasting long. Clean it after each use to stop dust build-up. Check the belt often for wear and replace it when needed. Tighten loose parts to avoid problems during work. Store your sander in a dry place to stop rust.
Small steps like these save money and time later. Keep your tool ready and safe for every job. Simple habits make a big difference in tool life. Maintenance is easy and worth the effort.