Are you ready to turn your metalworking project into a masterpiece? The secret often lies in the precision of your cuts.
But achieving that level of accuracy starts long before the saw blade hits the metal. It begins with marking your metal correctly. Imagine the frustration of cutting the wrong size or shape—wasting both time and materials. You can avoid these costly mistakes with a few simple techniques.
In this guide, we’ll show you how to mark metal for cutting with precision and confidence. By the end, you’ll have the skills to bring your vision to life with perfect cuts every time. Ready to make your metalworking projects flawless? Let’s dive in.
Choosing The Right Marking Tools
Marking metal clearly helps ensure precise cuts. Choosing the right tools makes your work easier and more accurate.
Different marking tools suit various metal types and cutting methods. Learn about common options to pick the best one.
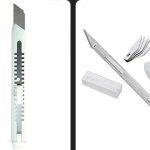
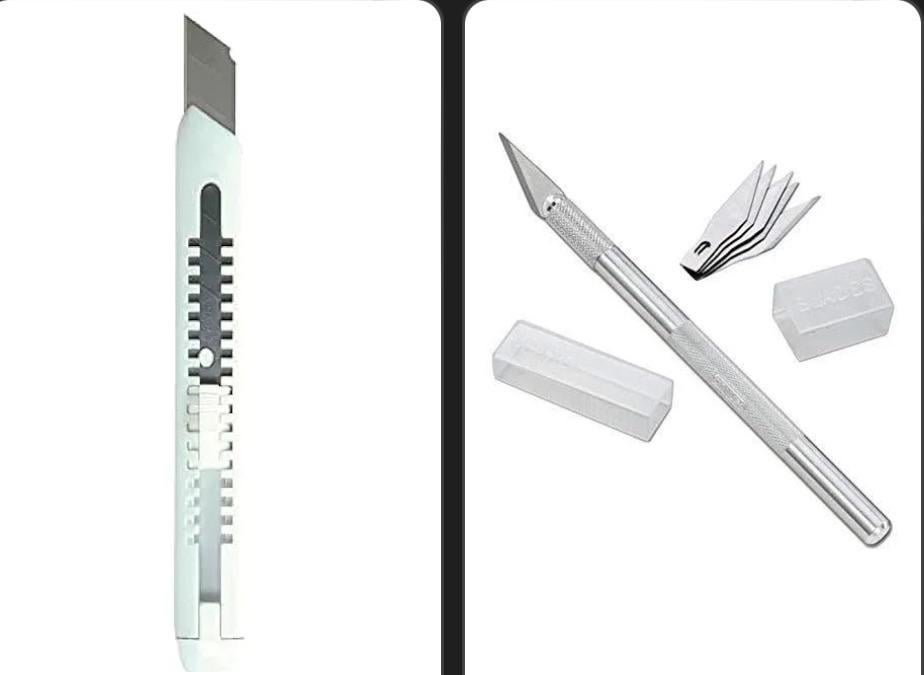
Pencils And Marking Pens
Pencils and marking pens are easy to use on metal surfaces. They create visible lines but may wear off fast on rough metal.
Use pencils with hard leads for thin, precise lines. Marking pens with oil-based ink resist smudging better on oily metals.
Scribes And Marking Knives
Scribes and marking knives scratch fine lines into metal. These marks last longer and guide cutting tools well.
- Scribes have pointed tips to scratch thin lines.
- Marking knives cut shallow grooves for clearer guides.
- Both work best on smooth and clean metal surfaces.
- They require more control but offer precise markings.
Chalk And Soapstone
Chalk and soapstone leave bright, visible marks on metal. They work well on dark or oily metals where pencil marks fade.
| Tool | Best Use | Durability |
|---|---|---|
| Chalk | Temporary marks on smooth metal | Wears off easily |
| Soapstone | Visible marks on oily or dark metal | Lasts longer than chalk |
Specialty Markers For Metal
Specialty markers use paint or ink designed for metal surfaces. They create bold, long-lasting lines that resist water and oil.
Common types include:
- Paint markers for thick, bright marks
- Permanent ink markers for fine, durable lines
- Markers with quick-dry formulas for fast work
Preparing Metal Surfaces
Marking metal for cutting needs a clean and smooth surface. This helps make clear and accurate lines. Proper surface preparation improves cutting results and safety.
Preparing metal involves cleaning, smoothing, and applying treatments. Each step ensures your markings stay visible and precise during cutting.
Cleaning And Degreasing
Remove dirt, oil, and grease from the metal. Use a degreaser or mild detergent with water. Wipe the surface with a clean cloth until dry. This step stops markings from smearing.
- Apply degreaser or soap solution.
- Scrub gently with a brush or cloth.
- Rinse with clean water.
- Dry completely before marking.
Smoothing Rough Areas
Check for rust, burrs, or rough spots on the metal. Use sandpaper or a file to smooth these areas. Smooth surfaces help markings stay clear and straight.
| Tool | Purpose |
| Sandpaper (120-220 grit) | Remove rust and smooth rough patches |
| Metal file | Shape edges and remove burrs |
| Wire brush | Clean rust and old paint |
Applying Surface Treatments
Use surface treatments to improve marking visibility. Apply a light coat of chalk or marker paint on dark or shiny metal. This makes lines easier to see during cutting.
Common surface treatments include:
- Chalk powder dusted on the metal
- White marker paint or specialized metal markers
- Spray primers for better contrast
Marking Techniques For Accuracy
Marking metal correctly is key for a clean and precise cut. You need clear lines and points to follow.
Using the right tools and methods helps reduce mistakes and saves time. Let’s explore some ways to mark metal accurately.
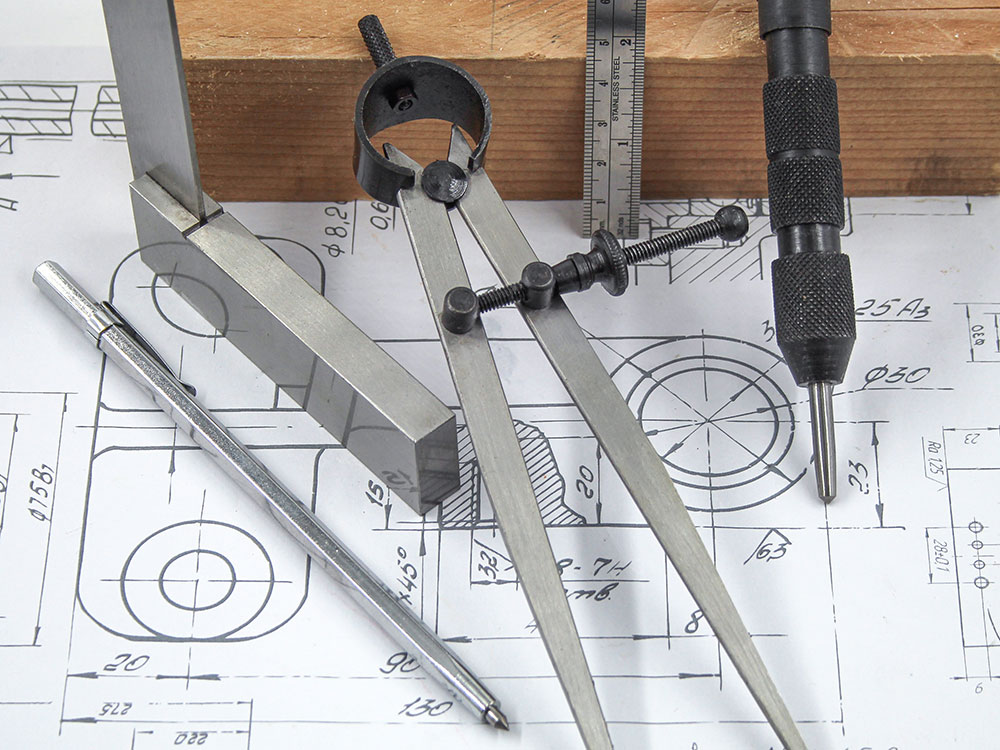
Using Rulers And Measuring Tapes
Rulers and measuring tapes give you exact lengths and distances. They help make straight and even marks on metal surfaces.
- Place the ruler or tape flat on the metal.
- Read the measurement carefully before marking.
- Use a sharp pencil or scribe for fine lines.
- Double-check measurements to avoid errors.
Employing Templates And Stencils
Templates and stencils help repeat shapes and patterns with precision. They are useful for curves and complex cuts.
| Type | Use | Benefit |
| Metal Template | Trace exact shapes | High durability and accuracy |
| Plastic Stencil | Mark patterns quickly | Easy to handle and clean |
| Cardboard Template | Test fit designs | Cheap and customizable |
Creating Guide Lines And Reference Points
Guide lines and reference points help you keep track of where to cut. They act as visual aids during the cutting process.
- Draw light lines along the metal to show cut edges.
- Mark reference points at corners or intersections.
- Use contrasting colors for visibility.
- Check that all marks line up before cutting.

Credit: www.faithfulltools.com
Tips For Marking Different Metals
Marking metal clearly helps achieve precise cuts. Different metals need different marking tools and methods.
Using the right marker improves visibility and reduces mistakes during cutting. Below are tips for marking steel, aluminum, brass, and other common metals.
Steel And Stainless Steel
Steel and stainless steel have hard, smooth surfaces. Use a sharp scribe or a metal marking pencil for best results. Soapstone works well for temporary marks.
- Clean the metal surface before marking to remove oils and dirt.
- Use a fine-tip scribe for thin lines and detailed marks.
- Soapstone sticks well and can be wiped off after cutting.
- For stainless steel, avoid permanent markers as they may not show clearly.
Aluminum And Copper
Aluminum and copper have softer surfaces that scratch easily. Use a permanent marker or paint pen to ensure marks stay visible.
| Metal | Best Marking Tool | Tip |
| Aluminum | Permanent marker or paint pen | Clean surface first |
| Copper | Paint pen or scribe | Mark on flat areas |
Brass And Bronze
Brass and bronze can show marks clearly with a pencil or scribe. For better visibility, use white or light-colored markers on dark metals.
Tips for marking brass and bronze:
- Use a fine-point scribe for sharp lines.
- Try a white pencil or chalk for dark surfaces.
- Mark on flat, clean areas for accuracy.
- Check marks under good lighting before cutting.
Avoiding Common Marking Mistakes
Marking metal for cutting requires care to get clean and accurate cuts. Mistakes in marking can cause wasted material or poor results.
Use the right tools and methods to avoid smudges, fading, and errors. Clear marks help you cut safely and precisely.
Preventing Smudges And Fading
Choose permanent marking tools like oil-based pens or metal scribers. Avoid pencils or water-based markers that can fade or smudge.
- Clean the metal surface before marking to remove dust and oil.
- Use a fine-tip marker for detailed lines.
- Let the ink dry completely before handling the metal.
- Keep your hands dry to avoid smearing the marks.
Ensuring Visibility During Cutting
Clear and visible marks guide your cutting tool accurately. Poor visibility can cause wrong cuts or accidents.
| Marking Method | Visibility | Durability |
| Permanent marker | High | Good |
| Metal scribe | Medium | Excellent |
| Pencil | Low | Poor |
| Chalk | Medium | Fair |
Correcting Errors Safely
Fix wrong marks carefully to avoid damage or confusion. Use these safe methods to correct errors:
- Wipe off ink with a cloth dampened with rubbing alcohol.
- Scratch off scribed lines gently with a fine file or sandpaper.
- Re-clean the surface before making new marks.
- Mark corrections clearly to avoid mixing old and new lines.

Credit: handprinted.co.uk
Maintaining Marking Tools
Keeping your marking tools in good condition helps you mark metal clearly. Clean and store tools properly to extend their life.
Sharp tips make marking easier and more accurate. Regular care prevents damage and ensures good results every time.
Cleaning And Storage
Remove dirt and metal dust from your marking tools after each use. Use a soft cloth to wipe them clean.
Store tools in a dry place to avoid rust and damage. Keep them in a case or holder to protect the tips.
- Wipe tools with a dry cloth
- Use a small brush for hard-to-reach areas
- Keep tools in a closed container
- Store in a cool, dry area
Sharpening And Replacing Tips
Dull tips make marking metal difficult. Sharpen tips carefully to keep a fine point.
Replace tips if they are broken or worn out. Using sharp tips saves time and improves accuracy.
- Use a fine file or sharpening stone
- Hold the tip steady while sharpening
- Check the tip shape often
- Buy new tips if needed
Credit: www.faithfulltools.com
Frequently Asked Questions
What Tools Are Best For Marking Metal Before Cutting?
Use permanent markers, scribe tools, or metal punches. These tools provide clear, precise lines for accurate cutting and reduce errors.
How Do You Ensure Accurate Metal Cutting Marks?
Measure twice and mark once using a ruler and square. Consistent, clear lines improve cutting precision and minimize material waste.
Can You Mark Metal Without Damaging Its Surface?
Yes, use non-permanent markers or masking tape. These methods leave visible marks without scratching or altering the metal surface.
What’s The Best Way To Mark Curved Metal Surfaces?
Use flexible rulers or contour gauges. They adapt to curves, ensuring your cut lines stay accurate and smooth.
Conclusion
Marking metal clearly helps make accurate cuts every time. Choose the right tools and mark carefully on clean metal surfaces. Take your time to measure and draw straight lines. Good marking reduces mistakes and saves materials. Practice these tips to improve your cutting skills.
Soon, you will cut metal with more confidence and precision. Keep your workspace organized and focus on safety. Clear marks guide your tools and lead to better results. Simple steps can make a big difference in metal cutting.