Are you tired of ending up with uneven pieces or wasted materials when cutting metal? Precision in marking is the first step to achieving clean, accurate cuts, saving you both time and resources.
Imagine the satisfaction of perfectly aligned metal pieces, fitting seamlessly into your project. This guide will walk you through the essential techniques to mark metal for cutting accurately, ensuring your projects meet professional standards every time. Whether you’re a seasoned craftsman or a DIY enthusiast, mastering this skill will transform your work.
Let’s dive in and ensure your next cut is flawless.
Credit: www.familyhandyman.com
Choosing The Right Marking Tools
Marking metal for cutting needs clear and precise lines. Choosing the right tools helps you cut accurately and avoid mistakes.
Different tools work better on certain types of metal and surfaces. Knowing these tools makes your work easier and cleaner.
Pencils, Markers, And Soapstone
Pencils work on smooth metal but can fade or rub off. Markers give bold lines that last longer. Soapstone is great for steel because it shows well and wipes off easily.
- Pencils are good for light markings on smooth surfaces.
- Permanent markers create strong, visible lines.
- Soapstone is ideal for dark metals like steel.
- Choose a tool that fits your metal type and working conditions.
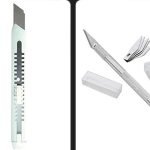
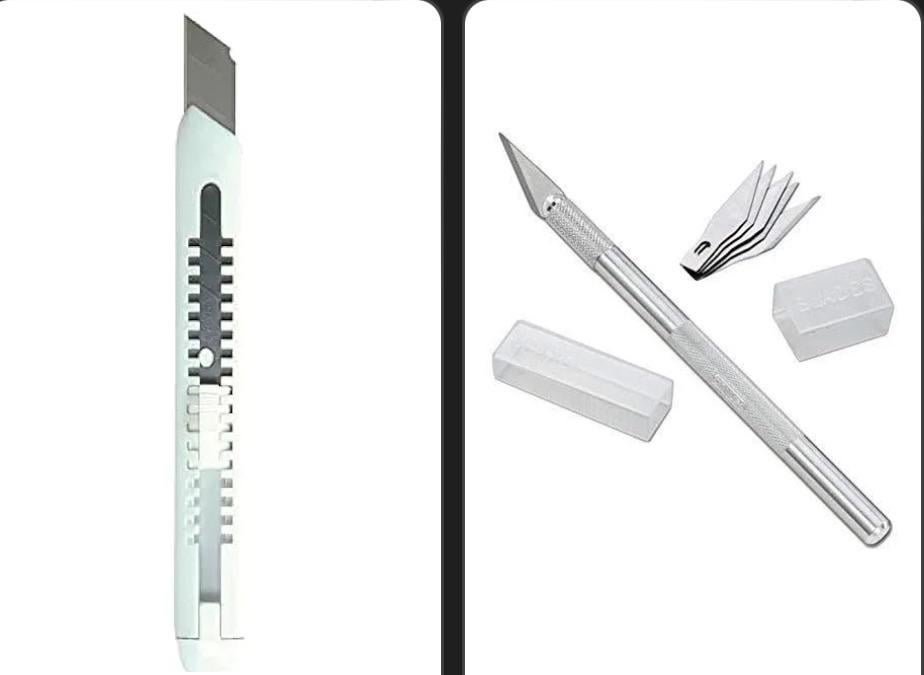
Scribes And Engraving Tools
Scribes and engraving tools cut fine lines into metal. These lines stay visible during cutting and grinding. They are perfect for detailed work.
| Tool | Best Use | Metal Types |
| Metal Scribe | Marking precise lines | Steel, Aluminum, Copper |
| Engraving Pen | Fine detailed marks | Soft metals, Thin sheets |
| Diamond Tip Scribe | Hard metals and tough surfaces | Hardened Steel, Alloys |
Using Tape For Clean Lines
Masking tape helps create sharp cutting lines. Apply tape on the metal and mark on the tape. This stops scratches and keeps edges clean.
- Use high-quality masking tape for good adhesion.
- Press tape firmly to avoid gaps or bubbles.
- Mark lines clearly on tape with a marker or pencil.
- Remove tape carefully after cutting to avoid damage.
Credit: www.familyhandyman.com
Preparing The Metal Surface
Marking metal for cutting needs a clean and smooth surface. Dirt and roughness can cause errors in your measurements. Preparing the surface helps you mark more precisely.
Take time to prepare the metal well before marking. This saves time and material later.
Cleaning And Degreasing
Metal often has oil, grease, or dirt on its surface. These substances stop markers from making clear lines. Clean the metal to remove these.
Use a cloth with a degreaser or rubbing alcohol. Wipe the metal until it looks dry and clean. Avoid leaving residue behind.
- Use a clean cloth or paper towel
- Apply a small amount of degreaser
- Wipe in one direction to avoid smears
- Let the metal air dry fully
Smoothing Rough Edges
Metal edges can be sharp or uneven. Rough edges make marking hard and unsafe. Smooth these edges before you mark.
Use a metal file or sandpaper to gently smooth the edges. Check your work by running your finger carefully along the edge.
- Select a fine metal file or sandpaper
- File in one direction along the edge
- Remove burrs and sharp points
- Wear gloves to protect your hands
Techniques For Precise Marking
Marking metal accurately is important for clean cuts. Good marking helps avoid mistakes and waste.
Use careful techniques to place marks exactly where you want to cut. This guide explains key methods.
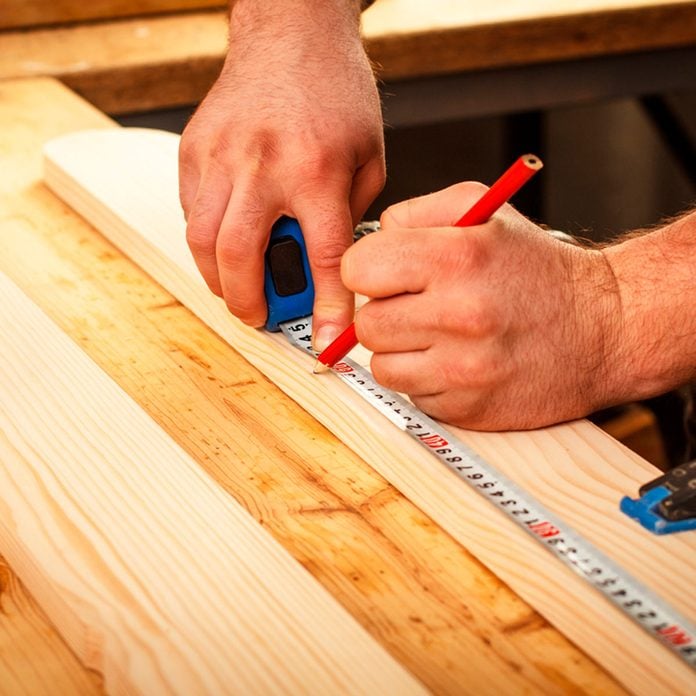
Using Measuring Tools Correctly
Measuring tools like rulers and calipers help you find exact points on metal. Use tools made for metal work.
Always double-check measurements before marking. Hold the tool firmly and read the scale at eye level.
- Use a steel ruler or metal tape measure for accuracy
- Clean the metal surface to avoid measurement errors
- Measure twice, mark once to prevent mistakes
- Use calipers for small or detailed measurements
Applying Templates And Stencils
Templates and stencils provide a guide for complex shapes. They help repeat the same design on metal pieces.
Secure the template tightly on the metal. Trace carefully along the edges using a fine marking tool.
- Use sturdy templates made from plastic or thin metal
- Clamp templates to prevent shifting during marking
- Choose a sharp pencil or scribe for clean lines
- Check alignment before tracing the outline
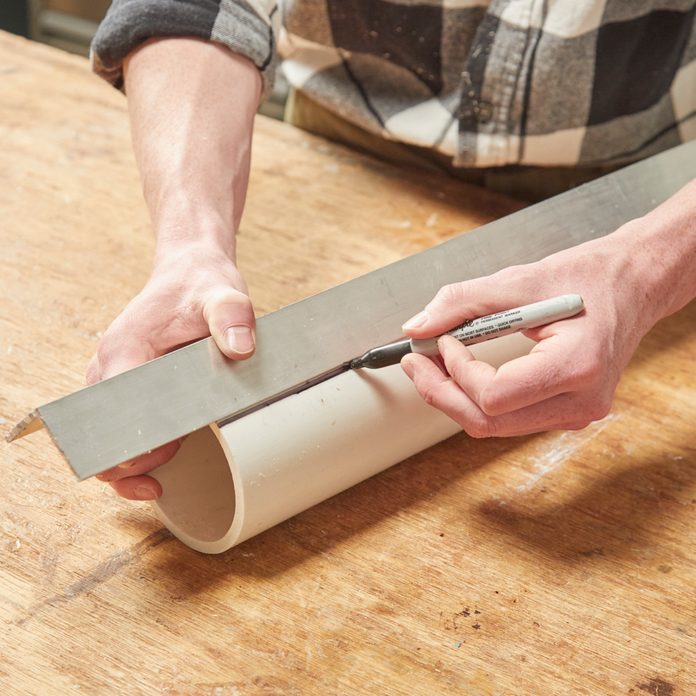
Marking Straight Lines And Curves
Straight lines need a straightedge or ruler for neat marks. Hold the tool firmly to avoid slips.
Draw curves slowly and steadily. Use flexible curve rulers or French curves for smooth shapes.
- Use a metal ruler for straight lines
- Draw light guide lines first, then darken them
- For curves, use flexible curve rulers or templates
- Move your hand steadily for smooth, even lines

Credit: www.temu.com
Avoiding Common Marking Mistakes
Marking metal for cutting needs care to keep lines clear and exact. Mistakes in marking cause wrong cuts and waste material.
Focus on good marking habits to avoid smudges, fading, and poor visibility. These tips help you cut metal accurately every time.
Preventing Smudges And Fading
Smudged or faded marks make cutting lines hard to follow. Use a sharp, fine-tipped marker or scribe for clear lines.
Keep the metal surface clean and dry before marking. Wipe off dust, oil, or water that can blur your marks.
- Use permanent markers or metal scribes
- Avoid touching the marked area to prevent smears
- Mark just before cutting to reduce fading time
- Apply light pressure with tools to avoid scratching
Ensuring Visibility Under Different Lighting
Metal marks can be hard to see in low or bright light. Choose marking colors that contrast well with your metal’s color.
Check your markings under the lighting where you will cut. Adjust the mark color or thickness if needed for better visibility.
- Use white or bright markers on dark metal
- Use dark markers on light-colored metals
- Try chalk or paint sticks for rough metal surfaces
- Consider using a magnifier or light source to see lines clearly
Marking Complex Shapes And Patterns
Marking complex shapes on metal requires careful attention. Accurate marking helps ensure clean cuts and precise results.
Using the right tools and techniques makes it easier to transfer detailed designs onto metal surfaces.
Transferring Designs Accurately
Start by printing or drawing your design on paper. Use carbon paper to copy the design onto the metal.
Secure the carbon paper and design to the metal with tape. Trace the design carefully with a sharp pencil or stylus.
- Clean the metal surface before marking
- Use fine lines for detailed parts
- Check your marks under good light
- Use a ruler or template for straight edges
Using Center Punch For Drill Points
Mark drill points with a center punch to keep the drill bit from slipping. This improves accuracy and safety.
Place the punch on the marked spot. Tap it lightly with a hammer to make a small dent.
- Use a sharp center punch for clear marks
- Hold the punch steady and straight
- Tap gently to avoid damaging the metal
- Check each mark before drilling
Maintaining Marking Tools
Keeping your marking tools in good shape helps you mark metal accurately. Clean and sharpen tools regularly for best results.
Proper care extends the life of your tools and improves the quality of your work.
Sharpening And Cleaning Tips
Dull marking tools make rough, unclear lines. Sharpen tips often to keep them precise and sharp.
Clean your tools after each use. Remove metal dust and dirt with a soft cloth or brush.
- Use a fine file or sharpening stone for metal tips
- Wipe tools with a dry cloth to remove debris
- Use light oil to prevent rust on metal parts
- Avoid using water to clean, as it can cause rust
Storing Tools To Preserve Accuracy
Store marking tools in a dry, safe place to keep their shape and accuracy. Avoid dropping or banging them.
Use toolboxes or holders to keep tools separate and protected from damage.
- Keep tools in a padded case or box
- Store in a cool, dry area to prevent rust
- Separate tools to avoid dulling or bending tips
- Check tools regularly for signs of wear or damage
Frequently Asked Questions
What Tools Are Best For Marking Metal Accurately?
Use a scribe, metal marker, or chalk for precise metal marking. A scribe creates fine lines, while markers and chalk work for rough cuts. Choose based on the metal type and cutting method to ensure accuracy.
How To Prepare Metal Surface Before Marking?
Clean the metal surface with a degreaser or alcohol to remove dirt and oil. A smooth, clean surface ensures clear, accurate markings. Dry the metal completely before marking to avoid smudging or fading.
What Techniques Improve Marking Accuracy On Metal?
Use a ruler or straight edge to guide your scribe or marker. Mark lightly first, then deepen lines if needed. Double-check measurements before cutting to prevent errors and ensure precision.
Can I Use Regular Pens To Mark Metal For Cutting?
Regular pens usually don’t work well on metal due to smooth surfaces. Specialized metal markers or scribes provide better visibility and durability of the mark during cutting.
Conclusion
Marking metal carefully ensures cuts are clean and precise. Use the right tools and take your time. Measure twice, mark once. Clear lines help guide your cutting tool well. Avoid rushing to prevent mistakes and waste. Practice makes your marks sharper and more accurate.
Keep your workspace organized for better focus. Accurate marking leads to better results and safer work. Simple steps create professional-looking metal projects every time.