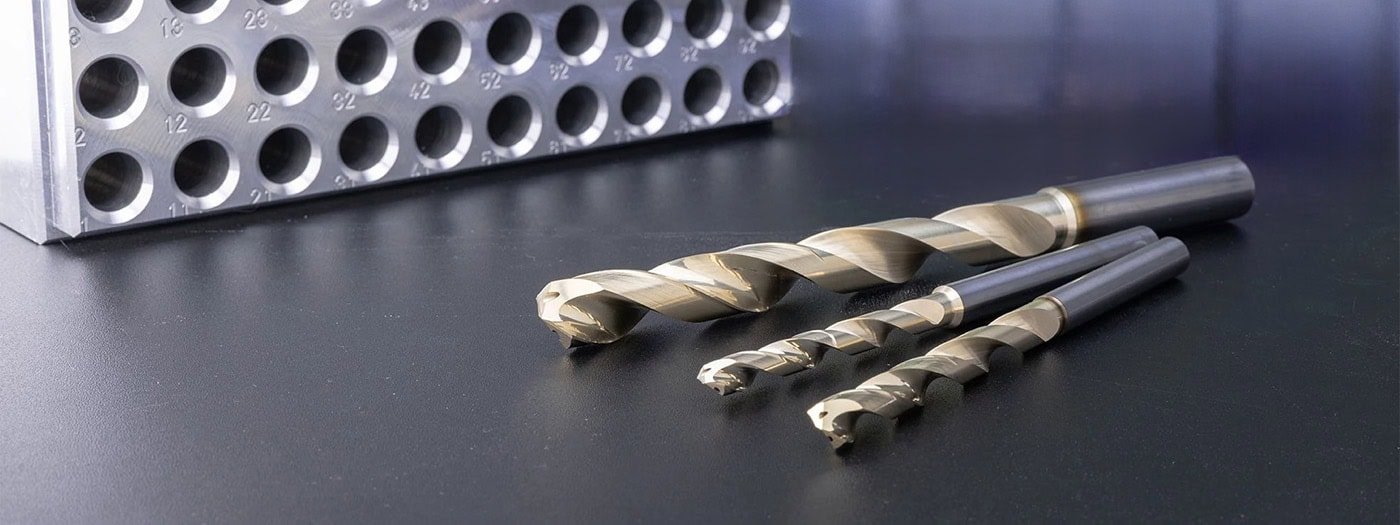
When it comes to drilling metal, precision is everything. One small mistake in marking your metal can lead to misaligned holes, wasted materials, and extra work fixing errors.
But don’t worry—getting your marks right doesn’t have to be complicated. You’ll discover simple, effective techniques to mark metal accurately every time. Whether you’re a beginner or looking to sharpen your skills, these tips will help you save time, avoid frustration, and get perfect results.
Ready to make your next drilling project flawless? Keep reading to find out how.
:max_bytes(150000):strip_icc()/JS_1864-2008bd548fb548db8f5729d54b71976b.jpg)
Credit: www.woodmagazine.com
Choosing The Right Tools
Marking metal for drilling needs the right tools for accuracy. Using proper instruments helps avoid mistakes and saves time.
This guide covers how to pick marking instruments and use center punches well for clear, precise marks.
Selecting Marking Instruments
Choosing the right marking tool depends on the metal type and surface finish. Some tools work better on smooth metals, others on rough or coated surfaces.
- Metal Scribe:Ideal for hard metals. It creates fine, clear lines without damaging the surface.
- Permanent Marker:Works on coated or painted metal. Lines are visible but can wear off easily.
- Soapstone:Good for rough or oily metals. It leaves white marks that stand out well.
- Grease Pencil:Useful on greasy or oily surfaces. Marks are easy to see but can smudge.
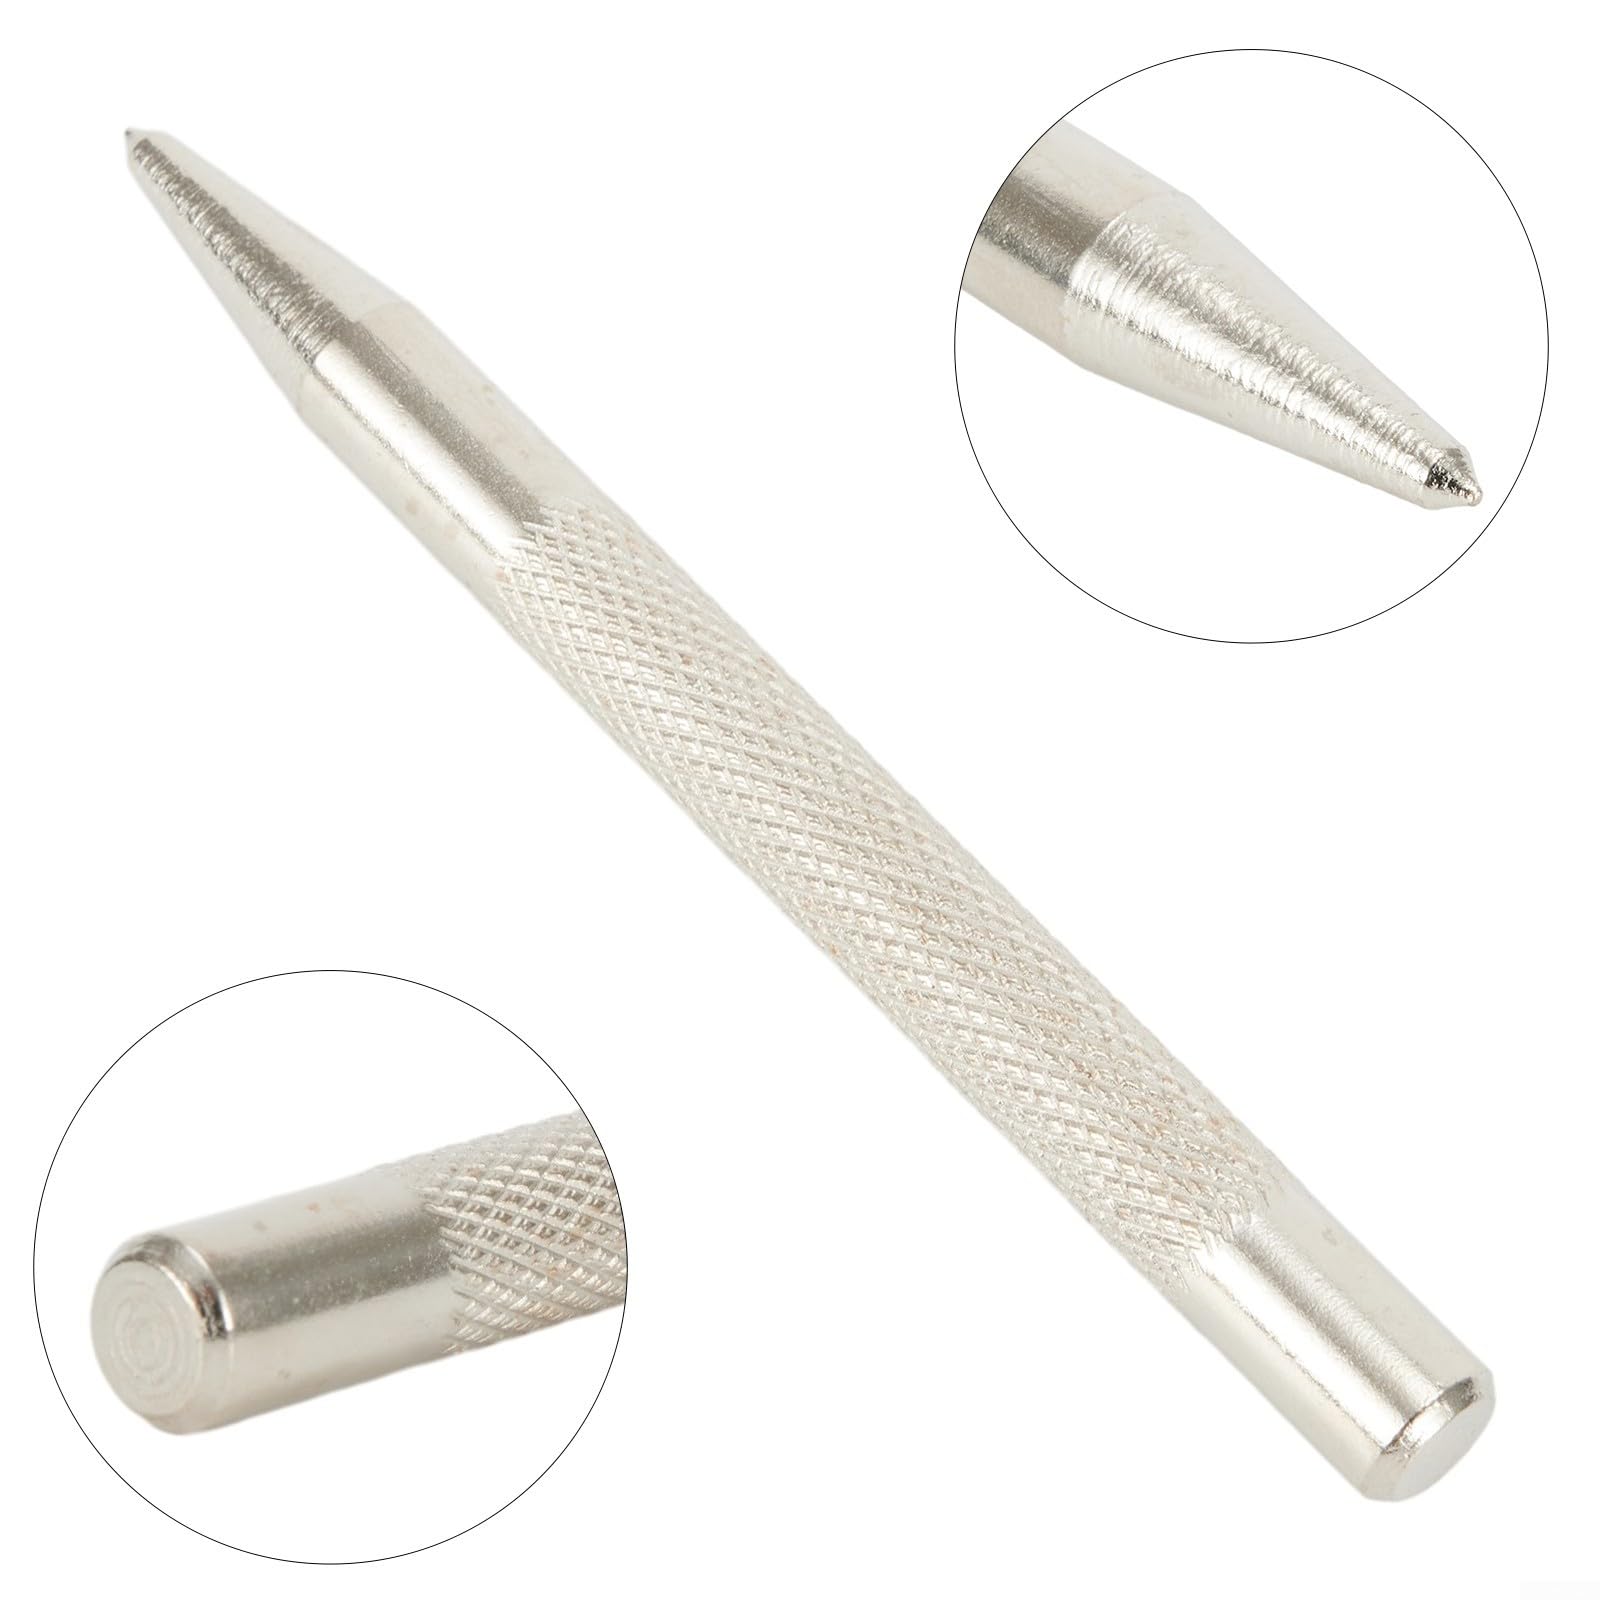
Using Center Punches Effectively
Center punches help make small indentations where you want to drill. These marks guide the drill bit and prevent slipping.
| Center Punch Type | Best Use | Tip Shape |
| Automatic Punch | Quick marks without a hammer | Sharp point |
| Manual Punch | Controlled depth with hammer strikes | Sharp or rounded |
| Prick Punch | Fine marks for precise drilling | Very sharp point |
Hold the punch firmly and strike it with a hammer straight down. Keep the punch vertical for an accurate mark.
Preparing The Metal Surface
Marking metal for drilling needs a clean and clear surface. Dirt and roughness can cause mistakes. Preparing the metal well helps you drill in the right spot.
Use simple tools and materials to get the metal ready. This guide shows how to clean and smooth the surface. It also explains how to apply layout fluid for better marks.
Cleaning And Smoothing
Start by cleaning the metal to remove dust, oil, and rust. Use a cloth with a little rubbing alcohol or a metal cleaner. This stops dirt from hiding your marks.
After cleaning, smooth rough spots with fine sandpaper. Sand lightly to avoid scratches. A smooth surface helps your marks stay clear and precise.
- Wipe metal with a clean cloth and cleaner
- Remove rust or paint with light sanding
- Use 220 to 400 grit sandpaper for smoothing
- Clean again to remove sanding dust
Applying Layout Fluid
Layout fluid makes your marks easy to see on metal. It creates a thin, colored layer on the surface. Use a small brush to apply it evenly.
Let the layout fluid dry before marking. This helps your pencil or scriber make clear lines. The marks will not fade or smudge while drilling.
- Shake the layout fluid bottle well
- Apply a thin layer with a brush or swab
- Wait a few minutes for the fluid to dry
- Mark your points with a sharp pencil or scriber
- Use a punch to make small indentations if needed
Marking Techniques For Precision
Accurate marking is key to drilling metal precisely. It helps avoid mistakes and wasted material.
Using the right tools and methods ensures your drill holes align perfectly with your design.
Measuring And Aligning Marks
Start by measuring the metal surface carefully. Use a steel ruler or caliper for exact dimensions.
- Clean the metal surface to remove dirt or oil.
- Measure twice to confirm your marks.
- Use a fine-tip marker or scribe for clear lines.
- Align marks with a square or straight edge to keep them straight.
- Double-check distances before drilling.
Using Templates And Jigs
Templates and jigs help repeat accurate marks on multiple pieces. They save time and reduce errors.
| Tool | Purpose | Benefit |
| Template | Guide for marking hole positions | Ensures consistent hole placement |
| Drill Jig | Holds metal and guides drill | Keeps drill steady and straight |
| Marking Gauge | Measures and marks parallel lines | Improves alignment accuracy |
Credit: www.amazon.ie
Avoiding Common Mistakes
Marking metal for drilling needs care. Small errors can cause big problems. This guide helps you avoid common mistakes.
Focus on two key points: keeping your marks steady and making them easy to see. These steps improve your drilling accuracy.
Preventing Mark Shifts
Mark shifts happen when the metal or tool moves after marking. This causes holes to be drilled in the wrong spot.
- Secure the metal piece firmly to your workbench.
- Use a center punch to create a small dent before drilling.
- Mark the spot with a sharp tool to avoid spreading the mark.
- Avoid touching or rubbing the mark after making it.
- Double-check your measurements before drilling.
Ensuring Visibility Of Marks
Clear marks prevent guessing and mistakes. Some marks can fade or blend with the metal’s color.
| Marking Method | Visibility Level | Notes |
| Permanent Marker | Medium | Easy to see but can smudge. |
| Scribe Tool | High | Creates a fine, visible line on metal. |
| Center Punch | Very High | Makes a small dent that stays visible. |
| Chalk or Soapstone | Low | Good for dark metals but can rub off. |
Tips For Drilling Accuracy
Marking metal correctly is key to drilling holes in the right place. Accurate marks help avoid mistakes and save time.
Using the right tools and techniques makes your drilling more precise and steady. Follow simple steps to improve your results.
Starting With Pilot Holes
Begin drilling with small pilot holes to guide the larger drill bit. This keeps your drill from slipping and ensures a clean start.
- Use a center punch to make a small dent where you want the hole.
- Pick a drill bit smaller than your final hole size for the pilot hole.
- Drill slowly to keep control and avoid wandering.
- Check the hole for accuracy before moving to the larger bit.
Maintaining Drill Stability
Keep your drill steady to make clean and accurate holes. Stability reduces errors and protects your workpiece.
| Tip | How It Helps |
| Clamp the metal securely | Prevents movement during drilling |
| Hold the drill perpendicular | Keeps the hole straight |
| Use a drill press if possible | Provides consistent pressure and angle |
| Apply steady, moderate pressure | Avoids bit slipping and overheating |

Credit: www.faithfulltools.com
Frequently Asked Questions
How Do I Mark Metal Accurately For Drilling?
Use a center punch to create a small indentation. This prevents the drill bit from slipping. Measure twice and mark with a fine-tip marker or scribe for precision.
What Tools Help In Marking Metal Precisely?
A center punch, scribe, and ruler are essential. Use a caliper for exact measurements. These tools ensure accurate and visible marks on metal surfaces.
Why Is Marking Metal Before Drilling Important?
Marking ensures drill holes are correctly placed, preventing errors. It saves time and material by avoiding misaligned or oversized holes.
Can I Use A Permanent Marker On Metal For Drilling?
Yes, a permanent marker works on smooth metal surfaces. However, marks may fade during drilling, so recheck or use a scribe for lasting visibility.
Conclusion
Accurate drilling starts with precise marking. Use the right tools and techniques. Measure twice, mark once. Ensure clarity in each step. Practice increases skill and confidence. Mistakes happen, but they’re learning opportunities. A good mark saves time and prevents errors.
Follow these tips to improve your metalwork. With these methods, your drilling becomes more effective. Always prioritize safety and accuracy. Keep your tools maintained and ready. This ensures consistent results. Enjoy your metalworking projects with confidence and precision.