Are you ready to get precise cuts every time you work with metal sheets? Marking metal sheets correctly is the first and most crucial step to achieve clean, accurate cuts without wasting material.
If you’ve ever struggled with uneven edges or guesswork in your metal projects, this guide is for you. You’ll discover simple, effective techniques that make marking easy and reliable, saving you time and frustration. Keep reading, and you’ll gain the confidence to handle your metal sheets like a pro.

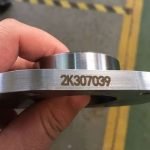
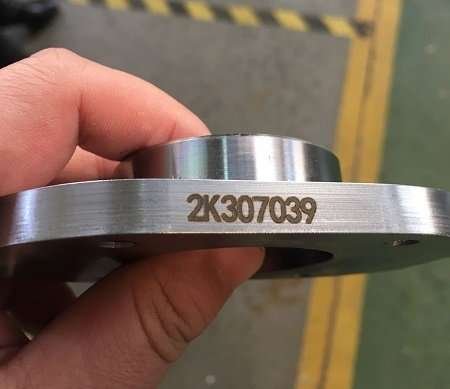
Credit: www.reddit.com
Choosing The Right Tools
Marking metal sheets before cutting is important for accuracy. Picking the right tools makes the job easier and cleaner.
The tools you use depend on the metal type and the marks you need. Keeping tools sharp helps you work with precision.
Types Of Marking Tools
Different tools work well for different marking needs on metal sheets. Choose one that fits your project.
- Permanent markers for quick, visible lines
- Scribes for fine, precise marks on hard metals
- Soapstone for temporary marks that are easy to see
- Chalk for rough marks on rough surfaces
- Engraving pens for deep, lasting lines
Selecting Based On Metal Type
Choose your marking tool based on the metal sheet. Some metals need special tools to make clear marks.
| Metal Type | Best Marking Tool | Notes |
| Aluminum | Permanent Marker | Easy to mark, but avoid deep scratches |
| Steel | Scribe or Engraving Pen | Hard surface needs sharp tools |
| Stainless Steel | Engraving Pen | Resists corrosion, needs deep marks |
| Copper | Soapstone or Marker | Soft metal, temporary marks work well |
| Brass | Scribe or Marker | Choose based on finish and thickness |
Maintaining Tool Sharpness
Sharp tools create clear and accurate marks on metal sheets. Dull tools cause mistakes and rough lines.
- Regularly clean your tools after use
- Sharpen scribes and engraving pens with a fine file
- Store tools in a dry place to avoid rust
- Replace worn-out markers for consistent lines
- Check tools before starting any marking job
Preparing The Metal Surface
Marking metal sheets accurately requires a clean and treated surface. Dirt, oil, or rust can make marks unclear.
Preparing the metal surface helps tools leave clear, lasting marks for precise cutting.
Cleaning Techniques
Before marking, remove all grease, dust, and rust from the metal sheet. Clean surfaces improve mark visibility.
- Use a degreaser or mild soap with water to wash the metal.
- Scrub gently with a nylon brush for light rust or dirt.
- For stubborn rust, use fine steel wool or sandpaper.
- Dry the metal fully using a clean cloth to avoid water spots.
Surface Treatments For Better Marks
Applying surface treatments can create better contrast for marking tools. This makes lines easier to see and follow.
| Treatment | Purpose | How to Apply |
|---|---|---|
| Chalk or Soapstone | Creates a white, visible line | Rub gently on clean, dry metal surface |
| Permanent Marker | Leaves a dark, sharp line | Draw on cleaned metal; avoid oily spots |
| Spray Paint | Provides a temporary colored surface | Lightly spray and let dry before marking |
Marking Techniques For Accuracy
Marking metal sheets correctly is key to getting clean cuts. Good marks help guide your tools and reduce mistakes.
Using the right techniques ensures your markings are clear and precise. This saves time and material.
Using Measuring Instruments
Choose measuring tools that fit your project size. Rulers, tape measures, and calipers work well on metal sheets.
Hold the instrument steady to get exact measurements. Double-check numbers before marking to avoid errors.
- Use steel rulers to avoid bending
- Use calipers for small, precise marks
- Tape measures are good for long lines
- Mark lightly first, then darken if needed
Creating Straight And Curved Lines
Straight lines need a ruler or a straight edge. Place it firmly and draw carefully along its edge.
For curved lines, use templates or flexible curves. These tools help keep smooth, even shapes on metal.
- Use a metal ruler for straight lines
- Flexible curves help draw smooth arcs
- Templates ensure consistent curves
- Trace lightly before cutting
Marking Repetitive Patterns
Marking the same shape many times needs careful planning. Use stencils or guides to keep marks uniform.
Check spacing and alignment regularly. This prevents errors from building up across multiple marks.
- Create a stencil from sturdy material
- Use clamps to hold stencils steady
- Mark each pattern clearly before moving
- Measure distances between marks carefully
Tips For Clear And Durable Marks
Marking metal sheets clearly helps you cut with accuracy. Durable marks last through handling and cutting.
Use the right tools and techniques for the best results. This guide shows you how to make marks that stand out.
Choosing Permanent Vs Temporary Marks
Permanent marks stay visible even after cleaning or cutting. Use them when you need long-lasting guides.
Temporary marks are easy to remove. They work well for short tasks or when you want no residue.
- Permanent marks: metal scribe, engraving tools, oil-based markers
- Temporary marks: chalk, pencil, water-soluble markers
- Choose permanent marks for rough work or long projects
- Choose temporary marks for smooth finishes or quick jobs
Enhancing Visibility In Different Lighting
Metal surfaces reflect light, which can hide marks. Bright or dim light changes how you see your lines.
Use contrasting colors or add shading to improve visibility. Adjust your workspace lighting if needed.
- Use white or bright color markers on dark metal
- Use dark markers on shiny or light-colored metal
- Shade marks with a pencil to reduce glare
- Work near a window or use adjustable lamps
Avoiding Common Marking Mistakes
Marking metal sheets correctly is key for a clean cut. Mistakes can cause wasted material and extra work. This guide helps you avoid common errors when marking metal sheets.
Focus on preventing smudges and fading and making sure your measurements are accurate. These tips improve your cutting results every time.
Preventing Smudges And Fading
Marks on metal can easily smudge or fade, making cutting lines hard to follow. Use the right tools and methods to keep your markings clear until the cut is done.
- Use a fine-tip permanent marker designed for metal surfaces.
- Apply marks on clean, dry metal to help ink stick better.
- Avoid touching marked areas to prevent smudging.
- If possible, use a scribe tool to scratch lines instead of ink.
- Seal marks with clear spray paint for extra protection from fading.
Ensuring Consistent Measurements
Accurate measurements are crucial for precise cuts. Inconsistent marks lead to uneven edges and wasted metal. Follow these tips to keep your measurements reliable.
| Tip | How It Helps |
| Use a metal ruler or tape measure | Measures metal sheets without bending or stretching |
| Double-check measurements before marking | Prevents errors and reduces material waste |
| Mark lightly at first, then darken lines | Allows correction before final marking |
| Keep your measuring tools clean and calibrated | Ensures precise and consistent readings |
| Use a square or angle guide for straight lines | Keeps lines true and angles exact |
Advanced Marking Methods
Marking metal sheets accurately is important for clean cuts. Advanced methods help improve precision and save time.
These techniques use modern tools and aids to create clear, lasting marks on metal surfaces.
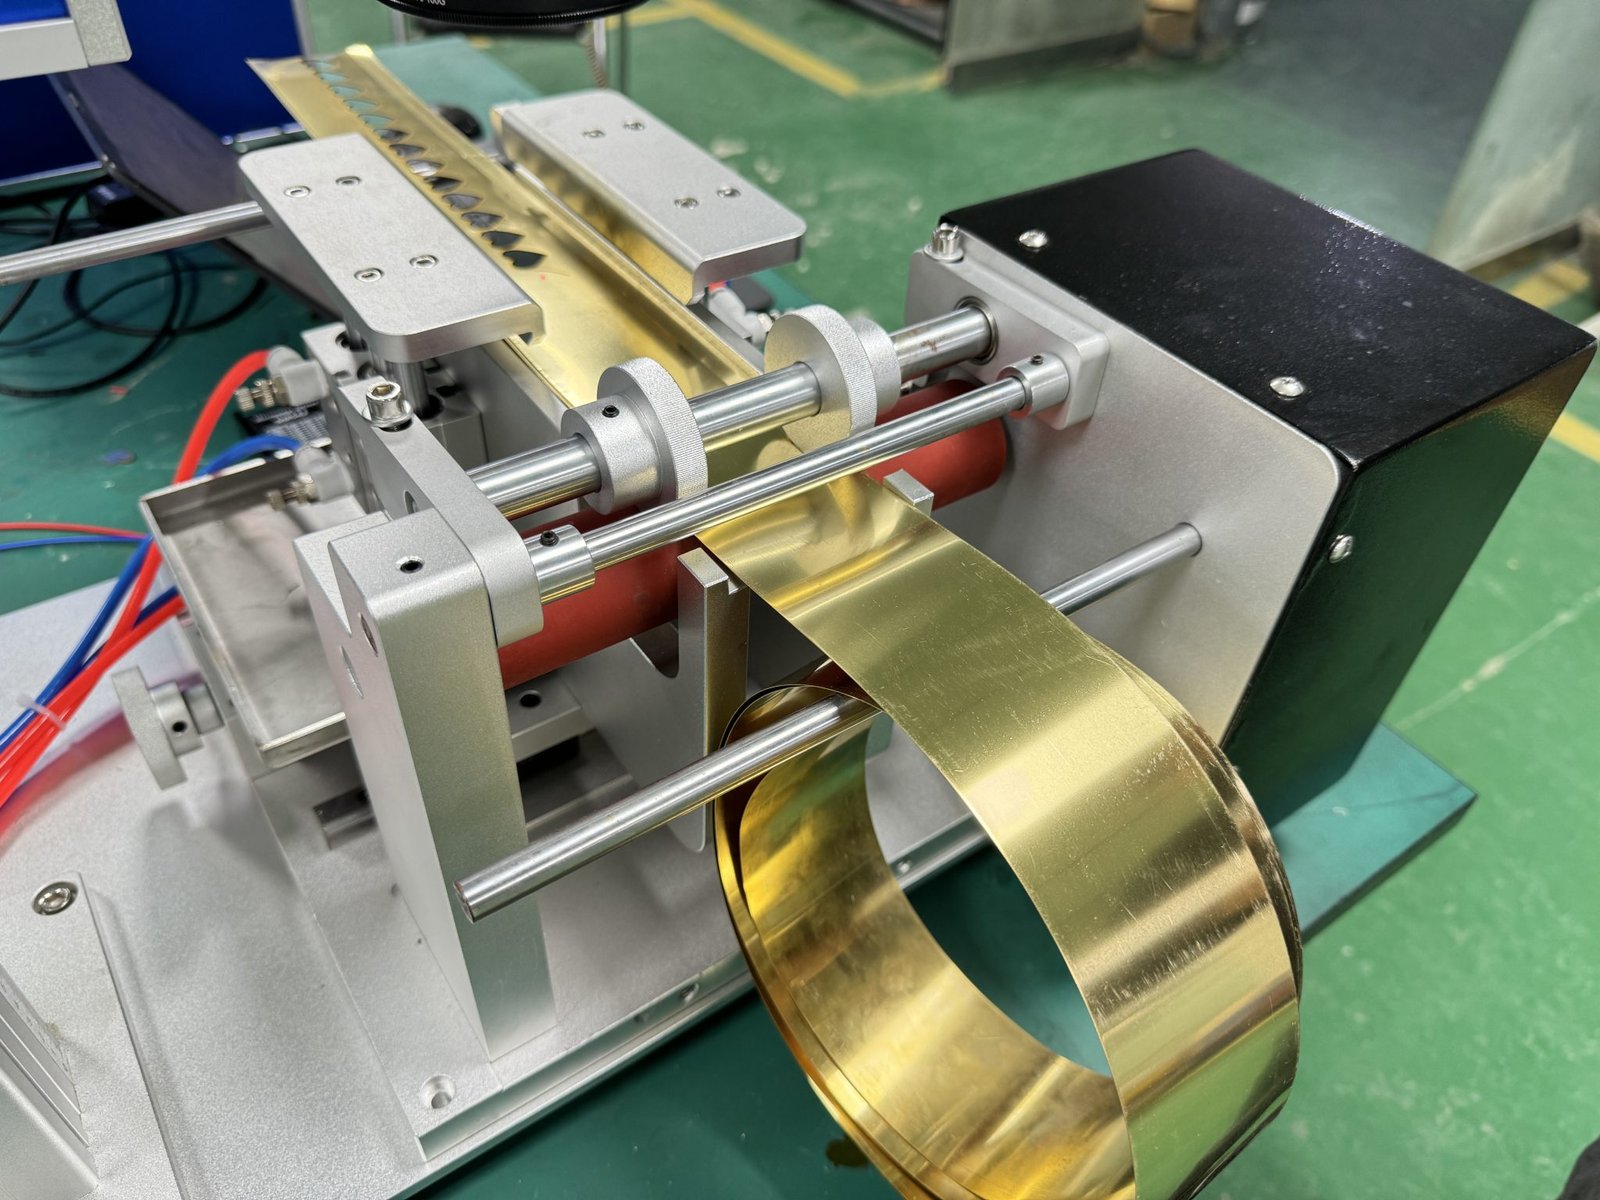
Using Laser Markers
Laser markers use focused light to etch lines on metal sheets. They produce fine, precise marks without touching the surface.
This method works well on many types of metal and does not damage the sheet. It also speeds up the marking process.
- Creates clear, thin lines for exact cutting
- Does not wear out like pens or pencils
- Works on smooth or rough metal surfaces
- Easy to automate for large projects
Stenciling And Templates
Stencils and templates help mark metal sheets with repeatable shapes or patterns. They guide the marking tool for uniform lines.
This method is useful for cutting multiple pieces with the same shape. It reduces errors and speeds up marking.
- Use durable material for stencils to reuse many times
- Place stencil firmly to avoid movement during marking
- Trace carefully along stencil edges with a scribe or marker
- Templates can be made from wood, plastic, or metal
Safety Practices During Marking
Marking metal sheets requires careful attention to safety. Following simple safety rules helps prevent injuries and ensures accurate work.
Using the right tools and protective gear makes the marking process safer. Always prepare your workspace before starting.
Handling Sharp Tools Safely
Sharp tools like metal scribers and knives need careful handling. Keep your hands steady and avoid rushing to prevent cuts.
- Hold tools firmly but without too much force
- Always cut or scribe away from your body
- Keep blades sharp; dull blades cause accidents
- Store tools safely after use
- Check tools for damage before starting work
Protective Gear Recommendations
| Protective Gear | Purpose |
|---|---|
| Safety Glasses | Protect eyes from metal shards and dust |
| Cut-resistant Gloves | Prevent cuts from sharp edges and tools |
| Long Sleeves | Protect arms from scratches and sparks |
| Closed-toe Shoes | Guard feet from falling metal pieces |
Wearing the right gear reduces the risk of injury. Always check that your protective items are in good condition.
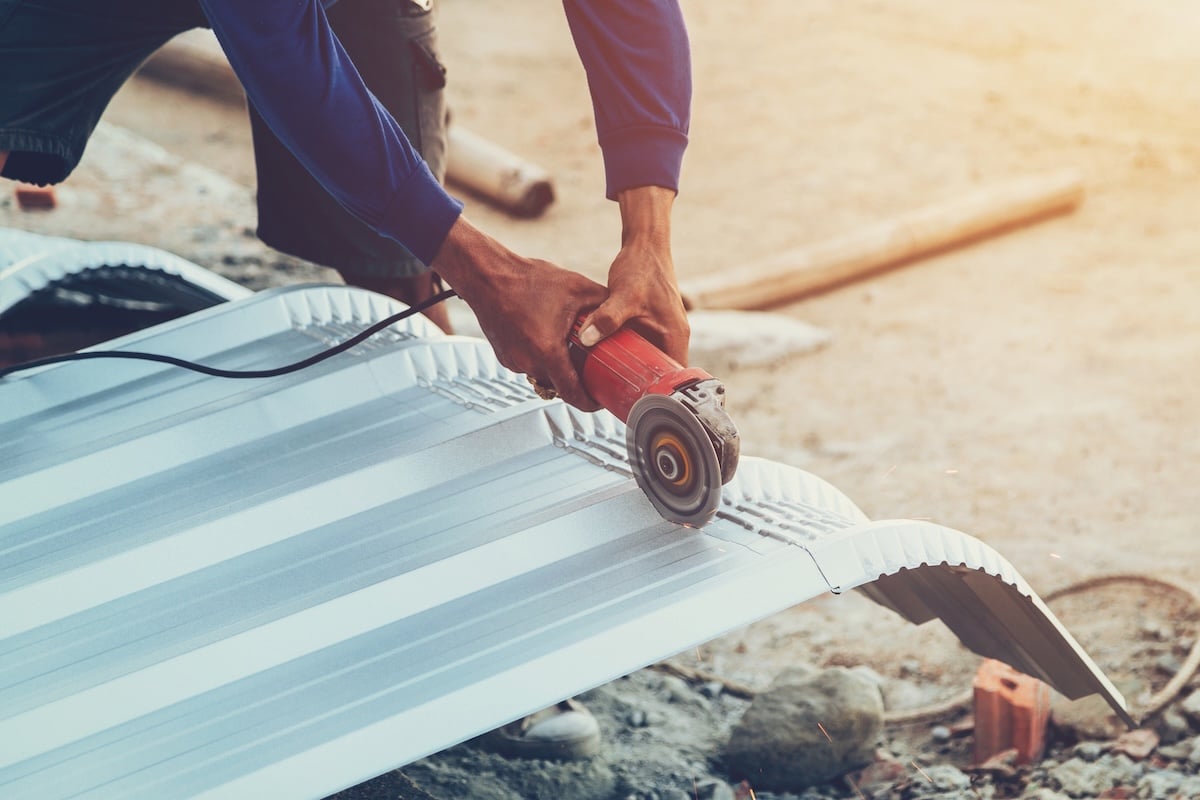
Credit: boss-exteriors.com
Credit: rumbointerior.com
Frequently Asked Questions
How Do I Mark Metal Sheets Accurately For Cutting?
Use a fine-tip permanent marker or a scribe for precise lines. Measure twice and mark clearly to avoid mistakes. Employ a straightedge or metal ruler for straight marks. Ensure the metal surface is clean before marking to improve visibility.
What Tools Are Best For Marking Metal Sheets?
A scribe, permanent marker, or chalk can be used. Scribes create fine, permanent lines ideal for cutting guides. Markers work well on smooth surfaces, while chalk suits rougher metals. Choose tools based on metal type and cutting precision needed.
Can I Use A Pencil To Mark Metal Sheets?
Pencils are not recommended as their marks are faint and easily erased. Use a permanent marker or scribe for clear, lasting marks. These tools withstand handling and cutting processes better, ensuring accuracy throughout your project.
Why Is Surface Preparation Important Before Marking Metal?
Cleaning removes dirt, grease, and rust that obscure marks. A clean surface ensures marks are visible and precise. Use a degreaser or rubbing alcohol before marking. Proper preparation helps improve cutting accuracy and reduces errors.
Conclusion
Marking metal sheets for cutting requires precision and care. Always use the right tools. Measure twice, cut once. This saves time and materials. Clean surfaces ensure accurate markings. Choose the right marker for your metal type. Practice improves skills. Safety is a priority.
Wear protective gear while working. Mistakes can be costly. Take your time. A well-marked sheet leads to perfect cuts. Remember these steps for success in your metalworking projects. Happy cutting!