If you want your woodworking projects to look professional and hold together strong, mastering the art of marking wood for dovetail joints is key. Getting your marks accurate can save you hours of frustration and wasted materials.
In this post, you’ll discover simple yet effective techniques that make marking your wood precise and easy, even if you’re just starting out. By the end, you’ll have the confidence to create perfect dovetail joints that impress every time. Ready to take your woodworking skills up a notch?
Let’s dive in.
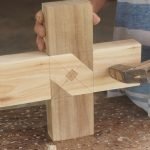
Credit: craftswright.com
Essential Tools For Marking
Marking wood accurately is key for perfect dovetail joints. Using the right tools helps you make clean and precise marks.
This guide explains essential marking tools and how to use them well for dovetail joinery.
Choosing The Right Marking Gauge
A marking gauge keeps your lines straight and consistent. Choose one with a sharp pin or knife blade for clean cuts.
- Adjustable fence for setting exact width
- Locking mechanism to hold measurements steady
- Fine, sharp marking point for clear lines
- Comfortable handle for better control
Using A Sharp Pencil Or Knife
A sharp pencil or marking knife gives precise lines for cutting. Use a hard pencil or sharpen your knife often.
| Tool | Benefit |
| Hard Pencil | Thin, visible lines without smudging |
| Marking Knife | Exact, crisp lines that guide saw blades |
Selecting Suitable Squares And Templates
Squares and templates help keep your angles correct. Choose ones made from metal or sturdy plastic for durability.
Common types include:
- Try squares for 90-degree angles
- Dovetail templates for consistent joint shapes
- Combination squares for adjustable measurements
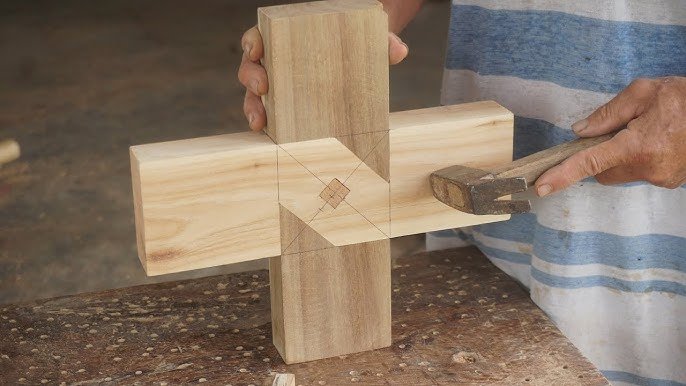
Credit: hoolnn.com
Preparing The Wood Surface
Marking wood for dovetail joints needs a smooth and clean surface. Preparing the wood well helps you make clear and exact marks. It also protects the wood from damage during marking and cutting.
Two key steps in preparation are smoothing and cleaning the wood, and understanding the grain direction. These steps make your work easier and your joints stronger.
Smoothing And Cleaning The Wood
Start by sanding the wood to get a flat and even surface. Remove any dirt or dust that can hide your pencil lines. Clean wood helps the marking tools work better and gives you sharp lines.
- Use medium grit sandpaper (around 120 grit) for rough surfaces.
- Follow with fine grit sandpaper (220 grit) for a smooth finish.
- Wipe the wood with a dry cloth to clear dust.
- If needed, use a tack cloth to remove very fine dust.
Identifying Grain Direction
Knowing the grain direction helps you mark and cut along the wood’s natural lines. This reduces splintering and gives cleaner joints. You can see grain lines and feel the texture to find the direction.
| Method | How to Do It | Why It Helps |
|---|---|---|
| Visual Inspection | Look for lines running along the wood surface. | Shows the main fiber direction. |
| Touch | Run your fingers along the wood to feel ridges. | Grain feels smoother in one direction. |
| End Grain View | Look at the wood’s end to see grain pattern. | Confirms grain direction clearly. |
Setting Up The Marking Gauge
Marking wood accurately is key to neat dovetail joints. The marking gauge helps you score precise lines on your wood pieces.
Setting up the marking gauge correctly saves time and reduces mistakes. Let’s look at how to adjust it for tail and pin thickness and keep lines consistent.
Adjusting For Tail And Pin Thickness
The tails and pins have different widths. You must adjust the marking gauge to match these sizes. This helps the joint fit tightly.
- Measure the thickness of the tails on your wood piece.
- Set the marking gauge to this thickness plus a small allowance for fit.
- Mark the tail side first to create your guide line.
- Next, measure the pin thickness on the opposite piece.
- Adjust the gauge to this new thickness for marking pins.
- Double-check the settings with a ruler before marking.
Calibrating For Consistent Lines
Consistent marking lines ensure clean cuts and tight joints. Calibration keeps your gauge accurate for every use.
| Calibration Step | Purpose | How to Do It |
| Check the pin depth | Ensure lines are clear | Press gauge on scrap wood and verify line visibility |
| Tighten the locking screw | Prevent gauge movement | Use a screwdriver to secure the fence firmly |
| Test on scrap pieces | Confirm line spacing | Mark several lines and measure with a ruler |
| Adjust the fence position | Correct any offsets | Loosen and slide fence, then retighten |
Marking The Tails
Marking the tails is the first key step in creating accurate dovetail joints. This process sets the layout for the pins later.
Careful marking helps ensure tight-fitting joints and a neat appearance in your woodworking project.
Layout Techniques For Even Spacing
Start by measuring the width of the board where you will mark the tails. Divide this width evenly for the number of tails you want.
- Use a pencil and ruler to draw baseline marks across the wood’s end grain.
- Mark the spacing for each tail by measuring from the baseline.
- Check that each tail width is consistent and adjust slightly if needed.
- Mark the angles for the tails carefully using a square or bevel gauge.
- Double-check your marks before cutting to avoid mistakes.
Using A Dovetail Marker Or Template
A dovetail marker or template helps create uniform tail shapes quickly. It guides your pencil for correct angles and spacing.
| Tool | Purpose | Benefit |
|---|---|---|
| Dovetail Marker | Marks angled lines for tails | Ensures consistent tail angles |
| Template | Outlines tail shapes | Saves time on layout |
| Bevel Gauge | Sets tail angle | Allows angle adjustment |
Place the marker or template on the wood’s end grain. Hold it steady and trace the tail outlines with a sharp pencil.
Transferring Tail Layout To Pins
Marking wood for dovetail joints requires careful transfer of the tail layout onto the pins. This step ensures that the pins fit perfectly with the tails.
Accurate transfer depends on proper alignment and precise marking tools. These help maintain the shape and size of the tails on the pin board.
Aligning And Clamping The Pieces
Place the tail board and pin board carefully. The tails should face the pins exactly. Clamp the pieces tightly to prevent movement.
- Align the tails over the pin board edges.
- Check that the edges are flush without gaps.
- Use clamps to hold the boards firmly together.
- Make sure the boards do not shift during marking.
Using A Marking Knife For Precision
A sharp marking knife helps trace the tail outlines onto the pin board. It cuts a clean line that guides your saw and chisel work.
| Tool | Purpose | Tip |
|---|---|---|
| Marking Knife | Score precise lines | Hold steady and use light pressure |
| Marking Gauge | Set consistent depth | Adjust to match tail thickness |
| Clamps | Secure boards | Prevent slipping during marking |
Tips For Clear And Accurate Lines
Marking wood clearly is key to making precise dovetail joints. Sharp, visible lines help guide your cuts well.
Using the right tools and techniques avoids mistakes and saves time during woodworking.
Avoiding Smudges And Faint Marks
Smudges and faint lines make it hard to see your marks. Keep your hands and tools clean to prevent this.
- Use a sharp marking knife instead of a pencil for crisp lines.
- Hold the wood steady to avoid slips that blur marks.
- Clean the surface of sawdust before marking.
- Work in good light to spot faint lines quickly.
- Wear gloves if your hands tend to sweat or smudge.
Enhancing Visibility With Chalk Or Pencil
Sometimes pencil marks are hard to see on wood. Chalk can boost line visibility for better accuracy.
| Marking Tool | Visibility Level | Best Use |
| Sharp Pencil | Medium | General marking on light wood |
| White Chalk | High | Dark or rough wood surfaces |
| Colored Chalk | High | Contrast on varying wood tones |
| Marking Knife | Sharp & Clear | Final layout lines for cutting |
Common Mistakes To Avoid
Marking wood for dovetail joints needs care and attention. Small errors can cause big fitting problems later.
Knowing common mistakes helps you avoid them and make strong joints. Read on to learn key points.
Misaligned Layouts
Misaligned layouts happen when marks on two pieces do not match. This makes the joint uneven or loose.
Check your layout marks carefully before cutting. Use a square and sharp pencil for clear lines.
- Always double-check measurements on both pieces.
- Mark all parts with the same reference edge.
- Use a marking gauge to keep consistent depth.
- Keep your lines thin for accuracy.
Overlooking Wood Movement
Wood changes size with humidity. If you ignore this, joints may crack or become loose over time.
Plan for wood movement by leaving slight gaps or choosing correct grain direction for your layout.
- Mark with grain direction in mind.
- Allow small gaps to prevent tight joints.
- Use stable wood for best results.
- Do not force joints that are too tight.
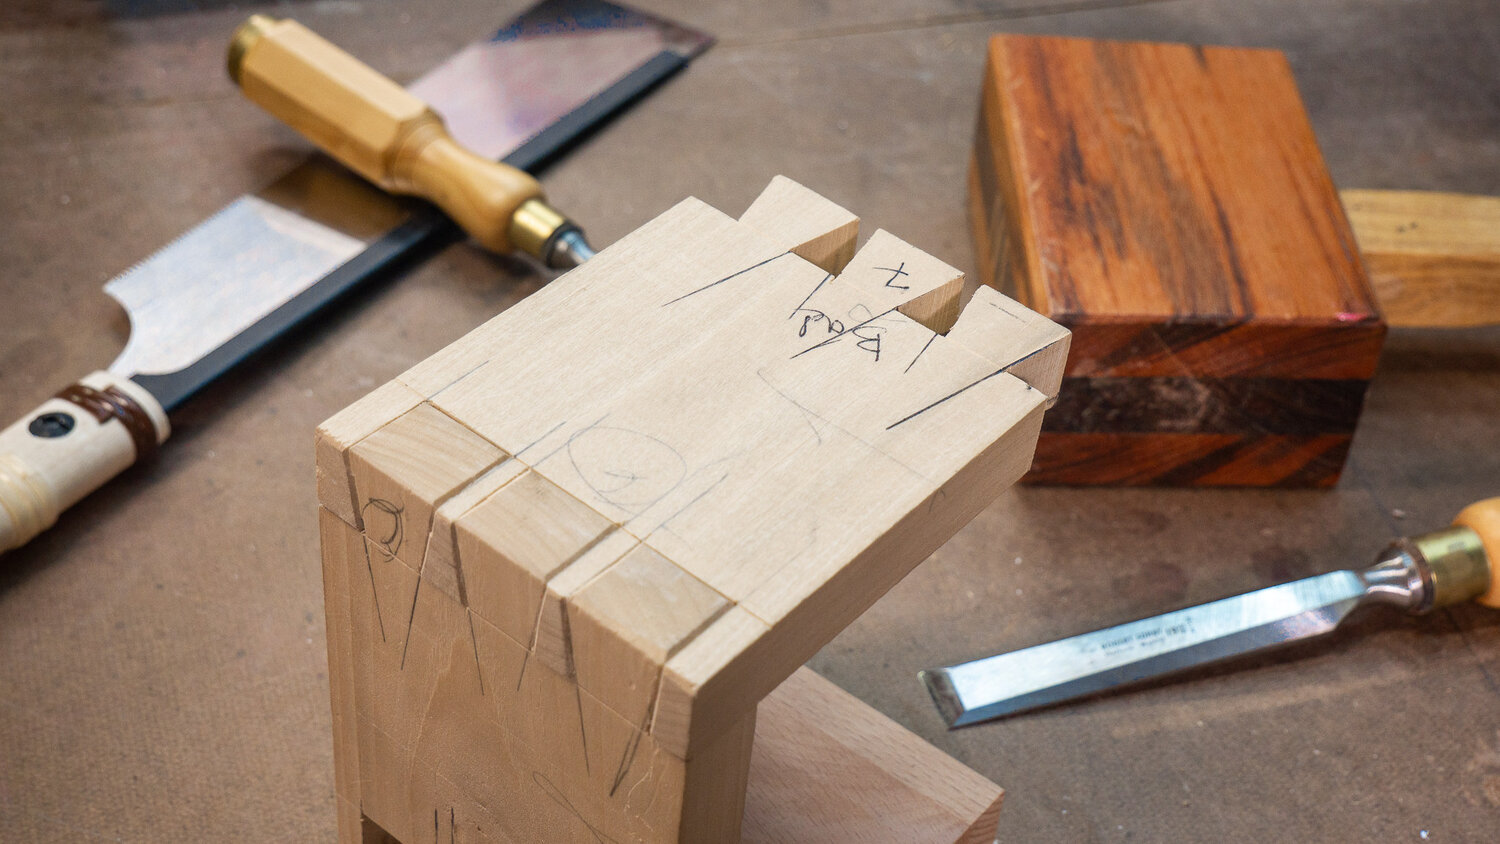
Credit: hoolnn.com
Advanced Techniques
Marking wood for dovetail joints takes skill and precision. Advanced methods help improve accuracy. Using digital tools and customizing templates can simplify this process.
These techniques save time and reduce errors. They are useful for complex projects where traditional marking is difficult.
Using Digital Tools And Apps
Digital tools let you design dovetail joints on a screen. You can measure and adjust details easily. Apps for woodworking help create exact markings.
- Choose a woodworking design app with dovetail features.
- Input your wood dimensions and joint type.
- Use the app to generate precise marking guides.
- Export or print the guides for physical use.
- Follow the digital template to mark your wood.
Customizing Templates For Complex Joints
Templates help keep your dovetail joints consistent. Custom templates work well for unusual or complex joints. You can tailor them to your project needs.
| Template Type | Use Case | Key Feature |
| Standard Dovetail | Simple, straight joints | Fixed angle and spacing |
| Sliding Dovetail | Joining shelves or panels | Long, narrow tails |
| Half-Blind Dovetail | Hidden joints on drawers | Short tails, angled pins |
| Custom Angled | Irregular or angled joints | Adjustable angles and spacing |
Frequently Asked Questions
How Do I Mark Wood For Dovetail Joints Precisely?
Use a marking gauge and dovetail template to mark wood accurately. Measure twice and mark clearly before cutting. Consistent marking ensures tight-fitting joints and professional results.
What Tools Are Best For Marking Dovetail Joints?
A marking gauge, pencil, and dovetail saw are essential. A square and marking knife also improve accuracy. These tools help create precise, clean markings for perfect joints.
How To Avoid Errors When Marking Dovetail Joints?
Double-check measurements and use sharp marking tools. Mark lightly first, then confirm before cutting. Avoid rushing and work in good lighting to prevent mistakes.
Why Is Accurate Marking Crucial For Dovetail Joints?
Accurate marking ensures tight-fitting joints and structural strength. Poor marking causes gaps and weak connections. Precision leads to professional-looking, durable woodworking projects.
Conclusion
Mastering dovetail joints requires precision in marking wood. Accurate markings ensure strong connections. Practice improves your skills with each joint. Choose the right tools for clean lines and accurate cuts. Remember to measure twice, cut once. Patience and attention to detail are key.
Mistakes happen, so learn from them. Stay focused and keep your work area organized. Enjoy the process of creating strong, beautiful joints. With dedication, your woodworking projects will shine. Keep practicing and refining your technique. Every joint is a step towards becoming a better woodworker.