
Are you ready to tackle your next big sanding project with confidence? If you’ve ever found yourself staring at a large, unfinished surface, wondering how to achieve that smooth, flawless finish, you’re not alone.
Operating a belt sander for sanding large surfaces might seem daunting, but it doesn’t have to be. With the right guidance and a few simple tips, you can transform rough wood into a masterpiece with ease. Imagine the satisfaction of running your hand across a perfectly sanded surface, knowing you achieved that with your own hands.
This article will walk you through everything you need to know to master the art of using a belt sander. From selecting the right equipment to techniques that ensure even sanding, we’ve got you covered. Stay with us, and you’ll soon be sanding like a pro, turning those large surfaces into smooth, polished works of art.
Choosing The Right Belt Sander
Choosing the right belt sander helps you finish large surfaces faster. It saves time and effort during sanding tasks. Picking the correct tool depends on your specific needs and the material.
This guide covers types of belt sanders, grit selection, and power and size factors. These points help you make an informed choice for your project.
Types Of Belt Sanders
Belt sanders come in different shapes and sizes. Each type is designed for specific sanding jobs. Knowing their differences helps you pick the best one.
- Handheld Belt Sanders:Portable and good for smaller surfaces and edges.
- Stationary Belt Sanders:Mounted on a bench and ideal for precise sanding.
- Electric Belt Sanders:Powered by electricity, suitable for large sanding jobs.
- Cordless Belt Sanders:Battery-operated for flexibility and ease of use.
Selecting The Correct Grit
Grit size affects how smooth or rough the surface will become. Coarse grits remove material fast, while fine grits polish the surface.
| Grit Size | Use |
| 40-60 | Heavy material removal and rough sanding |
| 80-100 | General sanding and smoothing surfaces |
| 120-150 | Fine sanding and preparing for finishing |
| 180 and above | Final sanding and polishing |
Power And Size Considerations
Power and size affect how well the belt sander handles large surfaces. More power means faster sanding and less strain on the motor.
- Check the motor power, usually measured in amps or watts.
- Choose a belt width that matches the surface size you will sand.
- Consider the sander’s weight for ease of use during long jobs.
- Look for models with adjustable speed for better control.

Credit: www.familyhandyman.com
Preparing For Sanding
Preparing well before sanding helps you work safely and efficiently. It also improves the quality of your sanding results.
This guide covers important steps to get ready for sanding large surfaces with a belt sander.
Safety Gear Essentials
Wear the right safety gear to protect yourself from dust and injuries. Always use safety glasses to protect your eyes.
- Safety glasses or goggles to shield your eyes
- Dust mask or respirator to avoid inhaling dust
- Hearing protection to reduce noise damage
- Gloves to protect your hands from vibration and cuts
- Long sleeves and pants to cover your skin
Workspace Setup
Prepare your workspace to make sanding easier and safer. Keep the area clean and well-lit.
| Workspace Element | Reason |
| Clean floor | Prevents tripping hazards |
| Good lighting | Helps see the surface clearly |
| Stable work surface | Keeps material steady |
| Clear area | Allows free movement around the sander |
| Power source nearby | Ensures easy plug-in for the sander |
Surface Inspection
Check the surface before sanding to avoid damage and get good results. Look for nails, screws, or other hard objects.
- Remove nails, screws, and staples
- Clean off dirt, dust, or grease
- Repair cracks or holes with filler
- Mark rough spots for focused sanding
Operating Techniques
Using a belt sander on large surfaces needs careful control. Good techniques help you work safely and get smooth results.
Focus on how you start the sander, keep pressure even, and move it at the right speed.
Starting The Sander Safely
Always check the sander and the belt before turning it on. Make sure the belt is tight and in good shape.
Hold the sander firmly and place it on the work surface before starting it. This avoids sudden jerks or scratches.
- Wear safety glasses and ear protection
- Check the power cord for damage
- Keep both hands on the sander
- Start the sander with the belt off the wood
Maintaining Even Pressure
Press the sander evenly on the surface. Too much pressure can damage the wood or the belt.
Let the sander do the work. Your job is to guide it gently and keep steady pressure.
- Use light to medium pressure
- Avoid pushing down hard on the edges
- Keep the sander flat against the surface
- Check the surface often to avoid over-sanding
Controlling Speed And Movement
Move the sander slowly and smoothly across the surface. Fast movement can cause uneven sanding.
Keep the sander moving to avoid sanding marks or grooves. Use long, straight strokes that follow the grain of the wood.
- Start with slower speed for rough sanding
- Increase speed for finishing work if needed
- Move the sander in the direction of the wood grain
- Overlap strokes slightly for even sanding
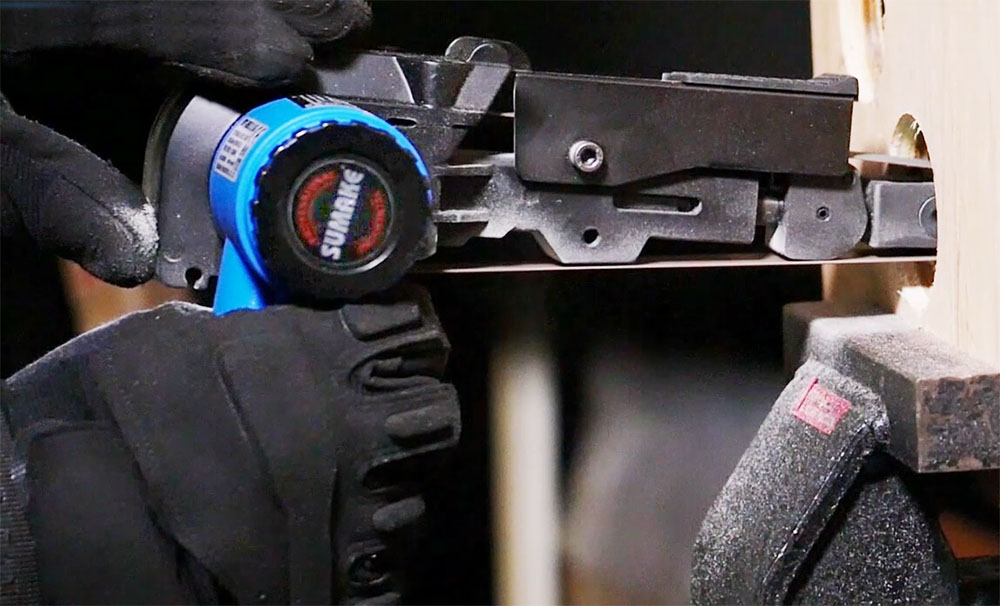
Credit: www.sumake.com
Handling Large Surfaces
Using a belt sander on big surfaces needs care and skill. It helps to get smooth, even results.
Learn how to work in sections, keep the surface even, and handle dust safely.
Sectional Sanding Approach
Break large surfaces into smaller areas to sand one at a time. This avoids missing spots or sanding too deep.
- Mark sections lightly with a pencil
- Smooth each section completely before moving on
- Keep the sander moving steadily across each section
- Overlap slightly between sections to avoid lines
Avoiding Uneven Spots
Uneven sanding leaves bumps or dips. Hold the sander flat and move it evenly.
| Common Cause | How to Fix |
|---|---|
| Pressing too hard | Use light, even pressure |
| Leaving sander in one spot | Keep the sander moving at all times |
| Uneven speed | Maintain steady speed throughout |
Managing Dust And Debris
Sanding creates a lot of dust. Use dust bags or a vacuum to keep the area clean and safe.
- Attach a dust bag or vacuum to the sander
- Wear a mask to avoid breathing dust
- Clean the work area regularly during sanding
- Empty dust collection bags often
Maintenance And Troubleshooting
Keeping your belt sander in good shape is important for safety and performance. Regular checks help avoid damage and fix small problems fast.
Here are key tips for replacing belts, cleaning the tool, and solving common issues. Follow these steps to keep your sander working well on large surfaces.
Replacing The Sanding Belt
Change the sanding belt when it wears out or tears. A fresh belt sands better and avoids damage to the tool or surface.
- Unplug the sander before starting.
- Release the belt tension lever to loosen the belt.
- Remove the old belt from the rollers.
- Place the new belt around the rollers, matching the arrow direction.
- Re-engage the tension lever to tighten the belt.
- Check the belt alignment and adjust if needed.
Cleaning The Tool
Clean your belt sander regularly to remove dust and debris. This helps the motor run smoothly and prevents jams.
- Unplug the sander before cleaning.
- Use a brush to clear dust from vents and rollers.
- Wipe the outer surfaces with a dry cloth.
- Remove the sanding belt to clean under it.
- Check the dust collection bag or port and empty it.
Common Issues And Fixes
| Issue | Cause | Fix |
| Belt slips off rollers | Loose tension or worn belt | Retighten tension lever or replace belt |
| Motor overheats | Blocked vents or heavy use | Clean vents and allow cool down |
| Uneven sanding | Belt misaligned or damaged | Adjust belt alignment or replace belt |
| Sander does not start | Power supply or switch issue | Check plug and switch, repair if needed |

Credit: www.homebuilding.co.uk
Frequently Asked Questions
What Safety Gear Is Essential When Using A Belt Sander?
Always wear safety goggles, dust masks, and hearing protection. Gloves protect your hands from abrasions. Proper gear prevents injuries and exposure to dust, ensuring a safe sanding process.
How Do I Choose The Right Sandpaper Grit?
Start with coarse grit for heavy sanding, then use finer grits for smooth finishes. Choosing the right grit speeds up work and improves surface quality.
Can I Use A Belt Sander On Delicate Wood Surfaces?
Avoid using a belt sander on delicate wood, as it can remove too much material. Use finer tools like orbital sanders for sensitive surfaces.
How Should I Hold And Move The Belt Sander?
Hold the sander firmly with both hands and move it evenly along the surface. Keep the sander flat to avoid gouging or uneven sanding.
Conclusion
Operating a belt sander for large surfaces takes care and focus. Always keep the sander moving to avoid uneven spots. Use the right grit for your project to get smooth results. Wear safety gear to protect your eyes and hands.
Practice on scrap wood before starting the main work. With patience and steady hands, sanding becomes easier and faster. Remember, safety and control matter most for a good finish. Now, you are ready to handle big sanding tasks with confidence.