Are your pliers a tangled mess, leaving you frustrated every time you need a specific tool? You’re not alone.
Many of us accumulate a variety of pliers over the years, from needle-nose to slip-joint, only to find them scattered and hard to find. The good news is, organizing your pliers by type is simpler than you might think and can save you valuable time and energy.
Imagine opening your toolbox and instantly spotting the exact pair of pliers you need. You’ll discover practical tips and tricks to neatly arrange your pliers, transforming your toolbox into a haven of order and efficiency. Let’s dive in and turn that clutter into clarity.

Credit: www.amazon.ae
Types Of Pliers
Pliers are tools used to grip, bend, or cut materials. They come in many types for different jobs.
Organizing pliers by their type helps you find the right one fast. It also keeps your workspace tidy.
Slip-joint Pliers
Slip-joint pliers have adjustable jaws that slide to fit different sizes. They are versatile for many tasks.
You can use these pliers to hold objects tightly or turn nuts and bolts.
Needle-nose Pliers
Needle-nose pliers have long, thin jaws. They reach into small spaces easily.
These pliers are great for bending wire or holding tiny parts.
Cutting Pliers
Cutting pliers have sharp edges to cut wire and nails. They are strong and precise.
Use them to trim wires or remove unwanted metal pieces cleanly.
Locking Pliers
Locking pliers clamp tightly and stay locked until released. They hold objects firmly without effort.
These are useful for gripping stubborn parts or turning rounded bolts.
Specialty Pliers
Specialty pliers have unique designs for specific tasks. Examples include crimping or fencing pliers.
Organize these separately since they serve special uses and are not for general work.
Sorting Pliers By Function
Organizing pliers by their function helps you find the right tool fast. Different pliers serve different jobs.
Sorting by function also keeps your workspace neat and safe. Group pliers with similar uses together.
Gripping Tools
Gripping pliers hold objects tightly to prevent slipping. They help you pull, twist, or hold parts firmly.
Common gripping pliers include slip-joint, needle-nose, and locking pliers. Each type fits different tasks.
- Slip-joint pliers:Adjustable jaws for gripping various sizes
- Needle-nose pliers:Long, thin jaws for tight spaces
- Locking pliers:Lock jaws in place for strong hold
Cutting Tools
Cutting pliers slice through wires, nails, or small metal pieces. They have sharp edges designed for clean cuts.
Types include diagonal cutters, wire cutters, and end-cutting pliers. Use the right cutter for the material.
- Diagonal cutters:Cut wires close to the surface
- Wire cutters:Designed for electrical wires and cables
- End-cutting pliers:Cut nails or staples flush with surfaces
Bending Tools
Bending pliers shape or twist wires and metal pieces. They help form curves and angles accurately.
Common bending pliers include round-nose and flat-nose pliers. Each shapes metal in a special way.
- Round-nose pliers:Make loops and curves in wires
- Flat-nose pliers:Bend wires at sharp angles
- Chain-nose pliers:Grip and bend in tight spaces
Choosing Storage Solutions
Organizing pliers by type helps you find the right tool quickly. Choosing the right storage solution keeps your workspace neat.
Good storage protects your pliers and saves space. It also makes your tools easy to access and use.
Toolboxes And Trays
Toolboxes offer a portable way to keep your pliers organized. Trays inside the toolbox help separate types and sizes.
Use trays with compartments to group needle-nose, cutting, and slip-joint pliers. This stops them from mixing up.
- Choose trays that fit inside your toolbox
- Label each compartment for easy identification
- Keep frequently used pliers on top
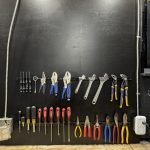
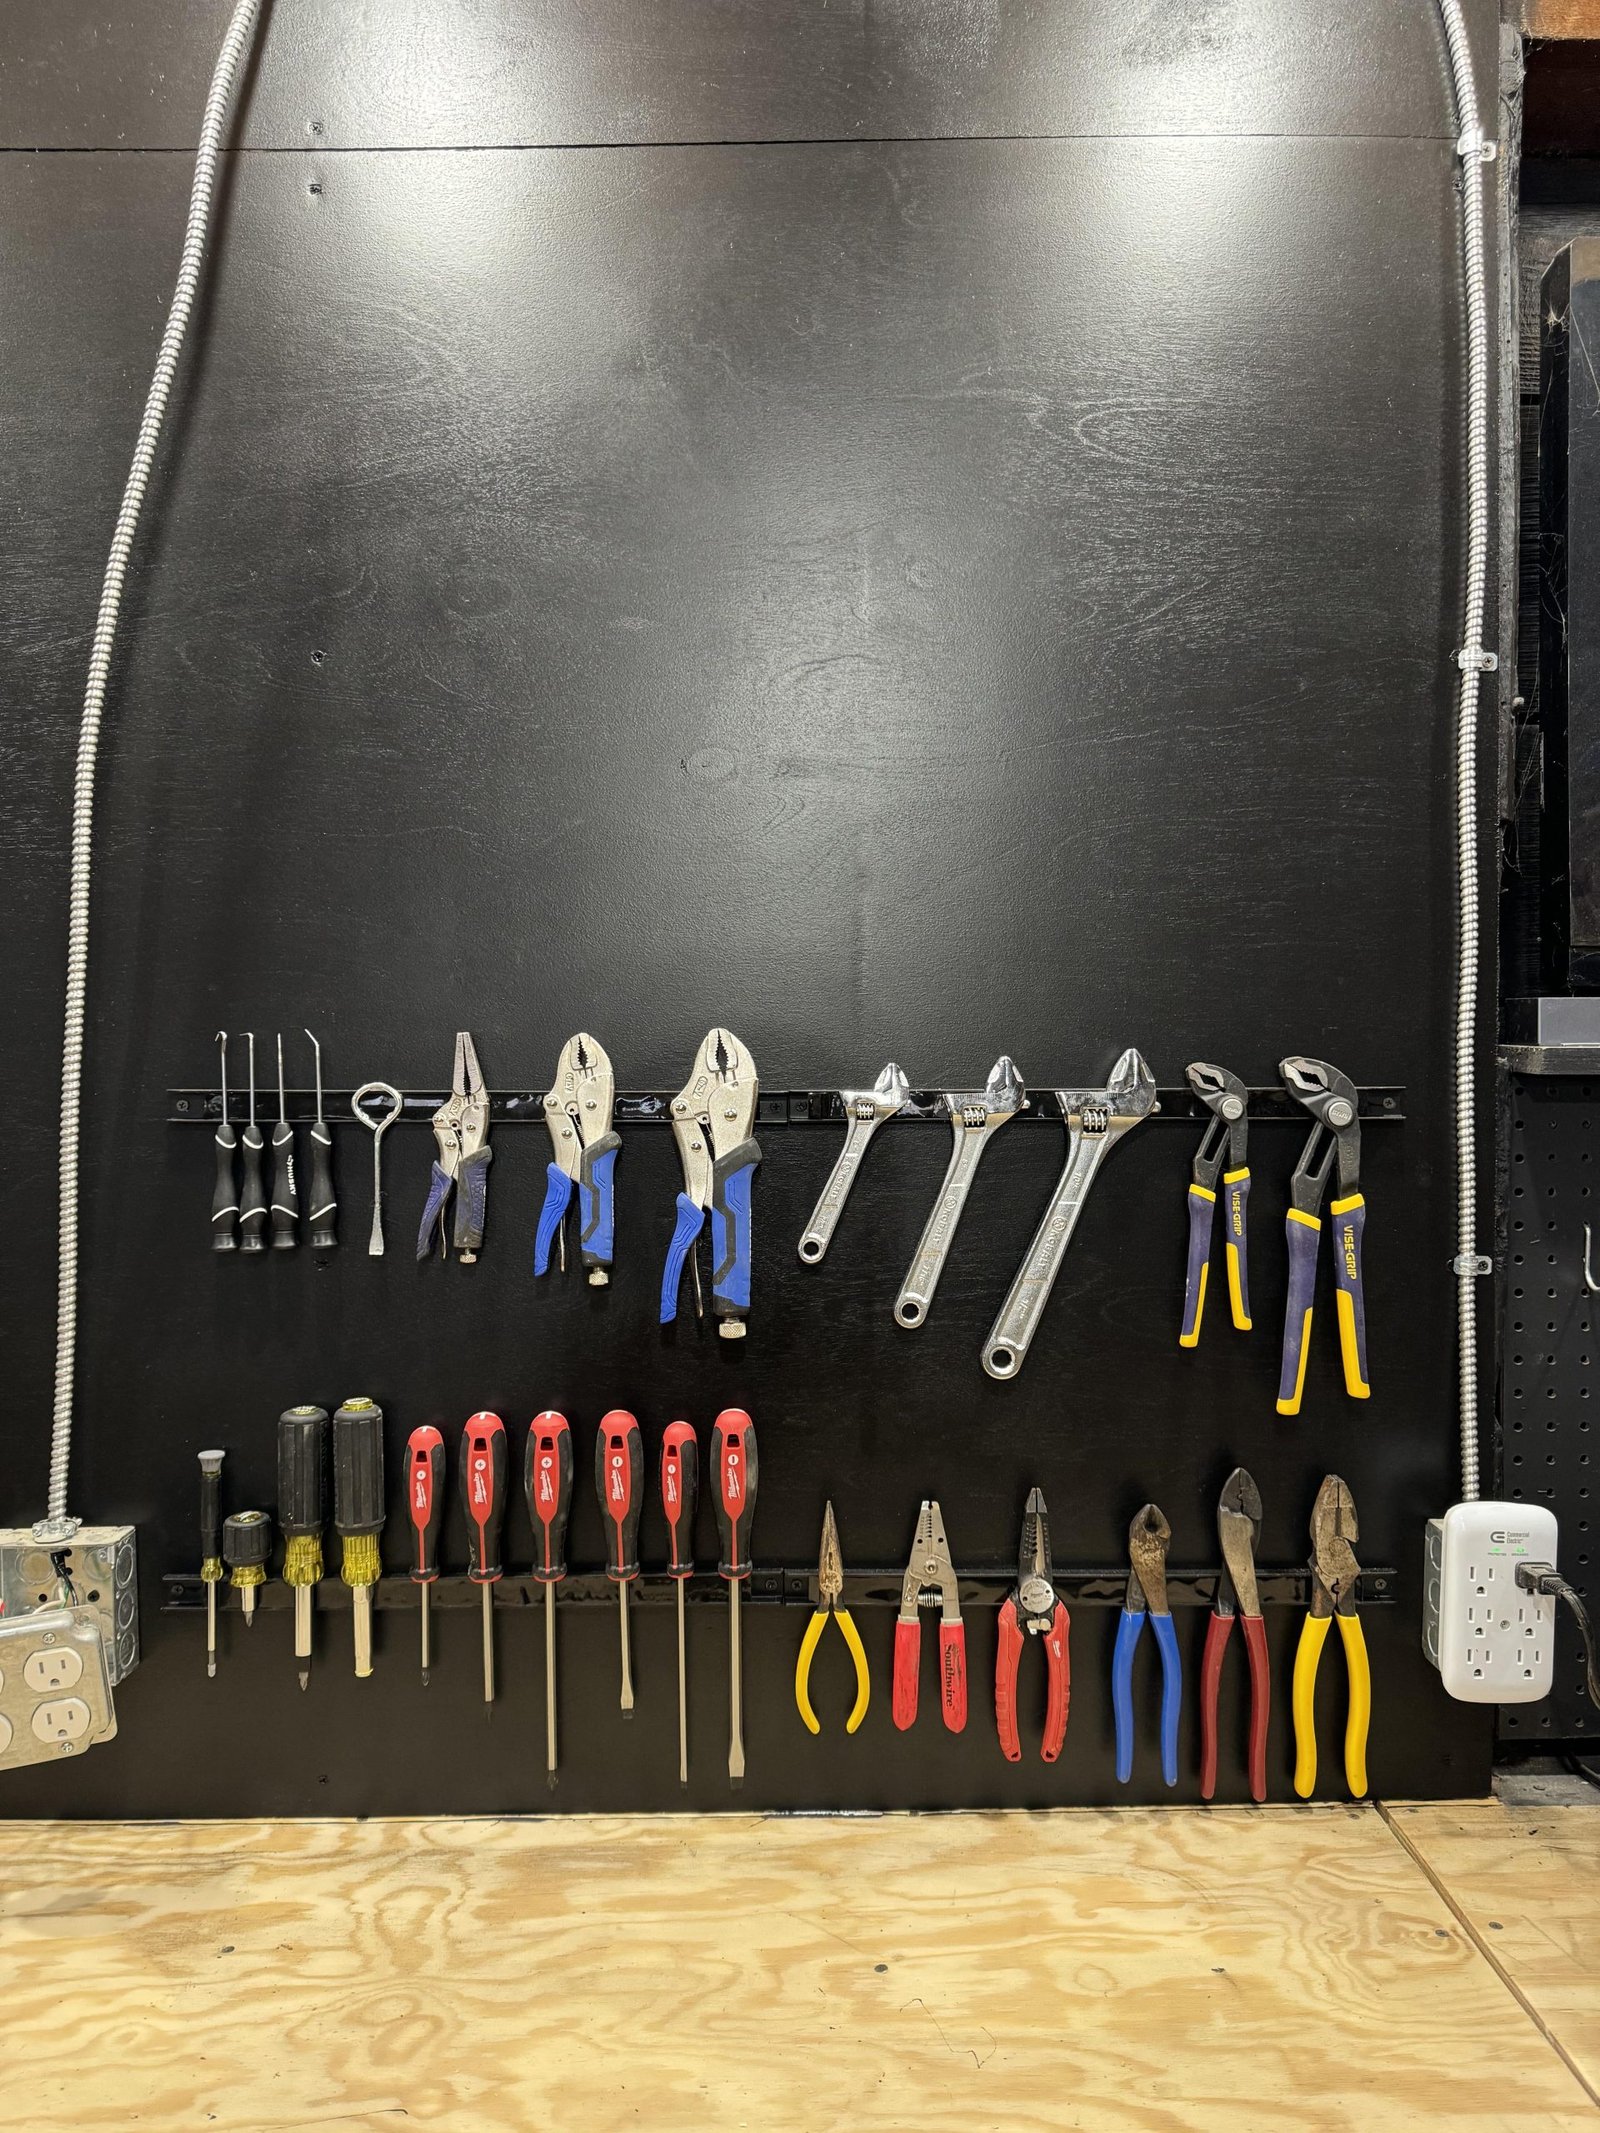
Wall-mounted Racks
Wall-mounted racks save bench and drawer space. You can hang pliers by their handles or jaws for quick access.
Racks with hooks or slots keep pliers visible and organized. They also prevent damage by avoiding stacking.
- Install racks near your work area
- Arrange pliers by type and size
- Choose racks with adjustable hooks for different tools
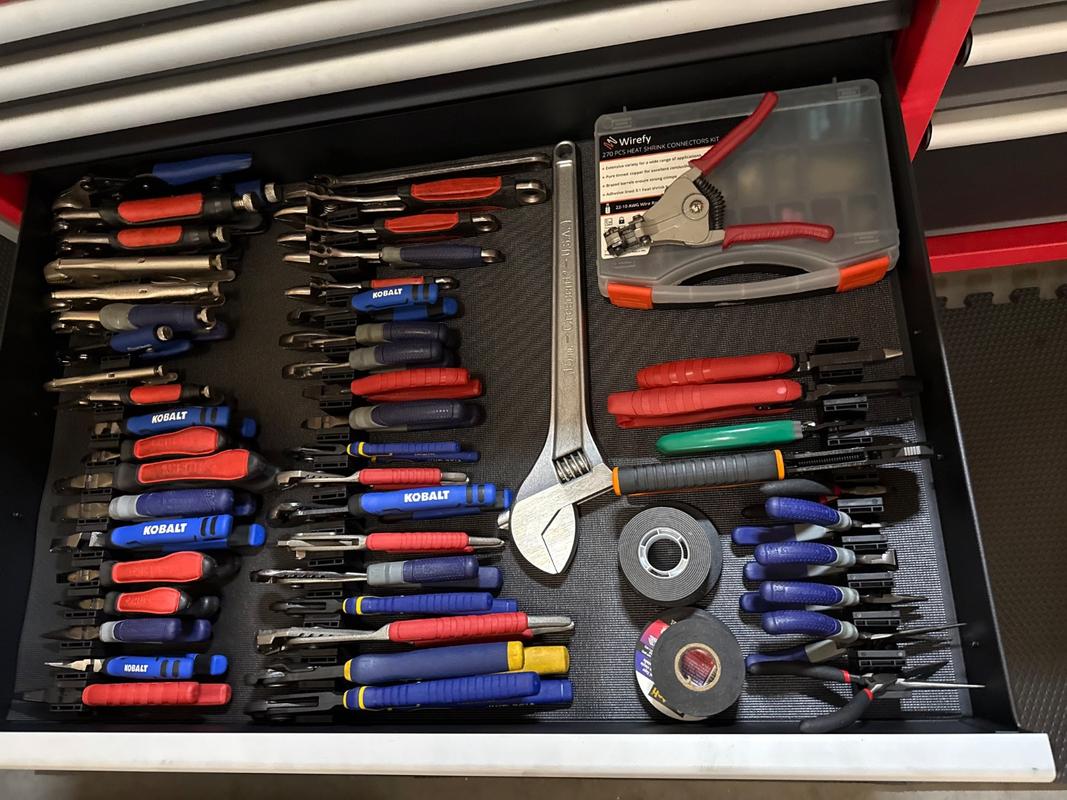
Drawer Organizers
Drawer organizers keep pliers tidy inside tool drawers. They prevent tools from sliding or tangling together.
Use organizers with adjustable dividers. This lets you customize space for each type of plier.
- Choose foam or plastic organizers for durability
- Label each section to speed up tool finding
- Keep similar pliers close together
Magnetic Strips
Magnetic strips hold metal pliers securely on walls or benches. They keep tools visible and easy to grab.
Strong magnets prevent pliers from falling. Use strips to organize pliers by type along your workspace.
- Mount strips at a comfortable height
- Place heavy pliers on stronger magnets
- Group pliers by use or size
Labeling And Categorizing
Organizing pliers by type helps you find the right tool fast. Labeling and categorizing keep your workspace neat.
Clear labels and categories reduce confusion. They save time and protect your tools.
Color Coding
Use colors to mark different pliers types. Colors make it easy to spot the tool you need.
Choose bright colors for quick identification. Each color can represent a plier category.
- Red for cutting pliers
- Blue for needle-nose pliers
- Green for slip-joint pliers
- Yellow for locking pliers
Tags And Labels
Attach tags or labels to your pliers or their storage spots. Use clear, easy-to-read text.
Labels help avoid mixing tools. They also remind you of the plier type and size.
- Use waterproof labels for durability
- Print or write tool type and size
- Place labels on handles or storage bins
- Replace faded labels regularly
Digital Inventory
Keep a digital list of your pliers. This helps track what you have and what you need.
Use simple apps or spreadsheets to record details like type, size, and condition.
- Note the plier type and brand
- Record purchase date and location
- Add photos for easy ID
- Update inventory after use or purchase
Maintenance Tips For Organized Tools
Keeping pliers organized helps you find them quickly. Proper care makes tools last longer.
Follow simple maintenance tips to keep your pliers clean and ready to use.
Cleaning And Lubricating
Clean your pliers after each use to remove dirt and grease. Use a soft cloth or brush for this task.
Apply light oil to the joint to keep it moving smoothly. This prevents rust and extends tool life.
- Wipe off dirt and debris
- Use mild soap if needed
- Dry tools completely
- Apply lubricating oil to hinges
- Remove excess oil to avoid dust buildup
Regular Inspections
Check your pliers regularly for damage or wear. Look for cracks, rust, or loose parts.
Fix small problems before they get worse. Replace tools that cannot be repaired safely.
- Inspect handles for cracks or breaks
- Check jaws for proper alignment
- Test the grip strength
- Look for rust spots or corrosion
- Tighten any loose screws or bolts
Safe Handling Practices
Use pliers only for their intended tasks. Avoid using them as hammers or pry bars.
Store pliers in a dry place to prevent rust. Keep them sorted by type for easy access.
- Hold pliers firmly while working
- Wear safety glasses to protect eyes
- Do not overload or force tools
- Keep tools away from children
- Use a tool rack or drawer organizer

Credit: toolguyd.com
Creating A Workflow-friendly Setup
Organizing pliers by type helps you find the right tool fast. A good setup saves time and keeps your workspace neat.
Think about how you use your pliers daily. Arrange them to match your work habits for better flow.
Accessibility And Placement
Place pliers where you can reach them quickly. Keep your most used types near your main work area.
Use wall-mounted racks or pegboards to hang pliers by type. This keeps them visible and easy to grab.
- Group similar types together
- Hang frequently used pliers at eye level
- Store less used pliers in drawers or boxes
Frequency Of Use
Sort pliers by how often you need them. Daily tools should be in the easiest reach spots.
Tools used less often can be stored farther away but still organized by type for easy access.
- Keep daily use pliers on your workbench
- Store weekly use pliers in nearby drawers
- Place rarely used pliers in labeled bins
Customizing Your Workspace
Adjust your tool setup to fit your personal work style. Use containers, holders, or trays for different plier types.
Label each section to avoid confusion. Change your setup if your workflow changes.
- Use magnetic strips for metal pliers
- Install drawer dividers for smaller types
- Label areas clearly for quick identification
Credit: toolboxwidget.ca
Frequently Asked Questions
What Are The Main Types Of Pliers To Organize?
The main types include needle-nose, slip-joint, cutting, and locking pliers. Organize by shape and function for easy access.
How Do I Label Pliers By Type Effectively?
Use clear labels with plier names or icons. Attach labels on bins or drawers for quick identification.
What Storage Solutions Suit Organizing Pliers By Type?
Magnetic strips, pegboards, and drawer organizers work well. Choose based on your workspace size and plier quantity.
How Often Should I Declutter And Reorganize Pliers?
Review your pliers every 3-6 months. Remove damaged tools and rearrange for efficiency and safety.
Conclusion
Organizing pliers by type saves time and reduces frustration. You can find the right tool quickly. Each plier has a purpose, so keeping them sorted helps a lot. Use simple storage solutions like labeled bins or racks. Regularly check and tidy your collection to keep it neat.
A well-organized workspace makes any project easier and more enjoyable. Start small and build your system step by step. Keeping pliers in order is a smart habit for every toolbox.