Is your workshop cluttered with scattered tools, making it hard to find what you need? Imagine reaching for your pliers and instantly knowing where they are, thanks to a perfectly organized pegboard.
This isn’t just a dream—it can be your reality. Properly organizing your pliers on a pegboard not only saves you time but also boosts your productivity and creativity. Curious about how to transform your workspace into a model of efficiency and order?
Keep reading to discover simple, effective strategies that will make your pliers easy to find and your work more enjoyable.

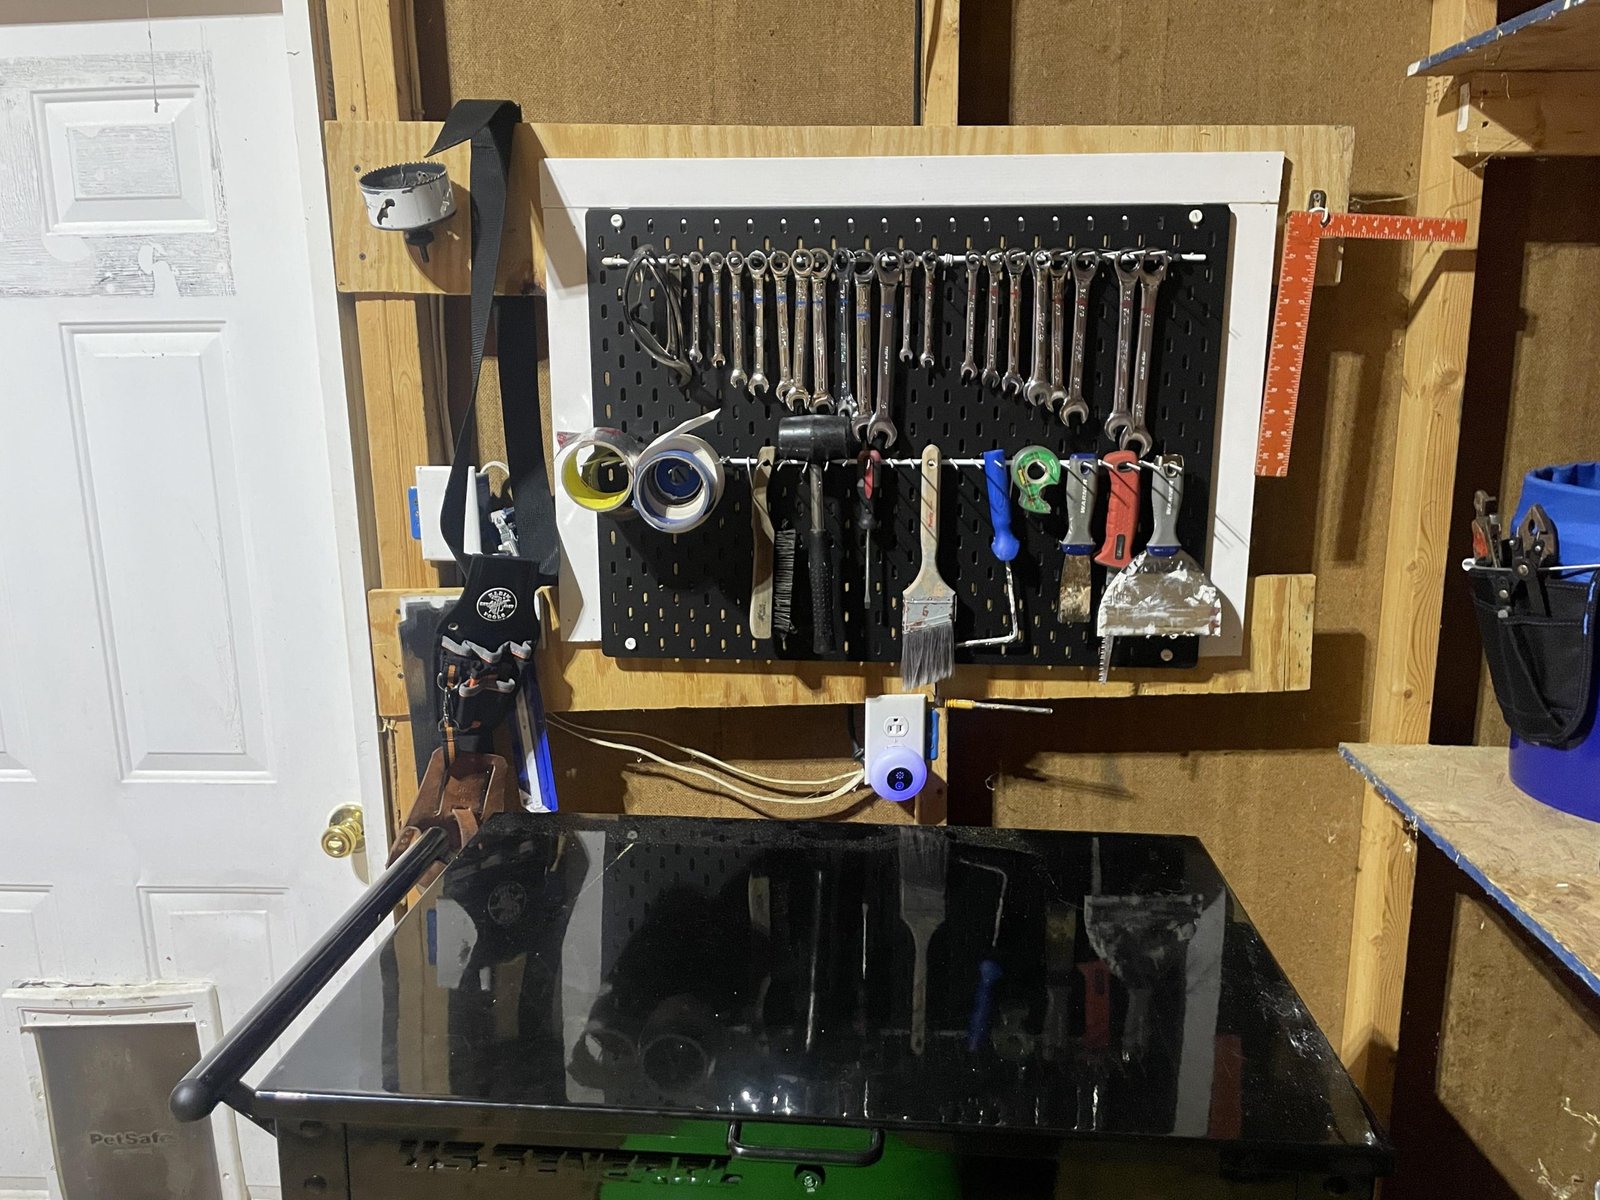
Credit: www.reddit.com
Choosing The Right Pegboard
Organizing pliers on a pegboard helps keep your workspace neat. Picking the right pegboard is key to easy access and safety.
Consider the material, size, and placement to make the best choice for your tools and space.
Material Options
Pegboards come in different materials like wood, metal, and plastic. Each has its own benefits and drawbacks.
Wood pegboards are sturdy but can wear out over time. Metal boards are strong and last long. Plastic boards are lightweight and resist moisture.
- Wood:Easy to drill, looks nice, can chip.
- Metal:Very durable, holds heavy tools, can rust.
- Plastic:Moisture resistant, light, less strong.
Size And Placement
Choose a pegboard size that fits your wall space and tool collection. Too small means clutter; too big wastes space.
Place the pegboard where you can easily reach your pliers. Keep it at eye level or slightly below for comfort.
- Measure your wall area before buying.
- Consider the number of pliers and other tools.
- Mount pegboard near your main workbench.
- Leave space around the board for hooks and accessories.
Selecting Pegboard Hooks
Organizing pliers on a pegboard needs the right hooks. Picking good hooks helps keep pliers safe and easy to find.
Hooks come in different shapes and sizes. Choosing the right type and strength makes your pegboard neat and strong.
Types Of Hooks For Pliers
You can use several hook types for hanging pliers. Some hold the handles, others support the whole tool.
- Single peg hooks: Simple hooks that hold plier handles.
- Double peg hooks: Wider hooks for larger or heavier pliers.
- U-shaped hooks: Good for holding pliers by the middle or jaws.
- Specialty hooks: Designed for specific plier types or sizes.
Choose hooks that fit your pliers well. Too small hooks can damage tools. Too big hooks may let pliers slip off.
Weight Capacity Considerations
Each hook has a weight limit. Pick hooks strong enough to hold your pliers without bending.
Check the weight of your heaviest pliers before buying hooks. Use hooks with a higher weight rating for safety.
- Light hooks: Hold small, lightweight pliers.
- Medium hooks: Support average-sized pliers.
- Heavy-duty hooks: Made for large or heavy pliers.
Using the right weight capacity prevents hooks from breaking and keeps your tools secure on the pegboard.
Sorting Pliers By Type And Size
Organizing pliers on a pegboard helps you find the right tool fast. Sorting them by type and size makes your workspace neat and efficient.
Using a clear system lets you hang each plier in the best spot. This saves time and protects your tools.
Common Pliers Categories
Pliers come in many styles. Grouping them by their function helps you sort them easily. Here are common types:
- Needle-Nose Pliers: Thin, long tips for detailed work.
- Slip-Joint Pliers: Adjustable jaws for gripping different sizes.
- Cutting Pliers: Designed to cut wire and cables.
- Linesman Pliers: Strong grip and cutting edges for electrical work.
- Locking Pliers: Clamp tightly to hold objects in place.
Grouping Techniques
Sort pliers by size within each category. Place the smallest at the top or left, growing larger down or right.
| Category | Small Size | Medium Size | Large Size |
| Needle-Nose | 5 inches | 7 inches | 9 inches |
| Slip-Joint | 6 inches | 8 inches | 10 inches |
| Cutting | 4 inches | 6 inches | 8 inches |
| Linesman | 7 inches | 9 inches | 11 inches |
| Locking | 5 inches | 7 inches | 10 inches |

Credit: www.amazon.ca
Creating An Efficient Layout
Organizing pliers on a pegboard makes your workspace neat and tools easy to find. A good layout helps save time and effort.
Choosing the right way to hang your pliers affects how fast you can grab and use them. Consider different ways to arrange them for best results.
Vertical Vs Horizontal Arrangement
Vertical and horizontal arrangements offer different benefits. Vertical hanging uses less pegboard space and shows the tool shape well. Horizontal hanging can hold heavier pliers more safely and reduce stress on the handles.
- Vertical: Saves space, easy to see tool types
- Horizontal: Holds heavier tools, reduces handle stress
- Choose based on plier size and weight
- Mix both for varied tool sizes
Accessibility And Reach
Keep often-used pliers at eye level or just below. This placement reduces bending or stretching. Less-used tools can go higher or lower on the board.
| Tool Placement | Height Range | Reason |
| Frequent Use Pliers | Chest to eye level | Easy to grab quickly |
| Occasional Use Pliers | Above eye level | Out of the way but reachable |
| Rare Use Pliers | Below chest level | Less frequent access needed |
Maximizing Space With Accessories
Organizing pliers on pegboards helps keep your workspace tidy. Using the right accessories can save space and make tools easy to find.
With simple additions like bins and labels, you can store pliers efficiently and avoid clutter.
Using Bins And Holders
Bins and holders attach to pegboards and keep pliers in place. They prevent tools from falling or getting mixed up.
- Choose bins that fit the size of your pliers.
- Use holders designed for tool handles to hold pliers upright.
- Group similar types of pliers in the same bin or holder.
- Mount bins at easy-to-reach heights for convenience.
Labeling For Quick Identification
Labels help you find the right pliers fast. Clear labels reduce search time and keep your pegboard organized.
| Label Type | Best Use |
| Printed Stickers | For clean, uniform look |
| Chalkboard Labels | Easy to change tool names |
| Color-coded Tags | Group tools by function or size |
| Magnetic Labels | Quickly move labels as needed |
Maintenance And Upkeep
Keeping pliers organized on pegboards helps you find tools fast. Good maintenance keeps your workspace tidy. It also extends the life of your pliers and pegboard.
Regular upkeep avoids rust and damage. It makes your tools ready to use anytime. Follow simple steps to clean and rearrange your pliers properly.
Regular Cleaning
Clean your pliers and pegboard regularly to prevent dirt buildup. Dust and grease can cause tools to stick or rust. Use a soft cloth and mild cleaner for the best results.
- Remove pliers from the pegboard before cleaning.
- Wipe each tool with a dry or slightly damp cloth.
- Use a small brush to clear dust from pegboard holes.
- Dry tools completely before placing them back.
- Apply a light oil to plier joints to prevent rust.
Reorganizing Tips
Change your pegboard layout to improve access and save space. Group pliers by type or size. Keep the most used tools within easy reach.
| Plier Type | Placement Suggestion |
| Needle-nose Pliers | Top row for precision work |
| Slip-joint Pliers | Middle row for regular use |
| Cutting Pliers | Bottom row for safety |
| Locking Pliers | Side section for heavy tasks |

Credit: creatingmaryshome.com
Frequently Asked Questions
How Do I Hang Pliers On A Pegboard?
Use pegboard hooks or specialized holders to hang pliers. Arrange them by size or type for easy access. Ensure hooks are sturdy to support the weight of pliers and keep them secure.
What Pegboard Accessories Work Best For Pliers?
Pegboard hooks, holders, and magnetic strips work well. Choose accessories that fit pliers’ size and shape. This keeps your tools organized and prevents clutter on your workspace.
How To Arrange Pliers On A Pegboard Efficiently?
Group pliers by type or frequency of use. Place commonly used pliers at eye level for quick reach. Leave space between tools to avoid overcrowding and improve visibility.
Can I Store Different Pliers Types On One Pegboard?
Yes, a single pegboard can hold various pliers types. Use different hooks or holders to accommodate each type. Label sections for faster identification and better organization.
Conclusion
Organizing pliers on pegboards saves time and space. You find tools quickly and keep your workspace tidy. Using hooks and labels makes it easy to sort pliers by size and type. This simple setup helps avoid clutter and damage to your tools.
Keep your pegboard neat, and your work will feel smoother. Try these tips to make your tool area more useful and safe. A little effort brings big benefits in the long run.
