Have you ever been in the middle of a DIY project only to have your trusty cordless drill suddenly stop working? Frustrating, isn’t it?
Before you consider tossing it out or spending money on a repair shop, what if you could fix it yourself efficiently? Understanding how to repair your cordless drill not only saves you money but also gives you a sense of accomplishment.
In this guide, you’ll discover straightforward tips and tricks to get your drill back in action. Whether it’s a battery issue or a mechanical glitch, we’ll walk you through the process step-by-step. Keep reading to learn how to bring your cordless drill back to life and ensure it stays reliable for all your future projects.
Common Cordless Drill Issues
Cordless drills are handy tools for many jobs. They can face problems after regular use.
Knowing common issues helps you fix drills faster and save money on repairs.
Battery Problems
Batteries often fail or lose charge quickly. This reduces drill power and working time.
Check battery connections for dirt or damage. Replace old batteries for better performance.
- Battery does not hold charge
- Drill stops suddenly
- Battery case is cracked or damaged
- Connections are loose or dirty
Chuck Malfunctions
The chuck holds the drill bit. It can become loose or jammed over time.
Clean the chuck and remove debris. Tighten or replace it if it does not hold bits securely.
- Chuck will not tighten
- Bits slip during use
- Chuck is stuck and won’t open
Motor Failures
The motor powers the drill. It may stop working or run weakly after heavy use.
Inspect the motor brushes and clean dust inside. Replace worn brushes for better motor life.
- Drill runs slowly or not at all
- Motor makes unusual noises
- Overheats quickly during use
Trigger Switch Issues
The trigger switch controls the drill’s power. It can wear out or fail to respond.
Test the trigger for smooth action. Clean or replace the switch if it sticks or stops working.
- Drill won’t start when trigger is pressed
- Trigger feels loose or stuck
- Power cuts off during use
Essential Tools For Drill Repair
Repairing a cordless drill requires the right tools. These tools help you fix the drill safely and quickly.
Using proper tools saves time and prevents damage to the drill or its parts.
Screwdrivers And Wrenches
Screwdrivers and wrenches are basic tools for opening and tightening parts of the drill. Different sizes and types fit different screws and bolts.
A set with both flathead and Phillips screwdrivers is important. Adjustable wrenches help with various bolt sizes.
- Flathead screwdrivers
- Phillips screwdrivers
- Adjustable wrenches
- Socket wrenches
- Hex keys (Allen wrenches)
Multimeter For Electrical Testing
A multimeter checks the electrical parts of the drill. It measures voltage, current, and resistance. This helps find battery or motor problems.
Digital multimeters are easy to read and use. They can test if wires and switches work correctly.
- Check battery voltage
- Test motor winding resistance
- Inspect switch continuity
- Find wiring issues
Lubricants And Cleaning Supplies
Lubricants keep moving parts smooth and reduce wear. Cleaning supplies remove dust and dirt inside the drill.
Use light machine oil or grease for gears. Use brushes and cloths to clean parts gently.
- Light machine oil
- Grease for gears
- Soft brushes
- Lint-free cloths
- Isopropyl alcohol for cleaning
Replacement Parts
Having spare parts helps fix drills faster. Common parts include batteries, brushes, and switches.
Check the drill model to get the right parts. Using correct parts ensures the drill works well after repair.
- Rechargeable batteries
- Carbon brushes
- Switches and triggers
- Chuck and gear sets
- Motor armatures
Diagnosing The Problem Quickly
Fixing cordless drills starts with finding the problem fast. Knowing what to check saves time and effort.
Look at common trouble spots first. This helps you decide what parts need repair or replacement.
Checking Battery Health
The battery is the heart of a cordless drill. A weak or dead battery stops the drill from working well.
Test the battery by charging it fully. Use a voltmeter to check if it holds the charge.
- Charge battery fully before testing
- Use a voltmeter to measure voltage
- Replace battery if voltage is below the rated value
- Check battery terminals for corrosion
Inspecting The Chuck And Bit
The chuck holds the drill bit tightly. If it is loose or damaged, the drill will not work correctly.
Look for cracks or wear on the chuck. Make sure the bit fits snugly and spins without slipping.
- Check for visible cracks on the chuck
- Test if the bit fits tightly
- Spin the bit to see if it slips
- Clean any dirt or debris from the chuck
Testing The Motor And Wiring
The motor powers the drill. If it does not run or sounds strange, check the motor and wires.
Listen for unusual noises. Look for broken or loose wires inside the drill housing.
- Turn on the drill and listen for noise
- Open housing to inspect wiring
- Look for loose connections or damaged wires
- Check motor brushes for wear
Evaluating The Trigger Switch
The trigger switch controls power to the motor. A faulty trigger can stop the drill from starting.
Press the trigger and check if the drill responds. Use a tester to check the switch’s electrical function.
- Press trigger to test response
- Use a multimeter to check switch continuity
- Replace switch if it does not complete the circuit
- Clean contacts if dirty or corroded
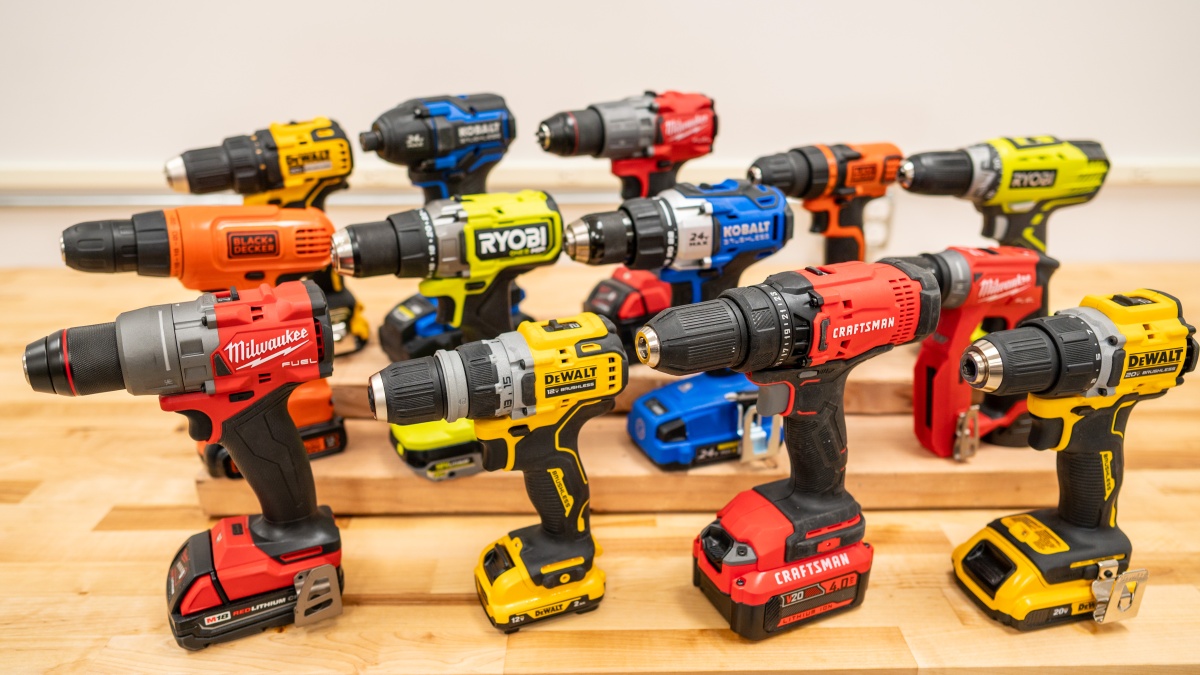
Credit: www.techgearlab.com
Step-by-step Repair Techniques
Repairing cordless drills can save money and extend tool life. This guide covers easy steps to fix common problems.
Follow these clear instructions to replace parts and keep your drill working well.
Replacing The Battery
Start by removing the old battery from the drill. Make sure the drill is switched off before doing this.
- Press the release buttons on the battery pack.
- Slide the battery out gently.
- Align the new battery with the slot.
- Slide the new battery in until it clicks.
- Test the drill to ensure it powers on.
Fixing Or Replacing The Chuck
The chuck holds the drill bit tightly. If it slips or won’t turn, it may need repair or replacement.
Use these steps to remove and replace the chuck safely.
- Remove the drill bit from the chuck.
- Use a chuck key or wrench to loosen the chuck.
- Unscrew the chuck by turning it counterclockwise.
- Install the new or repaired chuck by screwing it clockwise.
- Tighten the chuck securely and test with a drill bit.
Cleaning And Lubricating Components
Dirt and dust can cause drills to run poorly. Clean and lubricate parts regularly to keep smooth operation.
| Component | Cleaning Method | Lubricant Type |
| Chuck | Brush out dust | Light machine oil |
| Gears | Wipe with cloth | Grease |
| Motor shaft | Compressed air | Light oil |
| Trigger switch area | Use contact cleaner | None |
Repairing Or Replacing The Trigger Switch
A faulty trigger switch can stop your drill from working. Test the switch with a multimeter before repair.
Follow these tips to fix or replace the trigger switch.
- Remove the drill casing carefully.
- Locate the trigger switch and disconnect wires.
- Test the switch for continuity using a multimeter.
- If broken, replace it with an exact match switch.
- Reconnect wires and reassemble the drill.
- Test the drill for proper trigger function.
Preventive Maintenance Tips
Keeping your cordless drill in good shape saves money and time. Regular maintenance helps the drill last longer and work better.
Simple care steps can prevent many common problems. Follow these tips to maintain your cordless drill efficiently.
Proper Battery Care
Battery health is key for cordless drills. Charge batteries fully before use and avoid letting them drain completely.
Store batteries in a cool, dry place. Avoid exposing them to heat or cold for long times.
- Charge batteries after use
- Do not overcharge or leave charging unattended
- Keep batteries away from direct sunlight
- Use the charger designed for your battery
Regular Cleaning Routine
Dirt and dust reduce drill performance. Clean your drill after each use to keep it working well.
Use a dry cloth to wipe the drill’s body. Remove dust from vents and moving parts with a small brush.
- Wipe drill surface with a soft cloth
- Use compressed air to clean vents
- Remove debris from chuck and moving parts
- Do not use water or harsh cleaners
Safe Storage Practices
Store your cordless drill in a dry place away from dust and moisture. Proper storage prevents damage and rust.
Keep the drill and its accessories in a case or toolbox. This protects them from falls and dirt.
- Use a hard case or toolbox for storage
- Store in a cool, dry area
- Keep batteries separate if not used for long
- Avoid stacking heavy items on the drill
Periodic Inspection Schedule
Check your drill regularly for signs of wear or damage. Early detection helps avoid bigger problems.
Look for loose parts, worn brushes, or cracks. Replace or fix parts as needed to keep the drill safe and efficient.
- Inspect chuck and tightening mechanism
- Check for cracks or damage on the body
- Examine battery contacts for corrosion
- Test drill speed and power regularly
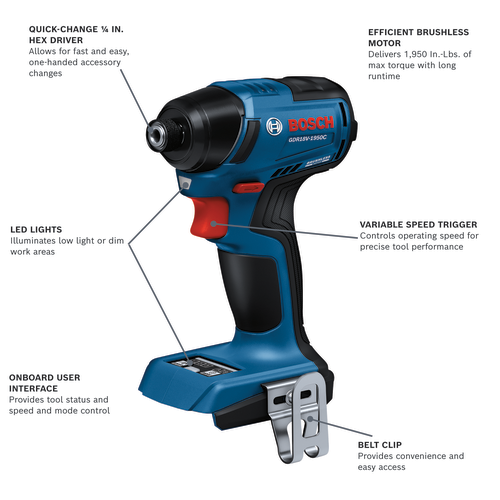
Credit: www.boschtools.com
When To Seek Professional Help
Fixing a cordless drill can save money and time. Yet, some problems need expert care. Knowing when to call a professional keeps you safe and protects your tool.
This guide explains common situations where professional help is best. Learn when to avoid DIY repairs and trust a skilled technician.
Complex Electrical Issues
Electrical problems inside a cordless drill can be hard to find. Faulty wiring or damaged circuit boards need special tools and knowledge. Trying to fix these can cause more damage or injury.
Professionals have the right equipment to test and repair electrical parts safely. They can also replace components without risking your drill or safety.
Severe Mechanical Damage
Mechanical issues like broken gears, cracked housings, or bent shafts need expert attention. These parts affect how the drill works and its safety. Fixing severe damage requires skill and replacement parts.
Professionals know how to disassemble and reassemble the drill correctly. They also ensure the drill works well after repair.
Warranty And Service Considerations
Many cordless drills come with a warranty. Trying to repair the drill yourself may void this warranty. It is best to contact the manufacturer or authorized service centers for repairs.
Authorized services use original parts and keep your warranty valid. They also offer professional advice on maintenance and future repairs.
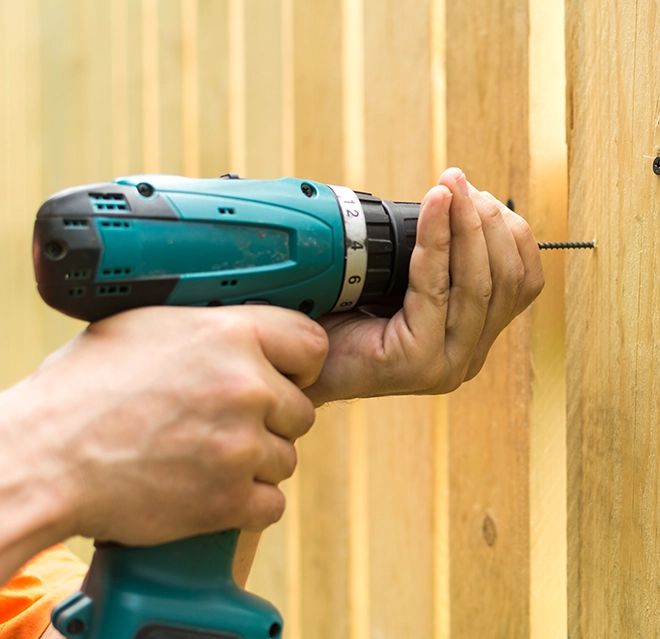
Credit: www.mrhandyman.ca
Frequently Asked Questions
How Do I Troubleshoot A Cordless Drill Not Starting?
Check the battery charge first. Ensure the battery is fully charged and correctly connected. Inspect the trigger switch and motor for damage. Replace any faulty parts. Regular maintenance helps prevent starting issues.
What Tools Are Needed To Repair Cordless Drills?
Basic tools include a screwdriver set, multimeter, soldering iron, and replacement parts. Safety gloves and eye protection are recommended. Having the correct tools ensures efficient and safe repairs.
How Can I Extend My Cordless Drill’s Battery Life?
Charge the battery fully before use and avoid deep discharges. Store batteries in a cool, dry place. Regularly clean battery contacts. Proper battery care improves performance and longevity.
When Should I Replace Parts In My Cordless Drill?
Replace parts showing wear, such as brushes, gears, or the chuck. If the drill overheats or has reduced power, inspect internal components. Timely replacements maintain drill efficiency and prevent further damage.
Conclusion
Repairing cordless drills can save time and money. Start by identifying the problem clearly. Use simple tools and follow safety steps carefully. Check the battery, motor, and switches often. Clean parts to improve drill performance. Take your time and be patient.
Small fixes can make drills work like new. Keep practicing these tips for better results. Efficient repair keeps your tools ready for any job.